Bake Perfect Hot Cross Buns: Your Ultimate Guide to Fluffy, Spiced Easter Delights
Few aromas evoke the warmth and comfort of Easter quite like a batch of freshly baked **Hot Cross Buns**. These iconic sweet, spiced buns, adorned with a signature cross, are a cherished tradition, bringing families together with their delightful scent and irresistible taste. Our recipe ensures soft, impossibly fluffy, and generously sized buns, brimming with sweet spices and succulent dried fruits. Far easier to master than you might imagine, this comprehensive guide provides step-by-step instructions and expert tips, empowering you to create bakery-worthy results directly from your own kitchen. Prepare to fill your home with the intoxicating fragrance of warm bread and fragrant spices – a true taste of pure heaven.
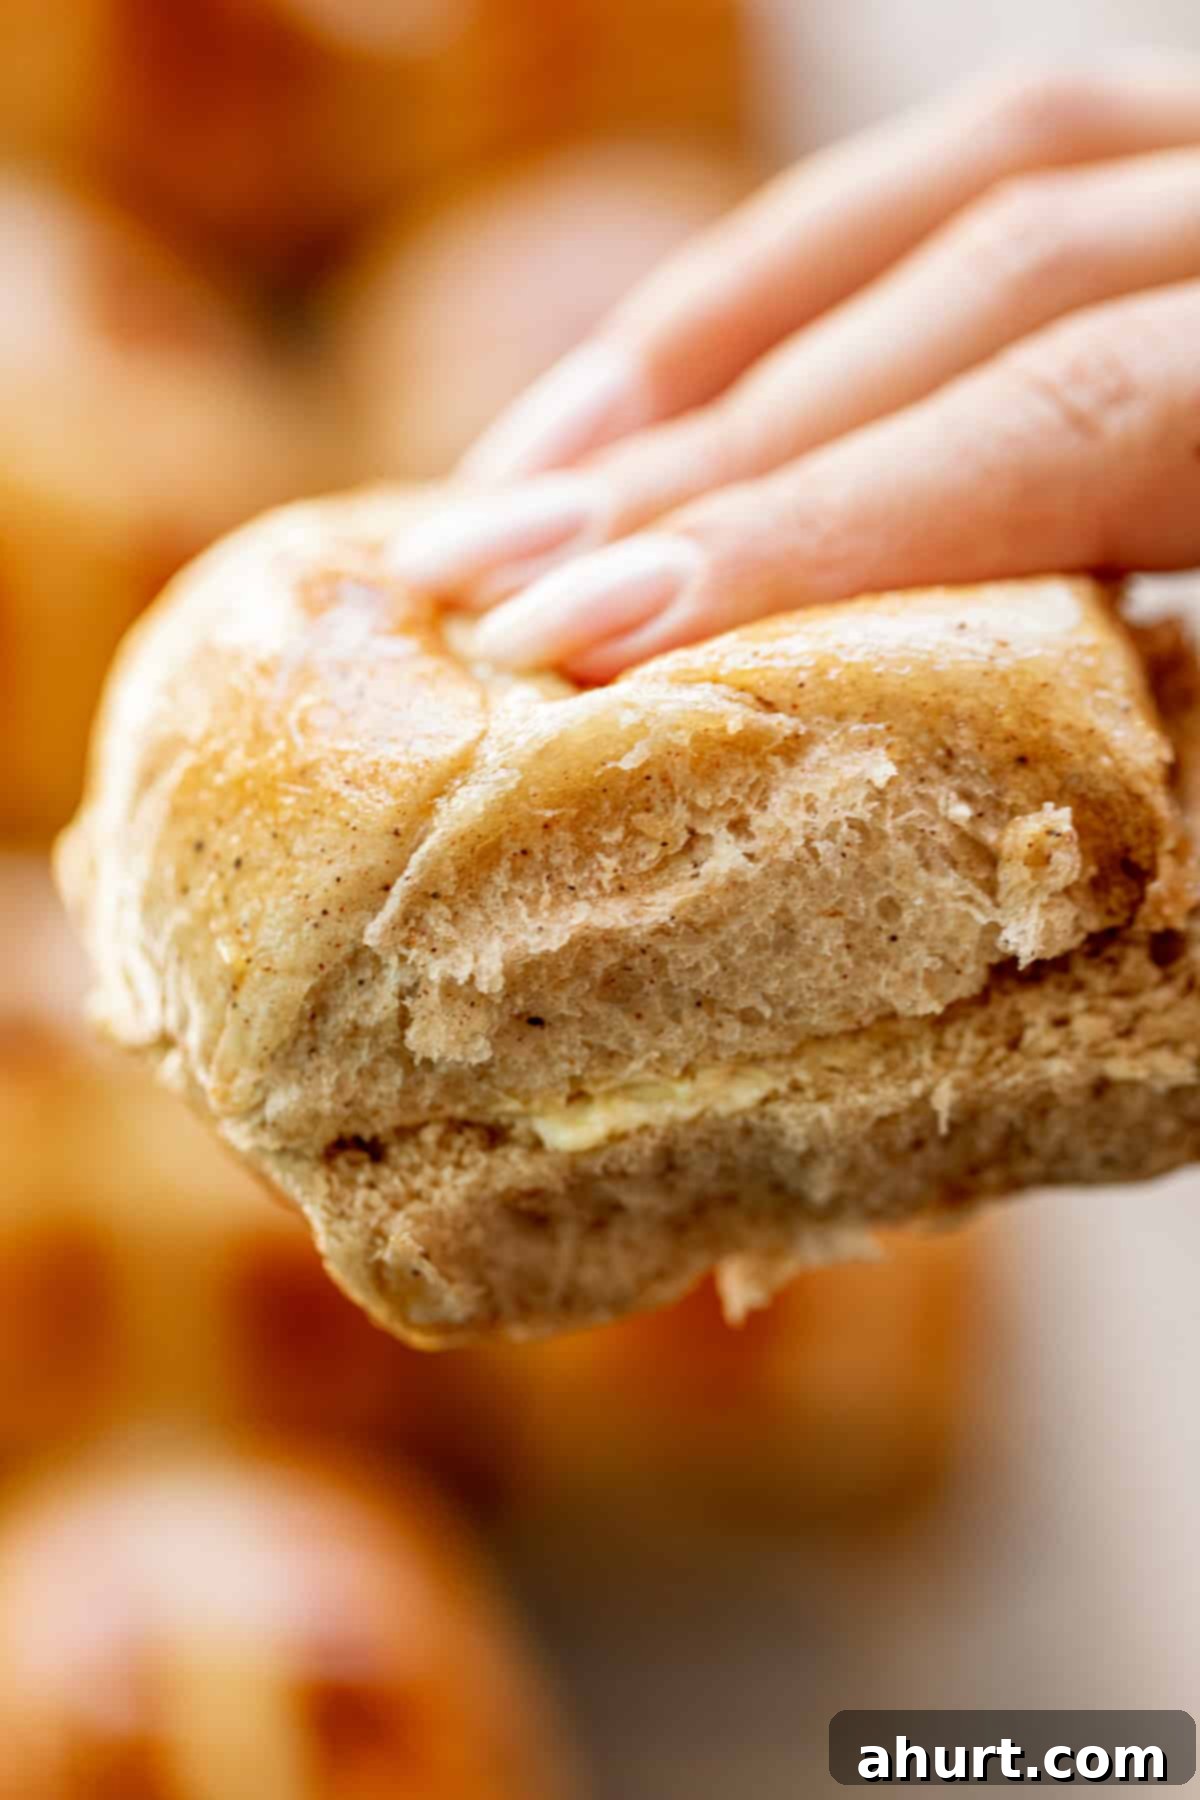
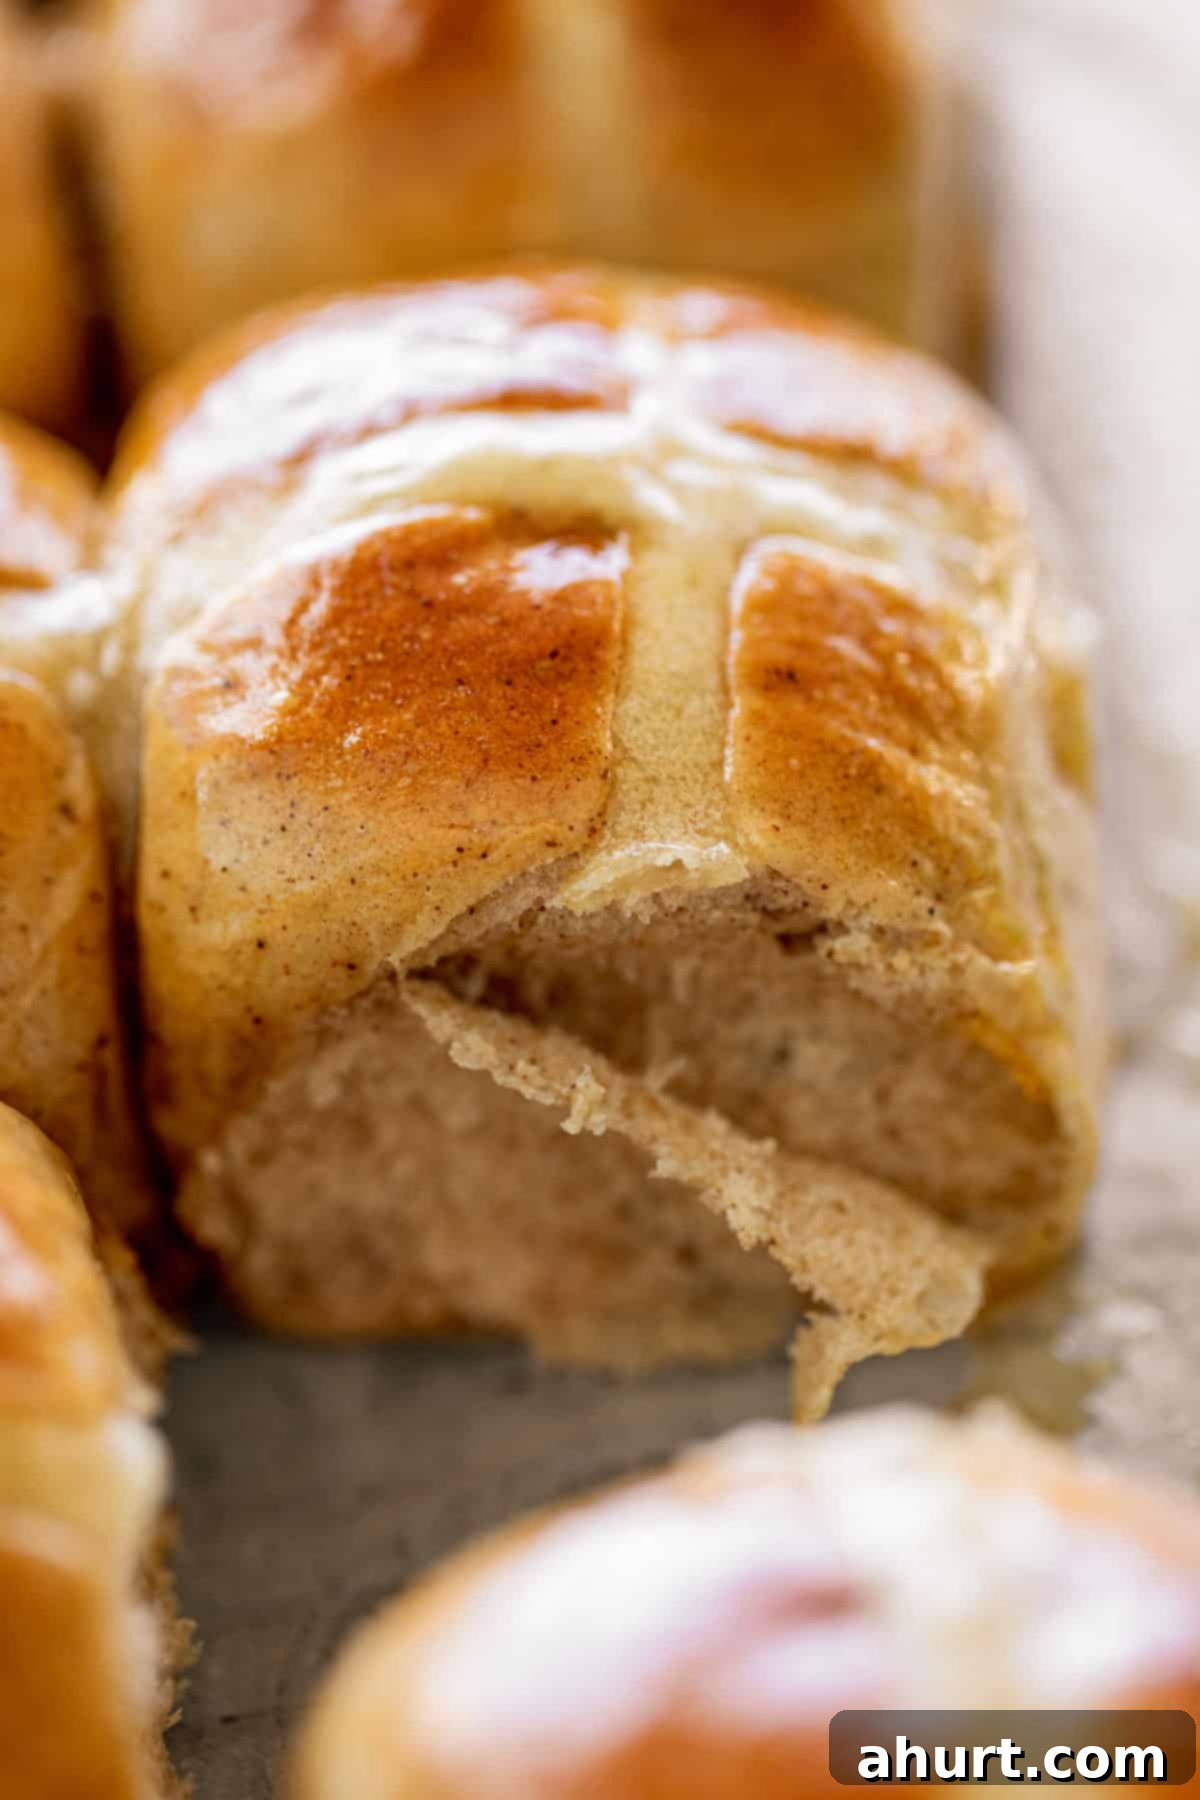
Easter has always held a special place in our hearts, and the ritual of making these delightful buns from scratch elevates the celebration. Once you experience the superior flavor and texture of homemade Hot Cross Buns, crafted with classic, high-quality ingredients, you’ll undoubtedly find it hard to go back to store-bought alternatives. The tender crumb, the perfect balance of cinnamon and allspice, and the juicy bursts of sultanas and orange zest create an unforgettable culinary experience that becomes an eagerly anticipated part of your annual festivities.

The Secret Behind Our Irresistible Hot Cross Buns Recipe
What sets these particular **Hot Cross Buns** apart? It’s a combination of a rich, tender dough and a masterful blend of warm, inviting spices. Each bun is designed to be soft, incredibly fluffy, and generously infused with the cozy essence of cinnamon and allspice. The addition of plump, juicy sultanas and vibrant orange zest provides a delightful burst of sweetness and a fragrant citrus counterpoint, ensuring a perfectly balanced flavor profile in every bite.
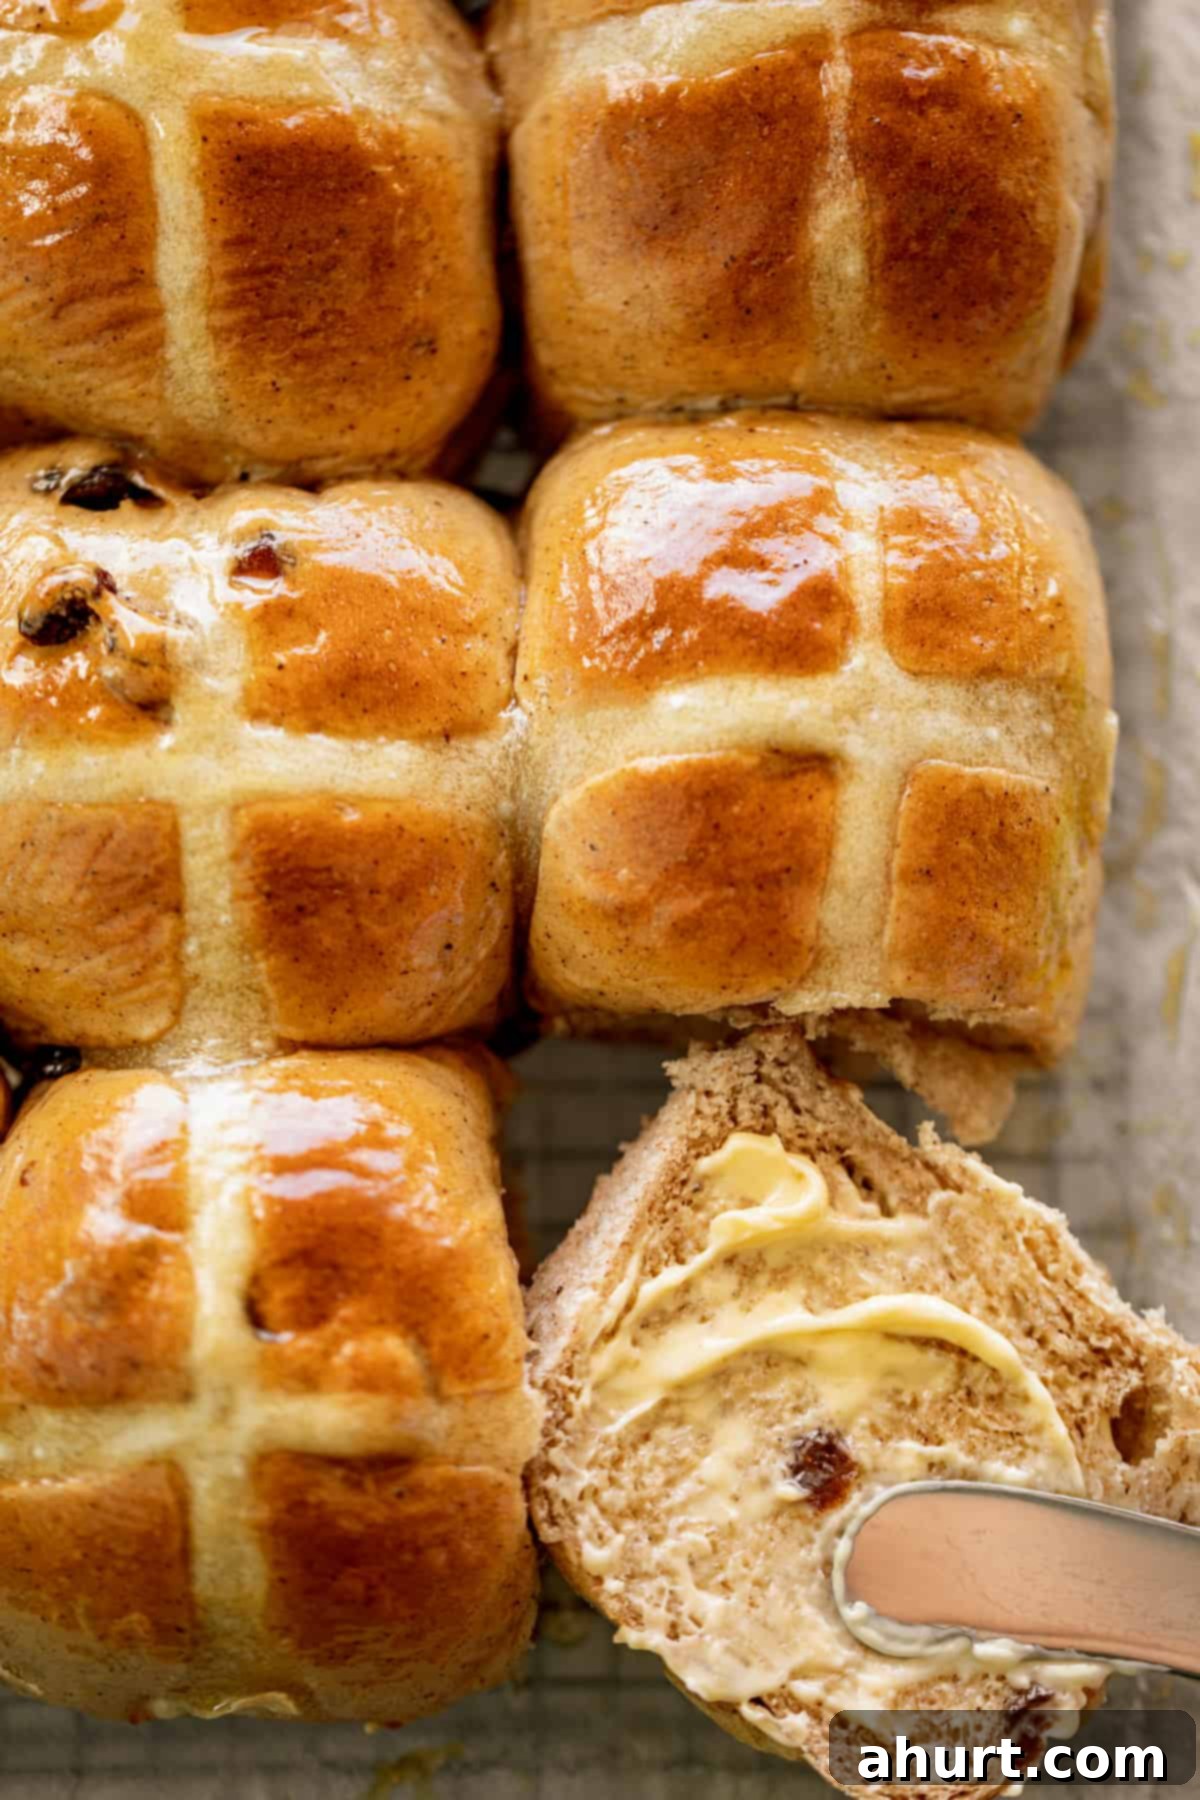
This easy-to-follow Hot Cross Buns recipe isn’t just about simplicity; it’s about achieving truly superior results that often surpass those found in professional bakeries. We focus on classic Hot Cross Buns ingredients and techniques that maximize flavor and texture. Finished with a perfectly piped traditional cross and a glossy, sweet glaze, these buns embody everything the best Hot Cross Buns should be: deeply comforting, wonderfully nostalgic, and utterly delicious. The carefully developed dough, enriched with milk and butter, yields an exceptionally tender crumb that stays fresh longer, making them ideal for sharing throughout the Easter season or whenever you crave a sweet, spiced treat.
Essential Ingredients for Perfect Hot Cross Buns
Crafting these delectable Hot Cross Buns relies on a harmonious blend of everyday pantry staples and a few special additions that truly make them shine. Each ingredient plays a vital role in achieving their signature soft texture, rich flavor, and aromatic spice. Here’s a closer look at the key components that elevate this recipe:
- Rapid Rise Yeast: This essential ingredient is the powerhouse behind the buns’ light and airy texture. It helps the dough activate quickly, ensuring a robust rise and contributing to that desirable fluffy mouthfeel. While other yeasts can be used, rapid rise offers convenience and consistent results.
- Warm Milk: More than just a liquid, warm milk serves multiple purposes. It efficiently activates the yeast, creating an optimal environment for it to thrive. Additionally, it significantly enriches the dough, contributing to a wonderfully soft and tender crumb that defines a truly exceptional Hot Cross Bun.
- Allspice and Cinnamon: These warm and aromatic spices are non-negotiable for classic Hot Cross Buns. They infuse the dough with a deep, comforting flavor and their signature fragrant aroma, instantly transporting you to a festive Easter kitchen. The balance of these two spices is crucial for achieving that authentic taste.
- Sultanas and Orange Zest: These vibrant additions provide bursts of natural sweetness and a bright, zesty counterpoint. The plump sultanas offer a chewy texture, while the finely grated orange zest introduces a refreshing citrus note that beautifully complements the warm spices, making every bite a delightful experience.
- Bread Flour: While all-purpose flour can work, bread flour with its higher protein content develops more gluten, leading to a chewier, more structured, and ultimately fluffier bun. This extra elasticity helps trap the air from the yeast, giving the buns their impressive volume.
- Butter and Egg: These ingredients contribute richness and moisture to the dough. Butter enhances the flavor and tenderness, while the egg helps bind the dough, adds protein for structure, and contributes to a beautiful golden crust. Using room temperature ingredients is key for seamless incorporation.
Note: For precise quantities and a complete list of all ingredients with exact measurements, please refer to the detailed recipe card at the bottom of this page.
How To Bake Perfect Hot Cross Buns: Step-by-Step Guide
Creating these delightful Hot Cross Buns is a rewarding experience, and with our clear instructions, you’ll find the process smooth and enjoyable. Follow these steps for consistently perfect results, from activating your yeast to applying that final glistening glaze.
- Activate the Yeast: Begin by combining your yeast with warm milk and 2 teaspoons of sugar in a small bowl. The sugar feeds the yeast, while the warm milk provides the ideal temperature for activation. Allow this mixture to sit undisturbed for 3 to 5 minutes. You’re looking for a frothy, bubbly layer to form on the surface, which indicates that your yeast is alive and ready to work its magic.
- Combine Dry Ingredients: In a spacious mixing bowl, thoroughly whisk together the flour, the remaining sugar, allspice, cinnamon, and salt. Whisking ensures these dry ingredients are well combined and aerated. Then, stir in the sultanas and orange zest. This step is crucial for distributing the fruits and zest evenly throughout the dough, preventing clumps and ensuring every bun has a delightful flavor.
- Incorporate Wet Ingredients: Create a well in the center of your dry ingredient mixture. Carefully pour in the frothy yeast mixture, along with the slightly cooled melted butter and the room temperature egg. Use a sturdy spoon or spatula to begin stirring the ingredients together. At first, it will look shaggy, but continue mixing until a cohesive, albeit rough, dough starts to form.
- Knead the Dough: This step develops the gluten, crucial for the buns’ fluffy texture. If using a stand mixer, attach the dough hook and knead on a low speed (typically setting 2) for about 5 minutes. The dough should become smooth, elastic, and pull away cleanly from the sides of the bowl. If it seems too sticky, add flour one tablespoon at a time until the desired consistency is reached. Alternatively, knead by hand on a lightly floured surface for 10 minutes, using a push-fold-turn motion until the dough is smooth and pliable.
- Check Dough Texture: To ensure optimal kneading, perform a quick check. The dough should feel soft, supple, and stretchy. When you gently pull a small piece, it should stretch without tearing easily, almost forming a thin “windowpane.” A smooth, taut surface is another indicator of well-kneaded dough, ready for its first rise.
- First Rise (Proofing): Lightly oil your mixing bowl to prevent sticking. Return the kneaded dough to the bowl, turning it once to coat lightly in oil. Cover the bowl tightly with plastic wrap, then place a clean kitchen towel over it for added warmth. Let the dough rise in a warm, draft-free place for 1 to 2 hours, or until it has noticeably doubled in size. This slow rise develops flavor and creates air pockets for a lighter bun.
- Shape the Buns: Once risen, gently punch down the dough to release the air. Transfer it to a lightly floured surface and knead briefly for another minute or two to ensure all excess air is expelled. Divide the dough into 12 equal pieces – a kitchen scale can help ensure uniform bun sizes. Roll each piece into a smooth, round ball. Arrange these dough balls in a 9×13-inch baking tray lined with parchment paper, creating a neat 3×4 pattern, ensuring they are evenly spaced.
- Second Rise: Cover the tray of shaped buns again with plastic wrap and a kitchen towel. Return them to a warm place for their final rise, which should take approximately 30 minutes. During this time, the buns will puff up significantly and should be just touching each other, indicating they are ready for baking and will develop a beautiful collective rise in the oven.
- Pipe the Crosses: While the buns are on their second rise, prepare the cross paste. Mix flour and warm water until you achieve a thick, smooth paste, similar in consistency to pancake batter. Spoon this paste into a small ziplock bag. Snip a tiny corner off the bag (about 3mm or 0.1-inch) to create a fine piping tip. Carefully pipe neat crosses over the top of each bun, ensuring the paste gently “hugs” the dough’s surface so the crosses remain intact and visible as the buns bake and expand.
- Bake and Glaze: Preheat your oven to 350°F (180°C). Bake the buns for 22–25 minutes, or until they are beautifully golden brown and sound hollow when tapped gently on the bottom. While the buns are still warm, prepare the glaze by whisking together jam (like orange marmalade or apricot) and a couple of teaspoons of boiling water until smooth. Liberally brush this shiny glaze over the baked buns. Let them cool slightly on a wire rack before tearing apart, slicing, and serving them warm, perhaps with a generous smear of fresh butter.
Hot Cross Buns are not just a festive Easter treat; their versatility makes them perfect for various occasions. They are, of course, divine enjoyed warm from the oven with a simple pat of butter, allowing their spiced sweetness to truly shine. However, they also pair beautifully with a hearty savory brunch or a comforting dinner. Consider serving them alongside Cream Cheese Scrambled Eggs for a soft and creamy contrast, or as an unexpected yet delicious accompaniment to substantial main courses like a rich Chicken Pumpkin and Ricotta Lasagna or a lighter option like Lightened Up Chicken Carbonara. Their sweet and savory balance makes them a perfect addition to any cozy gathering, rounding out the table with their comforting presence and irresistible flavor.
Hot Cross Buns Recipe: Frequently Asked Questions (FAQs)
Delving into the world of baking can bring up various questions. Here are answers to some of the most common queries about making these delicious Hot Cross Buns, designed to help you troubleshoot and achieve the best possible results.
Absolutely! This recipe is forgiving and works well with rapid rise, instant, or active dry yeast. We typically recommend using two 7g (1/4-oz) packets, which equates to about 1 1/2 tablespoons total. Even though some yeast types, particularly instant or rapid rise, technically don’t require activation, we still suggest blooming it in warm milk. This serves as a great preliminary test to ensure your yeast is active and viable, guaranteeing your dough will rise properly.
If your yeast mixture doesn’t show any signs of bubbling or foaming after the initial few minutes of activation, it means the yeast is no longer active. It’s crucial to discard this mixture and start over with a fresh packet of yeast. Using inactive yeast will prevent your dough from rising, leading to dense, heavy buns. Always ensure your yeast is fresh and properly stored for optimal results.
The ideal temperature for the milk is crucial for yeast activation. It should be warm to the touch, specifically around 110°F (45°C), but never hot. If the milk is too hot, it can kill the delicate yeast organisms, rendering them ineffective. If it’s too cold, the yeast won’t activate properly. You can gently warm the milk in a microwave in short bursts, stirring in between, and allow it to cool slightly if it becomes too hot before adding the yeast.
Yes, you can! To prepare ahead, after the first rise and shaping the buns, cover the tray tightly with plastic wrap and refrigerate overnight (up to 12-18 hours). The next morning, remove the tray from the fridge and let the buns come to room temperature and complete their second rise in a warm spot, which might take 1-2 hours, before piping crosses and baking as usual. This makes them perfect for a fresh Easter morning treat.
Once cooled, store leftover Hot Cross Buns in an airtight container at room temperature for up to 2-3 days. For longer storage, they can be frozen for up to 3 months. To serve frozen buns, thaw them at room temperature and then gently warm them in the microwave for 15-20 seconds or toast them lightly in the oven for a freshly baked taste and texture.


Pin
Hot Cross Buns
Ingredients
BUNS
- 2 packets rapid rise yeast or dry, instant (approx. 1 ½ tablespoons total)
- 1 1/2 cups milk warm, around 110°F (45°C)
- 3/4 cup superfine sugar or caster sugar, divided
- 4 1/2 cups bread flour or plain/all purpose, with up to 1/4 cup extra if needed
- 2 teaspoons allspice or mixed spice
- 1 teaspoon ground cinnamon
- 1/2 teaspoon salt
- 1 cup sultanas
- zest of an orange or 2 tablespoons mixed peel
- 1 large egg at room temperature
- 1/4 cup butter melted and cooled slightly
CROSSES
- 1/2 cup all-purpose flour plain flour
- 5 tablespoons water warm
- 1/2 teaspoon pure vanilla extract
GLAZE
- 1 tbsp jam orange marmalade or apricot jam — alternatively, use honey, maple syrup, agave, or golden syrup
- 2 teaspoons boiling water
Instructions
-
In a small bowl, combine the yeast, warm milk, and 2 teaspoons of the sugar. Stir gently and set aside for 3-5 minutes until the mixture becomes visibly frothy on top, indicating yeast activation.
-
While the yeast is activating, take a large mixing bowl. Whisk together the flour, the remaining sugar, allspice, cinnamon, and salt until well combined. Then, stir in the sultanas and orange zest, ensuring they are evenly distributed amongst the dry ingredients.
-
Create a distinct well in the center of your dry ingredients. Pour in the frothy yeast mixture, followed by the cooled melted butter and the room temperature egg.
-
For Stand Mixer Users: Attach the dough hook and mix on low speed (setting 2) for approximately 5 minutes until a smooth, elastic dough forms. If the dough appears too sticky, add extra flour, one tablespoon at a time, until the dough just begins to pull away from the sides of the bowl. Avoid adding too much flour, as this can result in dry buns.
-
For Hand Kneading: Lightly dust a clean work surface with flour. Lightly oil your hands to prevent sticking. Knead the dough vigorously for about 10 minutes, using a push-and-fold motion, until it feels soft, smooth, and elastic.
-
Dough Texture Test: Gently pull a small piece of dough outwards. It should stretch thinly without tearing easily and have a smooth, resilient surface. This indicates proper gluten development.
FIRST RISE (PROOFING)
-
Lightly grease the same mixing bowl used previously. Place the dough inside, turn it once to coat in oil, then cover tightly with plastic cling wrap. Place a dry tea towel over the plastic wrap. Allow the dough to rise in a warm, draft-free spot for 1 to 2 hours, or until it has visibly doubled in size.
SHAPE INTO BUNS
-
Line a deep 9 x 13-inch (31cm x 23cm) baking tray with parchment paper, ensuring there’s a slight overhang on the sides for easy lifting after baking. Set this aside.
-
Once the dough has risen, gently remove the cling wrap. Use your fist to punch down the dough, deflating it and releasing the air. Transfer the dough to a clean, lightly floured work surface.
-
Knead the dough for an additional minute or two to remove any remaining large air pockets. Shape the dough into a log, then divide it into 12 equal pieces (each piece should ideally weigh approximately 4-oz. or 116-119 grams for consistent bun size). Briefly roll each piece into a smooth ball. Arrange these balls evenly on the prepared tray in rows of 3 x 4, leaving a little space between them as they will expand.
SECOND RISE
-
Preheat your oven to 350°F (180°C). This allows the oven to come to temperature while the buns complete their final rise.
-
Cover the tray of shaped buns loosely with plastic wrap, then place a dry tea towel over the top. Let them rise in a warm spot for an additional 30 minutes, or until they have doubled in size and are gently touching each other.
CROSSES
-
In a small bowl, whisk together the all-purpose flour, warm water, and vanilla extract until you have a smooth, thick paste. The consistency should be similar to a thick pancake batter – not too runny, not too stiff.
-
Transfer the paste into a sandwich-sized ziplock bag. Snip a very small corner off the bag to create a tiny 3mm (0.1-inch) hole. Before piping, you can test the hole size by squeezing a little paste into a spare bowl – you should be able to create a small, consistent straight line. If necessary, you can add a tiny bit more water to the paste if it’s too stiff.
-
Carefully remove the plastic wrap from the risen buns. Slowly and steadily pipe crosses over the top of each bun. Aim to let the paste fall into and gently hug the curves and crevices of each bun. This technique helps ensure the crosses remain defined and don’t break apart as the buns bake and expand in the oven.
BAKE
-
Place the tray of buns into your preheated oven. Bake for 22-25 minutes, or until the buns are a deep, beautiful golden brown on top and cooked through.
GLAZE & SERVE
-
Once baked, carefully transfer the hot buns to a wire cooling rack.
-
In a small bowl, whisk together the jam (or honey) and boiling water until you have a smooth, shiny glaze. While the buns are still warm, liberally brush this glaze over their tops. This adds a beautiful sheen and extra touch of sweetness.
-
Allow the buns to cool on the wire rack until they are just warm to the touch before serving. This brief cooling period helps them set and intensifies their flavor.
-
Slice open your perfectly sticky and spiced hot cross bun, spread with a generous dollop of butter (optional, but highly recommended!), and savor every bite.
Chef’s Notes & Tips
This versatile recipe works beautifully with dried, instant, or rapid rise yeast. Regardless of the type, we suggest using two 7g (1/4-oz.) packets, which totals approximately 2 1/4 teaspoons each, or 1 1/2 tablespoons in total. While instant or rapid rise yeast doesn’t technically require activation, blooming it in warm milk beforehand acts as a valuable reassurance, confirming its activity and ensuring your bread will rise as expected. If your yeast doesn’t froth after a few minutes, it’s inactive; discard it and start with a fresh packet.
MILK TEMPERATURE IS KEY:
Ensure your milk is comfortably warm to the touch, ideally around 110°F or 45°C. It should never be hot, as excessive heat will kill the yeast, preventing your dough from rising. If using a microwave, warm it in 15-20 second bursts, stirring between each, and always check the temperature before adding the yeast. Any type of milk (full fat, 2%, or skim) can be used, but full fat will yield a richer bun.
FLOUR CHOICES:
For the lightest, softest Hot Cross Buns, bread flour is recommended due to its higher protein content, which creates more gluten structure. However, this recipe is adaptable, and you can certainly use plain (all-purpose) white flour if bread flour is unavailable. You may notice a slight difference in texture, but the results will still be delicious.
PERFECTING THE CROSSES:
For neat, well-defined crosses, ensure your flour paste is thick enough to hold its shape but still fluid enough to pipe smoothly. If it’s too thin, it will spread; too thick, and it will be difficult to pipe. A ziplock bag with a tiny snipped corner makes an excellent impromptu piping bag.
REVITALIZING DAY-OLD BUNS:
To bring day-old Hot Cross Buns back to their soft, fresh state, warm them in the microwave for just 15-20 seconds. Alternatively, for a slightly crisped exterior, slice them in half and toast them under your broiler for 3-4 minutes until golden. Serve immediately with butter or your favorite spread.
CUSTOMIZING YOUR BUNS:
Feel free to experiment with the dried fruit! Instead of just sultanas, you can use a mix of raisins, currants, or even chopped candied peel. For an extra citrus kick, add a tiny splash of orange juice to the dough.
Nutrition Information
Nutrition information is automatically calculated and should be used as an approximation only, as values can vary based on specific ingredients and preparation methods.
