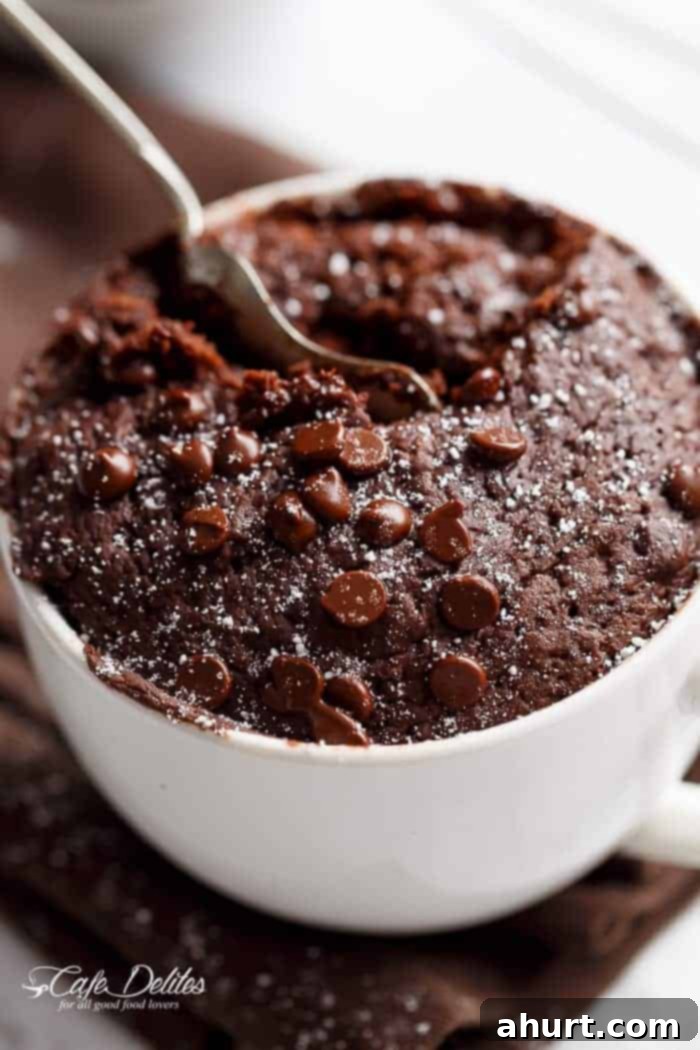
The Ultimate Low-Fat Chocolate Mug Cake: Your 1-Minute Guilt-Free Dessert Fix
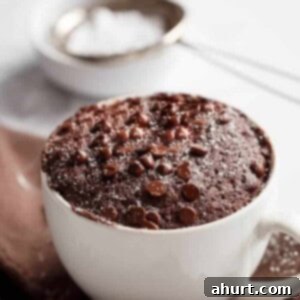
Craving something sweet and decadent but don’t want to spend hours baking or compromise your health goals? Look no further! This **Chocolate Mug Cake** is a game-changer, delivering a warm, gooey, and utterly satisfying dessert experience in less than a minute. It’s not just fast; it’s also incredibly fluffy, rich, and surprisingly guilt-free. Whether you prefer the lightning-fast speed of a microwave or the traditional touch of an oven, this versatile recipe has you covered, offering all the indulgence of a classic chocolate cake without the heavy calories or extensive prep time.
At a mere 138 calories (when made without chocolate chips) or a still-reasonable 219 calories (with a generous sprinkle of chips), this easy mug cake proves that a little treat doesn’t have to derail your day. Over the years, I’ve experimented with countless mug cake recipes, encountering everything from dry and dense to chewy and rubbery concoctions that sadly tasted more like an overcooked omelette than a delightful dessert. But this recipe is different. This chocolate mug cake recipe stands out as exceptionally moist, wonderfully light, and perfectly tender – everything a quick, satisfying, and truly delicious dessert should be. Prepare to be amazed by its rich chocolate flavor and irresistible texture, making it your new go-to for those urgent sweet cravings.
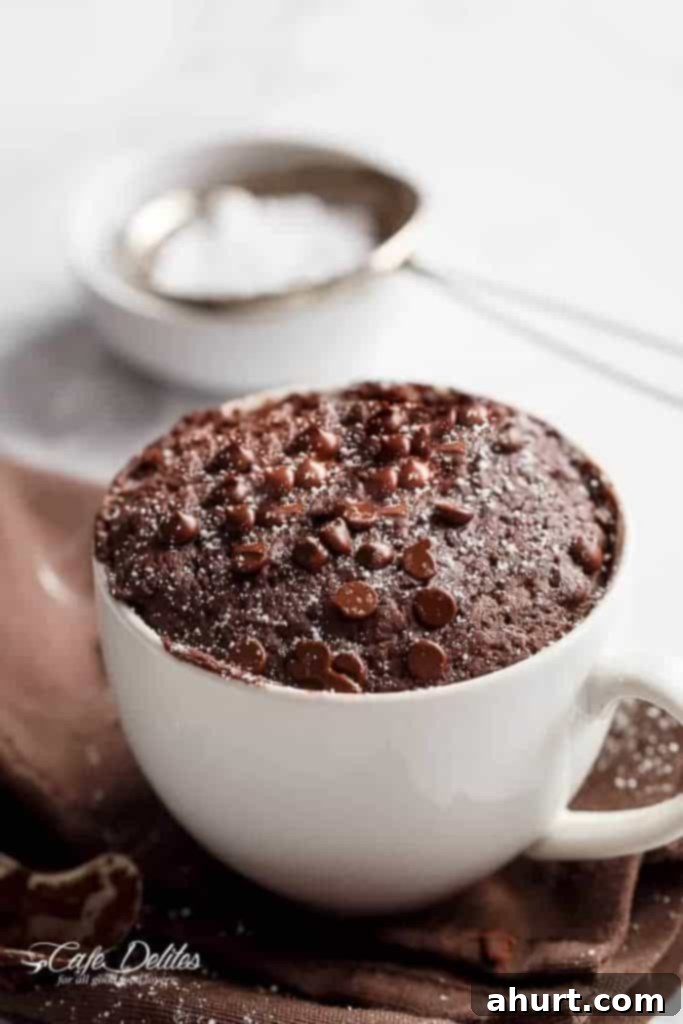
What Makes This Chocolate Mug Cake the Best?
Achieving the perfect mug cake can often feel like a culinary quest. Many recipes fall short, yielding cakes that are either too dry, disappointingly rubbery, or simply lack authentic cake flavor and texture. However, this particular **Chocolate Mug Cake** consistently turns out soft, wonderfully fluffy, and bursting with rich chocolate notes that truly satisfy. The secret lies in a meticulously balanced blend of ingredients and precise cooking instructions designed to prevent all those common pitfalls.
Unlike other recipes that might rely heavily on eggs or excessive oil, our easy mug cake uses specific ratios of self-raising flour, targeted leavening agents, and the right amount of liquid to create an incredibly tender crumb. The outcome is a genuinely indulgent dessert that feels decadent without the usual guilt or heaviness. It’s a foolproof chocolate mug cake recipe that guarantees a quick dessert that actually tastes like a high-quality, freshly baked cake, every single time you make it. We’ll dive into these crucial elements in detail to help you understand the magic behind this perfectly crafted single-serving treat, ensuring your success.
Essential Ingredients for Your Perfect Chocolate Mug Cake
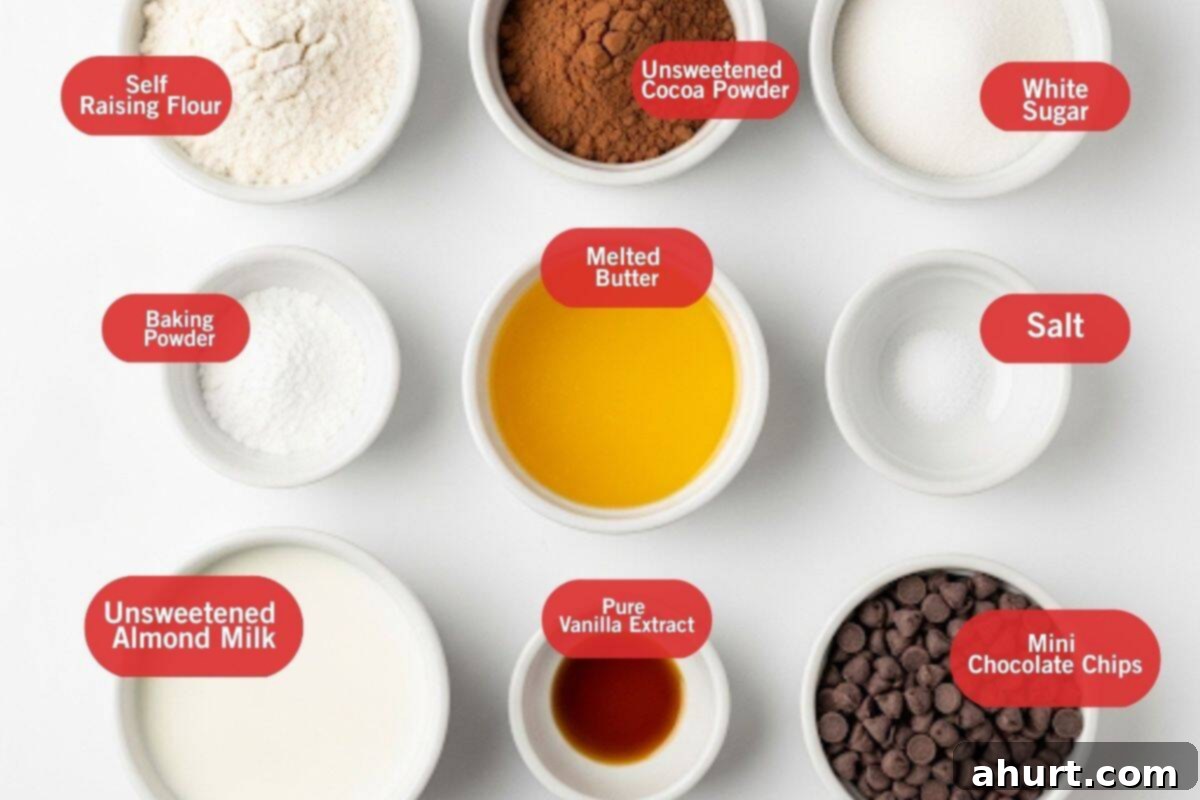
Crafting this delightful Chocolate Mug Cake requires only a handful of common pantry staples. Each ingredient plays a crucial and specific role in achieving that light, fluffy, and intensely chocolatey treat you’re craving. Understanding their individual functions will help you make minor adjustments and ensure your easy mug cake is a success every single time. Here’s a closer look at the key components that bring this recipe to life:
- Self-Raising Flour: This is the structural backbone of our cake. Self-raising flour is convenient because it already contains a pre-mixed leavening agent (baking powder) and a touch of salt. This simplifies the recipe and ensures your **chocolate mug cake recipe** rises beautifully and consistently, resulting in that coveted soft and airy texture. If you only have all-purpose flour, you can easily create your own self-raising flour by whisking in 1.5 teaspoons of baking powder and a pinch of fine salt per cup of all-purpose flour. For this single-serving recipe, that would mean a much smaller, precise fraction.
- Unsweetened Cocoa Powder: The true heart and soul of this chocolate dessert. Using unsweetened cocoa powder allows you complete control over the sweetness level of your cake and delivers a deep, robust chocolate flavor without being overly sugary. You can adjust the amount based on your preference: use 1 tablespoon for a milder, more subtle chocolate experience, or go for 2 tablespoons for an extra dark, intensely rich flavor. Opting for a good quality cocoa powder will make a noticeable difference in the final taste profile.
- Natural Granulated Sweetener (or Sugar): We primarily suggest a natural granulated sweetener to keep the calorie count low, contributing significantly to the “guilt-free” aspect of this treat. This provides the necessary sweetness without adding excessive refined sugar. However, you have the flexibility to use an equal amount of white granulated sugar, raw sugar, or even coconut sugar if that’s what you prefer or have on hand. Just remember to account for any calorie differences if you are strictly tracking your dietary intake.
- Baking Powder: Even though self-raising flour already contains a leavening agent, an additional 1/4 teaspoon of baking powder provides that extra boost of lift. This ensures your mug cake is wonderfully light and tender, actively preventing it from becoming dense or heavy. This small addition is absolutely crucial for achieving that perfect, airy, and fluffy texture.
- Pinch of Salt: A small pinch of salt acts as a powerful flavor enhancer in baking, much like it does in savory dishes. In this recipe, salt skillfully balances the sweetness, deepens and amplifies the complex chocolate flavor, and prevents the cake from tasting bland or flat. It’s a tiny but mighty ingredient that should not be skipped!
- Melted Reduced-Fat Butter or Coconut Oil: This ingredient is essential for imparting moisture and a hint of luxurious richness to the cake. Melting the butter or coconut oil ensures it disperses evenly throughout the batter, contributing significantly to a tender crumb and actively preventing the cake from becoming dry or rubbery. Using reduced-fat butter helps maintain a lower overall calorie and fat content, perfectly aligning with our healthier approach. Alternatively, coconut oil offers a subtle, pleasant tropical note and serves as an excellent dairy-free fat option.
- Unsweetened Almond Milk or Skim Milk: This forms the essential liquid component of our batter. Unsweetened almond milk is an excellent choice for a dairy-free and very low-calorie option, while skim milk also keeps the calorie count down while simultaneously maintaining a tender and moist texture. The key here is to use unsweetened varieties to meticulously control the overall sugar content. You may need to adjust the amount of milk slightly based on the quantity of cocoa powder you use – a tiny bit more milk if you opt for more cocoa powder will ensure a perfectly smooth and ideal batter consistency.
- Pure Vanilla Extract: A beloved staple in almost all dessert recipes, pure vanilla extract expertly complements and enhances the rich chocolate flavor. It adds a sophisticated layer of aromatic complexity that truly elevates the entire taste profile of the mug cake. Never underestimate the power of good vanilla!
- Mini Chocolate Chips (Optional): For an extra burst of molten chocolatey goodness and textural intrigue! Mini chocolate chips are perfectly sized for mug cakes as they melt beautifully and distribute evenly throughout the small volume of batter. You can choose between milk or dark chocolate chips based on your personal preference for sweetness and intensity. Dividing them (folding some into the batter and sprinkling the rest on top) creates a lovely visual appeal and a delightful textural contrast.
Note: For precise measurements and a convenient printable version of this delightful recipe, please scroll down to the comprehensive recipe card located at the bottom of this article.
How to Make Your Perfect Chocolate Mug Cake: A Simple Step-by-Step Guide
Creating this delicious chocolate mug cake is incredibly straightforward, making it the ideal choice for any spontaneous sweet craving. Follow these simple steps for a perfect result every time, whether you choose the lightning-fast microwave method or the slightly more traditional oven bake for a classic cake texture.
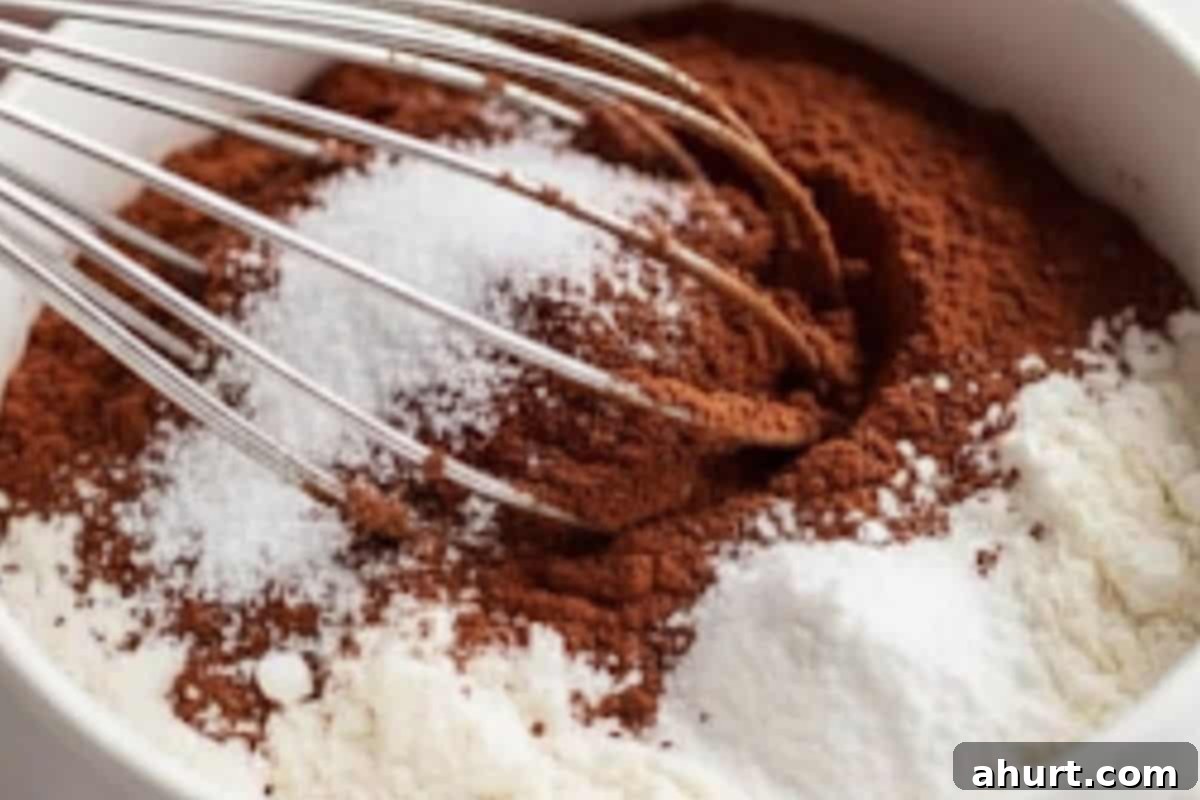
- Prep Your Mug & Dry Ingredients: Begin by lightly spraying the inside of a standard 1/2-cup capacity (or slightly larger) microwave-safe mug or ramekin with cooking oil spray. This crucial step prevents sticking and ensures your cake either slides out easily or allows for effortless cleanup if you’re eating directly from the mug. Into this prepared vessel, add all your dry ingredients: the self-raising flour, natural granulated sweetener (or your preferred sugar), unsweetened cocoa powder, the additional 1/4 teaspoon of baking powder, and a tiny pinch of salt. Using a mini whisk or a fork, thoroughly whisk these dry ingredients together until they are completely combined, and you see no visible lumps. This ensures even distribution of the leavening agents and flavor throughout the cake.
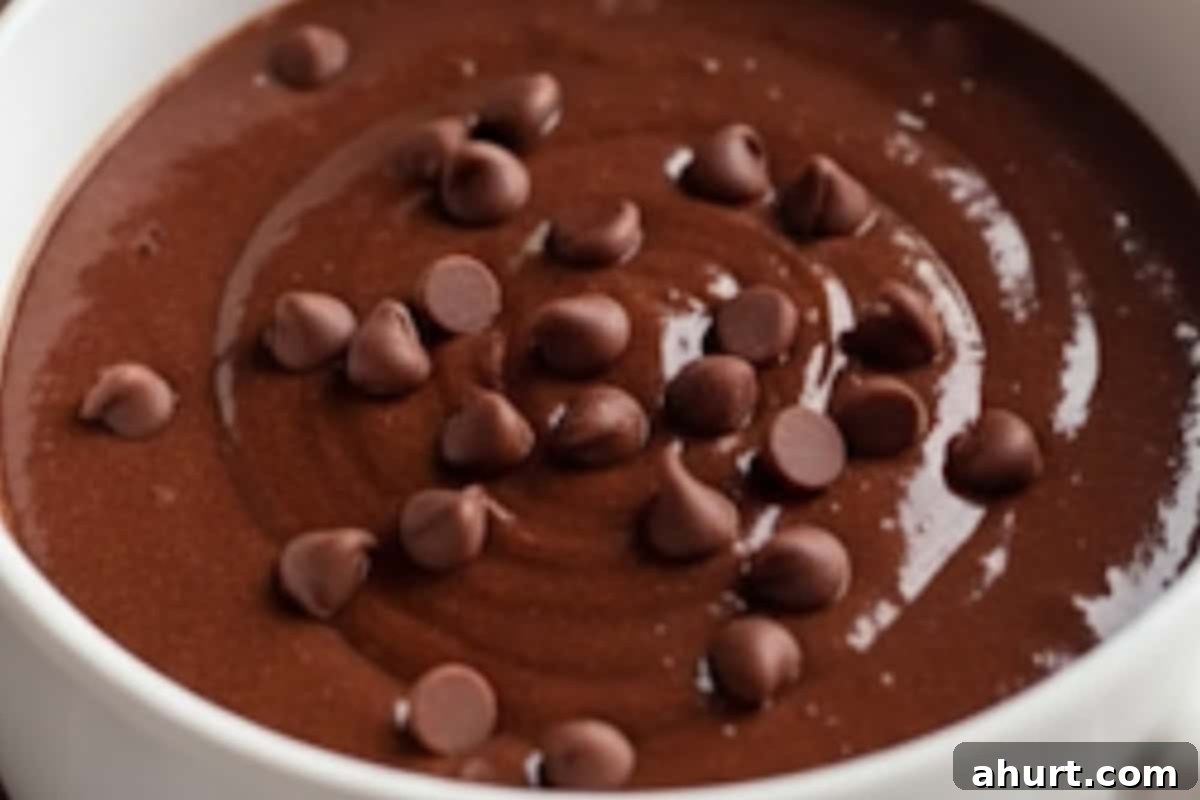
- Incorporate Wet Ingredients & Optional Chocolate Chips: Now, it’s time to introduce the wet components to your dry mixture. Pour in the melted reduced-fat butter (or coconut oil), unsweetened almond milk (or skim milk), and the pure vanilla extract. Stir gently but thoroughly with your whisk or fork until the batter becomes smooth and glossy. Be mindful not to overmix at this stage, as excessive mixing can overdevelop the gluten, leading to a tougher cake texture. If you’re using them, gently fold in about 1/2 tablespoon of mini chocolate chips into the batter. This ensures delightful pockets of melted chocolate throughout the cake. For an extra enticing appearance and a burst of chocolate on top, sprinkle the remaining chocolate chips evenly over the surface of the batter just before cooking.
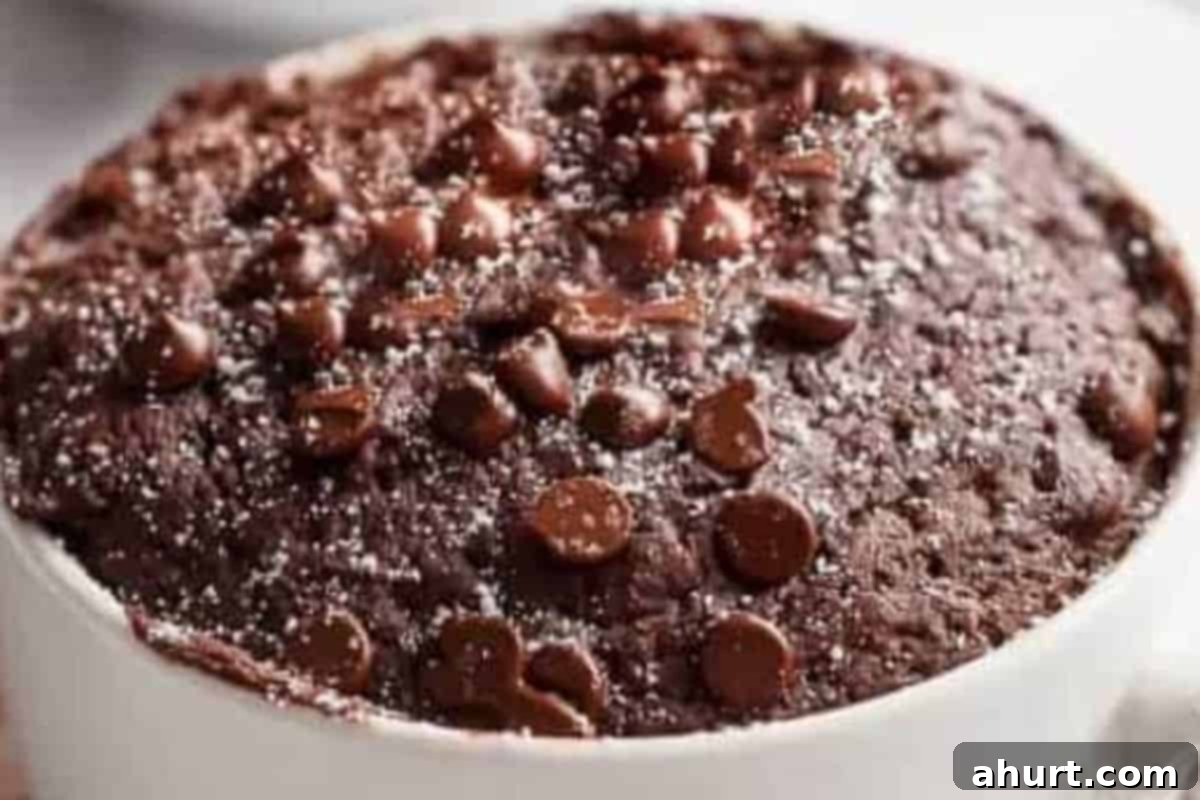
- Microwave Baking Method (The 1-Minute Wonder): This is where the magic happens in mere seconds! Place your prepared mug in the microwave and cook on the ‘High’ power setting for 40 seconds. Remember that microwave ovens can vary significantly in power and efficiency, so this is a crucial starting point. After 40 seconds, carefully open the microwave door and gently touch the top of the cake with your fingertip. If the center still feels slightly wet, soft, or jiggly, continue microwaving in short bursts of 10 seconds each, checking carefully after every burst. Continue until the top is just set and feels perfectly springy to the touch. It is absolutely vital not to overcook, as this is the primary cause of dry or rubbery mug cakes. Keep in mind that the cake will continue to cook slightly with residual heat once it’s removed from the microwave.
- Oven Baking Option for a Classic Texture: If you prefer the texture of a traditionally baked cake, or if you simply don’t have a microwave, the oven option is a fantastic alternative. Preheat your oven to 180°C (350°F). Lightly grease a 1/2-cup capacity ramekin or an oven-safe mug. Prepare the batter in the exact same way as described in steps 1 and 2, then place the ramekin in the preheated oven. Bake for approximately 15 minutes. For those who love a fudgier, gooier cake, start checking around 11-12 minutes; a toothpick inserted into the center should come out with moist crumbs attached, but without any wet batter. For a more traditional, cakey texture, continue baking until a toothpick comes out mostly clean. Rest the cake for 1 minute before serving to allow it to set and cool slightly.
Serving Suggestions for Your Delicious Chocolate Mug Cake
Your freshly made chocolate mug cake is incredibly delicious on its own, but it can also be easily elevated with a few simple additions to create a truly memorable dessert experience. For a truly luxurious touch, serve it warm with a generous scoop of good quality vanilla bean ice cream, a dollop of freshly whipped cream, or a delicate dusting of icing sugar. A few fresh berries, like vibrant raspberries or juicy strawberries, add a lovely tart contrast that perfectly complements the rich chocolate flavor. This indulgent yet low-fat treat pairs wonderfully after savory main courses such as Sweet Chilli and Sour Cream Chicken Burgers or BBQ Turkey and Greek Yogurt ‘Slaw Burgers, providing a perfect, satisfying sweet finish to balance bold and savory flavors. For a lighter meal, enjoy it after a fresh Smoked Salmon and Avocado Pizza, rounding out your meal with a quick, satisfying, and surprisingly healthy dessert that hits all the right notes.
Chocolate Mug Cake FAQs
Absolutely! This chocolate mug cake recipe is proudly and intentionally egg-free. Omitting eggs is actually a key factor in achieving its incredibly soft, moist, and tender texture. Eggs, when cooked in a microwave, can sometimes contribute to a rubbery or tough consistency, which is a common complaint with many other mug cake recipes. Our egg-free approach ensures a consistently delightful crumb every single time.
Yes, definitely! While the recipe suggests a natural granulated sweetener to keep the calorie count lower and promote a guilt-free indulgence, you can freely swap it out for an equal amount of white granulated sugar, raw sugar, or even coconut sugar if you prefer or have those on hand. The cake will still be incredibly delicious and will retain its wonderful texture. Just keep in mind that using traditional sugars will increase the overall calorie count of the dessert, so be sure to adjust your calculations if you are strictly tracking your macros or calories.
For microwave baking, the most reliable way to check for doneness is to gently touch the top of the cake with your fingertip after the initial 40 seconds. If the center still feels slightly wet, uncooked, or jiggly, carefully continue cooking in very short 10-second bursts. The cake is perfectly done when the top surface feels set and springy to the touch, with a slight give. Be extremely cautious not to overcook, as this can very quickly lead to a dry, tough cake. For the oven method, insert a toothpick into the center; it should come out with moist crumbs for a fudgier cake, or mostly clean for a more traditional cakey texture.
For optimal results, it’s best to use a standard 1/2-cup capacity microwave-safe mug or ramekin. While a slightly larger mug is acceptable, it might make the cake appear smaller and less voluminous. Ensure your chosen mug is not too narrow at the bottom, as this can affect how evenly the cake cooks. Always remember to lightly grease the inside of your mug with cooking oil spray before adding the batter; this prevents sticking and ensures a clean release or easy enjoyment.
Mug cakes are truly at their peak when enjoyed immediately after cooking. Preparing the batter significantly ahead of time is generally not recommended. The leavening agents (baking powder) in the flour will begin to activate as soon as they come into contact with wet ingredients, and their effectiveness diminishes over time. This could result in a dense, flat, or less fluffy cake. The inherent beauty of this recipe lies in its incredible speed – it’s designed for instant gratification, so it’s always best to mix and cook right away!
Absolutely! This chocolate mug cake recipe provides a fantastic, versatile base for all sorts of delicious customizations. You can easily enhance the chocolate flavor by adding a tiny pinch of cinnamon, a small amount of instant coffee granules (or espresso powder), or even a dash of chili powder for a Mexican hot chocolate twist. For different textures or flavors, consider folding in chopped nuts (like walnuts or pecans), dried cranberries, a swirl of peanut butter (for a molten center), or a few drops of peppermint extract to create a festive, mint-chocolate treat. The possibilities are truly endless!
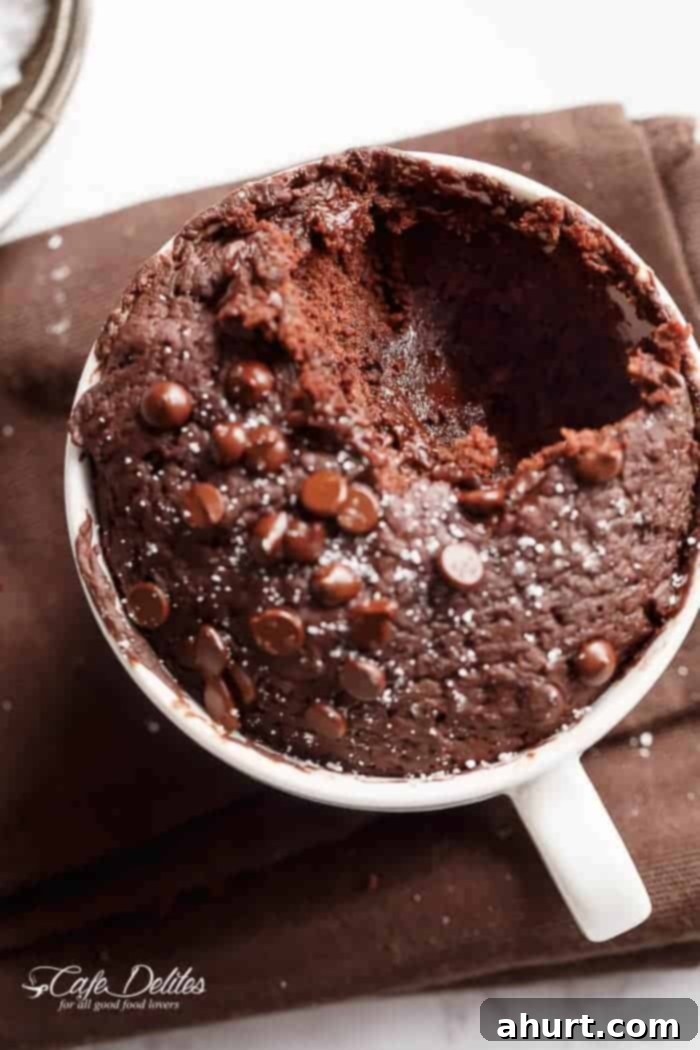
Save
Saved
Pin
Low Fat Chocolate Mug Cake
Ingredients
- 2 tablespoons self-raising flour
- 1 tablespoon natural granulated sweetener (or white, raw, or coconut sugar; adjust calories if counting)
- 2 teaspoons unsweetened cocoa powder (for a mild chocolate cake OR 1 tablespoon for a darker; use level measurements)
- 1/4 teaspoon baking powder
- 1 pinch salt
- 1 teaspoon reduced-fat butter (melted, or coconut oil)
- 2 tablespoons unsweetened almond milk (or skim milk. Use 2 1/2 tablespoons of milk if using 1 tablespoon cocoa powder for a darker cake)
- 1/8 teaspoon pure vanilla extract
- 3/4 tablespoon mini chocolate chips (milk or dark, divided – optional. See notes for more details)
Instructions
-
1. Prepare Your Mug & Dry Mix: Lightly spray a 1/2-cup capacity microwave-safe mug or ramekin with cooking oil spray. In the mug, add the self-raising flour, sweetener (or sugar), cocoa powder, baking powder, and a pinch of salt. Whisk vigorously with a fork until all dry ingredients are thoroughly combined and no lumps remain.
-
2. Add Wet Ingredients & Chips: Pour in the melted reduced-fat butter (or coconut oil), unsweetened almond milk (or skim milk), and pure vanilla extract. Stir until the batter is smooth and glossy. For an optional touch of extra indulgence, gently fold in 1/2 tablespoon of mini chocolate chips. Sprinkle the remaining chocolate chips evenly over the top of the batter.
Minute Microwave Method:
-
3. Microwave & Check Doneness: Place the mug in your microwave. Cook on the ‘High’ power setting for 40 seconds. Microwave power varies, so after 40 seconds, open the door and gently touch the top of the cake with your fingertip. If the center still feels slightly wet, soft, or jiggly, continue cooking in 10-second bursts until it is just set and springy. Avoid overcooking, as the cake will continue to cook slightly from residual heat once removed.
Oven Baked Version:
-
4. Preheat & Bake: Preheat your oven to 180°C (350°F). Ensure a 1/2-cup capacity ramekin is sprayed with cooking oil spray. Prepare the batter as instructed above (Steps 1 & 2). Bake in the preheated oven for approximately 15 minutes, or until a toothpick inserted into the center comes out mostly clean. For a more decadent, fudgier cake, you can check it after 11-12 minutes; the toothpick should come out with some moist crumbs attached, but no wet batter.
-
5. Serve & Enjoy: Allow the cake to rest in the mug/ramekin for 1 minute before serving. Enjoy it plain for a simple pleasure, or elevate it with your favorite toppings like fresh fruit, a dusting of icing sugar, a scoop of ice cream, or a dollop of whipped cream! Personally, I find this low-fat chocolate mug cake incredibly satisfying on its own.
Notes
Nutrition Information
Calories: 141kcal |
Carbohydrates: 35g |
Protein: 3g |
Fat: 6g |
Saturated Fat: 3g |
Polyunsaturated Fat: 1g |
Monounsaturated Fat: 1g |
Trans Fat: 0.1g |
Cholesterol: 2mg |
Sodium: 233mg |
Potassium: 48mg |
Fiber: 1g |
Sugar: 7g |
Vitamin A: 387IU |
Vitamin C: 0.1mg |
Calcium: 113mg |
Iron: 1mg
Nutrition information is automatically calculated by third-party tools and is provided as an approximation only. Actual values may vary based on specific brands, ingredient choices, and preparation methods.
Why Choose a Chocolate Mug Cake? The Ultimate Easy Dessert Solution!
In our increasingly busy lives, finding the time and energy for elaborate baking projects can often feel like an unattainable luxury. This is precisely where the sheer brilliance and undeniable appeal of the chocolate mug cake truly shines. It’s more than just a quick fix; it’s a remarkably intelligent and satisfying choice for several compelling reasons that cater to modern lifestyles:
- Unbeatable Speed and Instant Gratification: As the name unequivocally suggests, this incredible cake is ready to devour in under a minute when prepared in the microwave. This makes it the absolute perfect solution for those sudden, intense dessert cravings, a delightful late-night treat, or a quick, well-deserved reward after a particularly long and taxing day. There’s no need for lengthy oven preheating, no waiting for cakes to cool on racks – just pure, unadulterated, and almost instant gratification.
- Effortless Portion Control: The very nature of a single-serving dessert means there are no leftover slices of cake sitting on the counter, temptingly calling your name. This is ideal for individual enjoyment and inherently helps manage calorie intake, aligning perfectly with a balanced and mindful eating lifestyle. It’s built-in portion control at its best.
- Minimal Cleanup: One of the greatest advantages is that all the magic happens in just one mug! This dramatically reduces the number of dishes you’ll have to wash, saving you valuable time and effort in the kitchen. It’s a true win-win situation for any home baker or dessert enthusiast who dreads the cleanup process.
- Freshness Every Single Time: Instead of baking a large, multi-serving cake that might eventually go stale over a few days, you can relish a fresh, warm, and perfectly moist cake whenever the mood strikes. Each and every batch is made on demand, guaranteeing peak flavor, optimal texture, and that comforting warmth that only a freshly baked item can provide.
- Infinitely Customizable for Every Craving: While this foundational recipe is absolutely fantastic on its own, its inherent simplicity makes it an excellent, versatile canvas for endless customization. You can effortlessly add chopped nuts, different varieties of chocolate (white, dark, milk), a luscious swirl of caramel, a dollop of fruit preserves, or even a subtle hint of mint or coffee to perfectly match your current culinary desire or mood.
- Low-Fat and Guilt-Free Indulgence: Our recipe specifically focuses on intelligently reducing both the fat and calorie content without making any sacrifices on taste or delightful texture. You get to enjoy all the rich chocolate flavor, the comforting warmth, and the satisfying chew of a traditional cake, but with a significantly lighter profile that integrates seamlessly into healthier eating plans and mindful indulgence.
Ultimately, opting for this easy chocolate mug cake isn’t just about sheer convenience; it’s about confidently enjoying a delicious, wholesome, and perfectly portioned treat that fits effortlessly and seamlessly into your busy lifestyle without any fuss or unnecessary complications.
Top Tips for Baking the Perfect Chocolate Mug Cake Every Time
While this chocolate mug cake recipe is incredibly forgiving and designed for ease, a few simple tips and tricks can elevate your creation from merely good to absolutely perfect and consistently delicious. Master these pointers to ensure fluffy, moist results every single time:
- Avoid Overmixing the Batter: Once you’ve added the wet ingredients to the dry, mix just until everything is combined and a smooth batter forms. Overmixing is the enemy of tender cakes, as it overdevelops the gluten in the flour, which can unfortunately lead to a tough, dense, or rubbery cake. A few small lumps in the batter are perfectly normal and acceptable – resist the urge to keep stirring!
- Select the Right Mug: The choice of your mug or ramekin matters more than you might think. A standard 1/2-cup capacity, microwave-safe ceramic mug or ramekin is absolutely ideal. Ensure it has enough empty space at the top for the cake to rise without overflowing during cooking. Ceramic mugs tend to conduct heat more evenly than glass or plastic, contributing to better and more consistent cooking.
- Always Grease Your Mug Thoroughly: Even if you plan to eat your delectable creation directly from the mug (which is perfectly fine!), a light but thorough spray of cooking oil or a quick swipe with butter prevents the cake from sticking. This makes either removal a breeze or cleanup significantly easier afterward.
- Understand Your Microwave’s Power: Microwave ovens vary significantly in wattage and power output. The recommended 40 seconds is a starting point. Always begin with this time, then adjust in small 10-second increments. It is always, always better to undercook slightly and add more time than to overcook and sadly end up with a dry, rubbery cake. The center should feel just set and delightfully springy to the touch.
- Allow for a Brief Resting Period: After removing your hot mug cake from the microwave or oven, let it rest for a short period, typically 30 seconds to a minute. This crucial resting time allows the cake to finish setting and firm up slightly with residual heat, preventing it from collapsing and making it much easier to handle and enjoy.
- The Quality of Ingredients Matters: Even for a quick and simple dessert, using good quality unsweetened cocoa powder and pure vanilla extract will significantly enhance and deepen the overall flavor profile of your chocolate mug cake. High-quality ingredients truly make a difference in the final taste.
- Room Temperature Ingredients (Recommended for Consistency): While not strictly necessary for such a rapid recipe, if your milk and butter are closer to room temperature, they will incorporate more smoothly and evenly into the batter. This leads to a more consistent and superior cake texture, yielding a more uniform and pleasant result.
By diligently keeping these simple yet effective tips in mind, you’ll be consistently turning out perfectly moist, beautifully fluffy, and utterly delicious chocolate mug cakes that are guaranteed to satisfy any sweet craving with impressive ease and regularity.
Storage and Reheating Tips for Your Chocolate Mug Cake
While this chocolate mug cake is truly best enjoyed fresh and warm, directly from the microwave or oven, sometimes you might have a tiny sliver left (though it’s rare with a single-serving treat!) or wish to prepare it slightly ahead of time for a quick indulgence within the same day. Here are some practical tips for storing and reheating:
- Storage Guidelines: If, by some miracle, you have any leftovers after enjoying your mug cake, it’s best to cover the mug tightly with plastic wrap or carefully transfer the cake to a small, airtight container. You can store it at room temperature for up to 1 day. For slightly longer preservation, you can refrigerate it for up to 2-3 days. Please note that the texture will naturally change upon cooling and refrigeration; it will become denser and slightly firmer compared to its freshly baked state.
- Reheating for Optimal Enjoyment: To rewarm your delightful mug cake, first remove any heat-sensitive toppings such as ice cream, whipped cream, or fresh fruit. Place the cake (still in its mug or ramekin if stored there) back in the microwave for a very short duration, typically 10-15 seconds. Be extremely careful not to overheat it, as this is the quickest way to dry it out and ruin its tender texture. The goal is simply to warm it through gently to restore some of its original softness and comforting warmth.
- Freezing is Generally Not Recommended: Freezing is typically not advised for mug cakes. Due to their small size and delicate, moist texture, they generally do not hold up well to the freezing and thawing process. Freezing often results in a dry, crumbly, and unappetizing consistency upon thawing. Given how incredibly quickly this recipe comes together, it is always a far superior experience to simply make a fresh batch whenever the craving strikes!
Always remember, the primary allure and magic of the chocolate mug cake lie in its instant gratification and fresh, warm perfection. For the absolute ultimate experience, always aim to bake and enjoy it immediately!
Final Thoughts on Your New Favorite Low-Fat Chocolate Mug Cake
This low-fat chocolate mug cake recipe truly delivers on its promise: a quick, incredibly easy, and profoundly satisfying dessert that demands minimal effort and leaves you feeling perfectly indulged, not guilty. We have thoughtfully tackled the common pitfalls of dry and rubbery mug cakes, meticulously crafting this recipe to ensure that every single spoonful is moist, wonderfully fluffy, and bursting with rich, authentic chocolate flavor. From its simple, accessible pantry ingredients to its lightning-fast cooking time, this recipe is perfectly designed for the demands and desires of modern life, offering an ideal, portion-controlled treat whenever a sweet craving inevitably strikes.
Whether you consider yourself a seasoned baking enthusiast or a complete novice in the kitchen, the foolproof steps and detailed tips provided within this guide will expertly lead you to a perfect result every time. Embrace the unparalleled convenience, savor the undeniably delicious taste, and allow this **Chocolate Mug Cake** to become an indispensable staple in your dessert repertoire. It stands as the ultimate answer to quick, delightfully healthy, and utterly satisfying chocolate indulgence. Enjoy every single, perfect bite!
