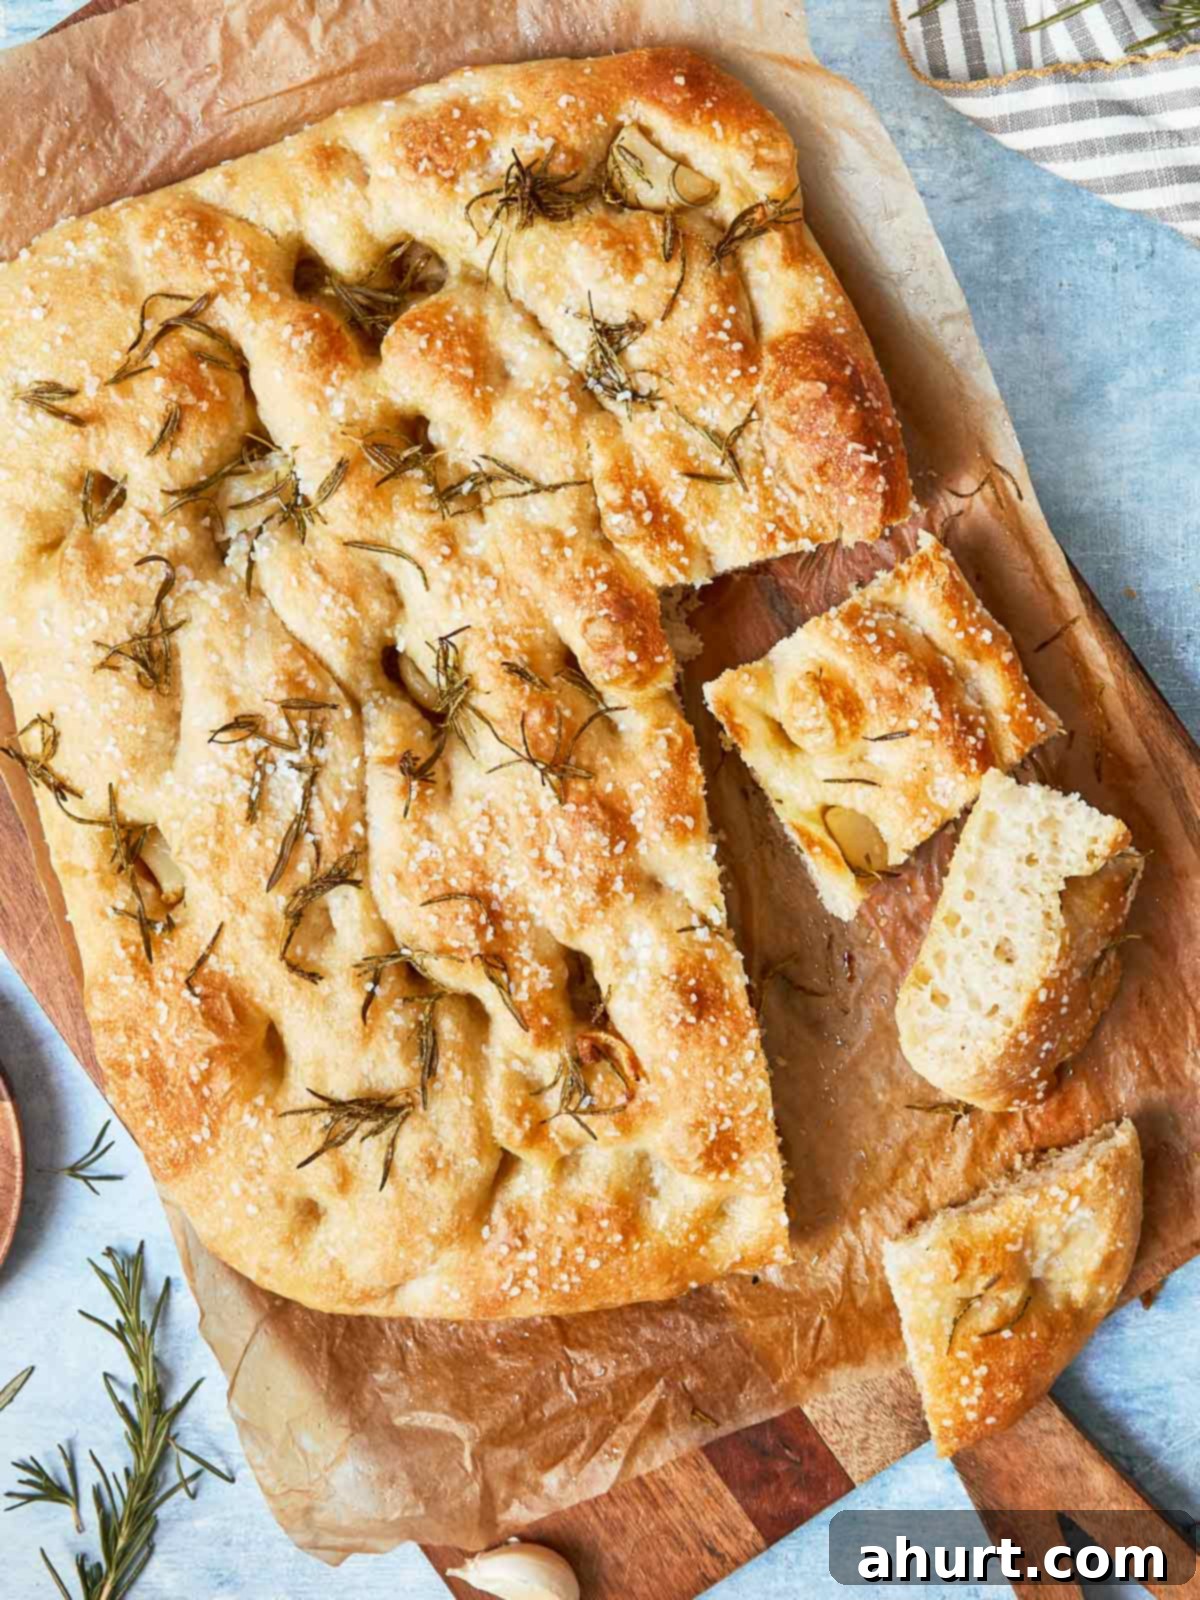
The Best Homemade Focaccia Recipe: Soft, Fluffy & Irresistible Italian Bread
Imagine a golden, wonderfully fluffy bread, with just the right touch of salty goodness and an aroma that fills your kitchen with pure joy. That’s exactly what you get with this incredible homemade Focaccia. This isn’t just any bread; it’s an experience—a testament to Italian culinary simplicity and flavor.
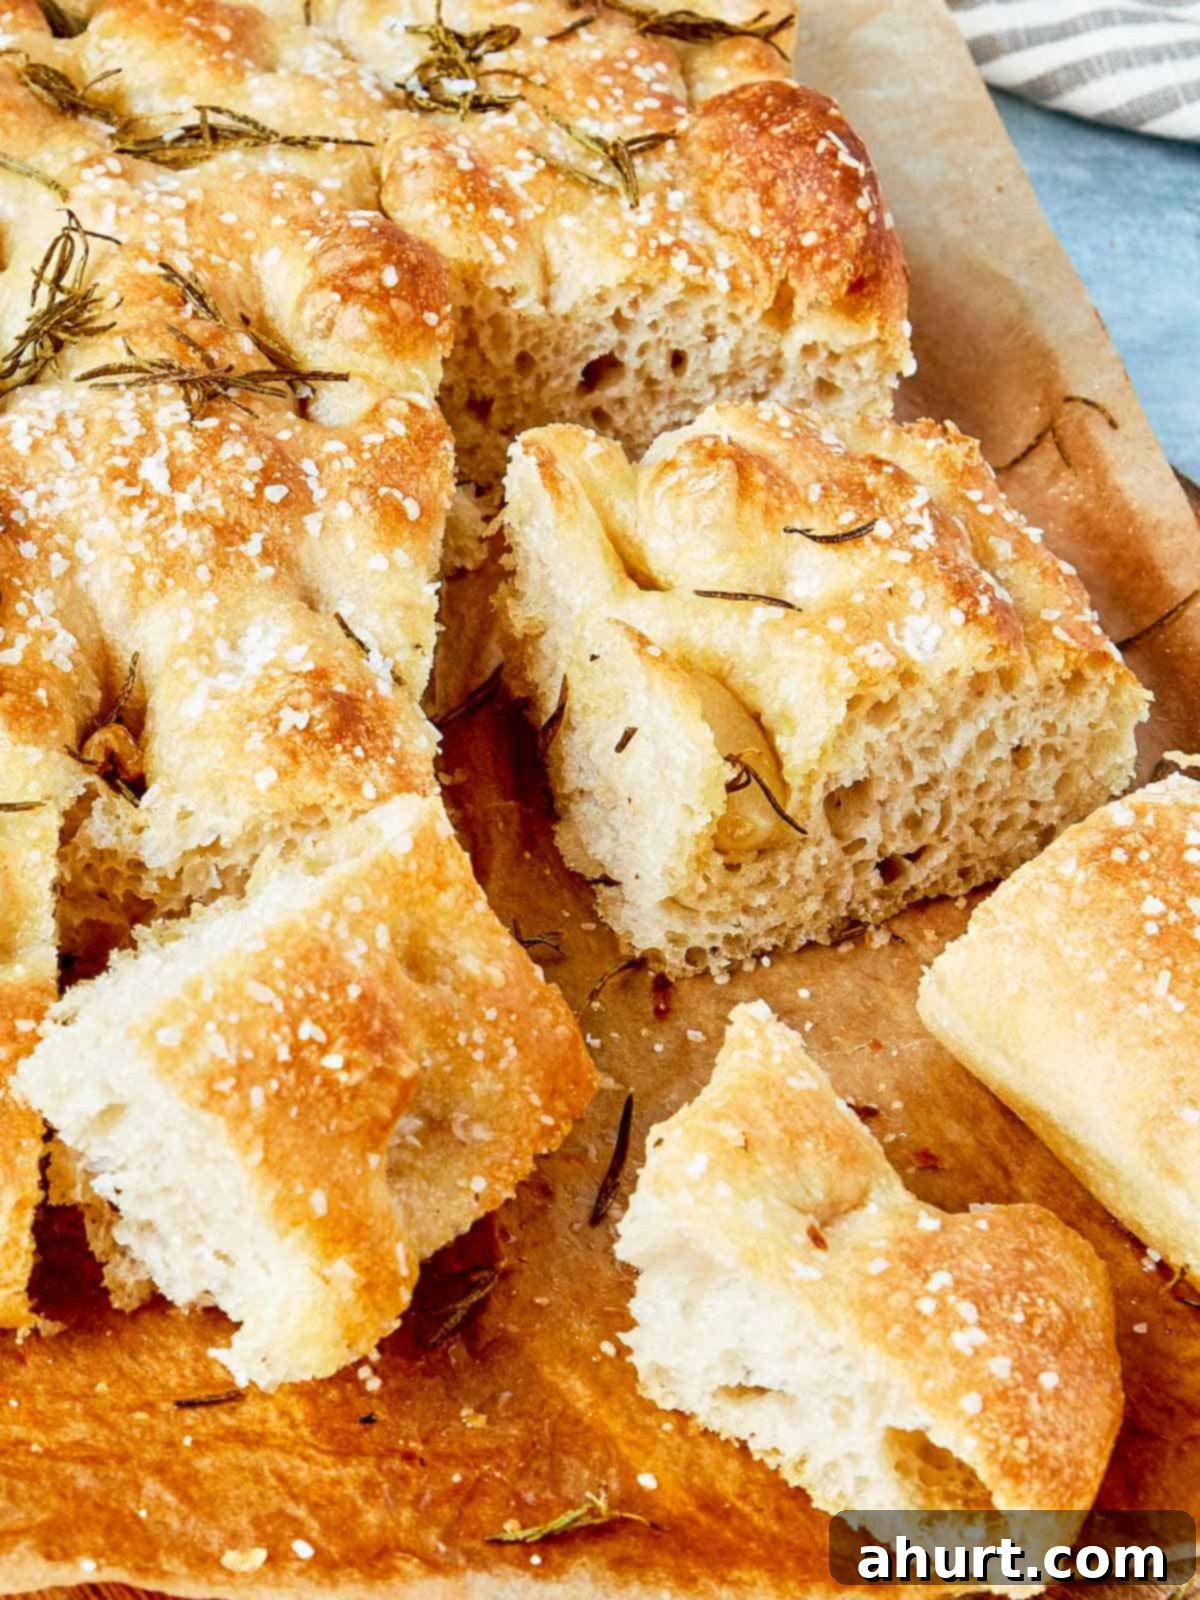
Our focaccia boasts a pillowy soft center, irresistibly crisp, golden-brown edges, and a decadent soak in fragrant rosemary-garlic olive oil. It’s the kind of bread that knows it’s a star, designed to perfectly complement rich sauces, especially something sweet and sticky like our Honey Lemon Garlic Chicken, or to simply be savored on its own.
Forget the complexities of sourdough starters or the need for fancy baking tools. This recipe relies on your hands, a little patience, and the magic of simple ingredients to create the most addictive Italian focaccia you’ll ever bake. It’s an approachable journey into the heart of authentic Italian baking, yielding results that are truly irresistible.
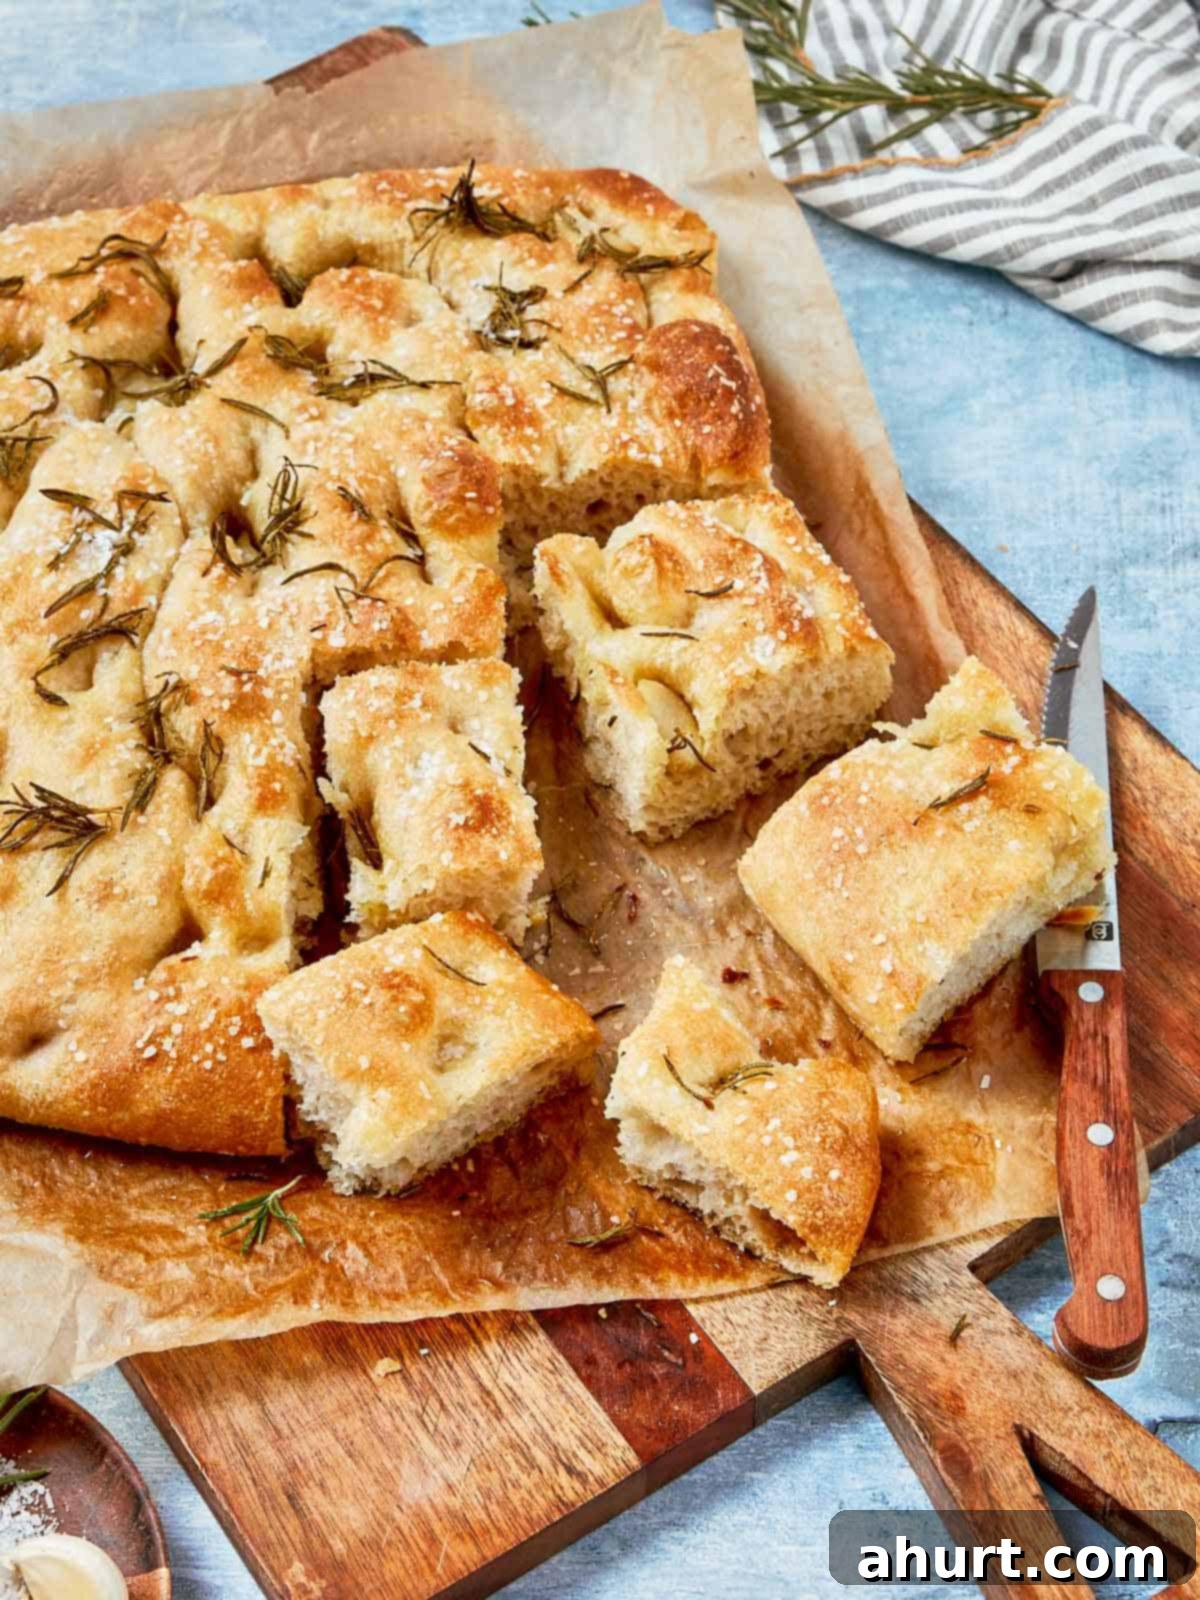
Soft, Golden, and Hard to Resist: The Allure of Perfect Focaccia
What truly elevates this focaccia from merely good to absolutely unforgettable? It’s not just bread—it’s a soft, flavorful Italian delight that generously rewards your patience and attention. The magic lies in the subtle art of time and technique, transforming simple ingredients into a culinary masterpiece.
The secret to its signature airy, bubbly texture that we crave comes from extended resting periods. Unlike conventional bread that demands vigorous kneading, focaccia thrives on gentle handling and slow fermentation. This allows the gluten to relax and develop naturally, creating those beautiful, irregular air pockets characteristic of a truly authentic focaccia. Meanwhile, a generous amount of high-quality olive oil, both in the dough and as a topping, works wonders. It ensures the dough remains moist and tender inside, while contributing to those coveted crisp edges and creating delightful pockets of flavor on the surface.
This is a no-starter, no-stress recipe that delivers pure Homemade Focaccia magic. The aroma alone, especially once the garlic-rosemary oil begins to simmer and infuse, is enough to get anyone salivating. That aromatic oil truly does most of the “flirting” for you, drawing everyone to the kitchen with its intoxicating scent, promising a taste experience that is as rich as it is comforting.
Her Secret Weapons: Key Ingredients for Exquisite Focaccia
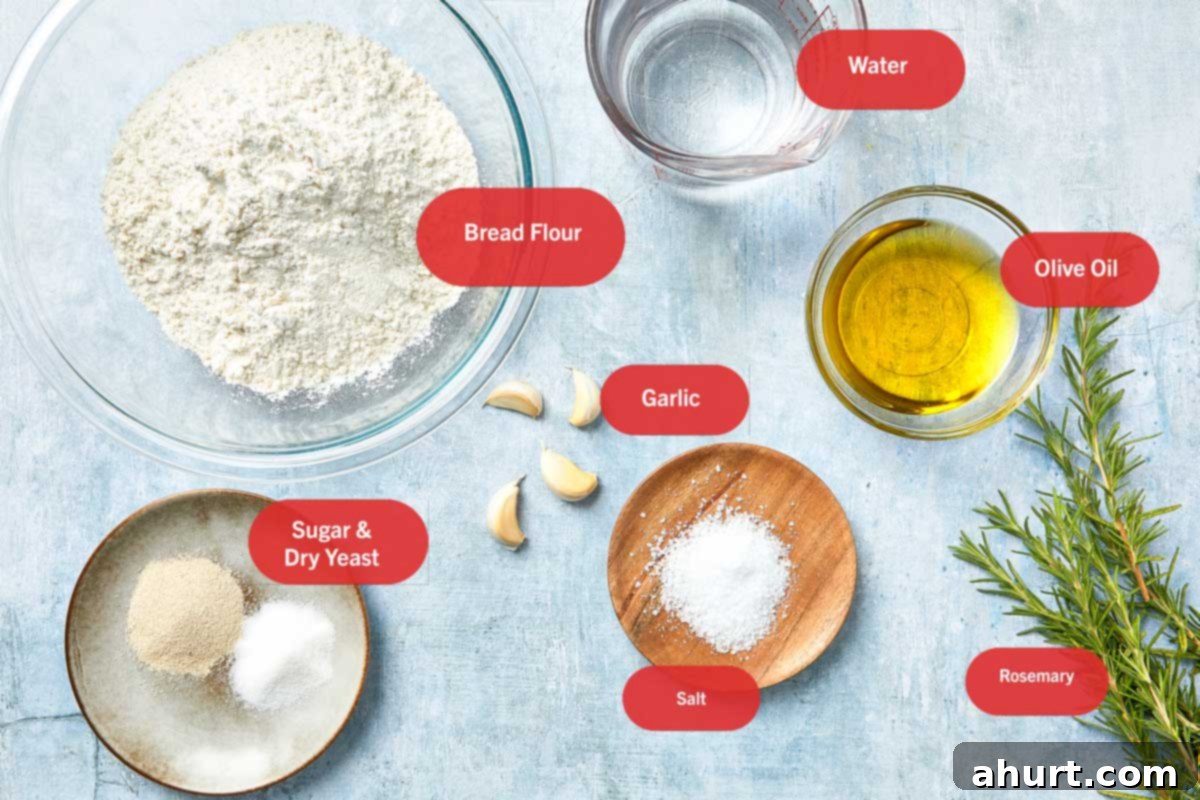
So, what exactly makes this focaccia glow with such incredible flavor and texture? It doesn’t demand a complex shopping list—just a few pantry-friendly ingredients and a dash of genuine affection. Each component plays a crucial role in giving this Focaccia its signature charm and irresistible character:
- Flour: The fundamental building block of our bread. You have a choice here: opt for bread flour for a chewier, more structured crumb, or use all-purpose flour for a delightfully softer and more tender result. Both will yield delicious focaccia, but bread flour will offer a slightly more robust texture.
- Warm Water: The gentle awakening for your yeast. Think of it as a warm, comforting bath—ideally between 105-115°F (40-46°C)—not a scalding hot storm. Water that’s too hot will kill the yeast, and water that’s too cold won’t activate it properly, leading to a flat focaccia.
- Active Dry Yeast: The magical leavening agent responsible for all those beautiful bubbles, the impressive rise, and the airy structure we adore in focaccia. Ensuring your yeast is active is the first step to success.
- Olive Oil: The true secret to focaccia’s golden glow and luxurious texture, both inside and out. It tenderizes the dough, contributes to a rich, golden crust, and carries the flavors of rosemary and garlic beautifully. Use a good quality extra virgin olive oil for the best taste.
- Garlic: Fragrant, subtly spicy, and wonderfully mellow once it infuses into the warm olive oil. A little goes a long way to create that classic Italian aromatic profile.
- Coarse Salt (such as sea salt or flaky salt): A generous sprinkle on top of the focaccia before baking isn’t just for flavor. It adds a delightful textural contrast, creating tiny bursts of salinity that awaken the palate and provide that final, sparkling touch.
- Granulated Sugar: A small amount is added to the yeast and water mixture. This acts as food for the yeast, helping to activate it and ensuring a vigorous rise. It’s not for sweetness, but for functionality.
- Fresh Rosemary (Optional): While the garlic-infused oil is fantastic on its own, fresh rosemary adds an iconic herbaceous aroma and flavor that screams “Italian bakery.” Its piney notes beautifully complement the richness of the olive oil and garlic.
Note: For the complete list of ingredients and precise measurements, please refer to the Recipe Card located at the bottom of this page.
Let’s Get Our Hands Oily: Crafting Your Perfect Focaccia, Step-by-Step
Once you’ve gathered your ingredients and your kitchen smells faintly of anticipation, it’s time to embrace a little messiness—in the most delicious way possible! This classic Italian Focaccia recipe is wonderfully humble in its approach, yet each step is crucial, contributing to the ultimate magic that unfolds in your oven. Follow these steps carefully to ensure a truly exceptional loaf.
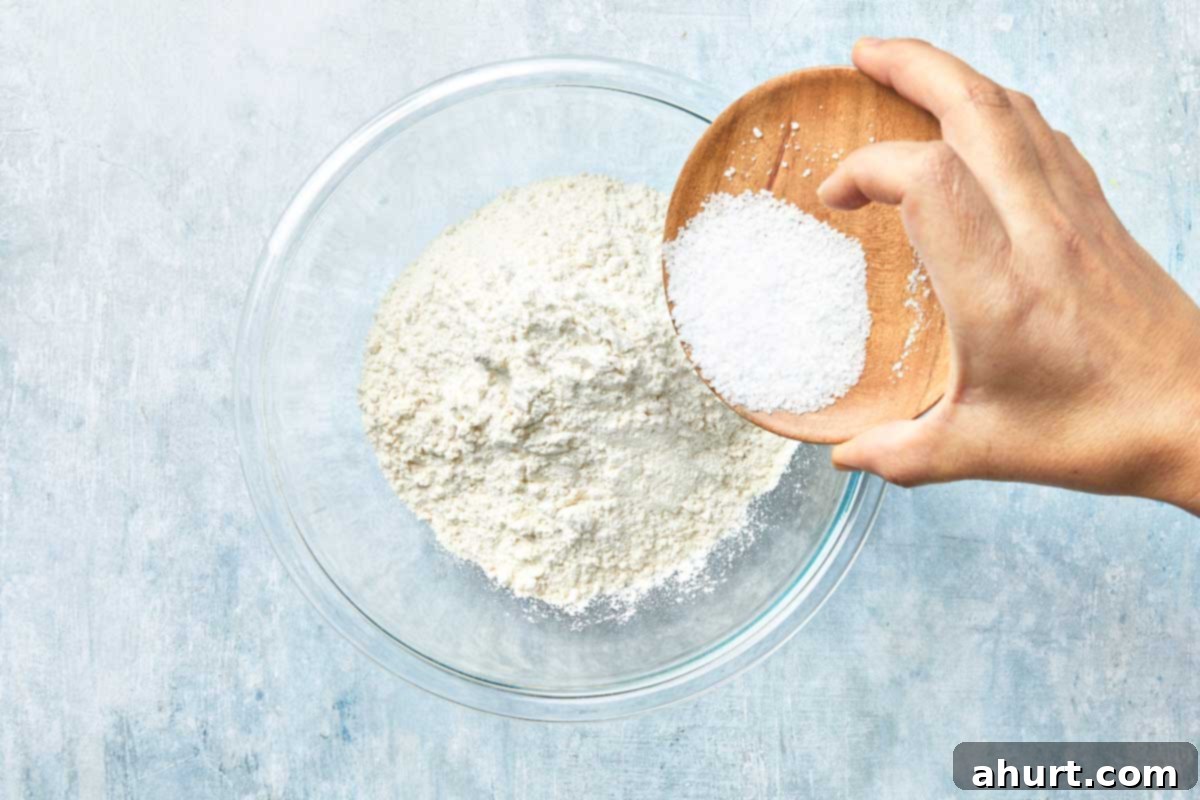
- Whisk the Base: In a generously sized mixing bowl, combine the flour and salt. Whisk them together thoroughly to ensure the salt is evenly distributed, which is essential for consistent flavor throughout the dough.
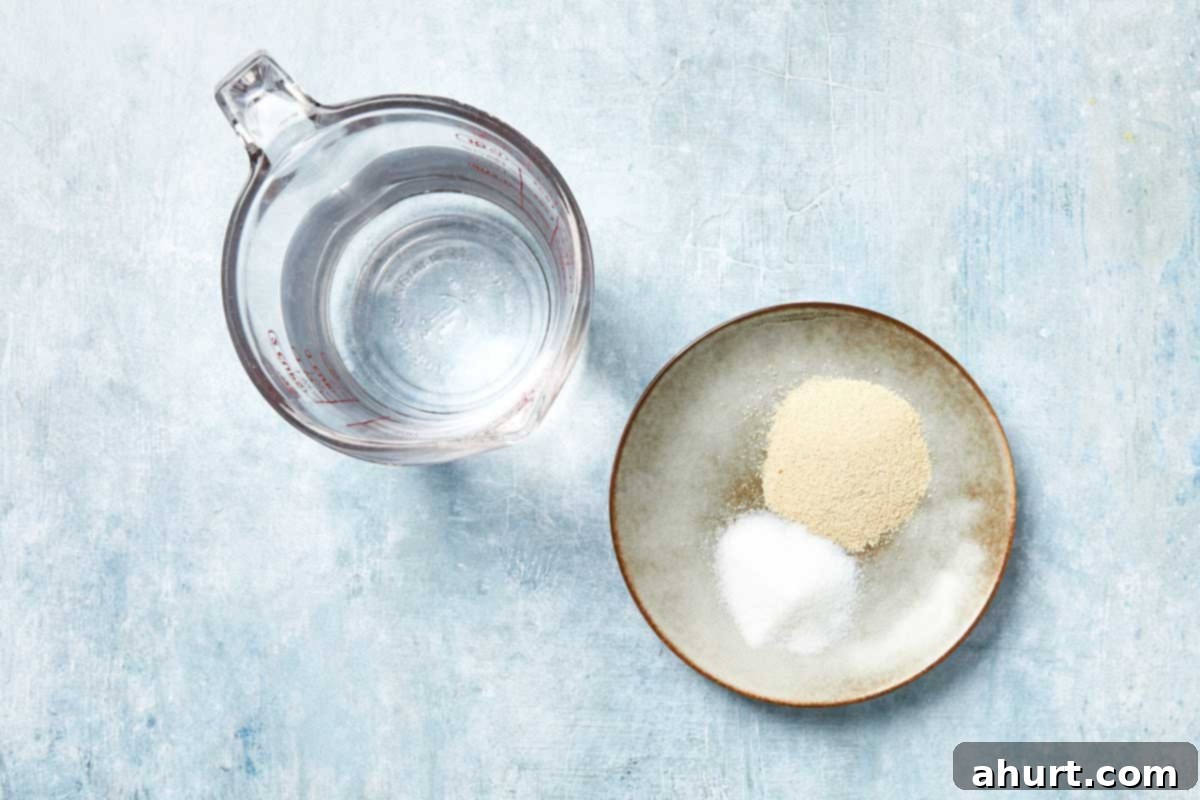
- Bloom the Yeast: In a separate small bowl or liquid measuring cup, combine the warm water, active dry yeast, and granulated sugar. Give it a gentle stir. Let this mixture rest undisturbed for about 30 minutes. You’ll know your yeast is alive and well when a thick, creamy layer of foam forms on the surface. If it doesn’t foam, your yeast may be expired or the water temperature was incorrect.
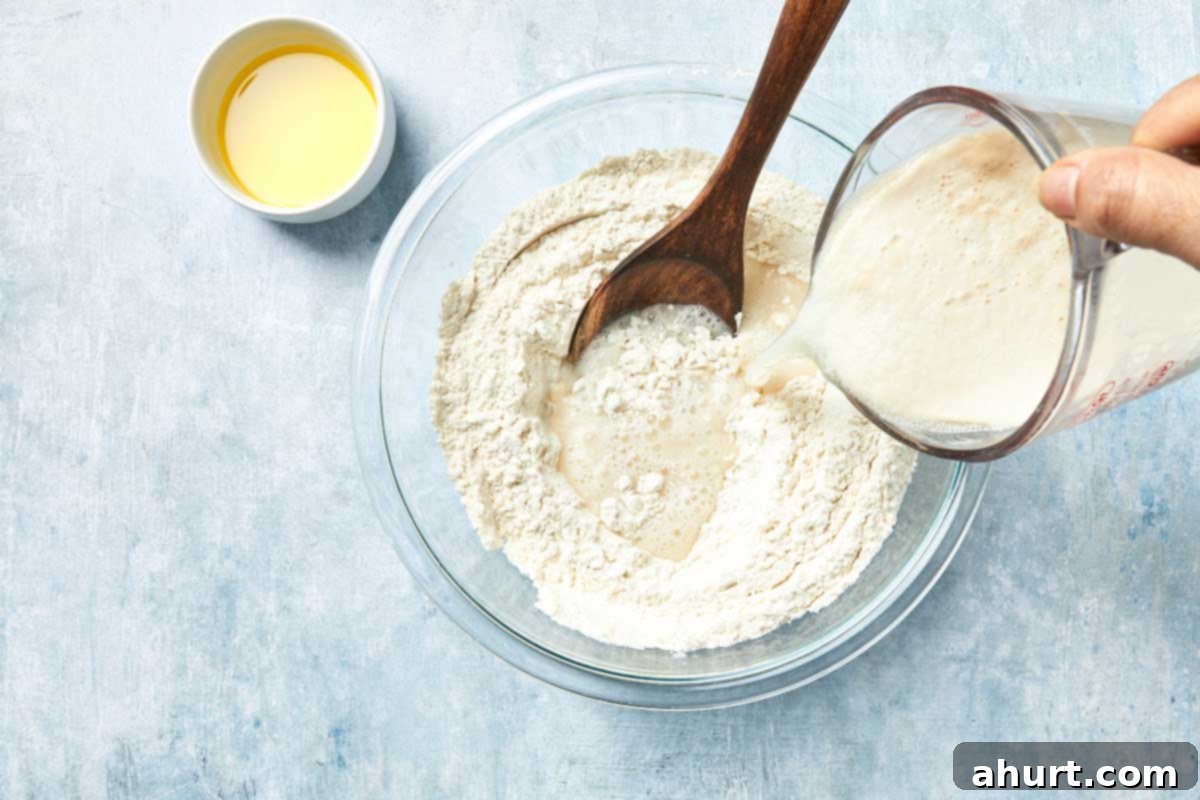
- Bring it Together: Pour the activated, foamy yeast mixture into the bowl containing your flour and salt. Using a wooden spoon or your clean hands, stir everything together until a shaggy, very sticky dough forms. There’s no need to knead it heavily at this stage; simply ensure all the flour is hydrated.

- Add Some Oil: Drizzle the 2 teaspoons of olive oil directly over the sticky dough in the bowl. With lightly oiled hands, gently knead the dough for just 1–2 minutes, just enough to incorporate the oil. The dough will remain wonderfully soft and quite sticky—and that’s precisely the texture we’re aiming for to achieve a tender crumb.
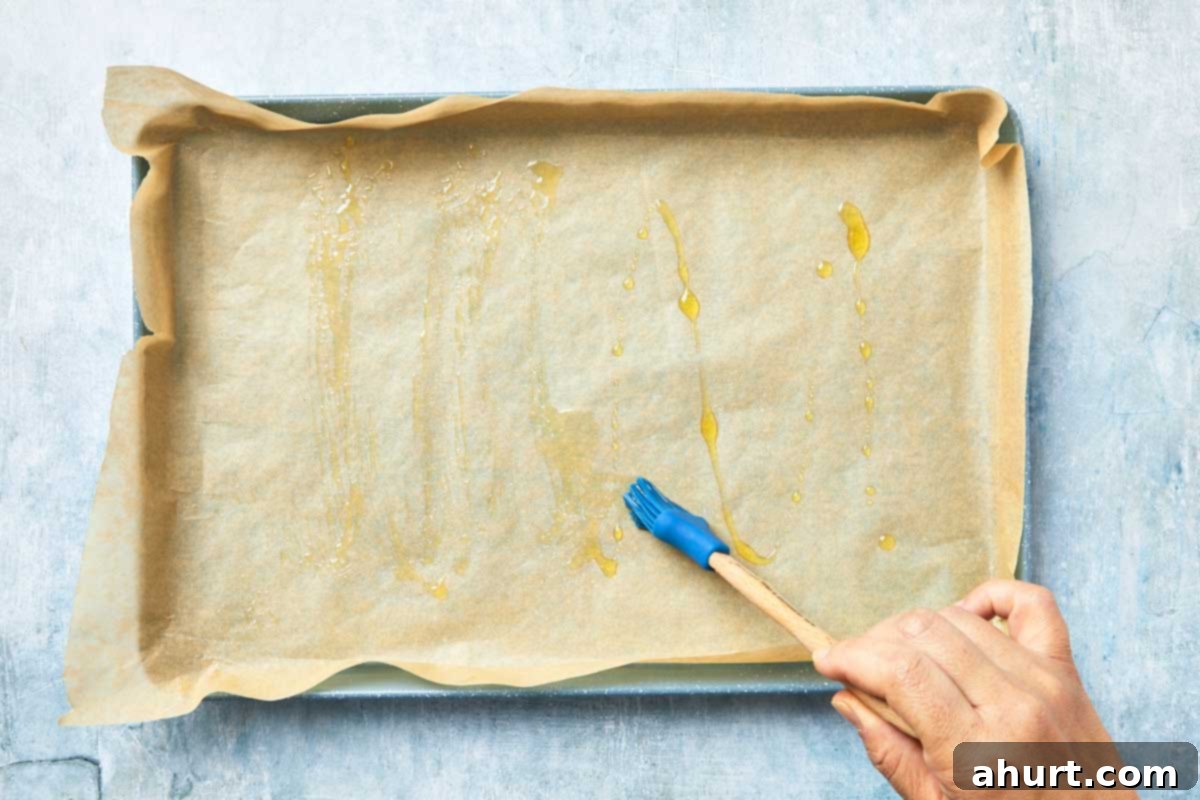
- Prep Your Pan: Line a 9×13-inch (approximately 23×33 cm) baking pan with parchment paper, leaving an overhang on the sides to help lift the focaccia later. Then, generously brush the parchment paper and the sides of the pan with olive oil. This prevents sticking and contributes to the crispy crust.
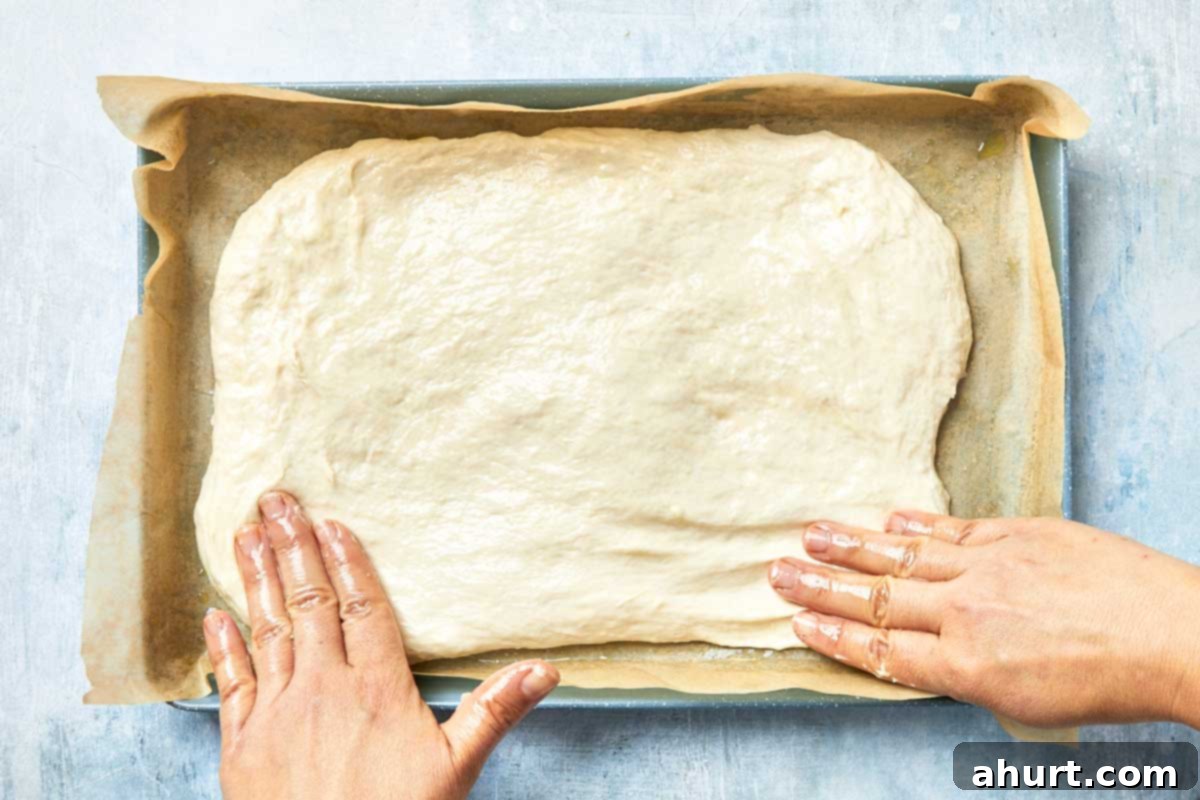
- Transfer the Dough: Carefully move the sticky dough into your prepared pan. Lightly oil your fingers again to prevent sticking, and gently press the dough outwards to roughly fill the pan. It doesn’t need to reach the edges perfectly yet; it will relax and spread during resting.
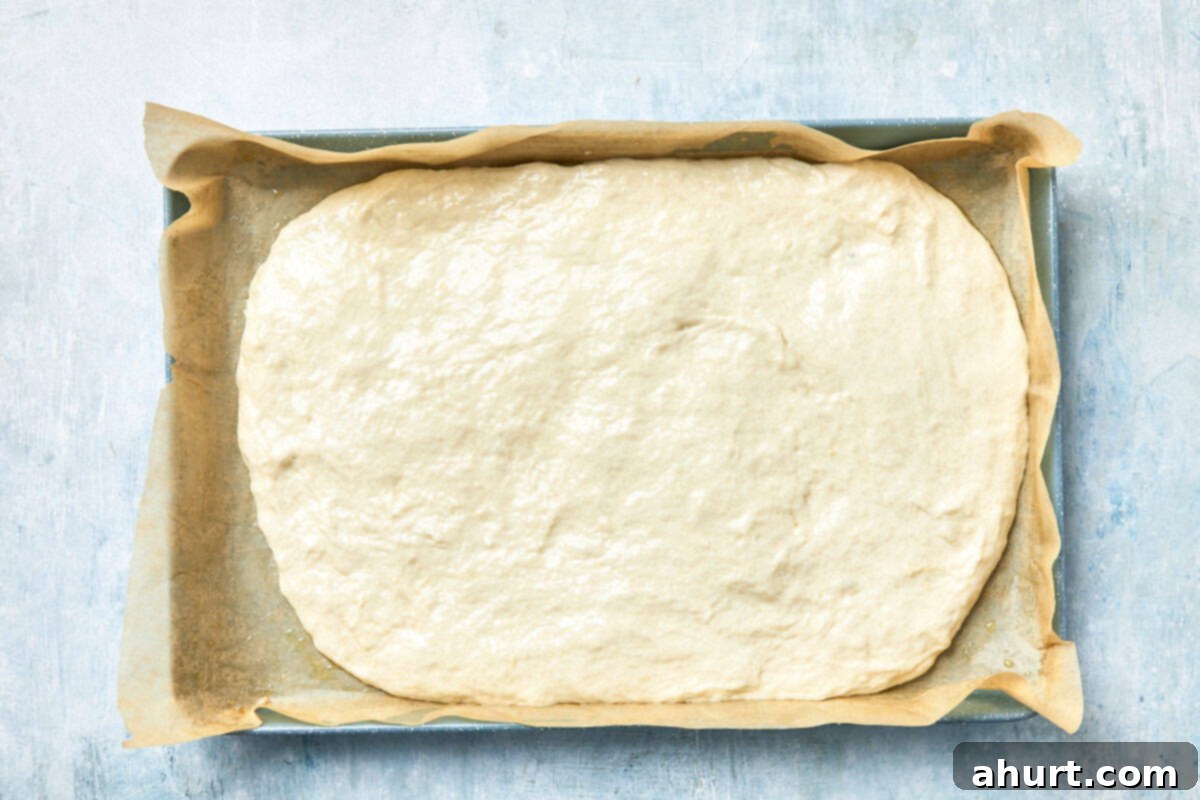
- Let it Rest (First Rise): Cover the pan loosely with a clean kitchen towel or plastic wrap. Place it in a warm, draft-free spot (like an oven with the light on, but not preheated) and let it rest for 2 hours. During this crucial time, the dough will visibly puff up, becoming noticeably larger and airy.
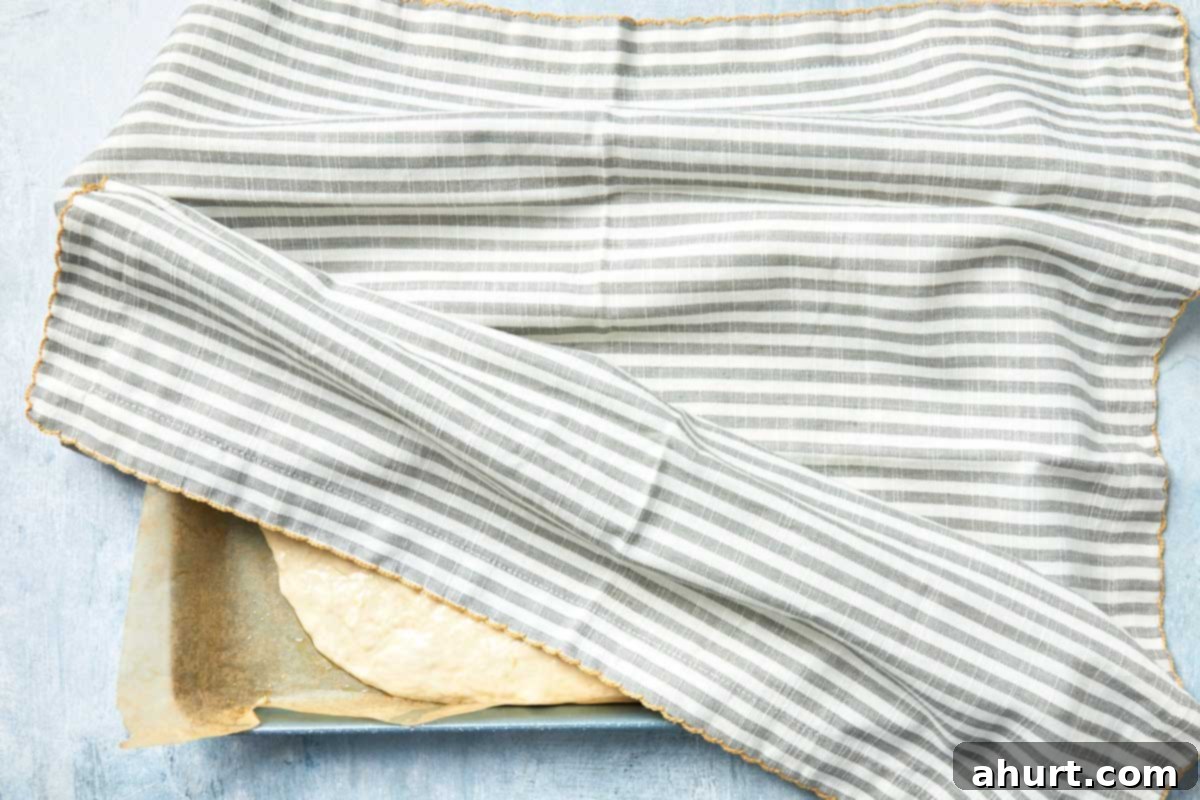
- First Fold (and Second Rise): After the first rise, lightly oil your hands. Gently pull one edge of the dough, stretch it slightly, and fold it over towards the center of the dough. Repeat this with all four sides (top, bottom, left, right), gently stretching and folding to build strength without deflating the air. Cover the pan again and let it rest for another 2 hours in a warm spot. This “stretch and fold” technique is vital for focaccia’s characteristic open, airy crumb.
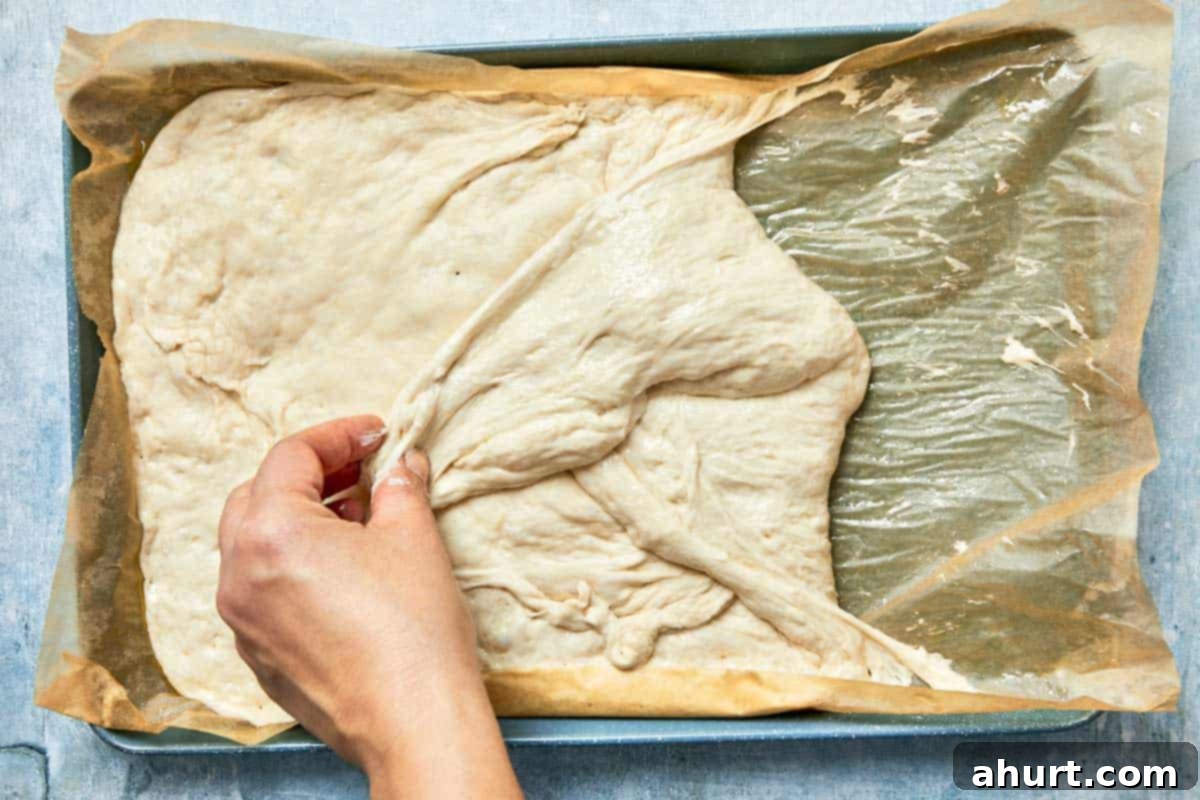
- Second Fold (and Third Rise): Repeat the gentle stretch and fold process as described in the previous step. This further develops the gluten structure, enhancing both the texture and depth of flavor. Cover the dough once more and let it rest for a final 2 hours. Yes, the long resting times are crucial!

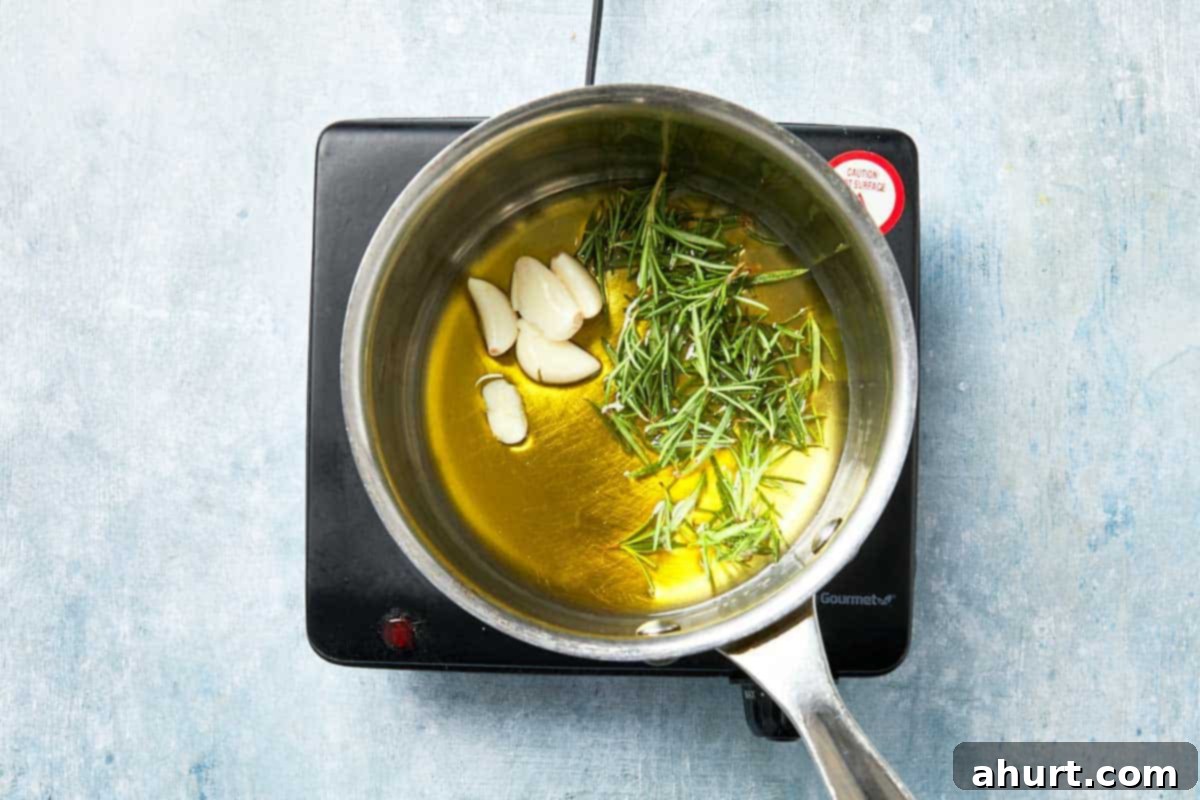
- Infuse the Oil: While your dough is on its final rest, prepare your aromatic oil. Gently heat ¼ cup of olive oil in a small saucepan over medium-low heat. Add fresh rosemary (if using) and your smashed or sliced garlic cloves. Let these flavors slowly infuse into the oil for 5-10 minutes, ensuring the garlic softens and turns fragrant but doesn’t burn or brown. Remove from heat and allow the oil to cool completely.
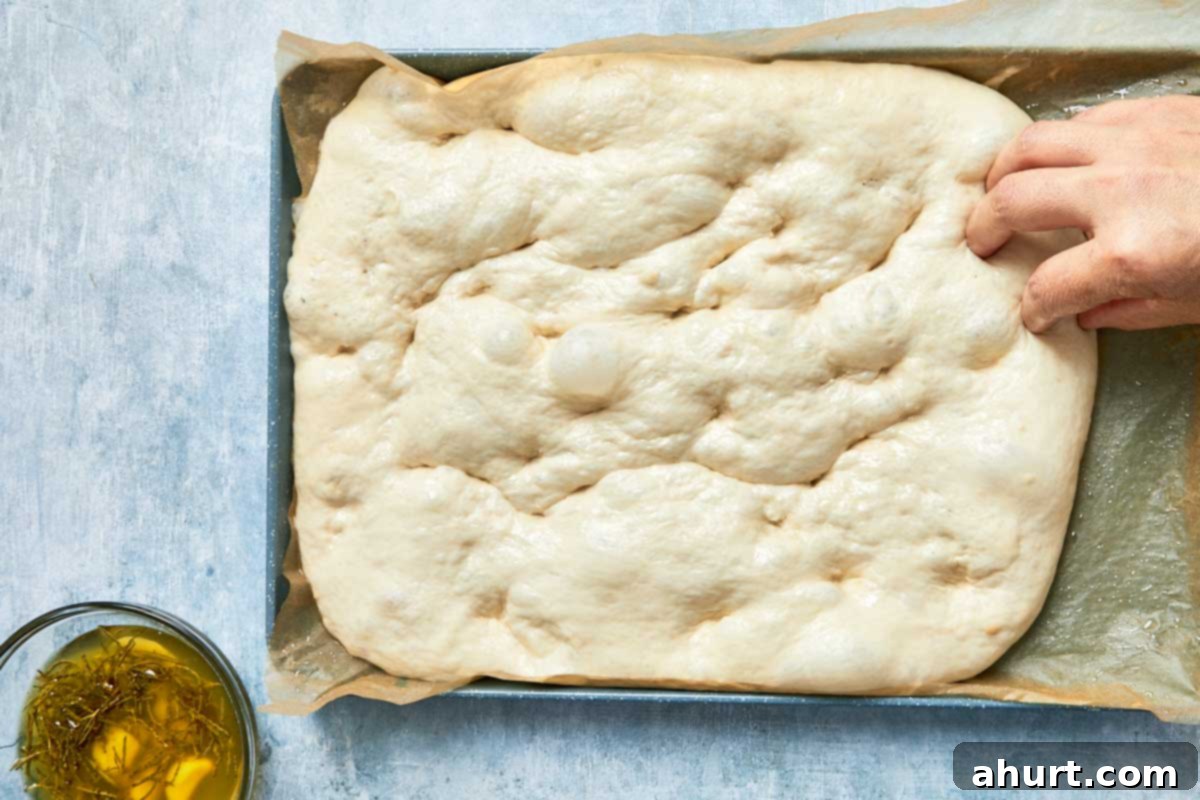
- Make Those Dimples: Once the dough has completed its final rest and is beautifully puffy, lightly oil your fingertips. Gently but firmly press your fingers all over the surface of the dough, creating the characteristic dimples. This not only gives focaccia its unique look but also creates pockets to hold the glorious olive oil and adds textural variation.
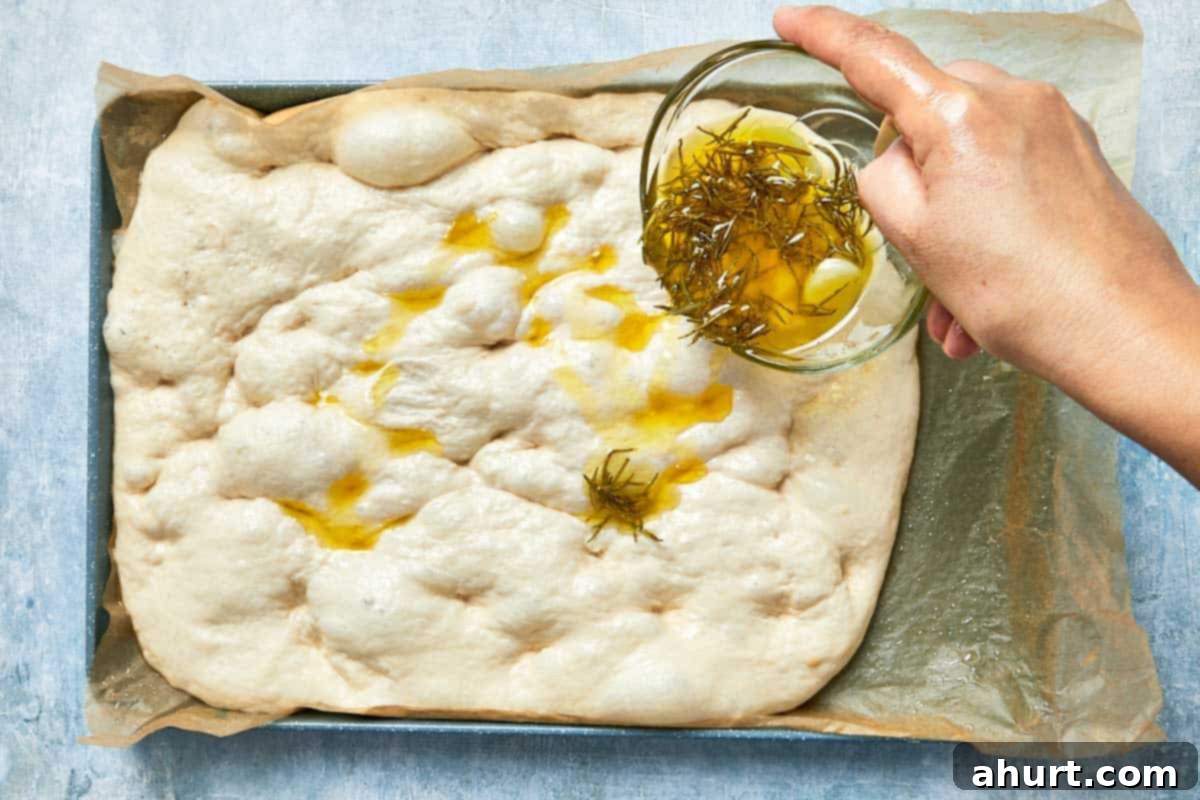
- Oil and Season: Drizzle the cooled rosemary-garlic infused olive oil generously over the entire surface of the dimpled dough, ensuring it pools beautifully in the indentations. Finish with a liberal sprinkling of coarse salt. You can choose to leave the rosemary sprigs and garlic cloves on for a rustic look and concentrated flavor, or remove them for a subtler touch.
- Bake to Golden Perfection: Preheat your oven to a high temperature of 465°F (240°C). Carefully transfer the pan to the hot oven and bake for approximately 20 minutes, or until the focaccia is beautifully golden brown on top, crisp around the edges, and cooked through to a tender, airy interior.
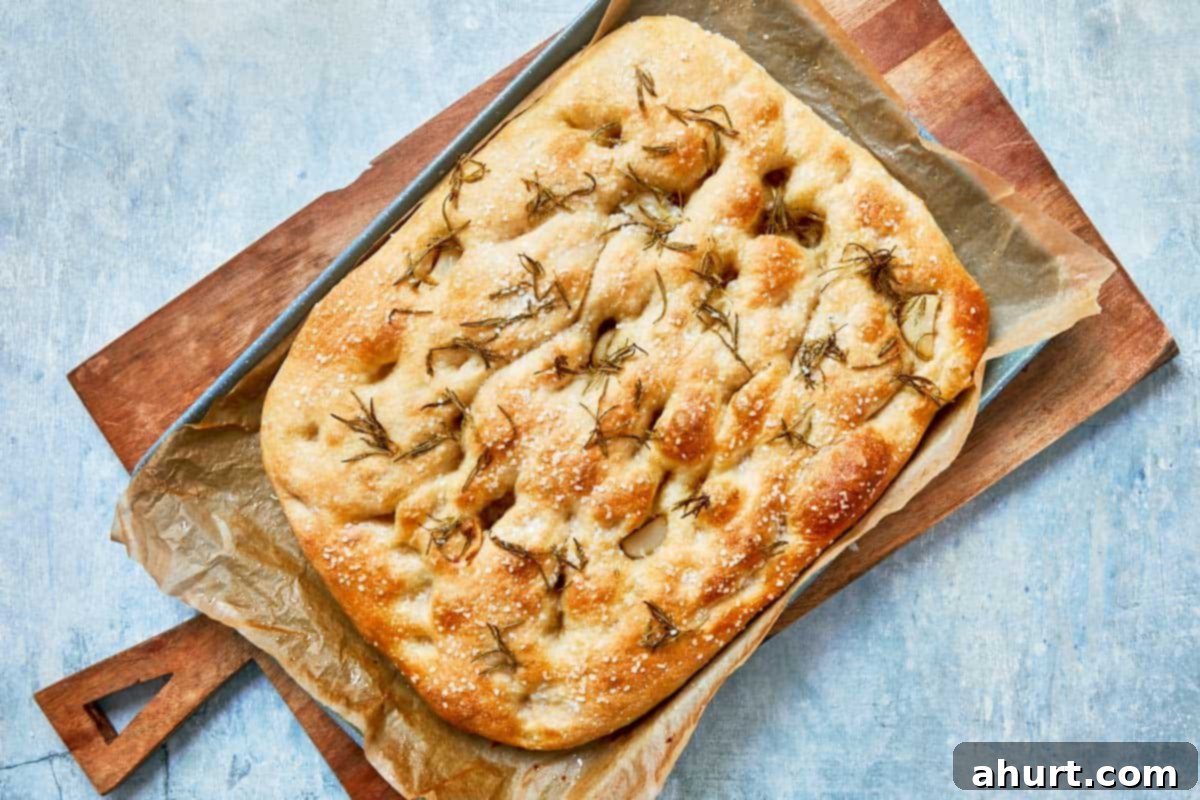
- Cool and Serve: Once baked, remove the focaccia from the oven. Carefully lift it out of the pan using the parchment paper overhang and transfer it to a wire rack to cool slightly before slicing. Serve warm and enjoy the fruits of your labor!
PRO TIP: Don’t Rush the Rest! The long resting times, along with the gentle folding, are the absolute key to achieving focaccia’s signature airy, bubbly texture and depth of flavor. Resist the temptation to skip or shorten them; patience truly pays off in the world of focaccia!
Not That She Needs It, But… Perfect Pairings for Your Focaccia
By now, your homemade focaccia is undoubtedly soft, beautifully golden, and deeply infused with rosemary-garlic magic. It’s a complete joy all on its own, but if you’re feeling adventurous (or simply want to show off its incredible versatility), this Italian gem plays exceptionally well with a multitude of culinary companions.
Tear off a generous piece and plunge it into creamy dips like rich hummus or tangy whipped feta. Let it be the cozy companion to a warming bowl of our Creamy Roasted Tomato Basil Soup, or allow it to diligently soak up every last drop of sauce from hearty main dishes like our Cheesy Chicken and Roasted Tomato Mozzarella Pasta Bake or the savory gravy from our classic Salisbury Steak.
Focaccia is also fantastic brunch material. Simply toast a slice until it’s slightly crisped, then top it with luscious Turkish Eggs or a dollop of fresh ricotta and a drizzle of honey. For a lighter touch, it’s the perfect match for a crisp Greek Chickpea Salad or any bright, lemony, and green salad. And don’t forget the ultimate simplicity: serve it alongside a platter of antipasto, olives, and aged cheeses for an authentic Italian spread. Honestly, no matter what you choose to serve with it, this focaccia is guaranteed to steal the spotlight and leave everyone craving more.
Recipe FAQs: Your Focaccia Questions Answered
There are a few common culprits. Most likely, the water temperature was either too hot (which kills the yeast) or too cold (which prevents it from activating). Aim for water that feels like a warm bath on your wrist, ideally between 105–115°F (40-46°C). Also, check the expiration date on your yeast; old yeast loses its potency. If you don’t see a significant foamy layer after 30 minutes, it’s best to discard and start fresh with new yeast and correctly tempered water.
Absolutely, yes! These extended resting periods and gentle “stretch and fold” techniques are non-negotiable for achieving focaccia’s characteristic light, open, and airy crumb structure. They allow the gluten to develop without heavy kneading, trap air, and build incredible flavor depth through slow fermentation. Skipping them will result in a much flatter, denser, and less flavorful bread that lacks the signature focaccia texture. This recipe truly prioritizes time over intensive labor.
Yes, completely normal and exactly what you want! Focaccia dough is intentionally a high-hydration dough, meaning it’s quite wet, soft, and definitely sticky to the touch. This sticky, almost “wild” texture is what ultimately leads to the most tender, moist, and airy crumb once baked. Do not be tempted to add more flour to make it easier to handle; simply oil your hands lightly when manipulating the dough, and trust the process.
Absolutely! While rosemary and garlic are classic, focaccia is wonderfully adaptable. Feel free to add pitted olives (Kalamata or Castelvetrano work beautifully), sliced cherry tomatoes (they burst and become sweet during baking), thinly sliced red onion, caramelized onions, sun-dried tomatoes, or even a sprinkle of Parmesan or crumbled feta cheese. Add these toppings after creating the dimples and before drizzling with the infused oil for the best results.
Focaccia is best enjoyed fresh from the oven, but leftovers store surprisingly well. Wrap it tightly in plastic wrap or aluminum foil and store at room temperature for up to 2-3 days. To refresh it, simply toast slices in a toaster oven or conventional oven for a few minutes until warmed through and crisp. For longer storage, you can slice the focaccia, wrap individual slices well, and freeze for up to 1 month. Thaw at room temperature and reheat as desired.
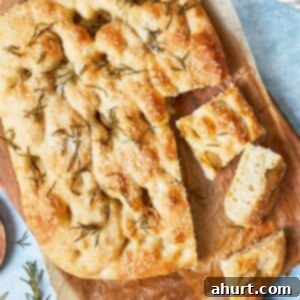
Easy Homemade Focaccia Recipe
Ingredients
- 3 ¾ cups all-purpose flour or bread flour
- 1 ½ cups warm water
- 2 ¼ tsp active dry yeast (one packet sachet)
- ½ tsp granulated sugar
- 1½ tsp salt for the dough
- 2 tsp olive oil for the dough
- ¼ cup olive oil for the rosemary-garlic oil
- ⅓ cup fresh rosemary (optional, as it’s quite punchy)
- 4 cloves garlic peeled and smashed or sliced
- ¾ tsp coarse salt for sprinkling on top
Instructions
-
1. In a large bowl, whisk together the flour and salt.
-
2. In a small bowl or measuring cup, mix the warm water, yeast, and sugar. Stir gently and let it sit for about 30 minutes until foamy—this means your yeast is alive and kicking.
-
3. Pour the foamy yeast mixture into the bowl with flour. Stir with a spoon or your hands until a shaggy, sticky dough forms.
-
4. Drizzle in the 2 teaspoons of olive oil. Knead gently in the bowl for 1–2 minutes until the oil is mostly absorbed. The dough will be soft and sticky—don’t worry, that’s what we want.
-
5. Line a 9×13 inch (approx. 23×33 cm) baking pan with parchment paper, then lightly grease it with olive oil.
-
6. Move the dough into the greased pan. Lightly oil your fingers and gently press the dough to spread it out a bit. No need for perfection here.
-
7. Cover the pan with a clean kitchen towel or plastic wrap. Let the dough rest in a warm spot for 2 hours. It should puff up beautifully.
-
8. With oiled hands, gently pull one edge of the dough and fold it over toward the center. Repeat with all four sides (top, bottom, left, right). Cover again and let it rest another 2 hours.
-
9. Repeat the same folding process—this helps build structure and flavor. Cover and rest for a final 2 hours.
-
10. While the dough rests, gently heat ¼ cup olive oil in a small pot over medium-low heat. Add rosemary (optional) and smashed or sliced garlic. Let the flavors infuse for 5–10 minutes, making sure the garlic doesn’t burn. Remove from heat and cool completely.
-
11. Once rested, lightly oil your fingers and press all over the surface of the dough to create the signature focaccia “dimples.”
-
12. Drizzle the cooled rosemary-garlic oil generously over the top. Sprinkle with coarse salt. You can leave the rosemary and garlic on—or not.
-
13. Preheat your oven to 465°F (240°C). Bake for about 20 minutes, or until golden brown on top and fully baked through.
-
14. Remove from oven, lift with parchment, and cool slightly on a wire rack before slicing and serving.
Notes
- Let her rise, don’t rush the romance
Those long resting times aren’t just a suggestion—they’re absolutely essential for developing that dreamy, airy crumb and deep flavor. The magic only happens when the dough gets to stretch and puff up without pressure. Be patient!
- Yeast likes it warm (not steamy-hot)
When activating your yeast, aim for water that feels like a comfortable warm bath on your wrist, ideally around 105–115°F (40-46°C). If it’s too hot for your finger, it’s definitely too hot for the yeast and will kill it.
- Dimples, not drama
When creating those signature focaccia dimples, use oiled fingertips and press with care. You’re gently creating little air pockets of joy and reservoirs for olive oil—not flattening all the beautiful air the yeast has worked hard to create.
- The oil is everything (quality matters)
Take your time with infusing the garlic and rosemary into the olive oil. Let them steep slowly over low heat like they’re having a spa moment. A good quality extra virgin olive oil makes a huge difference here. Burnt garlic, on the other hand, will impart a bitter flavor, so watch it carefully.
- She keeps well, but she shines fresh
Day one, fresh out of the oven, is pure magic. However, any leftovers still hold up beautifully. Wrap her tightly in plastic wrap or foil, store at room temperature, or freeze individual slices to reheat later. A quick toast in the oven or toaster oven, and she’s back to golden, crispy perfection.
- When you’re baking
Keep an eye on the top. If it starts to brown too quickly before the interior is fully cooked, you can loosely cover the focaccia with aluminum foil after about 15 minutes of baking. Alternatively, if your oven tends to run hot, you might consider baking at 450°F (232°C) instead of 465°F (240°C).
Nutrition
Carbohydrates: 27g |
Protein: 4.5g |
Fat: 9g |
Saturated Fat: 1.3g |
Polyunsaturated Fat: 0.9g |
Monounsaturated Fat: 6.3g |
Sodium: 266mg |
Potassium: 65mg |
Fiber: 1.2g |
Sugar: 0.3g |
Vitamin A: 1IU |
Vitamin C: 0.1mg |
Calcium: 5mg |
Iron: 1.9mg
Nutrition information is automatically calculated, so should only be used as an approximation.
Tried this? Leave a comment below!
