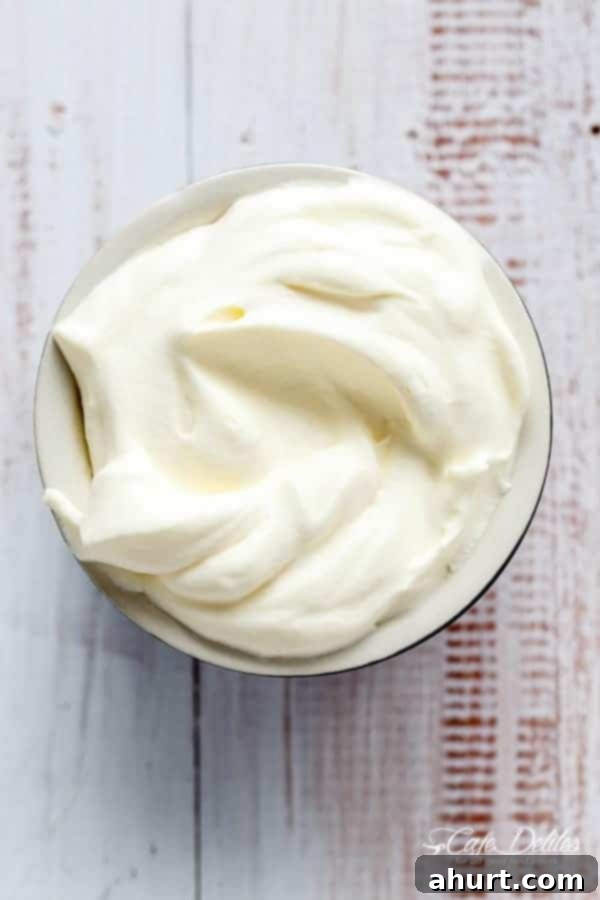
Effortless Elegance: Master the 2-Ingredient Dairy-Free Coconut Whipped Cream
Welcome to the world of culinary simplicity and incredible flavor! If you’ve been searching for a dairy-free alternative to traditional whipped cream that doesn’t compromise on taste or texture, look no further. This 2-ingredient coconut whipped cream recipe is not just a substitute; it’s a revelation. Seriously, it’s so rich, creamy, and utterly delightful, you might find yourself preferring it over the dairy version. Get ready to elevate your desserts and beverages with this incredibly easy and versatile topping!
The beauty of this recipe lies in its straightforward approach. With just two core ingredients and a few simple steps, you’ll create a light, fluffy, and decadent topping that’s perfect for a wide array of treats. Once you experience how effortless and delicious this is, you’ll be making it again and again!
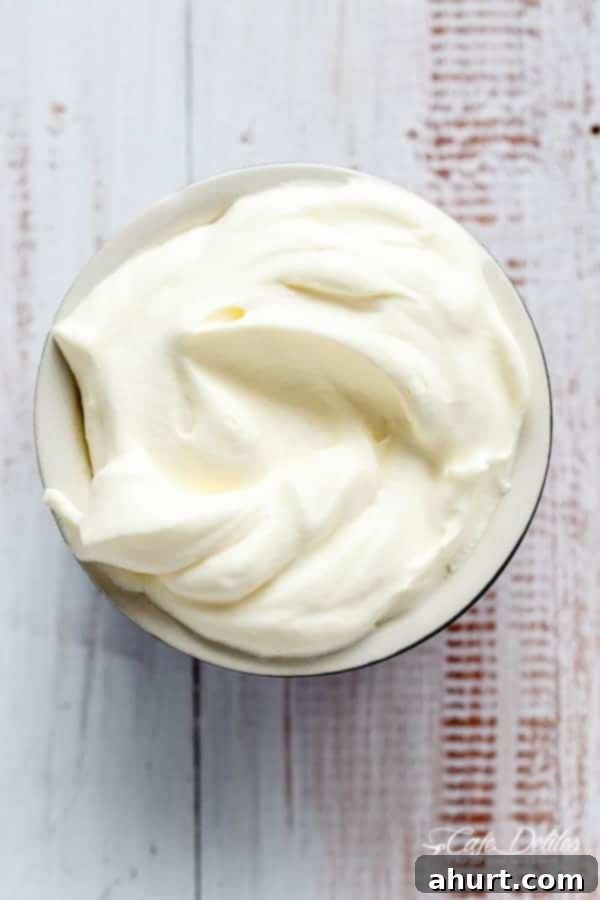
This creamy, dairy-free alternative is not just good; it’s sensational! Its natural sweetness and rich coconut flavor provide a delightful counterpoint to a variety of desserts, making it a staple for anyone following a vegan, lactose-free, or simply adventurous diet. Let’s dive into how to achieve this perfect consistency and flavor.
The Magic of Coconut Cream: The Essential First Step
The secret to perfectly whipped coconut cream lies in the initial preparation: chilling. To achieve the thick, whip-able consistency, you need to use full-fat coconut milk or cream that has been thoroughly chilled. When a can of full-fat coconut milk is refrigerated overnight (or for at least 8-12 hours), the solid coconut cream rises to the top, separating from the thinner coconut water at the bottom.
Once your can is adequately chilled, the first crucial step is to carefully open it without shaking or tipping. Gently spoon out all of the thick, solidified coconut cream sitting at the top of the tin. This dense, fatty portion is what will transform into your luscious whipped topping.
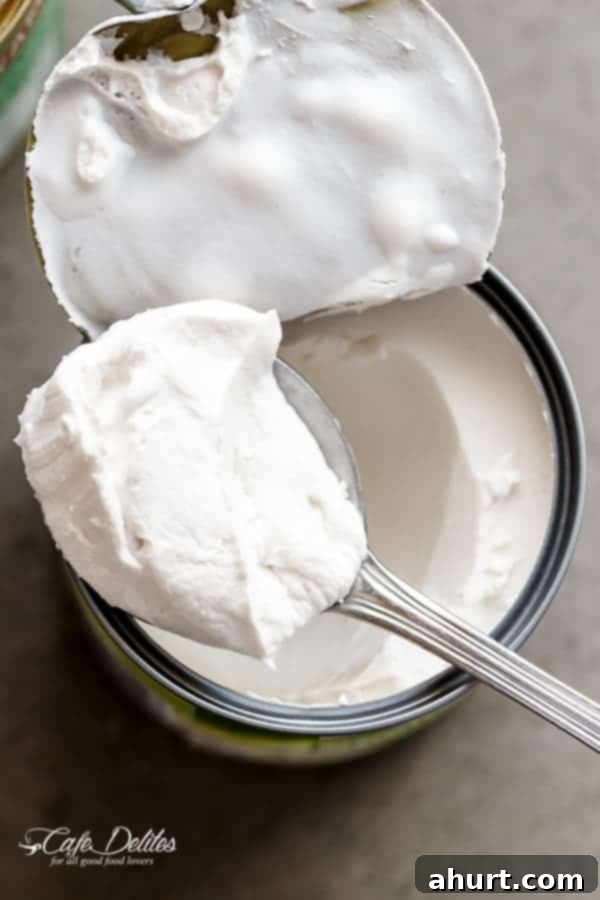
Make sure to leave behind any watery liquid at the bottom of the can; this liquid will prevent your cream from whipping up properly. Transfer the thick cream into a clean, preferably chilled, mixing bowl.
Whip It Up: Sweetening and Texturizing
With the thick coconut cream in your bowl, it’s time for the second ingredient: the sweetener. Depending on your dietary preferences, you have a couple of excellent options. For a traditional sweet topping, add a quarter cup of icing or confectioners’ sugar. This finely ground sugar dissolves easily and helps create a smooth texture.
If you’re aiming for a low-carb or keto-friendly dessert, opt for a natural sweetener like erythritol, stevia, or monk fruit. These sweeteners provide sweetness without adding carbohydrates, making your coconut whipped cream suitable for various dietary needs. Start with about 1/4 cup and adjust to your taste.
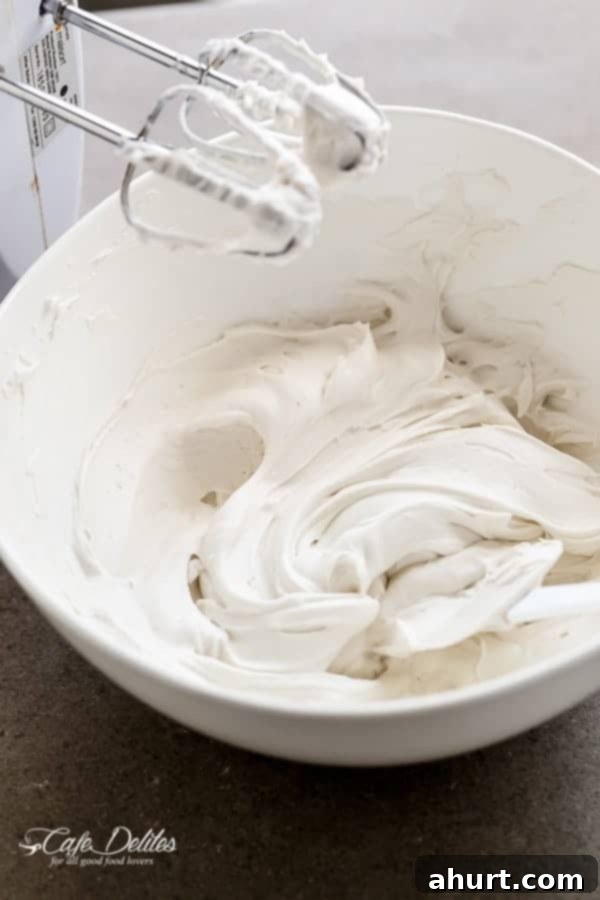
Once the sweetener is added, beat the mixture for a couple of minutes using a hand mixer on high speed, or vigorously with a whisk. You’ll observe the cream transforming, becoming thick, light, and wonderfully fluffy. Continue beating until it reaches your desired creamy consistency, typically taking between 1-3 minutes. Be careful not to over-whip, as it can sometimes become grainy.
Why Choose Dairy-Free Coconut Whipped Cream?
Beyond its incredible taste and ease of preparation, there are numerous compelling reasons to embrace coconut whipped cream:
- Dietary Restrictions: It’s naturally vegan, lactose-free, and suitable for those with dairy allergies or sensitivities. This opens up a world of dessert possibilities for many!
- Healthier Alternative: While still rich, it can be a lighter option for some, especially when sweetened with natural, low-carb alternatives. It also offers healthy fats found in coconuts.
- Unique Flavor Profile: The subtle coconut flavor adds an exotic and refreshing twist that dairy whipped cream simply can’t replicate. It pairs wonderfully with a wide range of desserts.
- Versatility: As you’ll see, its applications are incredibly broad, from simple fruit toppings to complex dessert components.
- Simple Ingredients: With just two core ingredients, it’s free from complex additives often found in store-bought alternatives.
Serving Suggestions: Endless Possibilities for Your Coconut Whipped Cream
Now that you’ve mastered the art of making this divine dairy-free whipped cream, it’s time to enjoy it! Its versatility knows no bounds. Here are just a few ideas to inspire your culinary creations:
Classic Pairings & Dessert Toppings
- Pies and Tarts: Serve it as a replacement for traditional whipped cream on a slice of your favorite pie, such as my Pumpkin Pie, or any fruit tart. The subtle coconut note complements fruit and spice flavors beautifully.
- Waffles and Pancakes: Elevate your breakfast or brunch by dolloping generous amounts onto fluffy pancakes or crispy waffles, like in these delightful Coconut Cream Pie Waffles. Add some fresh berries for a truly decadent experience.

Creative Uses & Dessert Bases
- Fruity Delights: Mix it with fresh berries, sliced mango, or other tropical fruits for the ultimate light and refreshing dessert. It’s fantastic in fruit parfaits layered with granola.
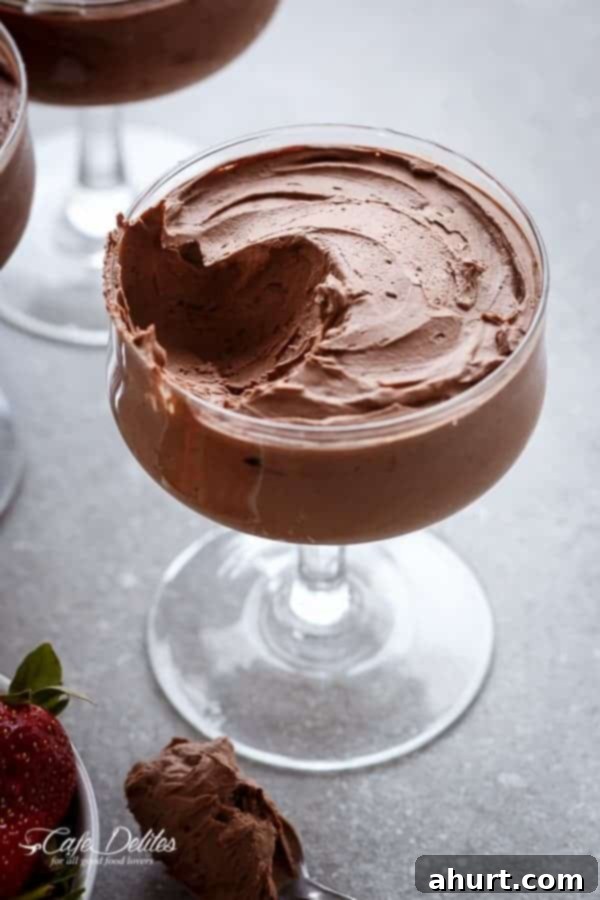
- Chocolate Indulgence: For chocolate lovers, simply add a tablespoon or two of cocoa powder during the whipping process to create a rich chocolate whipped cream. Or take it a step further and make yourself a luxurious 3-Ingredient Double Chocolate Mousse!
Beverage Boosts & Other Delights
- Hot Beverages: A dollop on your hot chocolate, coffee, or chai latte adds a luxurious, dairy-free finish.
- Smoothies & Shakes: Blend a spoonful into your morning smoothie for extra creaminess and a hint of tropical flavor.
- Cakes and Cupcakes: Use it as a light frosting or a beautiful topping for your baked goods.
- Crisps and Crumbles: A warm apple crisp or berry crumble served with cold coconut whipped cream is pure comfort.
What Does This Go Well With? (Beyond the Obvious!)
While the serving ideas are plentiful, some combinations truly stand out. This dairy-free coconut whipped cream is a fantastic partner for desserts that benefit from a creamy, slightly tropical, and not-too-heavy topping. It brings a refreshing contrast and a hint of the tropics to many dishes.
- For a rich and indulgent experience, pair it with a slice of my decadent Chocolate Cake. The bitterness of cocoa and the sweetness of the coconut cream are a match made in heaven.
- Add a delightful creaminess to the unique flavors of a Pistachio Skillet Cookie. The nutty notes of pistachio are wonderfully complemented by the subtle coconut flavor.
- It’s also superb with fresh fruit salads, especially those with berries or tropical fruits like pineapple and mango.
- Consider it for a light and refreshing topping on a classic lemon meringue pie, offering a new dimension of flavor.
Tips for Success and Troubleshooting Your Coconut Whipped Cream
Achieving perfect coconut whipped cream is simple, but a few key tips can make all the difference:
- Always Use Full-Fat Coconut Milk/Cream: Light versions simply do not have enough fat content to whip up properly. Check the label carefully!
- Thorough Chilling is Non-Negotiable: This is the most critical step. If the cans aren’t cold enough, the cream won’t separate, and you’ll end up with liquid.
- Don’t Shake the Can: Resist the urge to shake the can before chilling or opening. You want the cream to remain separated at the top.
- Chill Your Equipment: For best results, place your mixing bowl and whisk attachments (or whisk) in the freezer for 10-15 minutes before whipping. Cold tools help stabilize the fat in the coconut cream, leading to a firmer whip.
- Start with Cleanliness: Ensure your bowl and beaters are completely clean and free of any grease, which can prevent whipping.
- Adjust Sweetness to Taste: Different brands of coconut cream can have slightly varying flavors. Always taste and adjust the sweetener as you go.
- Add Flavorings Gradually: If adding vanilla extract or other flavorings, do so towards the end of the whipping process to ensure even distribution without affecting the texture.
Common Issues and How to Fix Them:
- My Cream Isn’t Whipping/It’s Too Thin:
- Likely Cause: Not enough chilling, or you included too much of the coconut water.
- Solution: Ensure your cans are thoroughly chilled. If you accidentally scooped too much liquid, try to drain it as much as possible, or add more chilled solid cream. If it’s still not whipping, it might be due to the specific brand (some brands have less fat content or stabilizers).
- My Whipped Cream is Grainy:
- Likely Cause: Over-whipping. Just like dairy cream, coconut cream can become grainy if beaten too long.
- Solution: If it’s just slightly grainy, you can sometimes gently fold in a tablespoon of the reserved coconut water to smooth it out. For severely over-whipped cream, it’s harder to rescue, but it can still be used in recipes where texture is less critical (e.g., in a smoothie).
- The Coconut Flavor is Too Strong:
- Likely Cause: Personal preference or a particularly strong-flavored brand.
- Solution: Add a bit more sweetener, a generous dash of vanilla extract, or even a pinch of salt to balance the flavors. You can also experiment with different brands of coconut milk/cream, as their flavor profiles can vary.
Storage of Your Homemade Coconut Whipped Cream
Once prepared, your beautiful coconut whipped cream can be stored in an airtight container in the refrigerator for up to 3-5 days. It may firm up considerably in the fridge due to the coconut fat solidifying when cold. If you find it too firm when you’re ready to use it, let it sit at room temperature for 10-15 minutes, then give it a quick whisk to restore its fluffy texture. It’s generally not recommended for freezing, as the texture can become icy and less desirable upon thawing.
Saved
Pin
Coconut Whipped Cream
Karina
5 minutes
5 minutes
1 SERVES
Ingredients
- 14 oz can coconut milk or cream full fat
- 1/4 cup icing or confectioners sugar or to keep it low carb, use a natural sweetener
Instructions
-
Step 1: Chill Your Cans and Equipment. Place sealed cans of full-fat coconut cream (or milk) in the refrigerator overnight (at least 8-12 hours). For best results, also place your mixing bowl and whisk attachments in the freezer for 10-15 minutes before you begin. This helps the cream whip up even fluffier.
-
Step 2: Scoop Out the Thick Cream. Without shaking or tipping the chilled cans, carefully open them. The solid coconut cream should be at the top, separate from the watery liquid below. Gently scoop out *only* the thick, solidified cream and transfer it into your chilled mixing bowl. Discard or save the clear liquid left in the cans for smoothies or other recipes – it will not work for whipped cream.
-
Step 3: Add Sweetener and Whip. Add the sweetener of your choice to the coconut cream. Use about 1/4 cup of icing or confectioners sugar for a traditional taste, or a natural sweetener (like erythritol or stevia) if you’re keeping it low carb. You can also add 1 teaspoon of vanilla extract for extra flavor.
-
Step 4: Beat Until Thick and Creamy. Using a hand mixer on high speed (or a stand mixer with a whisk attachment), beat the coconut cream and sweetener for about 1-3 minutes. Continue until the mixture becomes thick, light, and fluffy, resembling traditional whipped cream. Be careful not to over-whip, as it can sometimes become grainy.
-
That’s it! Your homemade, dairy-free coconut whipped cream is ready to enjoy.
-
Step 5: Serve and Enjoy. Use as a topping in place of normal whipped cream on your favorite desserts, hot beverages, or mix with fresh fruit/berries for the ultimate dessert.
Nutrition
Carbohydrates: 32g |
Sodium: 1mg |
Potassium: 1mg |
Sugar: 31g |
Calcium: 0.3mg |
Iron: 0.02mg
Nutrition information is automatically calculated, so should only be used as an approximation.
Tried this? Leave a comment below!
