Classic Buttery Herb Stuffing: Your Ultimate Homemade Holiday Side Dish
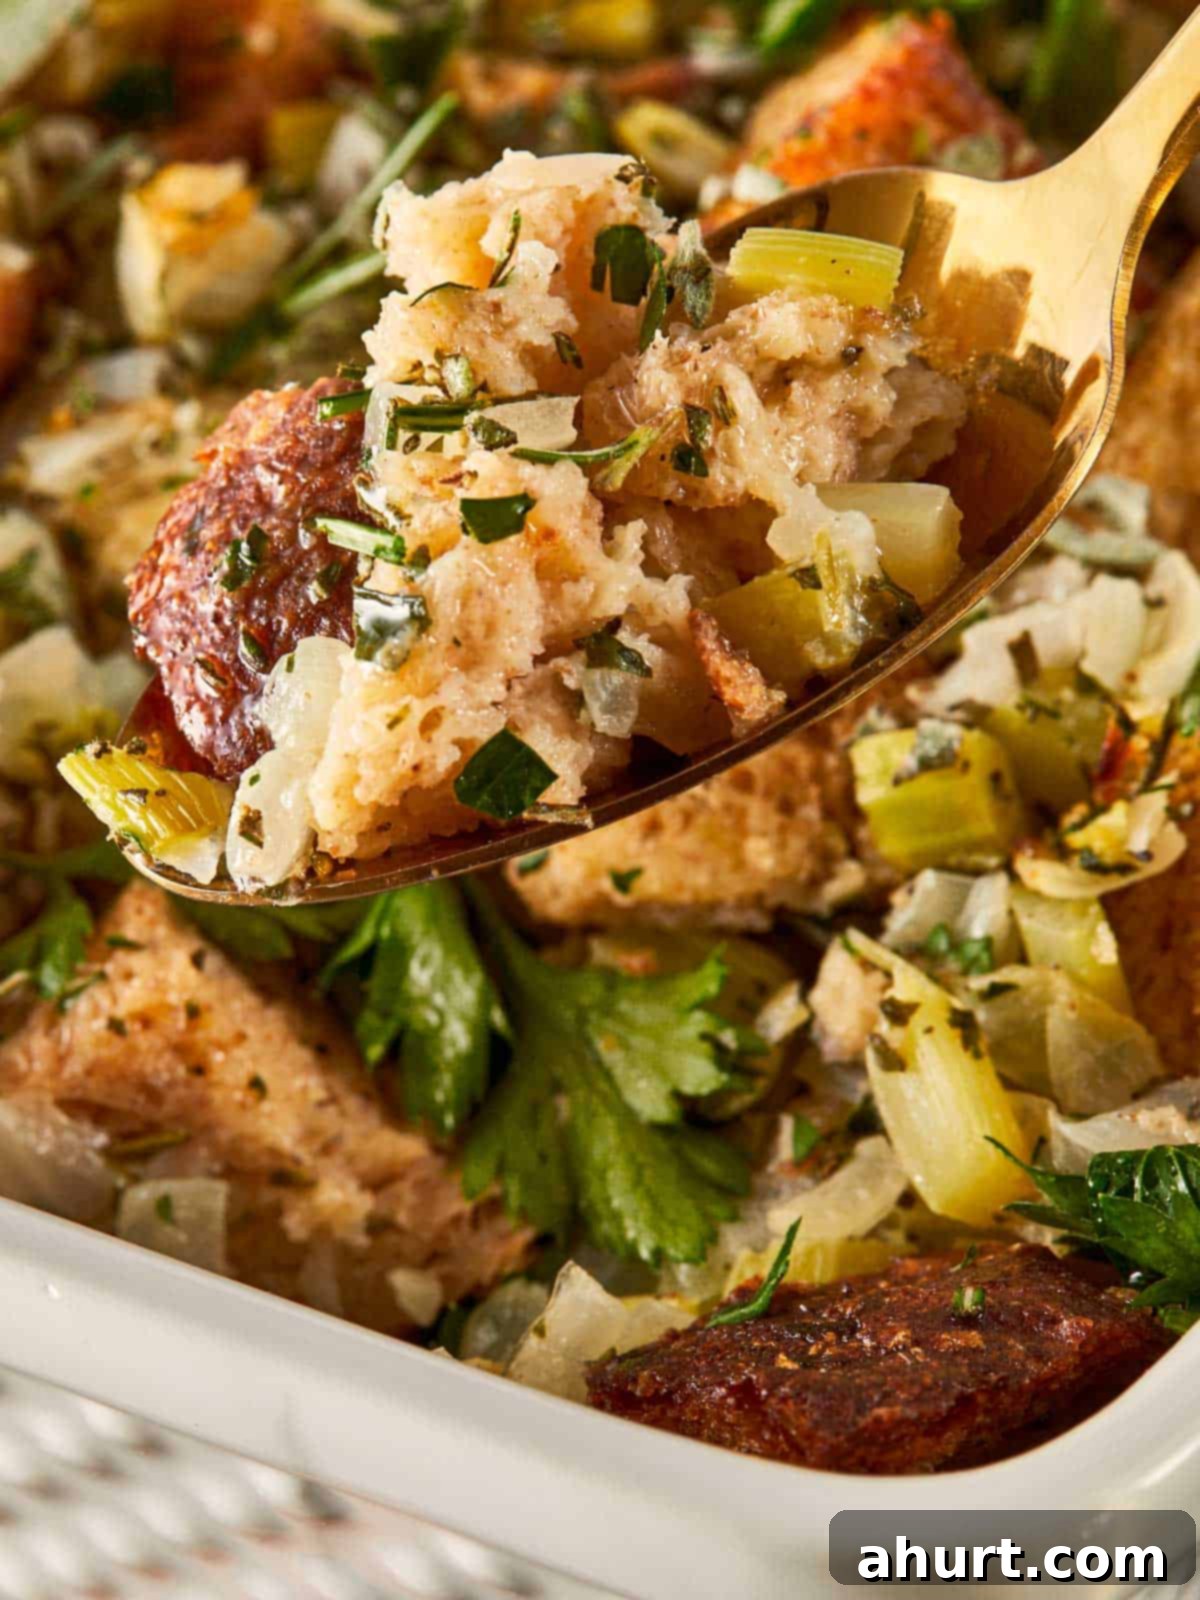
Imagine the aroma wafting through your home – rich butter, fragrant herbs, and freshly baked bread. This isn’t just a dish; it’s a sensory journey back to cherished family gatherings, a cornerstone of holiday meals. Our Classic Buttery Herb Stuffing delivers on every nostalgic promise, offering that perfect balance of crispy golden edges and a tender, moist interior. It’s the quintessential side dish that effortlessly captures the spirit of tradition without being overly complicated, leaving you free to enjoy the festivities.
Embracing the Nostalgia of Homemade Stuffing
Certain dishes possess an incredible power to transport us back in time, conjuring vivid memories and emotions. While many foods evoke personal nostalgia, very few universally resonate across different experiences quite like classic stuffing. It’s a rare culinary gem that speaks to a collective sense of comfort, warmth, and celebration. There’s nothing overly elaborate or trendy about this recipe; it’s simply the time-honored stuffing that has graced countless Thanksgiving tables, a testament to the beauty of simple, quality ingredients.
This classic rendition is straightforward and true to its roots, making it the perfect companion to other beloved holiday staples. If you’re planning a grand feast, consider pairing it with a succulent Honey Baked Ham for a truly memorable spread. For those outside the traditional Thanksgiving celebration, or if you simply crave a richer, more robust flavor profile, my Delicious Sausage Stuffing offers a delightful, albeit less conventional, twist. Alternatively, for a touch of sweetness that perfectly complements savory dishes, try a decadent Sweet Potato Casserole with Marshmallow.
Simple Ingredients for Exceptional Flavor
The magic of this stuffing lies in its dedication to fundamental, high-quality ingredients. It’s a celebration of good bread, rich butter, and vibrant fresh herbs working in harmony to create a depth of flavor that feels both familiar and extraordinary. There’s no need for fancy frills here, just the real deal, allowing each component to shine and contribute to the overall deliciousness.
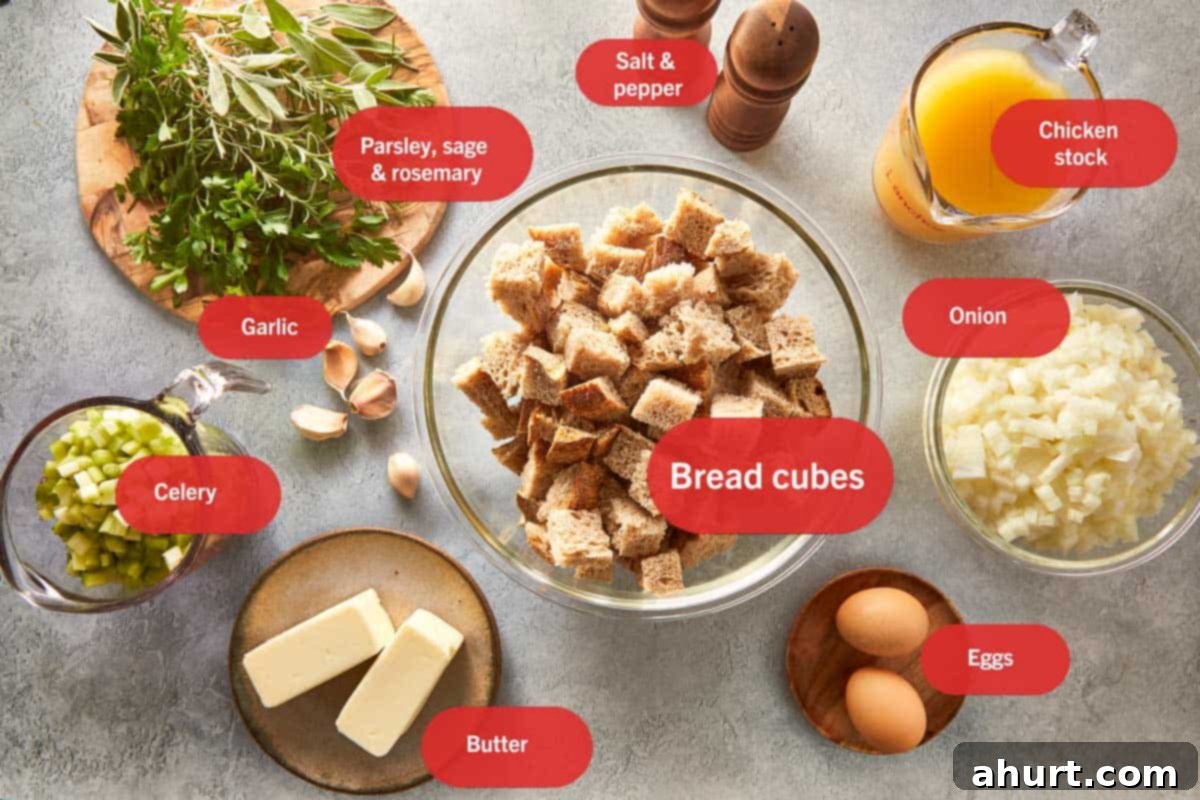
- Bread Cubes: The foundation of any great stuffing is the bread. Day-old bread is absolutely essential here because its drier, sturdier texture allows it to toast beautifully and, crucially, absorb every drop of the flavorful stock and melted butter without becoming soggy. This ensures your stuffing maintains its delightful shape and a perfectly balanced texture. You want cubes that hold their integrity, not turn to mush. If you only have fresh bread on hand, don’t fret! You can easily dry it out by toasting it in the oven; just be sure to keep a close eye on it to prevent over-browning. Rustic white bread, sourdough, or even a good quality French baguette work wonderfully.
- Unsalted Butter: This is where the “buttery” in “buttery herb stuffing” truly comes alive. Using good quality unsalted butter is non-negotiable, as it’s the key ingredient that binds everything together, infuses the stuffing with incredible flavor, and gives it that irresistible golden, crisp edge. Every forkful should be imbued with that luxurious, comforting taste of melted butter, a true hallmark of classic stuffing.
- Fresh Herbs: There’s no substitute for fresh herbs when aiming for that timeless, authentic Thanksgiving flavor. Sage, parsley, and rosemary are the indispensable trio that provides the aromatic backbone of this stuffing. Their distinct yet complementary flavors create a fragrant symphony that everyone expects and loves. While dried herbs can be used in a pinch, fresh herbs elevate this dish to another level.
- Aromatics (Onion, Celery, Garlic): Often overlooked, this simple trio forms the savory soul of the stuffing. Diced onions, celery, and minced garlic, gently sautéed in butter, release their sweet, pungent, and earthy notes, building a robust flavor base that permeates every bread cube. They add essential moisture and texture, contributing to the overall complexity of the dish.
- Chicken Stock: The liquid component that moistens the bread and carries the savory flavors throughout. Use a good quality chicken stock (or vegetable stock for a vegetarian option) for the best results. It helps to hydrate the bread and creates a tender, cohesive stuffing.
- Eggs: Lightly beaten eggs act as a binder, helping the stuffing hold its shape without crumbling apart, especially when served. They contribute to a slightly richer texture and ensure a cohesive, yet still light, consistency.
Note: For precise quantities and a complete list of ingredients, please refer to the comprehensive Recipe Card below.
Crafting the Perfect Classic Buttery Herb Stuffing
Making this classic stuffing is a straightforward process, free of complex techniques or specialized equipment. It’s about letting quality ingredients shine and following a few simple steps that will fill your home with an irresistible holiday aroma. Here’s how to create a truly perfect batch:
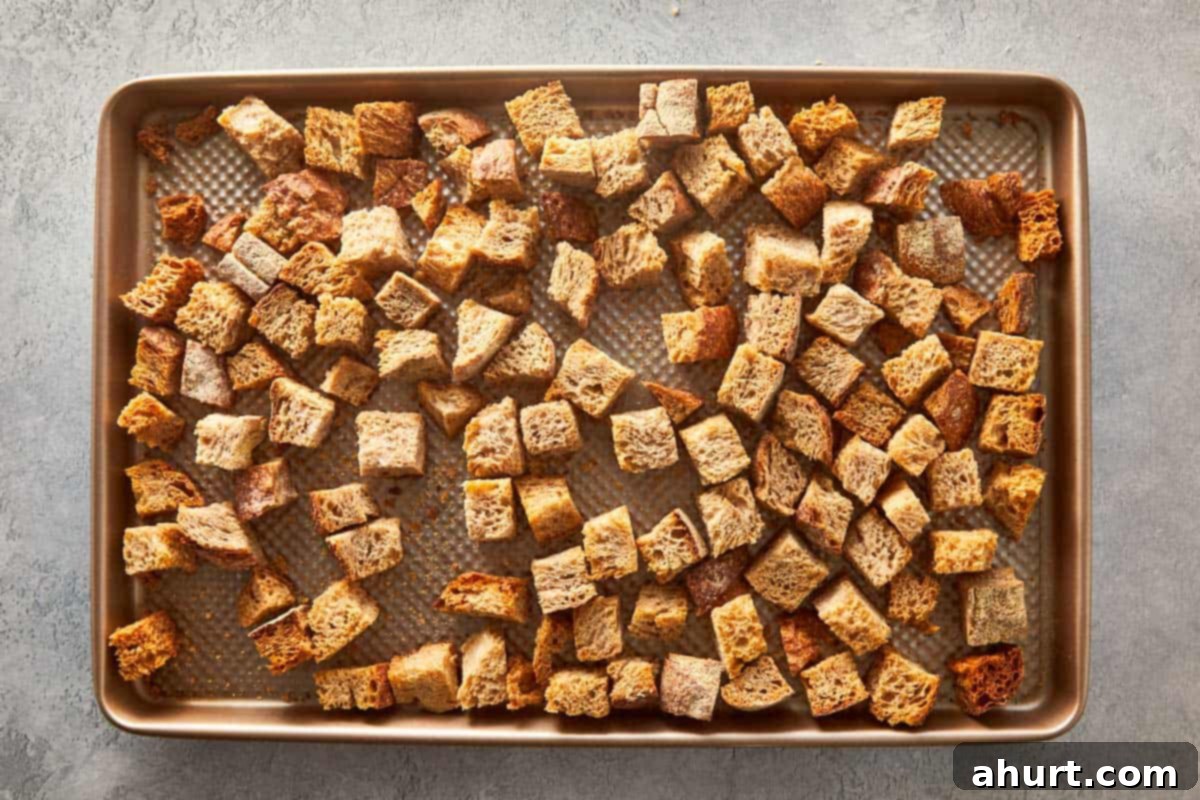
- Prepare the Bread: Begin by preheating your oven to 350°F (175°C). Spread your day-old bread cubes evenly across a large baking sheet. Bake them for approximately 15-20 minutes, making sure to toss them gently halfway through. You’re looking for them to be lightly golden and thoroughly dry, similar to croutons. This crucial step prevents the stuffing from becoming mushy. Once toasted, remove them from the oven and set aside to cool completely.
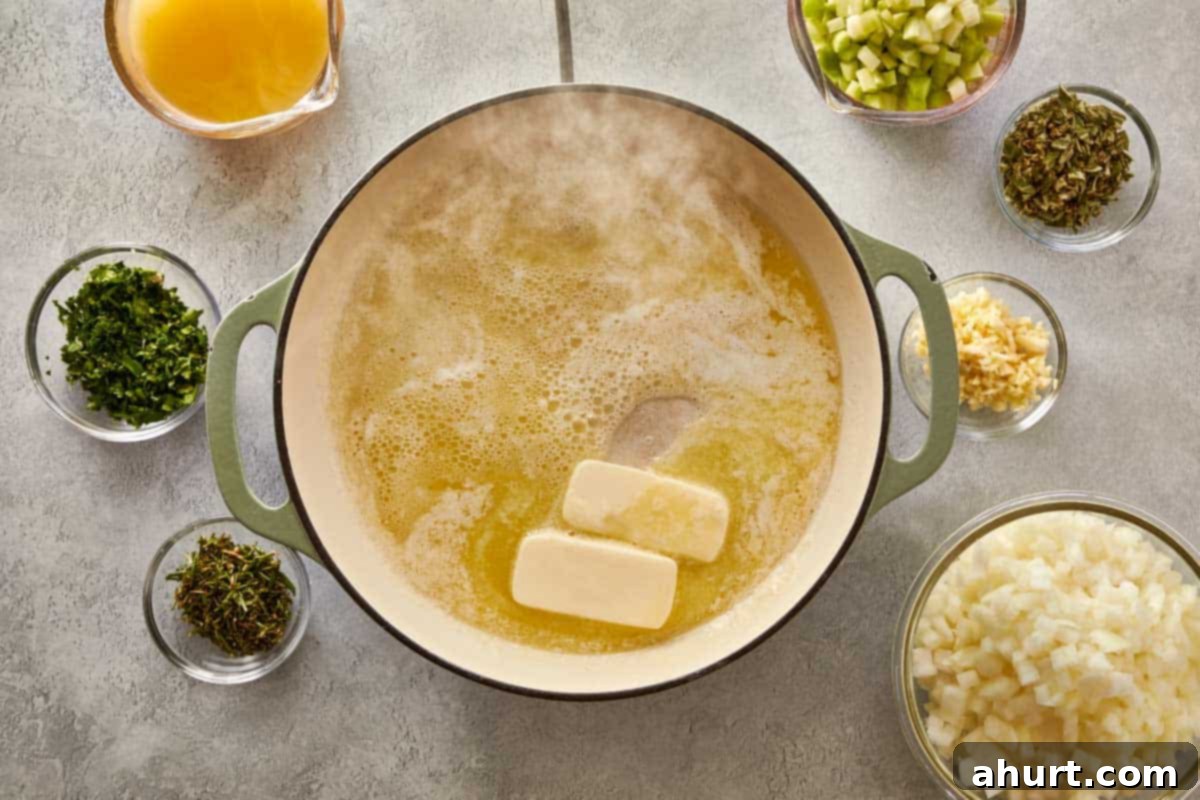
- Sauté the Aromatics: In a large, heavy-bottomed skillet or Dutch oven, melt the unsalted butter over medium heat. Once it’s shimmering, add the diced onion, celery, and minced garlic. Season with a generous pinch of salt and freshly ground black pepper. Sauté this mixture for about 8-10 minutes, stirring occasionally, until the vegetables have softened and become translucent, but not browned. This slow sautéing process allows their natural sweetness to develop, creating a rich flavor base.
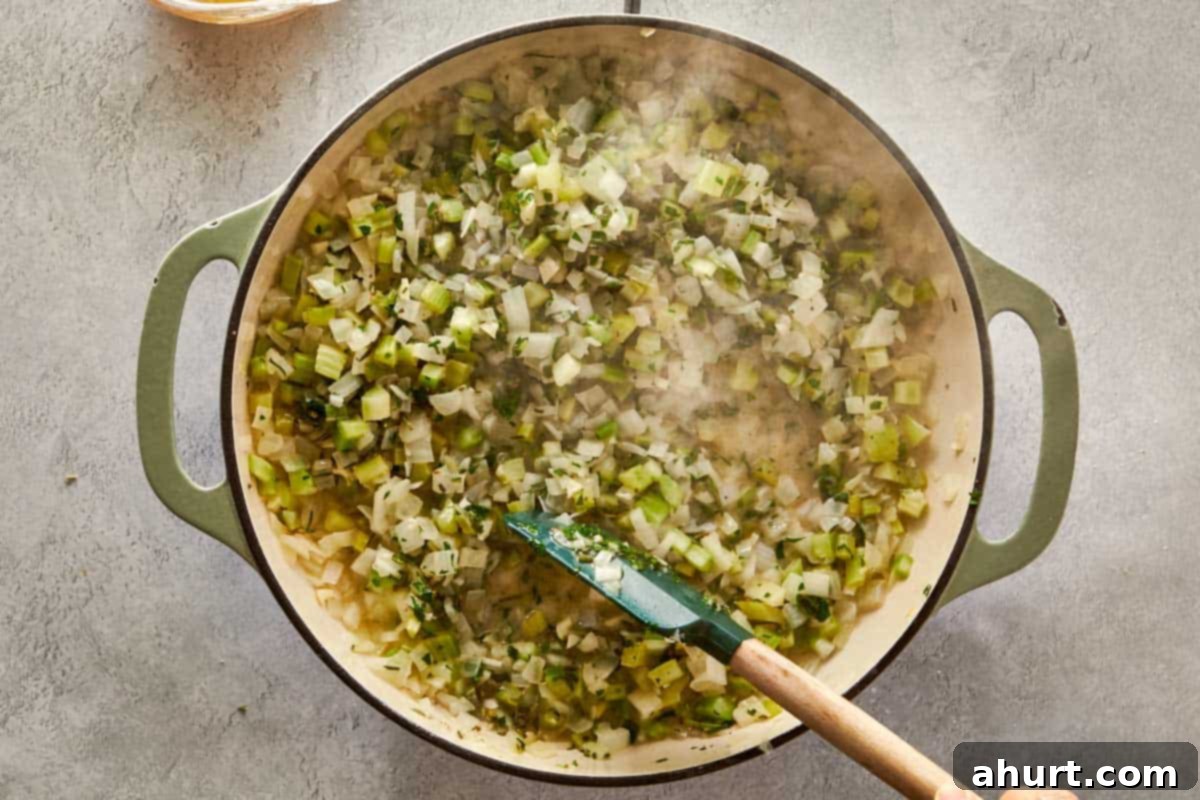
- Infuse with Herbs: Stir in the chopped fresh sage, parsley, and rosemary. Cook for just one minute more, stirring constantly. This brief cooking time allows the herbs to release their fragrant oils and bloom, intensifying their aroma without becoming bitter. Your kitchen will already start to smell like a holiday!
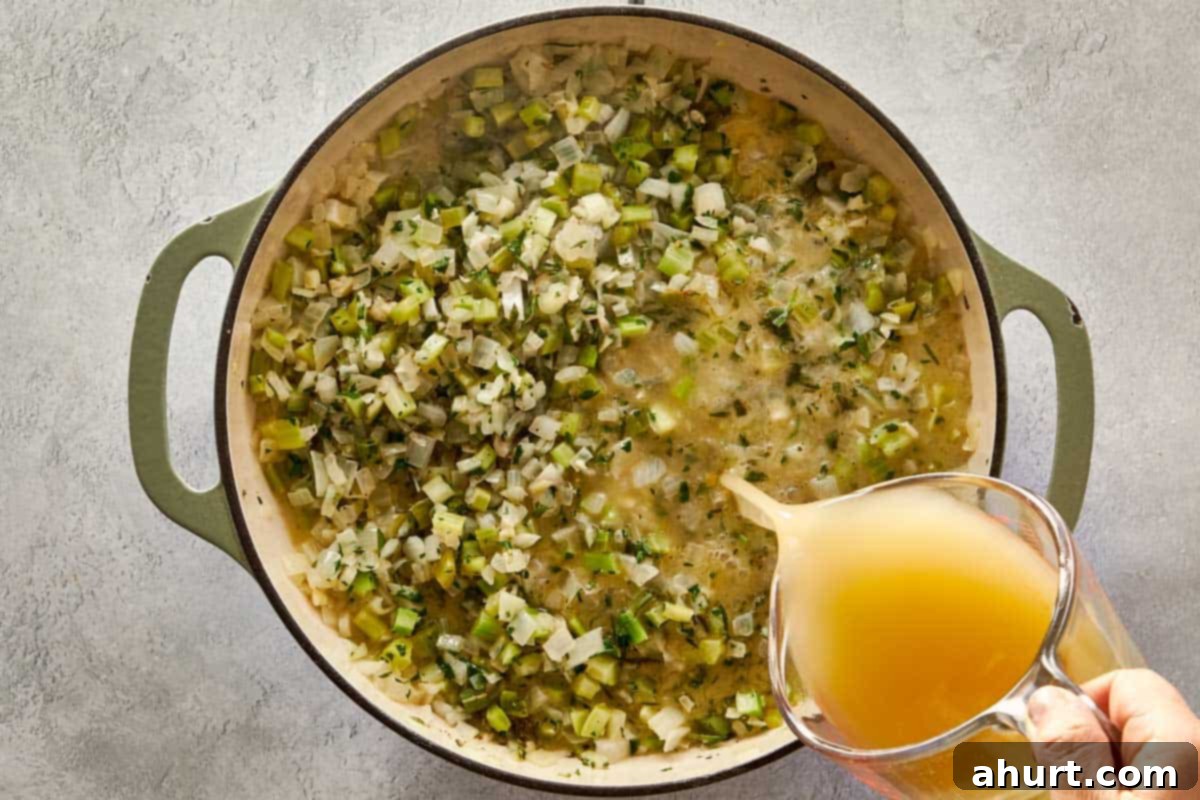
- Add the Stock: Pour in one cup (250 ml) of the chicken stock. Stir well to ensure the onion and celery mixture is thoroughly coated. This adds essential moisture and flavor before combining with the bread. Remove the skillet from the heat.
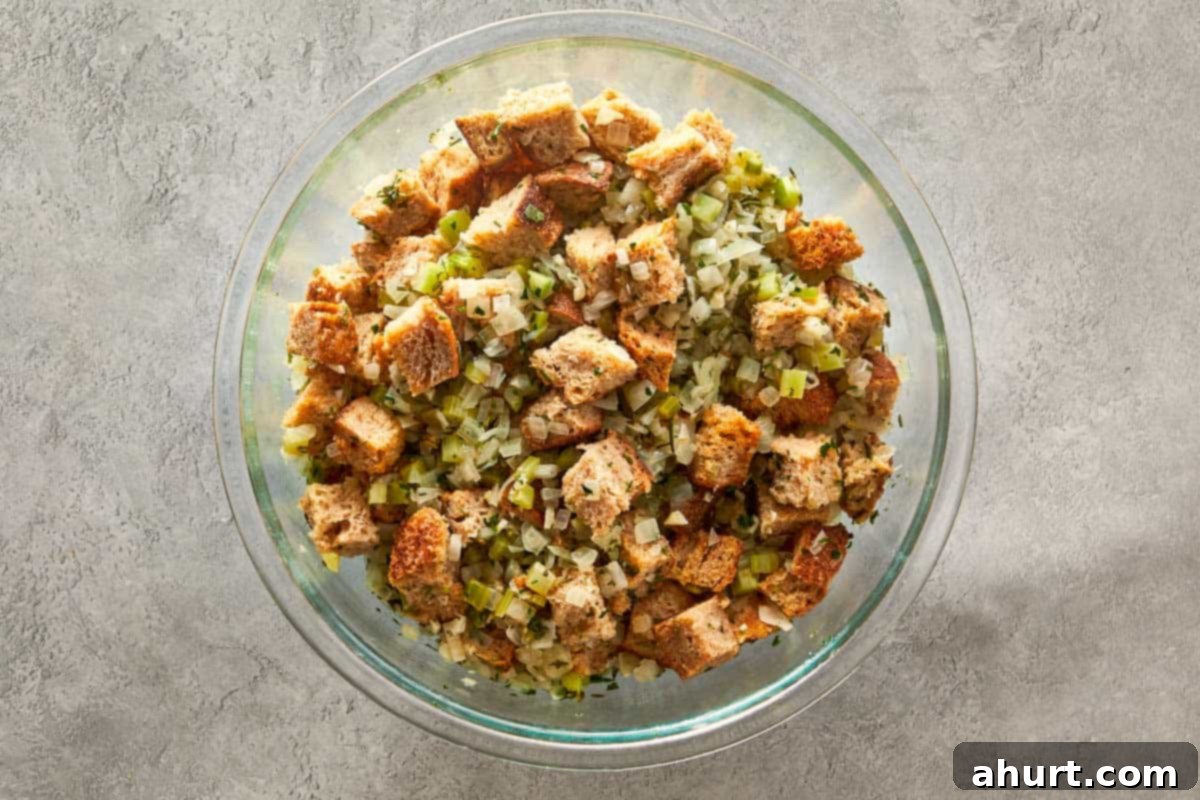
- Combine Ingredients: Transfer the cooled, toasted bread cubes into a large mixing bowl. Pour the warm onion-celery-herb mixture over the bread. Gently toss everything together until the bread cubes are evenly coated with the aromatic mixture. Be careful not to crush the bread.
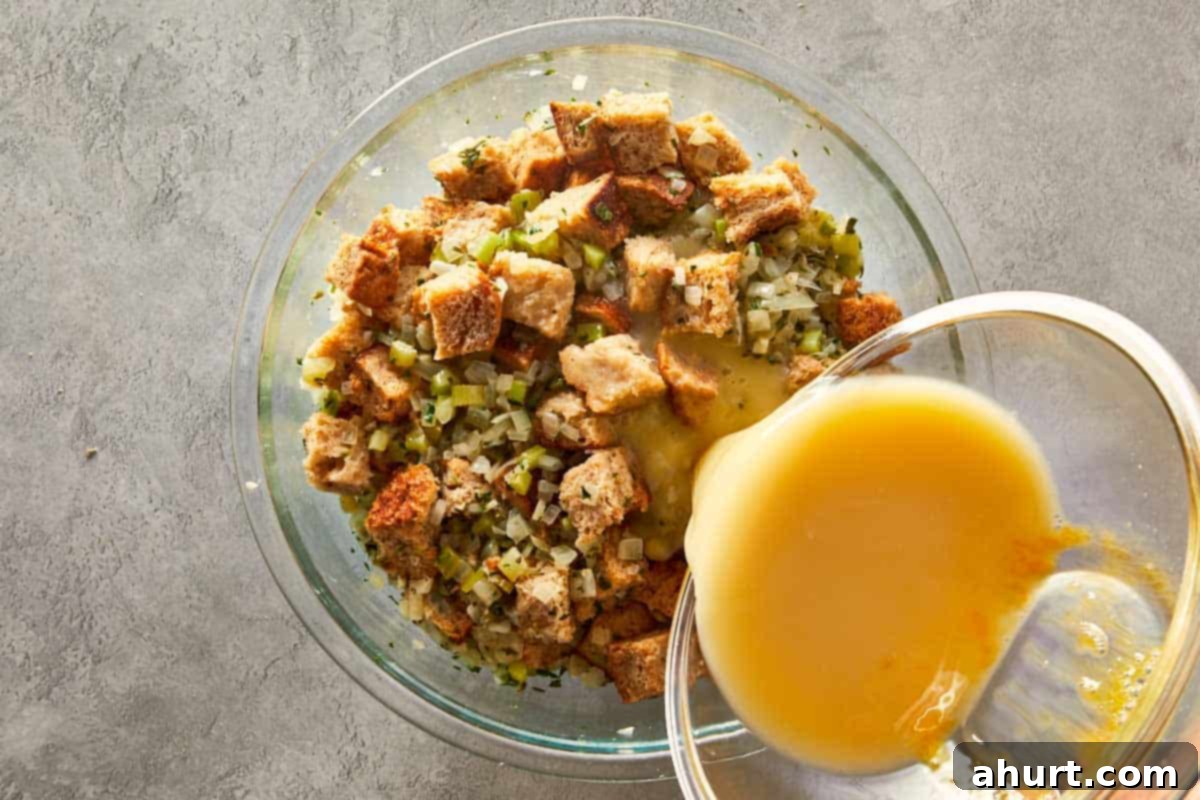
- Add Final Liquids: In a separate small bowl, whisk together the remaining 1 ½ cups (375 ml) of chicken stock and the lightly beaten eggs. Pour this liquid mixture evenly over the bread and vegetable mixture. Continue to gently toss until all ingredients are thoroughly combined and the bread cubes are evenly moistened. The mixture should feel damp but not saturated.
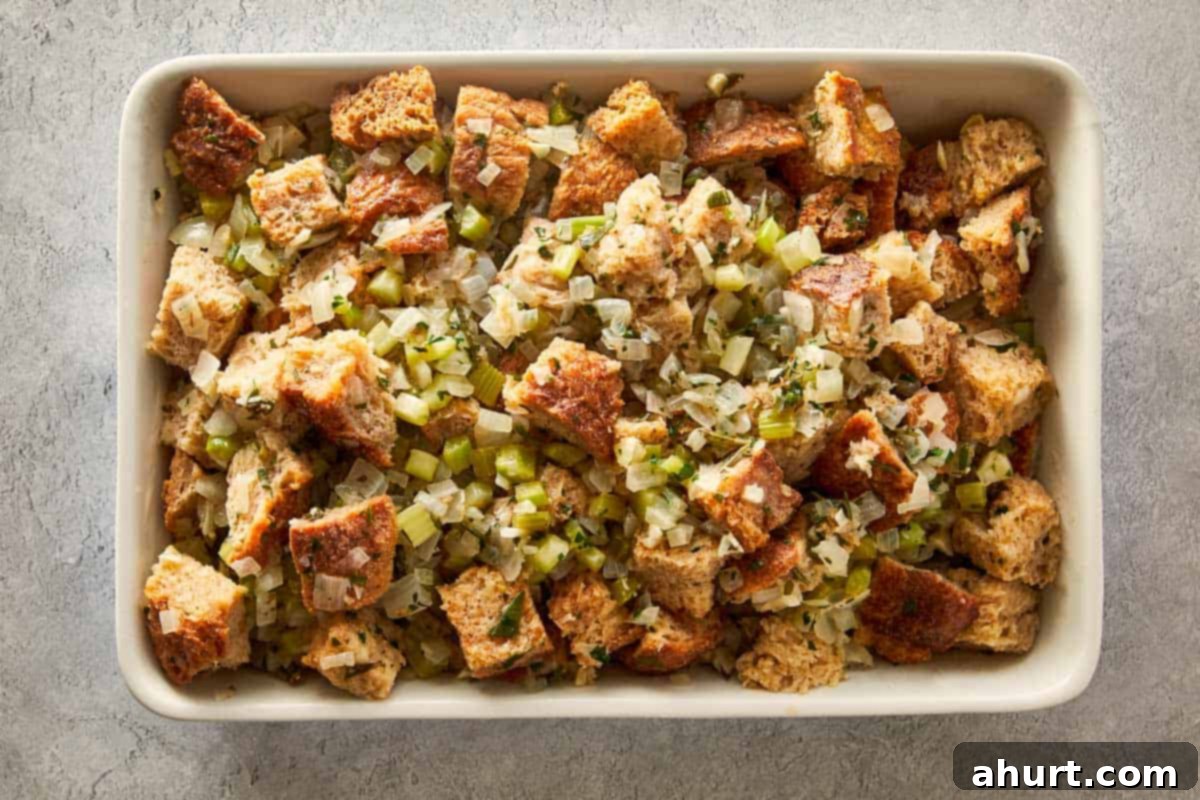
- Bake to Perfection: Transfer the prepared stuffing mixture into a generously greased baking dish, spreading it evenly. Bake uncovered in the preheated oven for 45-50 minutes, or until the top is beautifully golden brown and delightfully crisp. This uncovered baking allows those desirable crunchy edges to form.
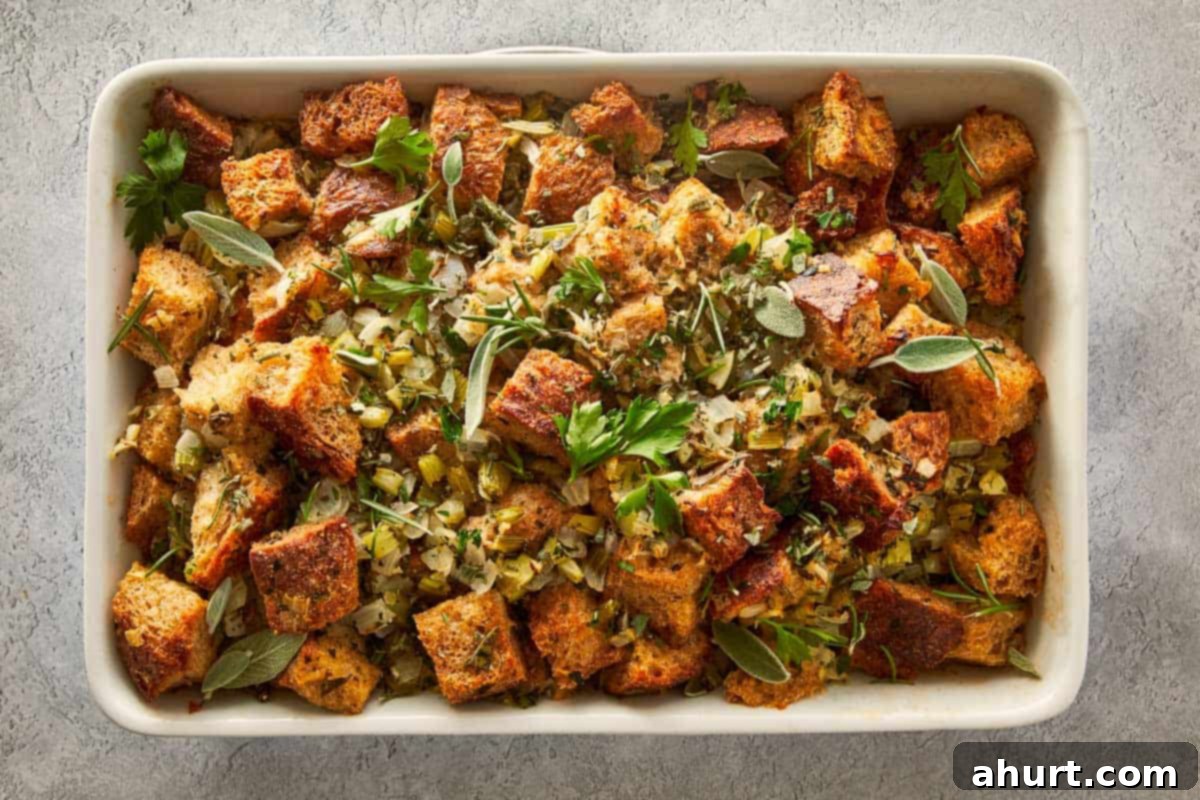
- Serve & Enjoy!: Once baked, remove the stuffing from the oven and let it rest for a few minutes. Before serving, sprinkle generously with additional chopped fresh herbs for a vibrant burst of flavor and a beautiful presentation. Get ready for everyone to dig in!
Curious to see the entire process visually? You can See It In Action and follow the full step-by-step video tutorial to ensure a flawless execution.
This buttery herb stuffing is truly versatile and pairs exceptionally well with a variety of main courses. I often serve it alongside my incredible Beer Brined Turkey, where the rich, savory stuffing complements the crackly skin and flavorful, beer-infused taste of the turkey, leaving guests speechless. For a delightful medley of textures and flavors, consider the Honey Roasted Butternut Squash & Brussels Sprouts with Bacon – smoky, sweet, and wonderfully messy in the best possible way.
If you’re hosting a smaller gathering this year, my Simple Crispy Roast Chicken offers all the pleasant goodness of a holiday roast without the need for a massive bird. To add a vibrant splash of color and an irresistible crunch, I’m absolutely obsessed with Parmesan Roasted Carrots; they caramelize beautifully and boast just a hint of garlic that ties everything together. And for an elegant side that truly delivers a wow factor, the creamy, cheesy elements of Creamed Spinach Stuffed Pork Chops will be remembered long after the meal is over.
Expert Tips for Unforgettable Stuffing
There’s nothing quite like that moment when the entire kitchen fills with the intoxicating scent of butter and herbs, and suddenly, everyone converges, eager to “help” or simply sneak a taste. That’s your cue—you’ve nailed it! But even with a foolproof recipe, a few insider tips can elevate your stuffing from great to truly unforgettable. Here’s what I’ve learned over years of holiday cooking:
- Master the Make-Ahead: Streamline your holiday cooking by preparing components in advance. You can toast the bread cubes and cook the aromatic vegetables up to two days before baking. For maximum convenience, assemble the entire stuffing mixture the night before you plan to bake it. Cover it tightly with plastic wrap or foil and refrigerate. When baking day arrives, simply pull it straight from the fridge and add 5-10 extra minutes to the baking time to ensure it heats through evenly and develops that perfect golden crust.
- Achieve Moist, Not Soggy, Texture: The key to ideal stuffing texture is finding that sweet spot between dry and drenched. Your bread mixture should feel just damp enough to hold its shape when gently squeezed in your hand, but it shouldn’t drip any liquid. If it feels too dry, don’t hesitate to drizzle in a little more warm chicken stock until you reach the desired consistency. This balance ensures a tender interior without a mushy outcome.
- Bake It Separately for Optimal Crispness: While some traditions call for stuffing inside the turkey, I wholeheartedly recommend baking your stuffing in a separate dish. This method guarantees those coveted, crispy, buttery edges that everyone clamors for. Baking outside the bird also ensures more consistent cooking and eliminates potential food safety concerns. If you do choose to stuff your turkey, remember to use a food thermometer to ensure the center of the stuffing reaches a safe internal temperature of 165°F (74°C).
- Reheat Leftovers with Care: Dry, crumbly stuffing leftovers are a tragedy. To preserve its moistness and flavor when reheating, always drizzle a little extra chicken stock or melted butter over the top. Cover the baking dish tightly with foil and warm it gently in the oven at a low temperature (around 300-325°F or 150-160°C) until heated through. Resist the urge to microwave it, unless you’re content with sadly textured bread.
- Stuffing or Dressing? A Friendly Debate: Technically, “stuffing” refers to the mixture cooked inside the bird, absorbing its juices, while “dressing” is baked in a separate casserole dish. However, in modern kitchens, the terms are often used interchangeably. Honestly? Don’t get caught up in the semantics. Call it whatever brings you the most joy – the delicious taste is what truly matters!
- Seasoning is Key: Don’t be shy with salt and pepper. Taste the vegetable mixture before adding it to the bread. Adjust seasonings as needed to ensure a well-balanced flavor that isn’t bland. Remember, bread absorbs a lot of seasoning!
- Don’t Overmix: Once you’ve added the liquid, toss the mixture gently and just until combined. Overmixing can lead to a dense, tough stuffing. We want light, airy cubes that still have some structure.
Frequently Asked Questions About Stuffing
For the best stuffing, opt for sturdy, day-old bread varieties that can absorb liquid without disintegrating. Excellent choices include French bread, sourdough, challah, or a rustic white loaf. You want those bread cubes to toast up nicely and then soak in all the buttery, herb-infused broth, ultimately giving you a stuffing with fantastic texture and flavor. Avoid very soft, fresh sandwich bread which tends to turn mushy.
Keeping your stuffing perfectly moist involves a few strategies. First, ensure you use enough liquid (chicken stock and eggs) in the mixture. Second, cover the dish with foil for the initial part of baking, removing it only for the last 15-20 minutes to allow the top to crisp. Every oven varies, so keep an eye on it! If you notice it drying out too quickly halfway through baking, simply drizzle a little more warm chicken stock or melted butter over the top and cover it with foil for a few more minutes. This trick works like magic to rehydrate it.
Yes, you absolutely can make stuffing without eggs! The eggs primarily serve as a binder, helping the stuffing hold together a bit more firmly. If you choose to omit them, simply increase the amount of chicken stock and melted butter slightly to ensure the bread cubes are adequately moistened and cohesive. The flavor profile won’t change significantly, but the texture might be a touch looser and less unified, which some people actually prefer.
You can certainly get a head start on your stuffing! Toast the bread cubes and sauté your vegetables and herbs up to two days in advance, storing them separately. For maximum convenience, you can fully assemble the stuffing mixture (combining bread, cooked veggies, stock, and eggs) the night before baking. Cover it tightly and refrigerate. On the day of your meal, simply take it out of the fridge about 30 minutes before baking to allow it to come closer to room temperature, then bake as directed until golden and crisp.
Absolutely! To make this stuffing vegetarian-friendly, simply substitute the chicken stock with an equal amount of good quality vegetable stock. The rest of the ingredients are naturally vegetarian, ensuring you still get all that delicious buttery herb flavor without any meat products.
Store any leftover stuffing in an airtight container in the refrigerator for up to 3-4 days. For longer storage, it can be frozen for up to 2-3 months. When freezing, portion it into freezer-safe bags or containers. Thaw in the refrigerator overnight before reheating using the method described in the “Tips for Perfect Stuffing” section.
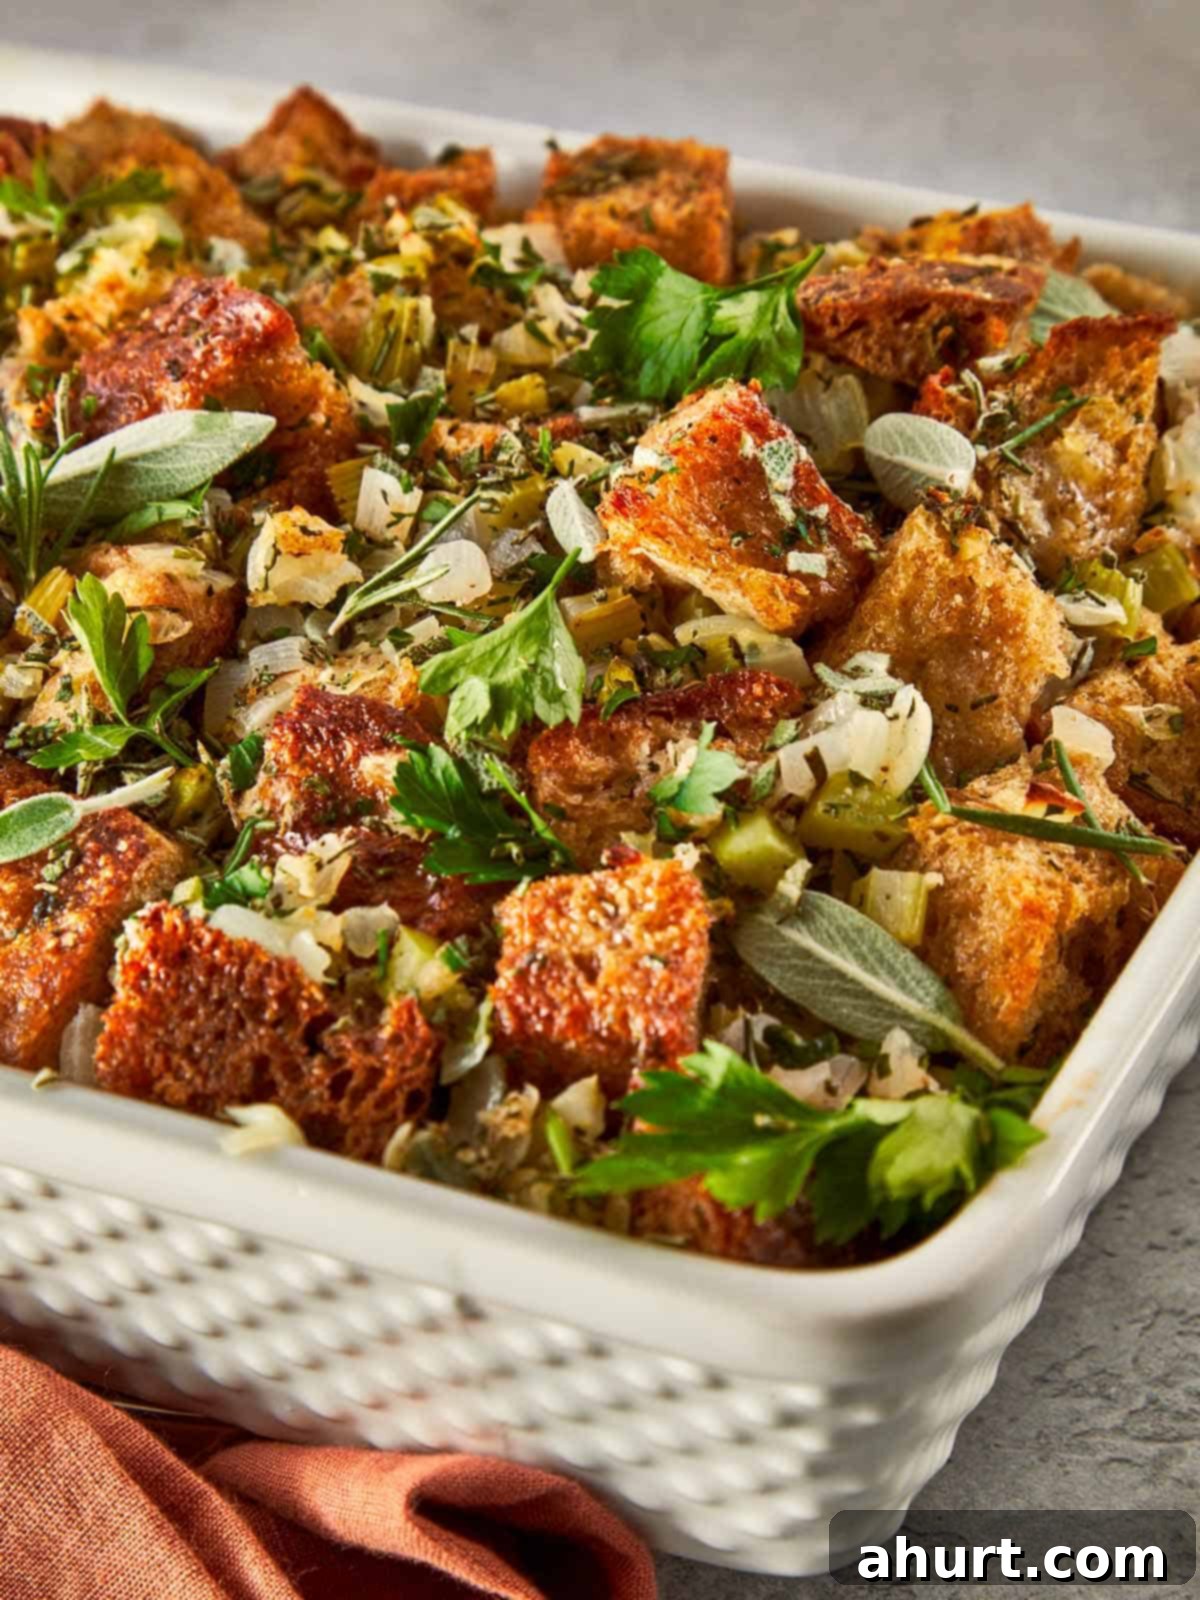
See It In Action: Step-By-Step Video Guide
Watch our detailed video to guide you through each step of making this classic buttery herb stuffing. From toasting the bread to achieving that perfect golden crust, our visual instructions ensure you’ll create a dish that’s as delicious as it is beautiful.
Pin
Homemade Buttery Herb Stuffing Recipe
Ingredients
- 24 oz day-old bread cubes (from French bread, sourdough, or rustic white loaf)
- 1 cup unsalted butter
- 2 large onions diced
- 2 cups celery diced
- 6 garlic cloves minced
- Salt and freshly ground black pepper to taste
- 3 tbsp fresh sage chopped
- 3 tbsp fresh parsley chopped
- 3 tbsp fresh rosemary chopped
- 2½ cups chicken stock divided (use vegetable stock for vegetarian)
- 2 large eggs lightly beaten (optional, for binding)
For garnish
- ⅓ cup fresh herbs chopped (such as parsley, sage, rosemary)
Instructions
-
Preheat your oven to 350℉ (175℃). Spread the bread cubes evenly on a large baking tray. Bake for 15–20 minutes, ensuring to toss them halfway through, until they are lightly golden and dry to the touch, resembling croutons. This prevents soggy stuffing. Once toasted, set them aside in a large bowl to cool.
-
Melt the unsalted butter in a large skillet or Dutch oven over medium heat. Once melted and shimmering, add the diced onions, celery, and minced garlic. Season with a generous pinch of salt and pepper. Cook for 8–10 minutes, stirring occasionally, until the vegetables have softened and become translucent without browning.
-
Stir in the chopped fresh sage, parsley, and rosemary. Cook for just 1 more minute, stirring continuously to allow the herbs to release their aromatic oils and fully infuse the vegetable mixture.
-
Pour in 1 cup (250 ml) of the chicken stock. Stir thoroughly to coat all the vegetables. Remove the skillet from the heat.
-
Add the warm onion–celery–herb mixture to the large bowl with the toasted bread cubes. Toss gently but thoroughly until the bread is evenly coated. Be careful not to crush the bread.
-
In a small separate bowl, whisk together the remaining 1 ½ cups (375 ml) chicken stock and the lightly beaten eggs (if using). Pour this liquid evenly over the bread mixture and gently toss again until all components are fully combined and the bread is uniformly moistened.
-
Transfer the prepared stuffing to a generously greased 9×13 inch (23×33 cm) baking dish, spreading it evenly. Bake uncovered for 45–50 minutes, or until the top is beautifully golden brown and delightfully crisp.
-
Remove from the oven and let it rest for a few minutes. Before serving, sprinkle generously with the extra chopped fresh herbs for added freshness and color. Serve warm and enjoy!
Notes
Butter Is A Flavor, Not An Ingredient: Don’t just melt the butter; let it slowly infuse the onions and celery until your kitchen smells so incredible, you’ll want to live inside the pan. This slow rendering and infusion creates the foundational flavor of your stuffing, so don’t rush this crucial step.
Herbs Taste Different When Warm: To truly highlight the fresh, vibrant essence of the herbs, add a few fresh sprigs and extra chopped herbs after baking, not just mixed in before. The contrast of the hot, savory bread and the cool, aromatic fresh herbs makes every single bite feel brighter and more dynamic.
Don’t Fear The Crunchy Bits: Those caramelized, slightly crispy corners and bits on the top and edges of the stuffing are often the most prized and delicious parts. They offer a delightful textural contrast to the soft interior. If someone tries to scrape them off the pan before dinner, just pretend you didn’t see it – they’re worth fighting for!
Size Matters (For Bread Cubes, I Mean): The uniform size of your bread cubes is more important than you might think. If they’re too small, they’ll quickly turn to mush when moistened. If they’re too large, they won’t absorb the liquid evenly, leading to dry spots. Aim for roughly 1-inch pieces; this size allows for optimal absorption and ensures the cubes still feel like distinct pieces of bread with good texture.
If You’re Making It Ahead: While you can assemble the stuffing a day in advance, it’s crucial to bring it to room temperature before baking. Cold stuffing takes significantly longer to heat through and crisp up, and you might miss out on those desired golden, crunchy edges. Allow it to sit on the counter for at least 30 minutes before it goes into the oven.
For A Little Twist: Feeling adventurous? Try swapping out part of the chicken broth for an equal amount of unsweetened apple cider. It introduces a subtle, unexpected sweetness that beautifully complements the savory herbs and butter, making the flavors sing a little louder and adding an extra layer of complexity.
Rest, Like You Mean It: Once your stuffing emerges golden and bubbling from the oven, resist the urge to immediately dig in. Let it rest, uncovered, for about 10 minutes. This resting period allows the butter and savory liquids to redistribute evenly throughout the bread, ensuring that every bite tastes incredibly moist, flavorful, and exactly where it was meant to be.
Chef’s Confession: I once claimed I’d “just taste one spoonful” during recipe testing and ended up devouring half the tray. This stuffing is truly that addictive, so consider yourself warned – and maybe just make extra to be safe!
Nutrition
Nutrition information is automatically calculated, so should only be used as an approximation.
