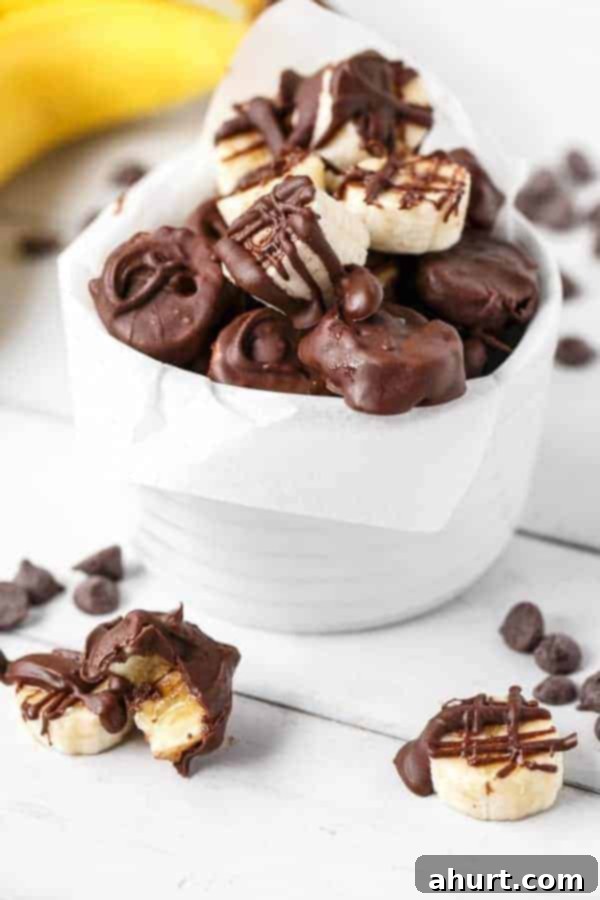
Easy & Delicious Chocolate Covered Bananas: Your Guide to a Perfect Healthy Treat
Imagine a symphony of flavors and textures in every bite: the creamy sweetness of ripe banana, enveloped in a crisp, decadent layer of chilled chocolate. That, my friends, is the magic of **Chocolate Covered Bananas**. They’re not just a snack; they’re the ultimate guilt-free indulgence, incredibly simple to make, and utterly satisfying when that sweet craving hits.
This chocolate covered banana recipe is a testament to how the simplest ingredients can create something extraordinary. It’s incredibly straightforward, yet the result is so profoundly delicious that you’ll wonder why you haven’t made them a staple in your kitchen sooner. With each bite, the smooth, rich chocolate yields to the soft, fruity center, creating an experience that is both refreshing and deeply comforting. If you’ve ever sought a quick, easy, and healthy dessert option, look no further – this recipe is your deliciously effortless answer.
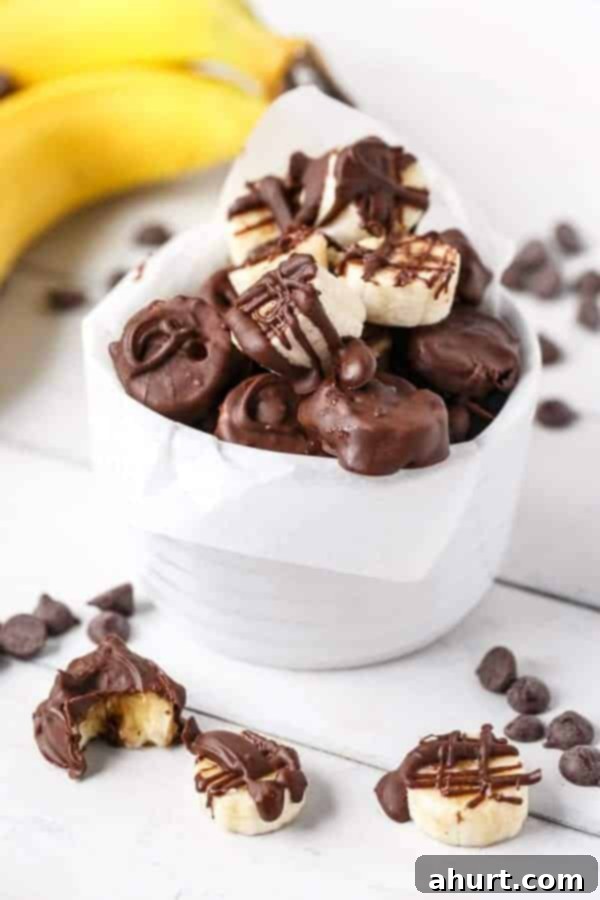
Why This Chocolate Covered Banana Recipe Is a Must-Try
This **chocolate covered banana** recipe is more than just a simple snack; it’s a perfectly balanced treat that proves wholesome can be incredibly indulgent. The inherent sweetness of perfectly ripe bananas creates a harmonious contrast with the deep, sometimes slightly bitter, notes of high-quality dark or creamy milk chocolate. This flavor profile is not only satisfying but also feels remarkably wholesome, making it an ideal choice for any time of day.
One of the key elements that makes this recipe shine is the chilling process. Preparing and slicing the bananas before dipping, and then chilling them briefly, ensures the chocolate sets rapidly. This rapid setting is crucial for achieving that delightful, snappy crunch with every bite, a texture that elevates the simple banana to a gourmet experience. Beyond the taste, the appeal lies in its utter simplicity. You only need a handful of readily available ingredients and minimal preparation time, making it the ultimate solution for how to make chocolate covered bananas without any fuss or complicated steps. It’s a sweet escape that comes together in minutes, perfect for busy schedules or impromptu cravings.
Essential Ingredients for Your Perfect Chocolate Covered Bananas
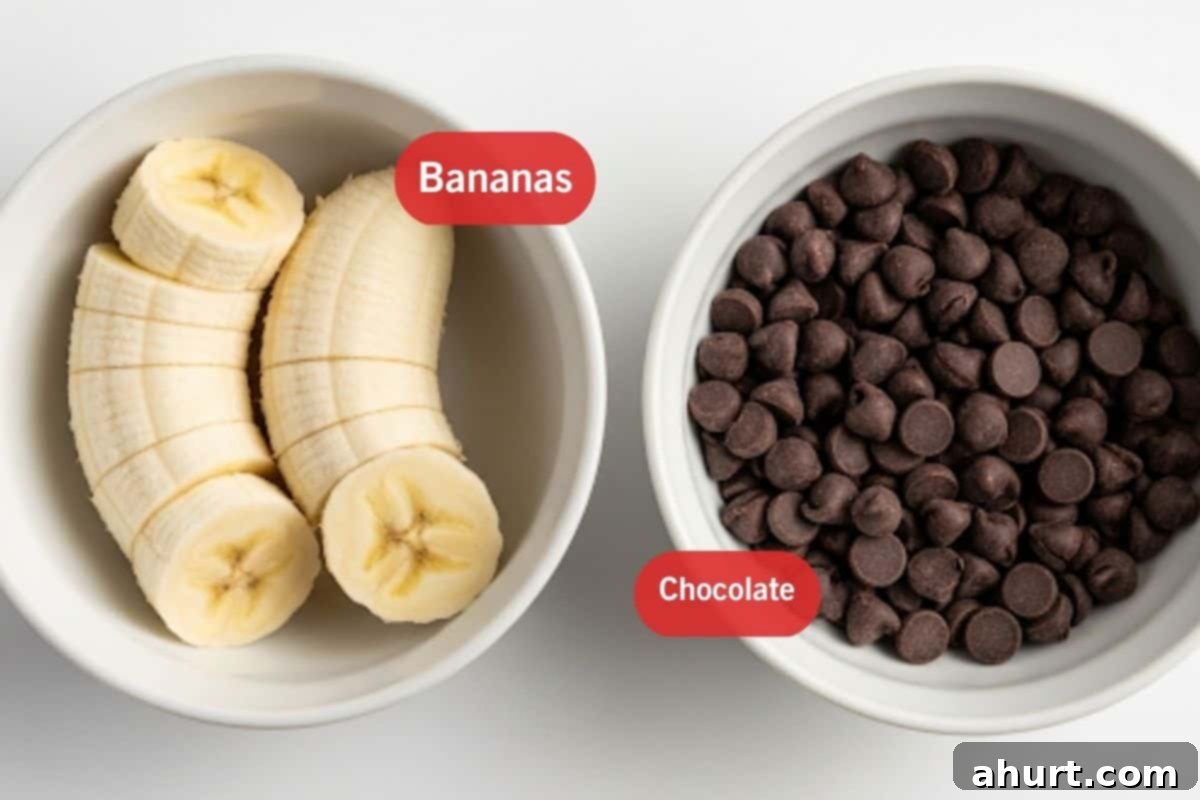
At its core, this recipe for chocolate covered bananas requires just two star ingredients. However, the beauty of this treat lies in its versatility. You can easily customize it with different chocolate types and a variety of toppings to truly make it your own signature creation.
- Bananas: The foundation of our delightful snack! For the best results, select bananas that are ripe but still firm. They should have a few small brown spots, indicating peak sweetness, but shouldn’t be overly soft or mushy. This ensures a creamy texture that holds its shape beautifully when sliced and dipped. Under-ripe bananas can be starchy, while over-ripe ones might become too soft once chilled.
- Chocolate of Choice: This is where you get to personalize your treat!
- Dark Chocolate: For a more sophisticated and slightly bitter flavor that beautifully complements the banana’s sweetness. Opt for 70% cacao or higher for a richer taste and more antioxidants.
- Milk Chocolate: A classic choice for those who prefer a sweeter, creamier, and more familiar chocolate taste. It provides a comforting sweetness that kids often adore.
- White Chocolate: Offers a distinct, buttery sweetness, creating a beautiful visual contrast and a different flavor profile.
- Chocolate Chips vs. Baking Bars: While chocolate chips work, baking bars or high-quality chocolate callets often melt smoother and coat bananas more evenly.
- Coconut Oil (Optional but Recommended): A tiny splash of neutral-flavored coconut oil (about 1 teaspoon per cup of chocolate) is a secret weapon. It helps to thin the melted chocolate slightly, making it smoother and easier to dip, resulting in a more even and glossy coating. It also helps the chocolate set quicker and gives it a nice snap. You can use a similar amount of butter or shortening, but coconut oil tends to be favored for its subtle flavor and healthy fat content.
- Toppings (Optional & Highly Recommended for Extra Fun): This is your chance to get creative! Apply toppings immediately after dipping, while the chocolate is still wet, for them to adhere properly.
- Crushed Nuts: Almonds, walnuts, pecans, peanuts – add a fantastic crunch and nutty flavor.
- Shredded Coconut: Toasted or untoasted, it adds a tropical flair.
- Sprinkles: A festive and fun option, especially for kids or parties.
- Sea Salt Flakes: A sprinkle of flaky sea salt on dark chocolate covered bananas creates an irresistible sweet and savory combination.
- Granola: For an extra layer of crunch and texture.
- Mini Chocolate Chips: Double the chocolate, double the fun!
- Crushed Cookies: Oreos, Graham crackers, shortbread – for a delightful textural contrast.
- Cinnamon or Chili Powder: A pinch for an unexpected warm or spicy kick, particularly with dark chocolate.
Note: Please see the recipe card at the bottom for a full list of ingredients with precise measurements for the base recipe.
Equipment You’ll Need:
- Baking sheet or tray
- Parchment paper, wax paper, or silicone mat
- Heatproof metal bowl (for stovetop method) or microwave-safe bowl (for microwave method)
- Small saucepan (for stovetop method)
- Fork, spoon, or small tongs for dipping
- Cutting board and knife for slicing bananas
How To Make the Best Chocolate Covered Bananas: Step-by-Step Guide
Making these delightful treats is incredibly simple. Just follow these easy steps for perfectly coated, delicious chocolate covered bananas every time.
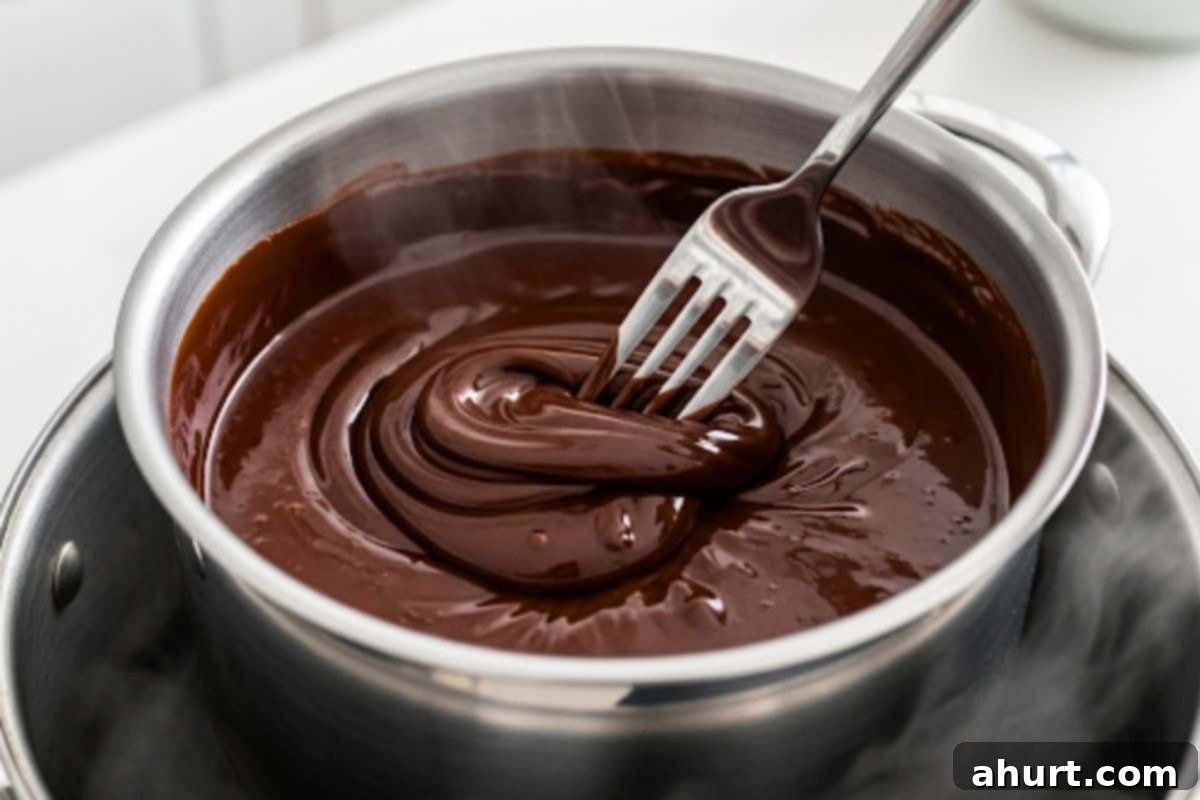
- Prepare Your Chocolate (Stovetop Method): For a gentle and controlled melt, place your chosen chocolate (and optional coconut oil) in a heatproof metal bowl. Set this bowl directly over (but not touching) a small saucepan of gently simmering water. The steam will provide indirect heat, preventing the chocolate from burning. Stir continuously with a fork or spatula until the chocolate is fully melted and beautifully smooth. Remove from heat immediately once melted.
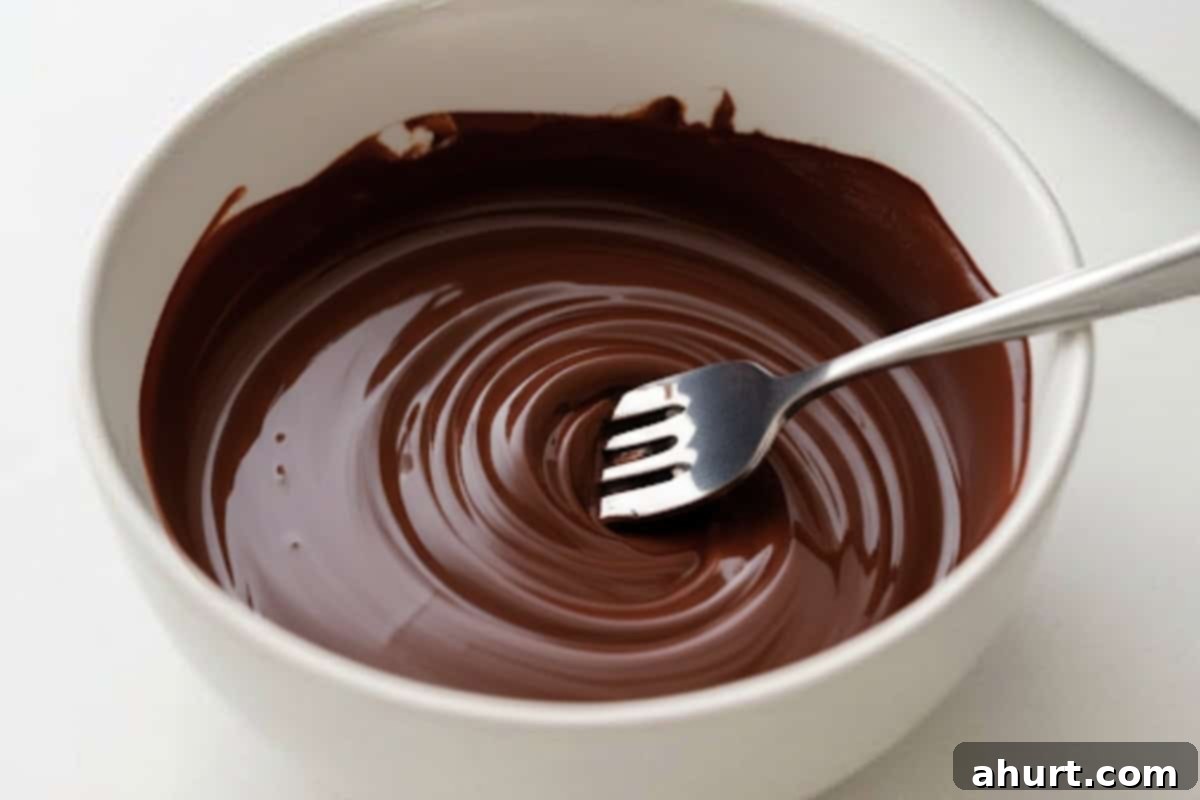
- Prepare Your Chocolate (Microwave Option): If using the microwave, place your chocolate (and optional coconut oil) in a microwave-safe bowl. Heat on high for 30 seconds. Remove the bowl and stir the chocolate vigorously, even if it doesn’t look fully melted yet – this helps distribute the heat. Return to the microwave for another 30 seconds, then stir again until smooth and glossy. If necessary, microwave in 10-second increments thereafter, stirring well after each, until perfectly melted. Be careful not to overheat, as chocolate can seize.
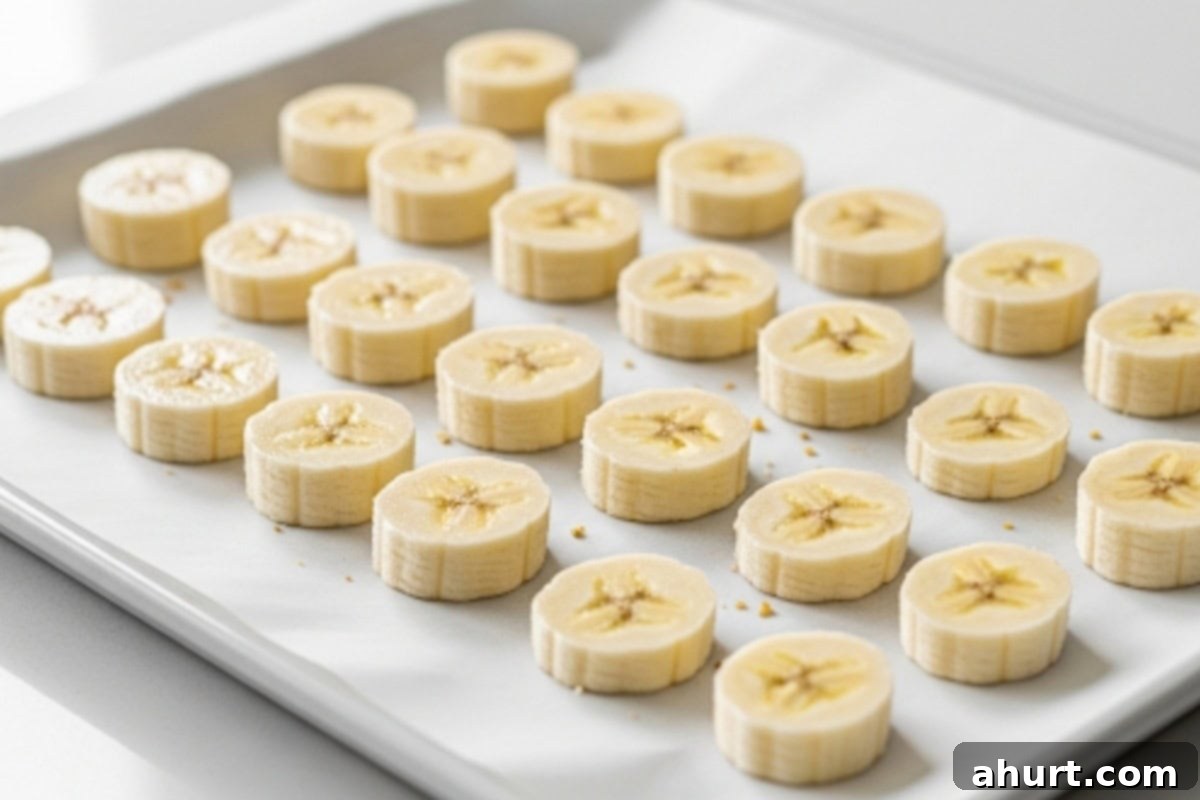
- Ready the Bananas: Line a baking sheet or tray with parchment paper, baking paper, or wax paper. This prevents the chocolate covered bananas from sticking. Take your ripe but firm bananas and slice them into half-inch thick pieces. You can also cut them lengthwise or use whole bananas on sticks if you prefer a different presentation. For best results, you can even chill the sliced bananas for 10-15 minutes before dipping; this helps the chocolate set even faster.
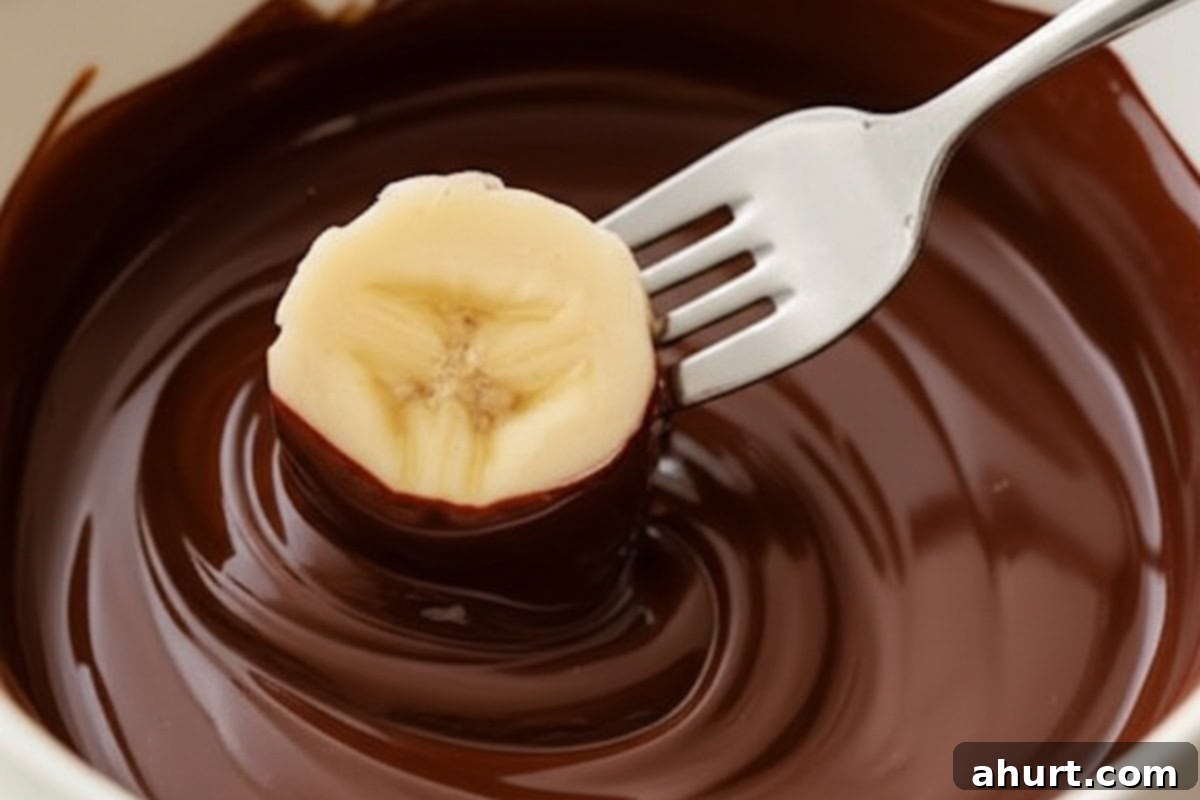
- Start Dipping: Using a fork, toothpick, or small tongs, carefully dip one banana slice at a time into the melted chocolate. Ensure it’s fully coated, then gently lift it out. Hold each piece upside down for a moment, allowing any excess chocolate to drip back into the bowl. This prevents puddles of chocolate on your baking sheet and ensures a neat, even coating. If adding toppings, this is the time to sprinkle them on!
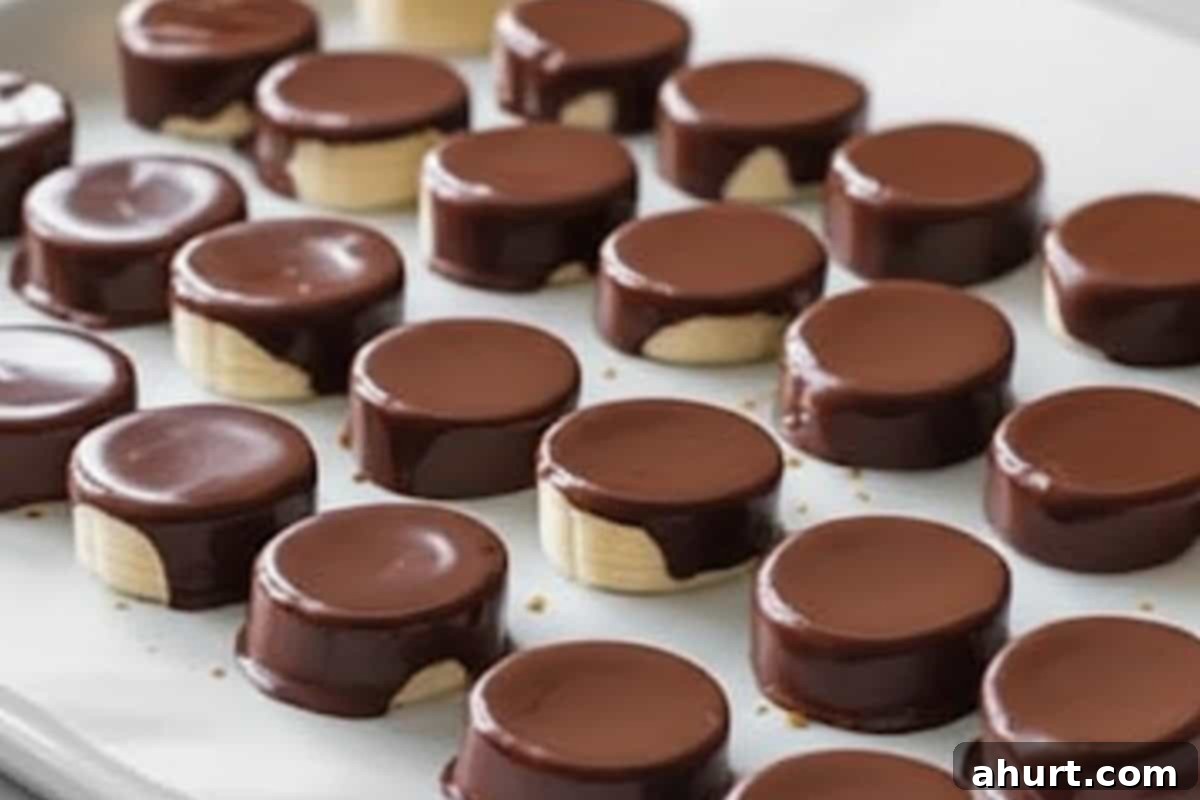
- Arrange and Decorate: Carefully place each dipped banana onto the prepared baking sheet, ensuring there’s a small space between each piece to prevent sticking. If you prefer, you can also drizzle some banana slices with chocolate instead of fully dipping them for a lighter touch, or sprinkle generously with your chosen toppings right after dipping.
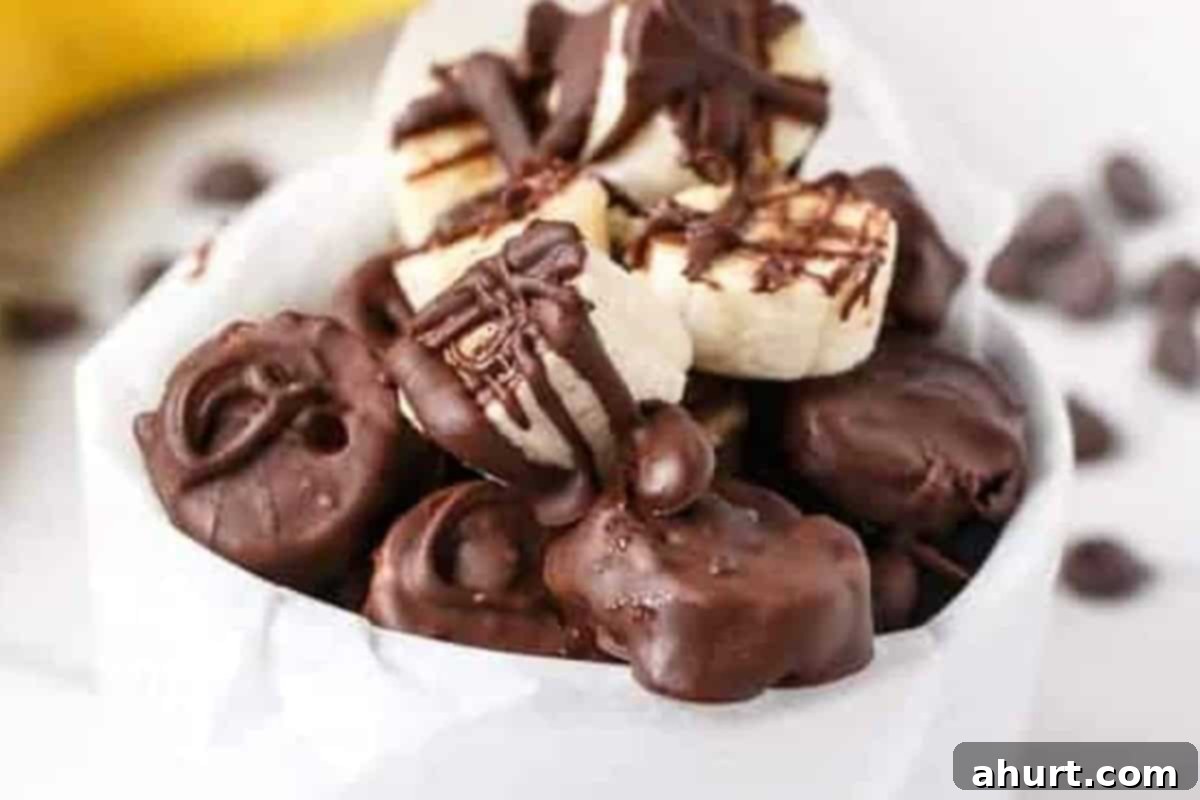
- Chill Until Set: Once all bananas are dipped and decorated, transfer the baking sheet to the refrigerator. Chill for approximately 30–40 minutes, or until the chocolate coating is completely firm and set. The waiting might be the hardest part! Once firm, they are ready to serve immediately, or you can store them in the fridge or freezer for later snacking.
These versatile Chocolate Covered Bananas are fantastic on their own, but they also make a wonderful accompaniment to other dishes. Pair them with Caramelized Fig Toasted Oatmeal for a cozy, contrasting breakfast or dessert. Enjoy them as a light, sweet finish after a fresh Pomegranate Cobb Salad to balance the savory notes. For an extra touch of indulgence, serve them alongside Maple Grilled Peaches & Almond Cookie Crumb, where the warm, nutty flavors provide a perfect complement to the cool, chocolatey bananas.
Expert Tips for the Best Chocolate Covered Bananas
Achieving perfectly crisp, non-cracking chocolate and creamy banana centers is easy with these insider tips:
- Choose the Right Bananas: As mentioned, ripe but firm is key. Overripe bananas become too soft and watery when frozen, which can lead to ice crystals and a mushy texture.
- Pre-Chill Your Bananas: While optional, a 15-20 minute pre-chill of your sliced bananas in the freezer helps the chocolate set almost instantly, creating a thicker, more even coating and reducing mess.
- Melting Chocolate Matters:
- Low and Slow: Whether using a double boiler or microwave, gentle heat is crucial. Overheated chocolate becomes thick, dull, and prone to seizing.
- Add Coconut Oil (or equivalent): A teaspoon or two per cup of chocolate makes it much smoother, easier to work with, and gives it a beautiful sheen and a satisfying snap when chilled.
- Keep Water Away: Even a tiny drop of water can make your chocolate seize and become grainy. Ensure your bowl and utensils are completely dry.
- Drip Off Excess Chocolate: Don’t rush this step. Holding the banana slice upside down for a few seconds allows excess chocolate to drip back into the bowl, giving you a cleaner, more economical coating.
- Work Quickly with Toppings: Once a banana is dipped, immediately sprinkle on your desired toppings. The chocolate starts setting very fast, especially if the bananas were pre-chilled.
- Prevent Sticking in the Freezer: Place newly dipped bananas on parchment paper and freeze until solid. Once firm, transfer them to an airtight container or freezer-safe bag, separated by layers of parchment paper, to prevent them from sticking together.
- Allow to Temper Slightly Before Eating: If frozen solid, let them sit at room temperature for 5-10 minutes before eating. This prevents the chocolate from cracking excessively and allows the banana to soften slightly to a perfect creamy consistency, which also helps prevent the chocolate from cracking when you bite into it.
Creative Variations & Customizations
The basic chocolate covered banana is fantastic, but it’s also a blank canvas for endless creativity. Here are some ideas to inspire your next batch:
- Whole Bananas on Sticks: For a classic carnival treat, insert a popsicle stick into one end of a peeled whole banana before dipping.
- Double Dip Delight: For an extra thick layer of chocolate, dip the bananas, chill them for 10-15 minutes until the first layer is slightly set, then dip again in melted chocolate.
- Swirls and Drizzles: After the main chocolate coating has set, melt a different type of chocolate (e.g., white chocolate on dark chocolate, or vice versa) and drizzle it artfully over the bananas for a stunning visual effect and extra flavor.
- Flavored Chocolate: Stir in a few drops of food-grade essential oils or extracts into your melted chocolate before dipping. Peppermint, orange, almond, or even a touch of espresso powder can transform the flavor profile.
- Spicy Kick: For an adventurous palate, add a pinch of cayenne pepper or chili powder to dark chocolate for a Mexican hot chocolate inspired twist.
- Nut Butter Swirl: After dipping in chocolate, drizzle melted peanut butter or almond butter over the bananas before chilling.
- Tropical Twist: Dip in white chocolate and then sprinkle with toasted coconut and finely chopped dried mango or pineapple.
- Dessert Skewers: Alternate chocolate covered banana slices with strawberries, marshmallows, or other fruit on a skewer for a colorful and easy-to-eat dessert.
Storing Your Chocolate Covered Bananas
One of the best things about chocolate covered bananas is that they store wonderfully, making them an excellent make-ahead snack!
- Refrigeration: Once the chocolate is fully set, you can store your chocolate covered bananas in an airtight container in the refrigerator for up to 3-4 days. Layer them with parchment paper to prevent them from sticking together. The chocolate will remain firm and the banana will stay fresh.
- Freezing: For longer storage, freeze them! After the chocolate has set, transfer the bananas to a freezer-safe airtight container or a large zip-top bag. Again, placing parchment paper between layers will prevent them from freezing into a solid block. They can be stored in the freezer for up to 2-3 months. When ready to eat, you can enjoy them straight from the freezer for a delightful icy treat, or let them sit at room temperature for 5-10 minutes to soften slightly.
Remember, the fresher the bananas are when you make them, the better they will taste upon thawing or after a few days in the fridge.
Are Chocolate Covered Bananas Healthy?
Chocolate covered bananas offer a fantastic blend of deliciousness and nutritional benefits, making them a much healthier alternative to many other desserts.
- Bananas: These potassium-rich powerhouses are an excellent source of dietary fiber, Vitamin B6, and Vitamin C. They provide natural sugars for energy and help support heart health and digestion.
- Dark Chocolate: Especially if you choose varieties with 70% cacao or higher, dark chocolate is packed with antioxidants, which can help protect your body from free radicals. It also contains minerals like iron, magnesium, and copper, and has been linked to improved brain function and heart health in moderation.
- Controlled Portions: Making your own allows you to control the quality of ingredients and portion sizes, unlike many store-bought options that can be laden with excessive sugar and unhealthy fats.
By combining the natural goodness of fruit with the antioxidant benefits of chocolate, you’re creating a snack that not only tastes incredible but also offers genuine nutritional value. It’s a smart choice for satisfying your sweet tooth while nourishing your body.
Recipe FAQ’s
The best chocolate depends on your preference! You can use dark, milk, or white chocolate. For a classic taste, milk chocolate is great. If you prefer a more intense flavor and want a healthier chocolate banana treat, opt for at least 70% dark chocolate. High-quality baking bars or couverture chocolate will melt smoother and provide a better coating than standard chocolate chips, but chips work perfectly fine too, especially with a touch of coconut oil.
To minimize cracking, ensure your bananas aren’t completely rock-hard frozen when you dip them initially. If they are, let them sit at room temperature for a few minutes before dipping. Also, once the chocolate covered bananas are fully chilled or frozen, allow them to rest for about 5-10 minutes at room temperature before eating. This slight tempering helps prevent the chocolate from cracking when you bite into the cold, firm banana.
Absolutely! Toppings are highly encouraged for extra flavor and texture. Sprinkle on crushed nuts (almonds, peanuts, pecans), shredded coconut (toasted or plain), colorful sprinkles, flaky sea salt, mini chocolate chips, or even crushed cookies. The key is to add your chosen toppings immediately after dipping the banana into the melted chocolate, while the chocolate is still wet and sticky, so they adhere properly.
While you can use previously frozen banana slices, ensure they are not mushy when thawed. For best results, it’s generally recommended to slice fresh bananas and then quickly chill them before dipping. If using frozen, allow them to thaw just slightly (about 5-10 minutes) so they’re not icy hard but still firm, then dip and refreeze.
For a super smooth and shiny coating, ensure your chocolate is melted slowly and gently (using a double boiler is ideal). Adding 1-2 teaspoons of coconut oil (or a neutral oil like canola) per cup of chocolate will also help thin it out and give it a beautiful glossy finish and a nice snap when set. Make sure to stir well until completely smooth, and avoid any water contact which can make chocolate seize.
Saved
Pin
Chocolate Covered Bananas
Ingredients
- 2 Bananas sliced into half an inch slices, ripe but firm
- 1/2 cup chocolate of choice (dark, milk, or white chocolate chips or chopped bar)
- 1 tsp coconut oil (optional, for smoother dipping)
- Optional toppings (crushed nuts, sprinkles, shredded coconut, sea salt flakes)
Instructions
Melting the Chocolate (Choose your method):
-
Stovetop Method: Place your chocolate and optional coconut oil in a heatproof metal bowl. Set this bowl over (not in) a small saucepan with gently simmering water. Stir with a fork or spatula until the chocolate is completely melted and smooth. Remove from heat immediately.
-
Microwave Method: Place your chocolate and optional coconut oil into a microwave-safe bowl. Heat for 30 seconds on high. Remove and stir with a fork (it might not look melted, but stir to distribute heat). Return to the microwave for another 30 seconds. Remove and stir again until smooth. If needed, microwave in 10-second intervals, stirring after each, until perfectly melted and glossy.
Preparing and Dipping the Bananas:
-
Line a baking sheet with parchment, baking, or wax paper. Slice your ripe, firm bananas into half-inch thick pieces. (Optional: Place sliced bananas in the freezer for 10-15 minutes before dipping for faster setting chocolate).
-
Dip each banana slice into the melted chocolate, one at a time. Hold each piece upside down for a moment to allow excess chocolate to drip off.
-
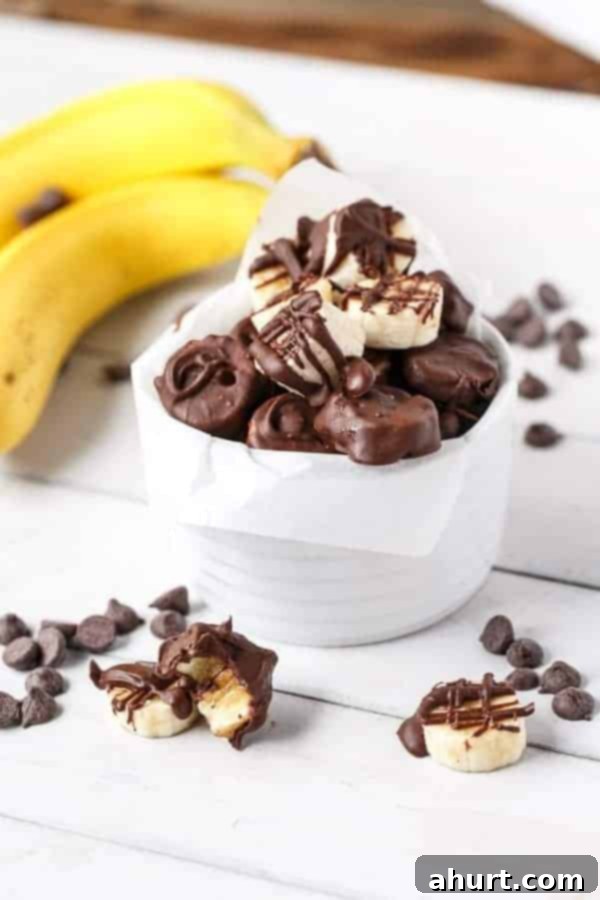
Place each dipped banana onto the prepared baking sheet. If desired, immediately sprinkle with any chosen toppings. For a decorative touch, you can save a few slices and drizzle chocolate over them with a clean metal fork instead of dipping (as pictured).
-
Refrigerate the baking sheet for about 30 – 40 minutes, or until the chocolate has completely hardened and set. Serve immediately for the best texture, or store as directed below.
Nutrition
Nutrition information is automatically calculated, so should only be used as an approximation.
