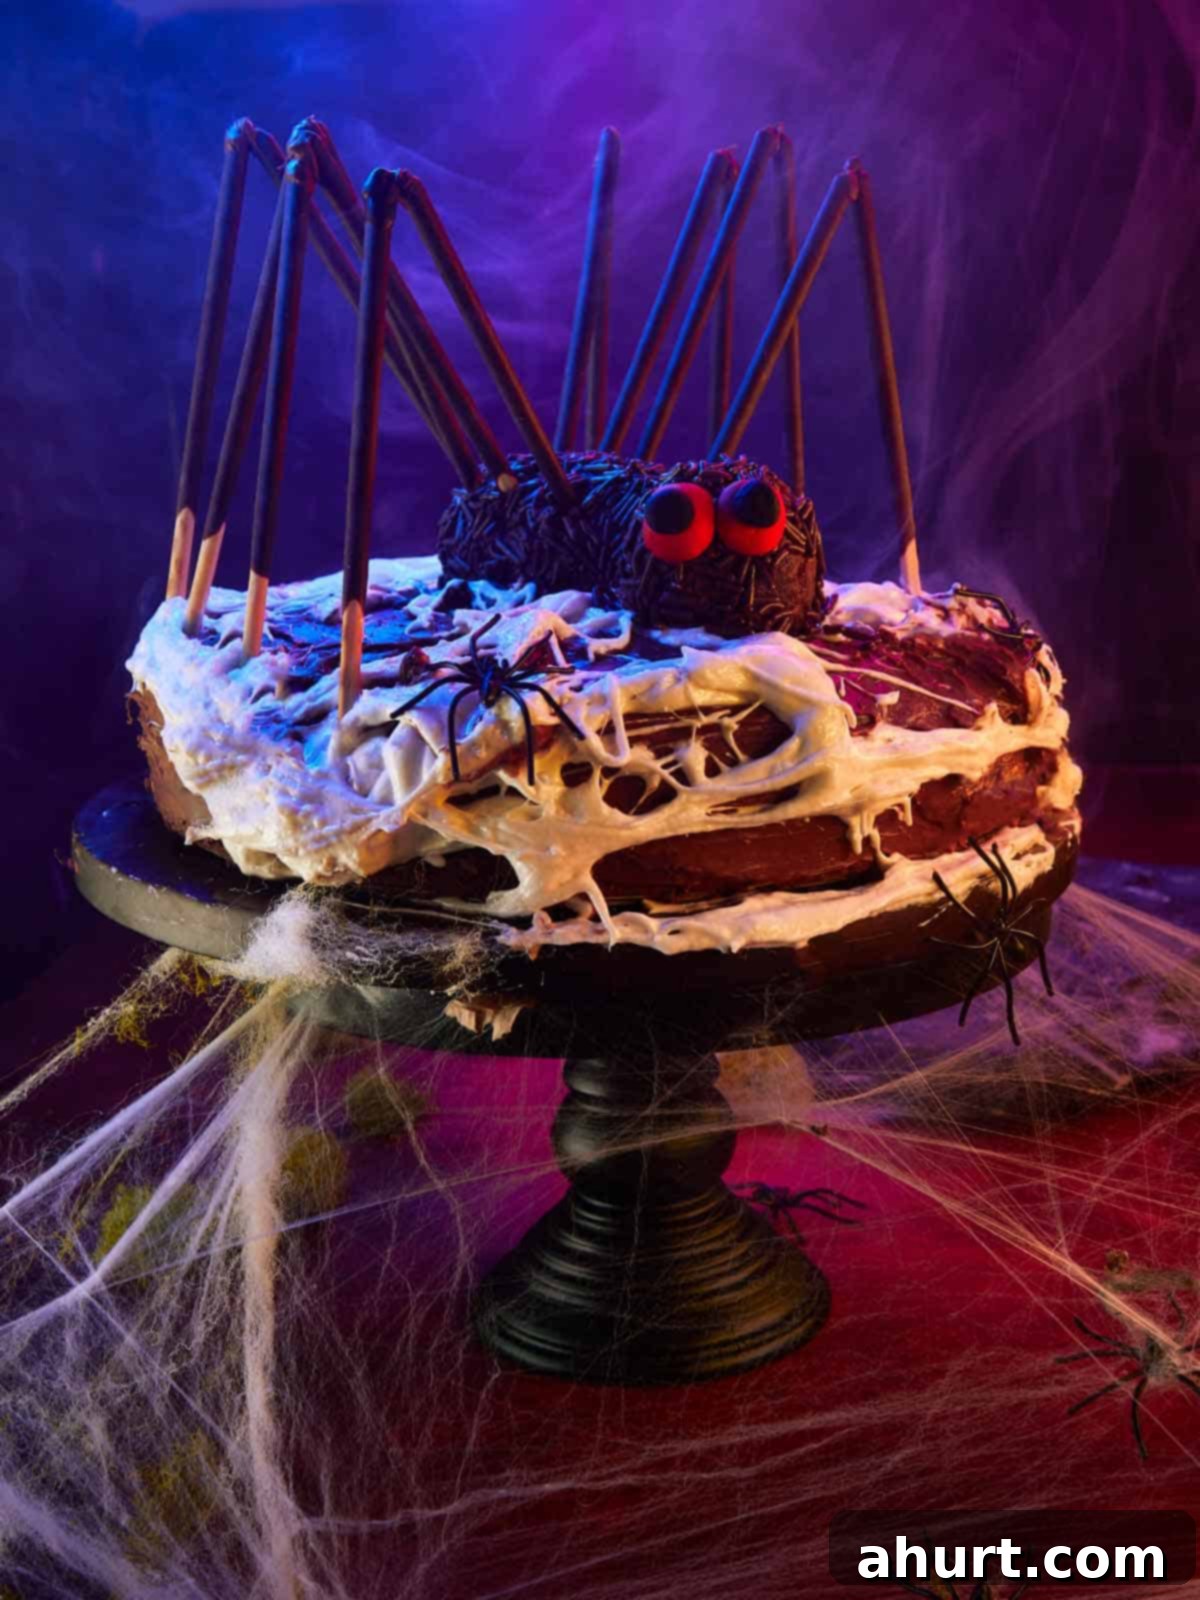
The Ultimate Spooky Indulgence: Master Your Chocolate Spider Layer Cake for Halloween
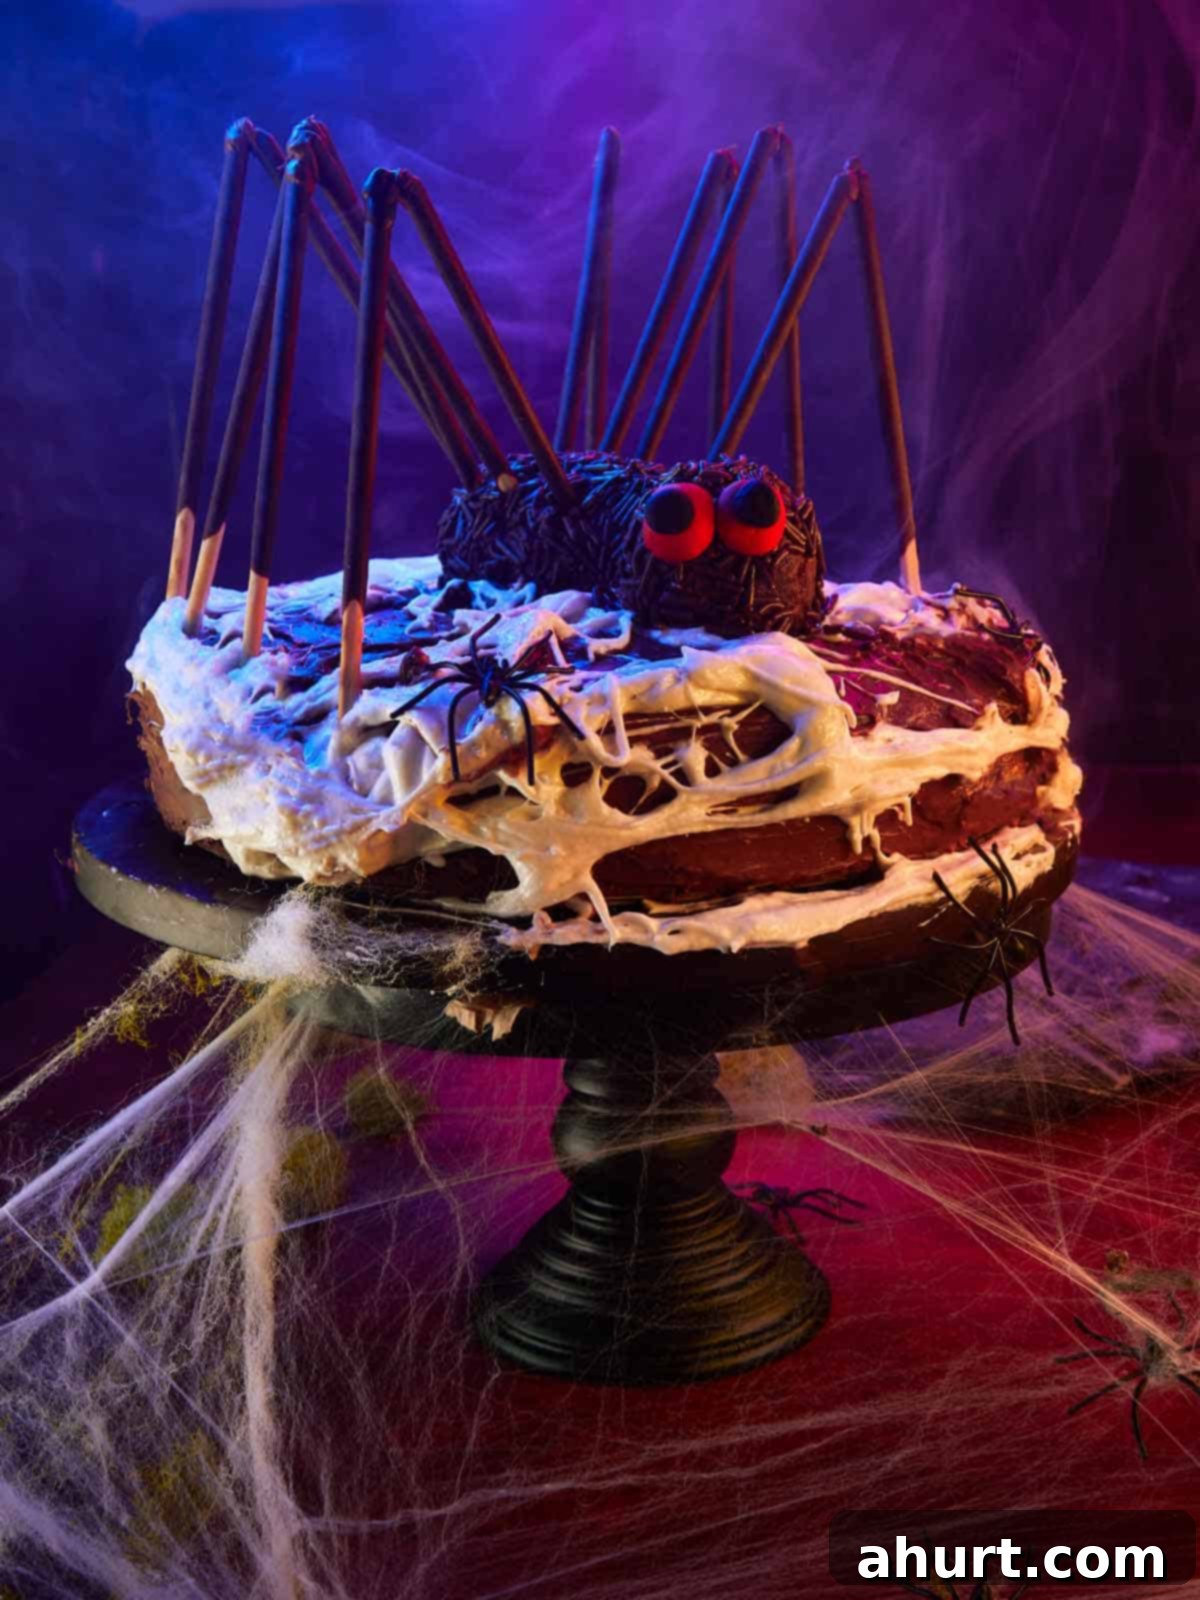
Are you searching for a Halloween dessert that’s truly a feast for both the eyes and the palate? Look no further! This Chocolate Spider Layer Cake is the ultimate spooky showstopper, designed to captivate your guests with its hauntingly beautiful appearance and incredibly rich flavor. Imagine sinking your teeth into soft, fudgy chocolate layers, generously filled and frosted with silky whipped ganache, all enveloped in delicate, sticky-sweet marshmallow webs. Perched atop this dark masterpiece is an edible chocolate spider, adding a playful yet eerie touch. Every forkful is a perfect harmony of textures and deep chocolate taste – a little spooky, a whole lot delicious, and guaranteed to be the star of your Halloween gathering.
Unveiling the Magic: Why This Chocolate Spider Cake Works
What elevates this Chocolate Spider Layer Cake from a simple Halloween treat to an unforgettable culinary experience is the thoughtful interplay of each component. We’ve meticulously crafted every element to contribute to both its striking appearance and its sensational flavor profile.
The Fudgy Chocolate Cake Layers
Our chocolate cake base is the foundation of this masterpiece. It’s designed to be incredibly rich, moist, and possess a profound chocolate flavor without feeling overly heavy. The unique preparation, involving a blend of quality cocoa and a touch of boiling water, yields a cake that is surprisingly airy yet wonderfully fudgy and tender. This ensures that each slice holds its form beautifully while melting delightfully in your mouth, providing the perfect contrast to the creamy frosting.
The Silky Whipped Ganache
Beyond being just a frosting, our whipped ganache is a cloud of chocolatey bliss. Made from simple dark chocolate and heavy cream, it transforms from a rich, dense mixture into a light, airy, and exceptionally silky cream once whipped. This melt-in-your-mouth texture adds a sophisticated depth of flavor and smooth richness that perfectly complements the cake’s fudginess. It’s indulgent but never cloying, ensuring a balanced taste experience.
The Playful Marshmallow Web
The hallmark of our spider cake is its eerie, stretchable marshmallow web. This sticky-sweet, whimsical addition not only creates a genuinely spooky visual but also introduces a fun, chewy textural contrast. It’s surprisingly easy to create and instantly transforms your cake into a haunting Halloween centerpiece. The web adds that authentic, handcrafted Halloween charm that store-bought decorations simply can’t replicate.
The Edible Chocolate Spider
No spider cake is complete without its creepy-crawly star! Our edible chocolate spider isn’t just for show; it’s made from a delicious mixture of cake crumbs and reserved ganache, coated in chocolate sprinkles for a “fuzzy” texture. Pocky sticks form its distinct legs, and fondant provides expressive eyes, making the entire decoration a tasty part of the dessert. This detail brings the entire spooky theme to life, turning a simple chocolate cake into a character-filled holiday treat.
Together, these elements create a dessert that’s both striking in presentation and remarkably satisfying in taste. It’s a showstopping centerpiece that looks like it came straight from a gourmet bakery but is entirely achievable in your home kitchen. If you’ve enjoyed crafting other fun Halloween treats like Red Velvet Monster Cake Pops or Swiss Meringue Ghosts, this Chocolate Spider Layer Cake offers that same delightful spooky charm, but with an extra touch of dramatic flair and indulgence.
Essential Ingredients for Your Spooky Spider Cake
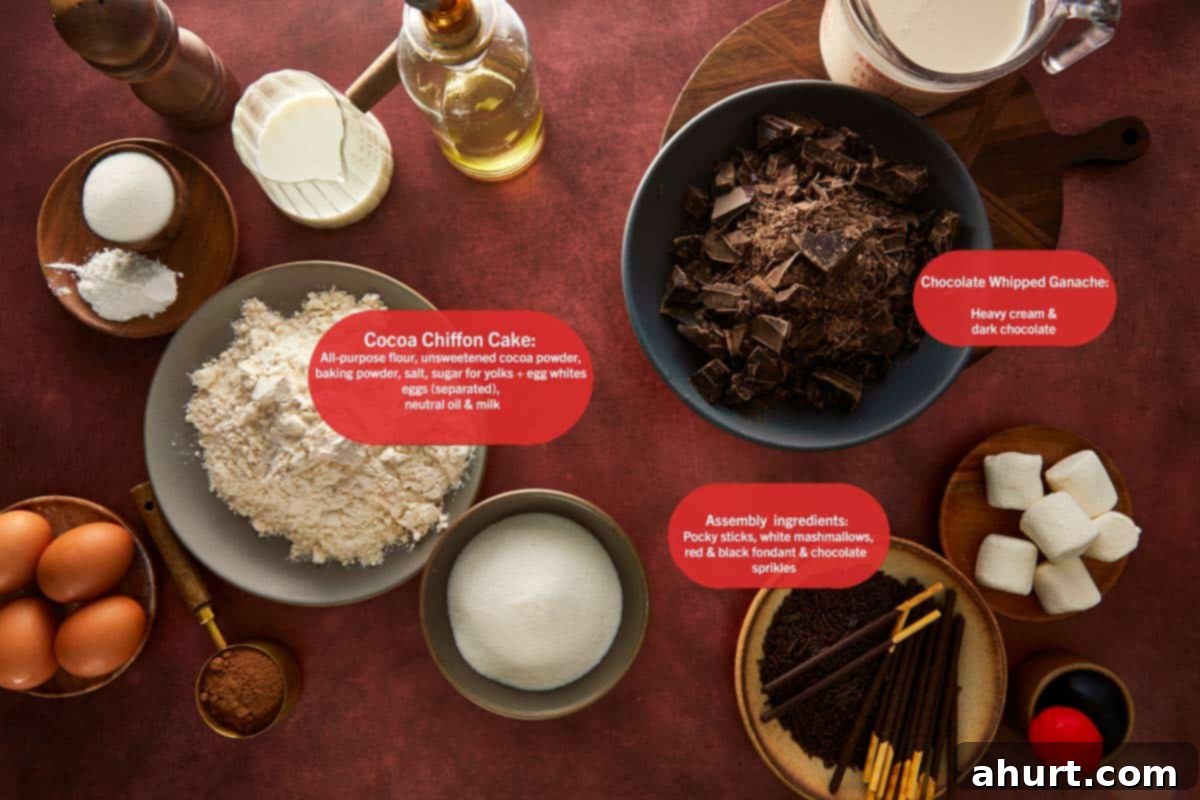
Bringing this stunning Chocolate Spider Layer Cake to life requires a harmonious blend of rich chocolate, a perfectly airy yet moist cocoa sponge, and a few clever, edible decorations. Here’s a detailed look at the key ingredients you’ll need to create this spooky showstopper:
- For the Chocolate Whipped Ganache:
- Dark Chocolate: Opt for high-quality dark chocolate (around 60-70% cacao) in chopped bar form or baking wafers for the best flavor and smoothest ganache. Its intense notes provide a beautiful contrast to the cake’s sweetness.
- Heavy Cream: This is the magic ingredient that transforms chocolate into a rich, pourable ganache and then into a light, fluffy frosting when whipped. The high fat content is crucial for a stable and luxurious texture.
- For the Moist Chocolate Cake:
- All-Purpose Flour: Provides the structure for our tender cake layers.
- Unsweetened Cocoa Powder: Choose a good quality unsweetened cocoa powder for a deep, authentic chocolate flavor. This is key to the cake’s dark hue and rich taste.
- Granulated Sugar: Not just for sweetness, sugar also contributes to the cake’s moisture and tender crumb.
- Baking Powder & Baking Soda: These leavening agents work together to give the cake its beautiful rise and airy texture, ensuring it’s not too dense.
- Salt: A crucial ingredient that balances the sweetness and enhances the overall chocolate flavor, making it truly pop.
- Large Eggs: Act as binders, add richness, and contribute to the cake’s structure and moisture.
- Milk (or Buttermilk): Adds moisture and tenderness. Buttermilk, with its slight acidity, can react with baking soda for extra lift and a subtle tang that complements chocolate beautifully.
- Neutral Oil (e.g., Vegetable Oil): Contributes incredible moisture and tenderness to the cake without imparting any additional flavor, making it stand out from butter-based cakes.
- Pure Vanilla Extract: A splash of vanilla deepens and rounds out the chocolate flavor, adding aromatic complexity.
- Boiling Water: This secret ingredient blooms the cocoa powder, intensifying its flavor and creating a thin, incredibly moist batter that results in an exceptionally tender crumb. Don’t skip this step!
- For Assembly & Decorations:
- Large White Marshmallows: The star of the web! When gently melted and stretched, they create realistic, eerie, and deliciously sticky spider webs.
- Chocolate Pocky Sticks: These thin, crispy, chocolate-covered biscuit sticks are perfect for crafting realistic and edible spider legs, offering a delightful crunch. If unavailable, pretzel sticks or thin chocolate wafers can be substituted.
- Red and Black Fondant: Used to create the spider’s expressive, spooky eyes. Fondant is pliable and holds its shape well, making it ideal for small details.
- Chocolate Sprinkles: These are rolled onto the spider’s body to give it a “fuzzy” or textured appearance, making it look more realistic and fun.
Note: For the precise quantities and detailed measurements of all these ingredients, please refer to the comprehensive Recipe Card below.
Crafting Your Creepy-Crawly Masterpiece: Step-by-Step Guide
Bringing this stunning Chocolate Spider Layer Cake to life is a rewarding process, combining the art of baking with fun, spooky decoration. Follow these steps to create your rich, airy chiffon cake, silky whipped ganache, and sticky marshmallow webs.
- Prepare the Whipped Ganache
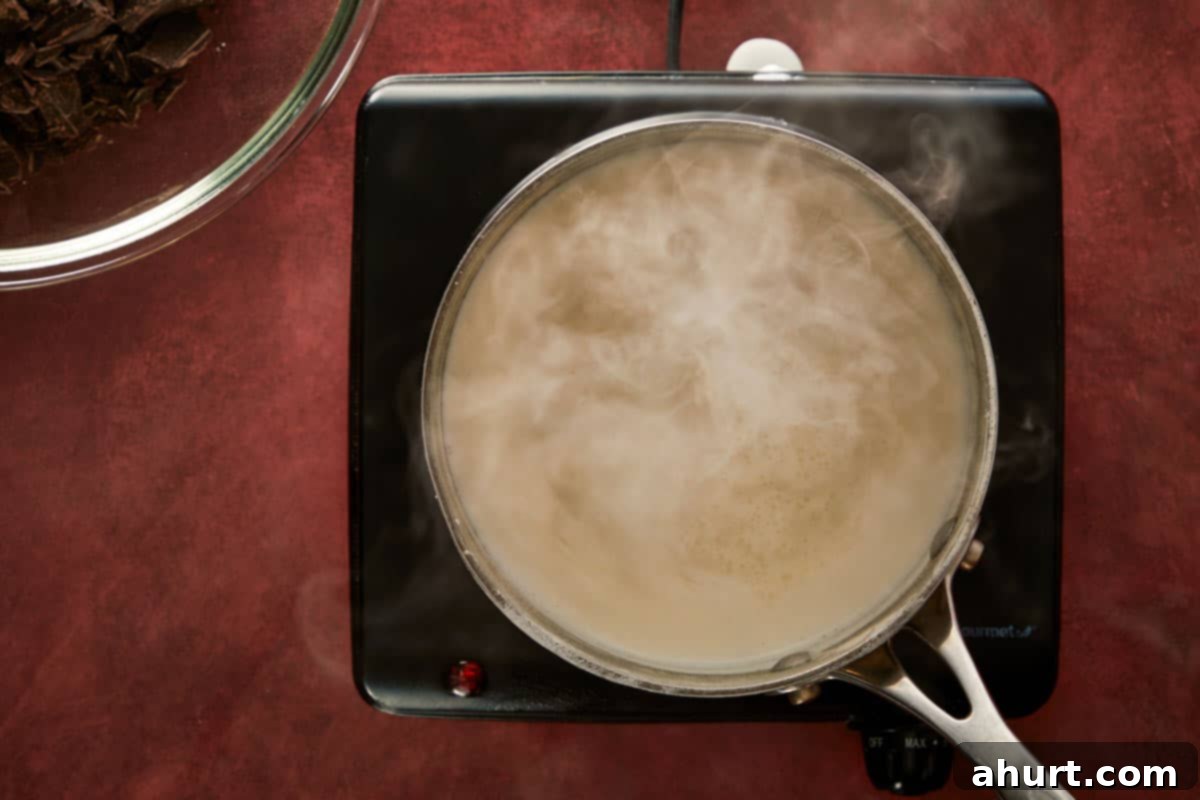
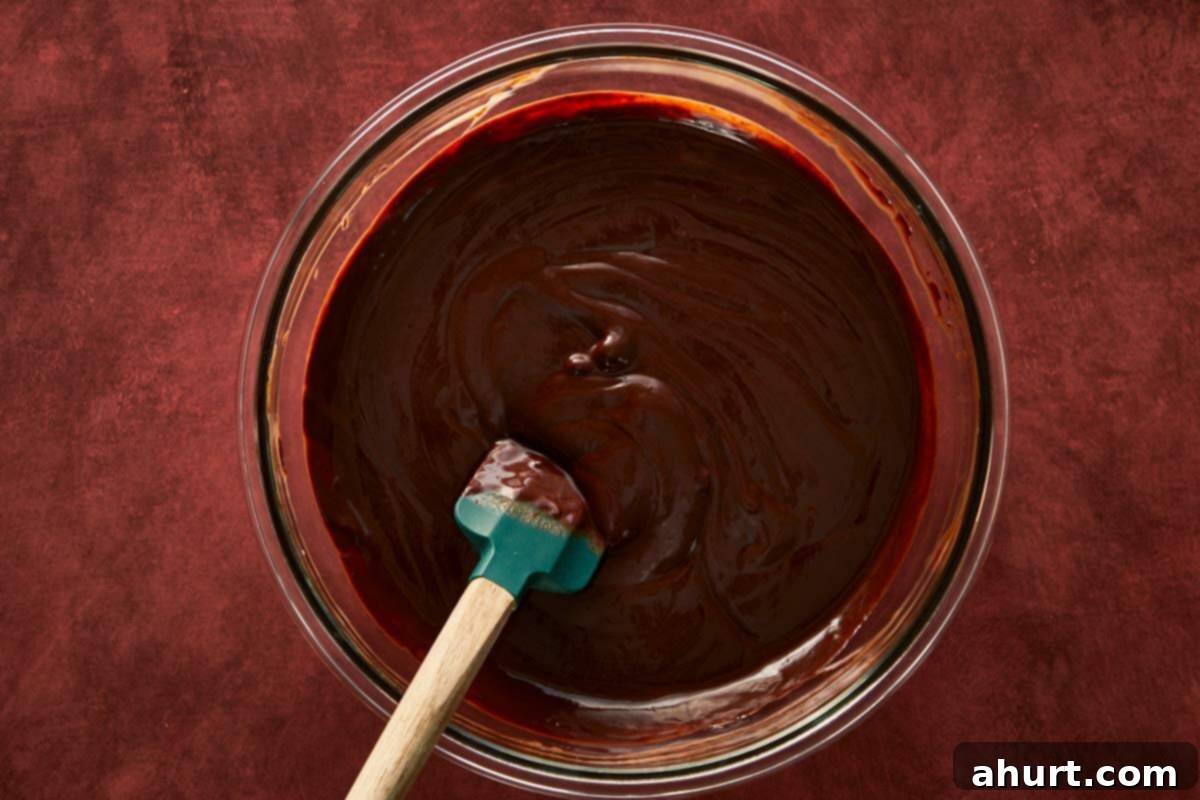
Begin by gently heating your heavy cream in a saucepan until it just reaches a boil. Remove it from the heat and pour it over your finely chopped dark chocolate. Let it sit for a minute to melt the chocolate, then stir until it’s perfectly smooth and glossy. Remember to set aside about ¼ cup of this rich ganache for shaping your spider later. Cover the remaining ganache with plastic wrap, pressing it directly onto the surface to prevent a skin from forming, and chill in the refrigerator for at least two hours, or until thoroughly cold and firm enough to whip.
- Whip the Chilled Ganache
Once your main ganache mixture is thoroughly chilled, transfer it to a stand mixer fitted with a whisk attachment (or use a hand mixer). Whip it on medium-high speed until it becomes light, fluffy, and firm enough to hold soft peaks. It should be easily spreadable yet maintain its shape. Be careful not to over-whip, as it can become grainy.
- Prepare the Chocolate Cake Batter
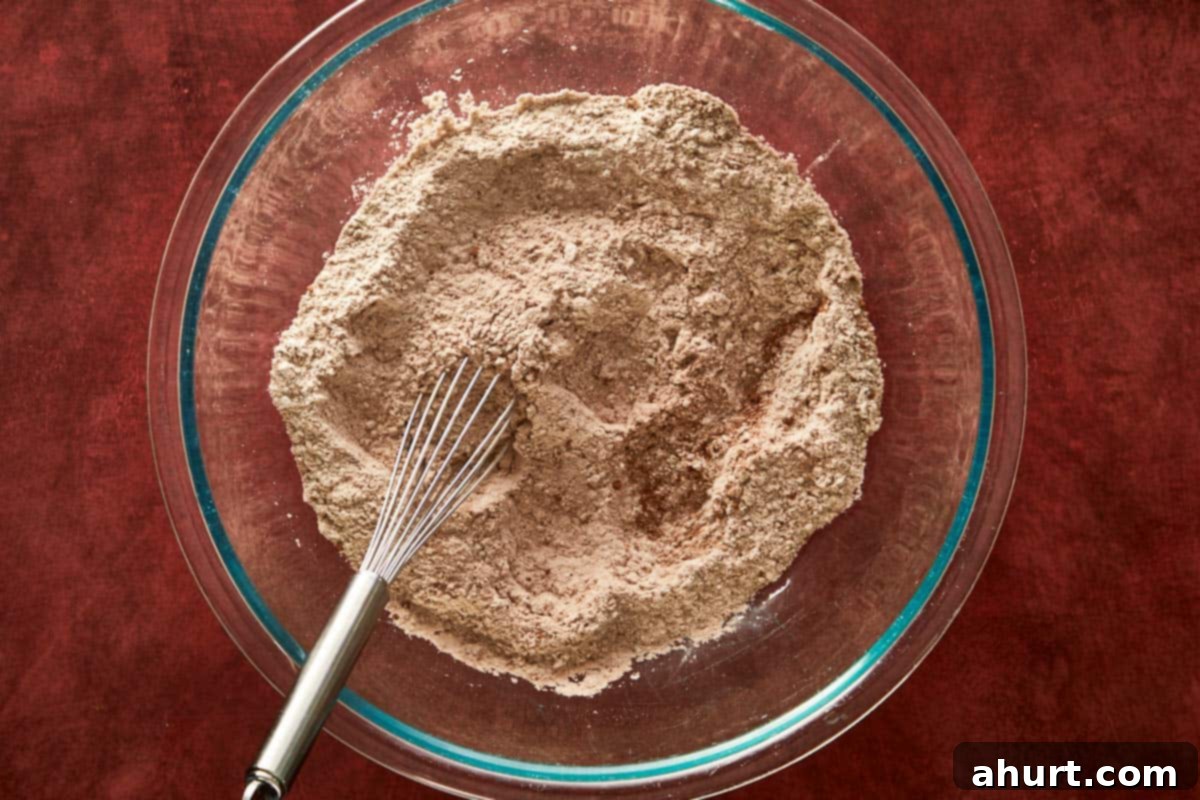
In a large mixing bowl, whisk together all your dry ingredients: flour, sugar, unsweetened cocoa powder, baking powder, baking soda, and salt. Ensure they are thoroughly combined to prevent pockets of unmixed leavening agents. In a separate medium bowl, whisk together the wet ingredients: eggs, milk, neutral oil, and vanilla extract until smooth.
- Combine and Add the Hot Water
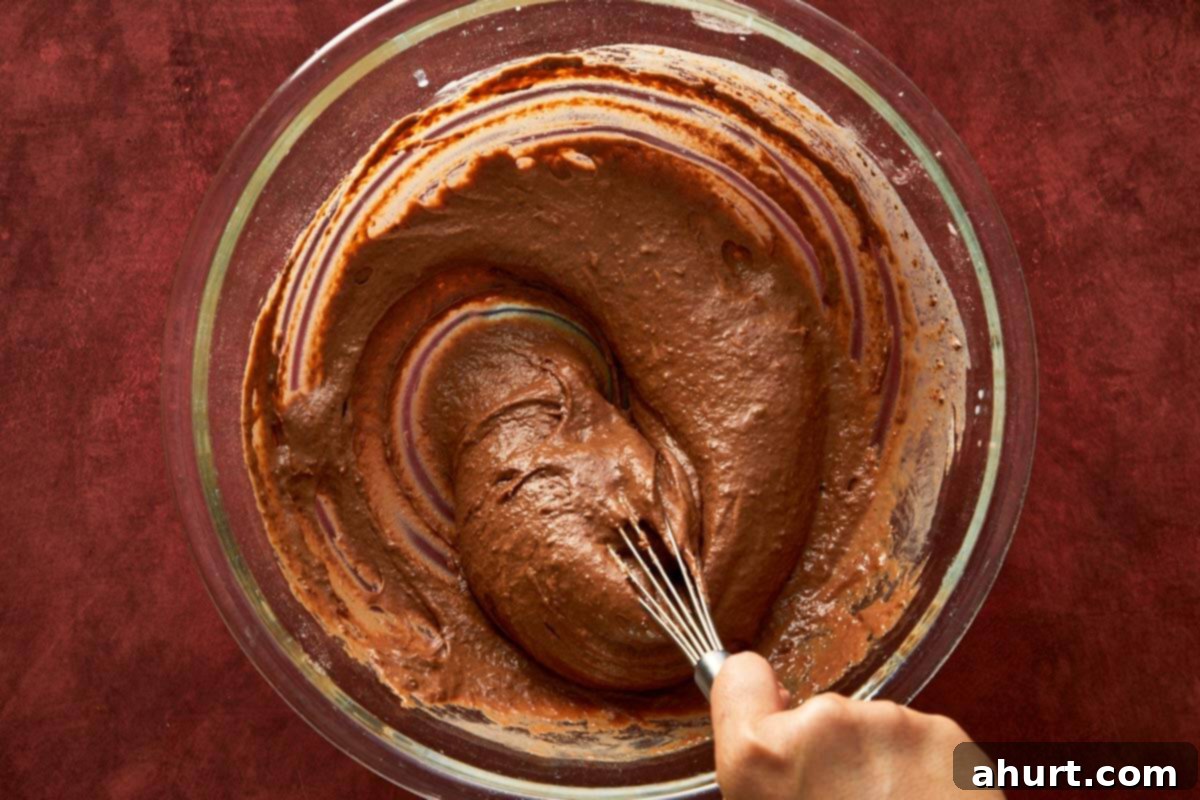
Pour the wet ingredient mixture into the dry ingredients. Whisk gently until just combined; avoid overmixing, as this can lead to a tough cake. Then, slowly pour in the boiling water while continuing to whisk. The batter will become noticeably thinner and take on a silky, smooth consistency. This hot water step is crucial, as it “blooms” the cocoa powder, intensifying the chocolate flavor and contributing significantly to the cake’s exceptional moistness.
- Bake and Cool the Cake Layers
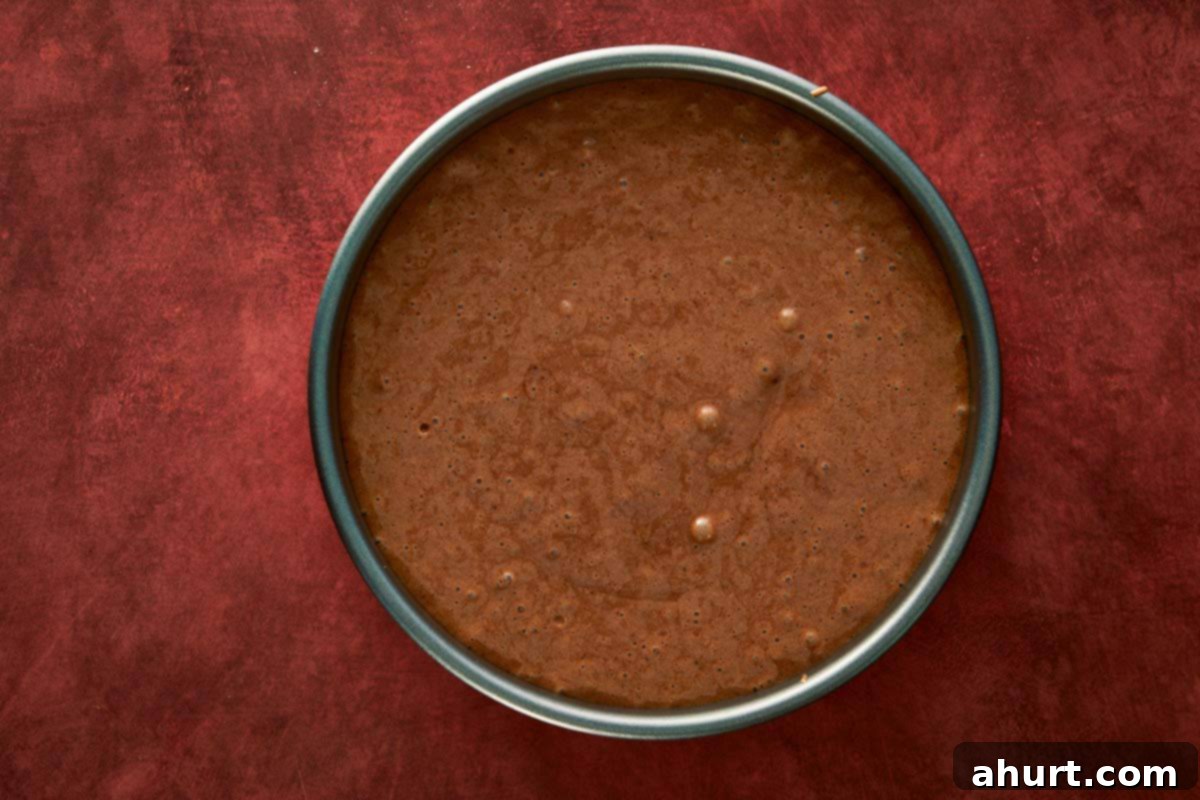
Divide your prepared chocolate cake batter evenly between two greased and parchment-lined round cake pans. Bake in a preheated oven until a toothpick inserted into the center comes out clean. Be careful not to overbake, as this can dry out the cake. Allow the cakes to cool in their pans for about 10-15 minutes before carefully inverting them onto a wire rack to cool completely. Ensure they are entirely cool before moving on to frosting, otherwise, your ganache will melt.
- Fill, Frost, and Chill Your Cake
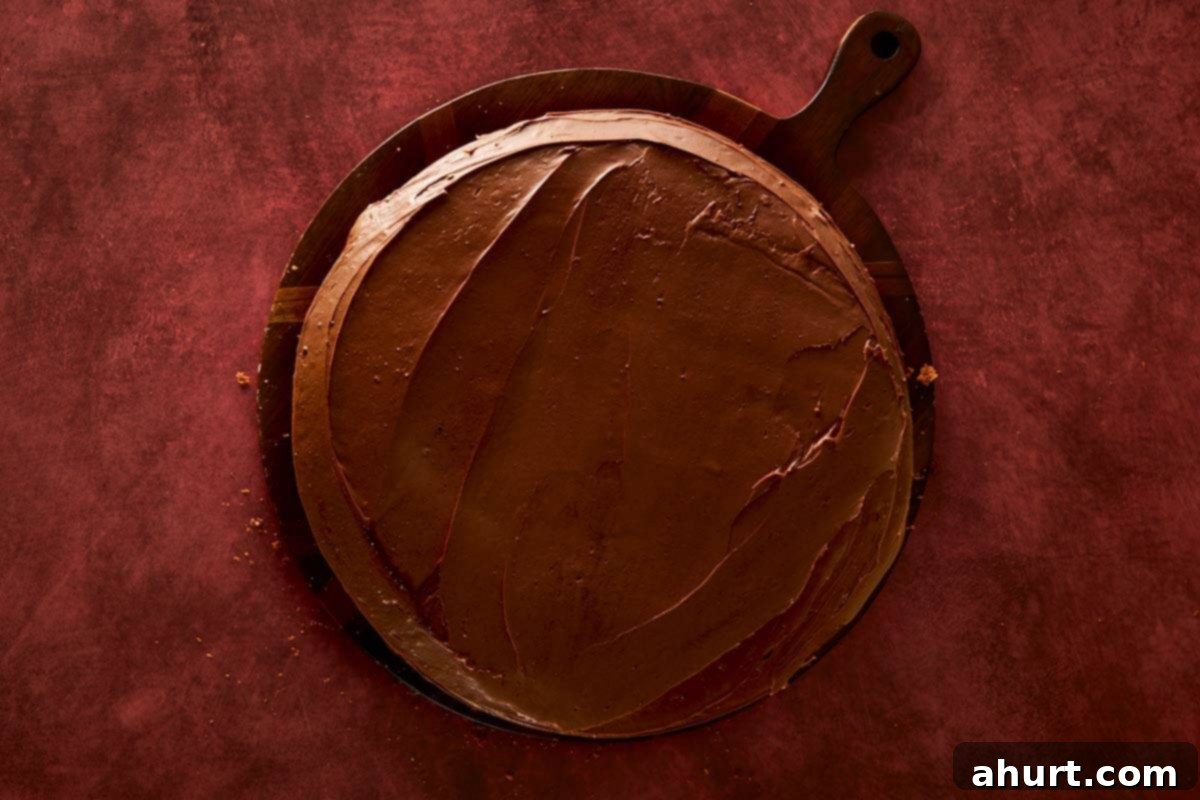
If your cake layers have domed tops, level them with a serrated knife for even stacking. Carefully slice each large cake horizontally into two layers, yielding four layers total (or two, depending on your desired thickness). Spread a generous layer of your whipped ganache between each cake layer, then use the remaining ganache to cover the top and sides of the entire cake for a smooth, rich finish. For stability and easier decorating, chill the frosted cake in the refrigerator for at least 30 minutes to allow the ganache to firm up.
- Create the Spooky Web
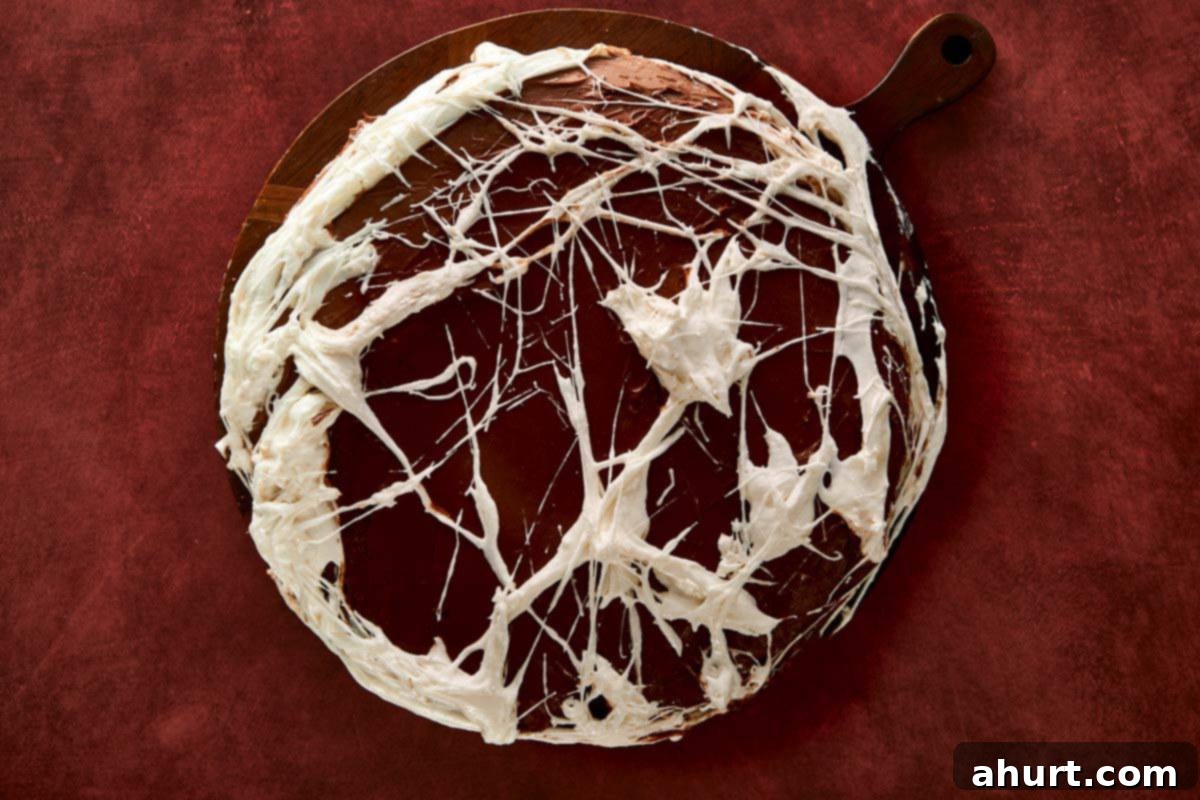
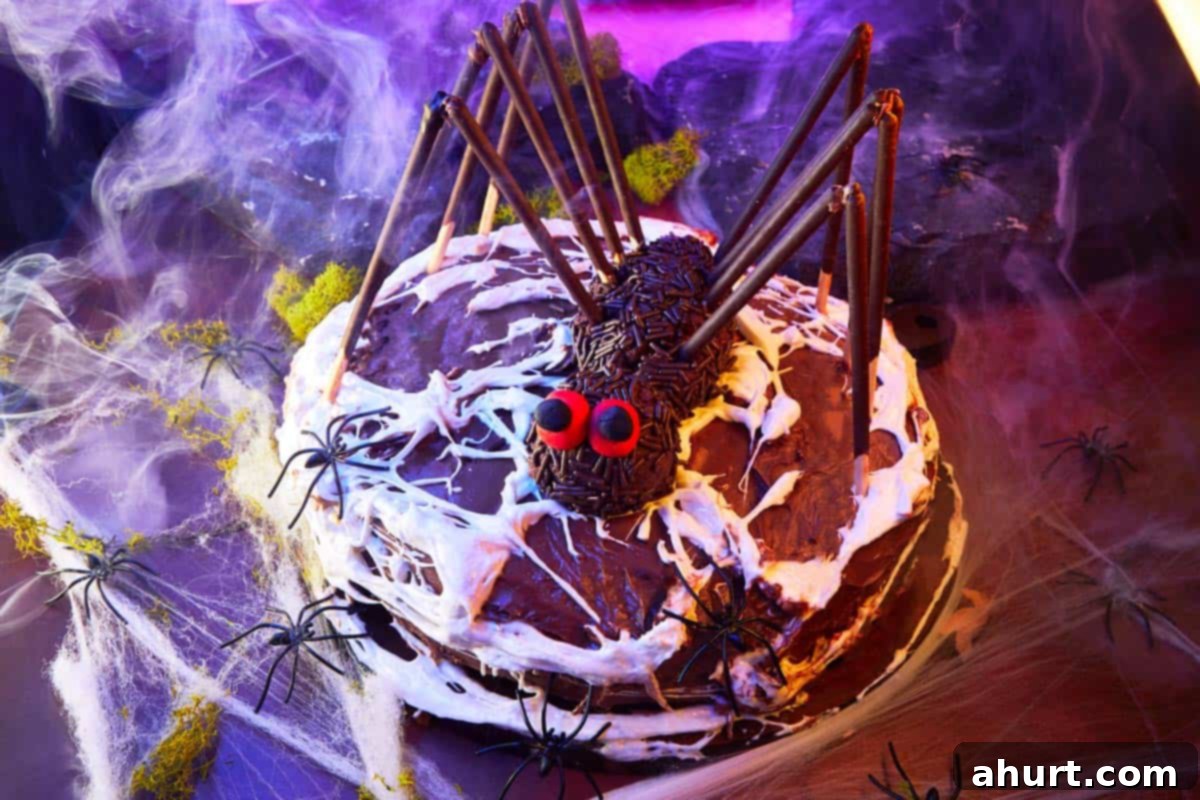
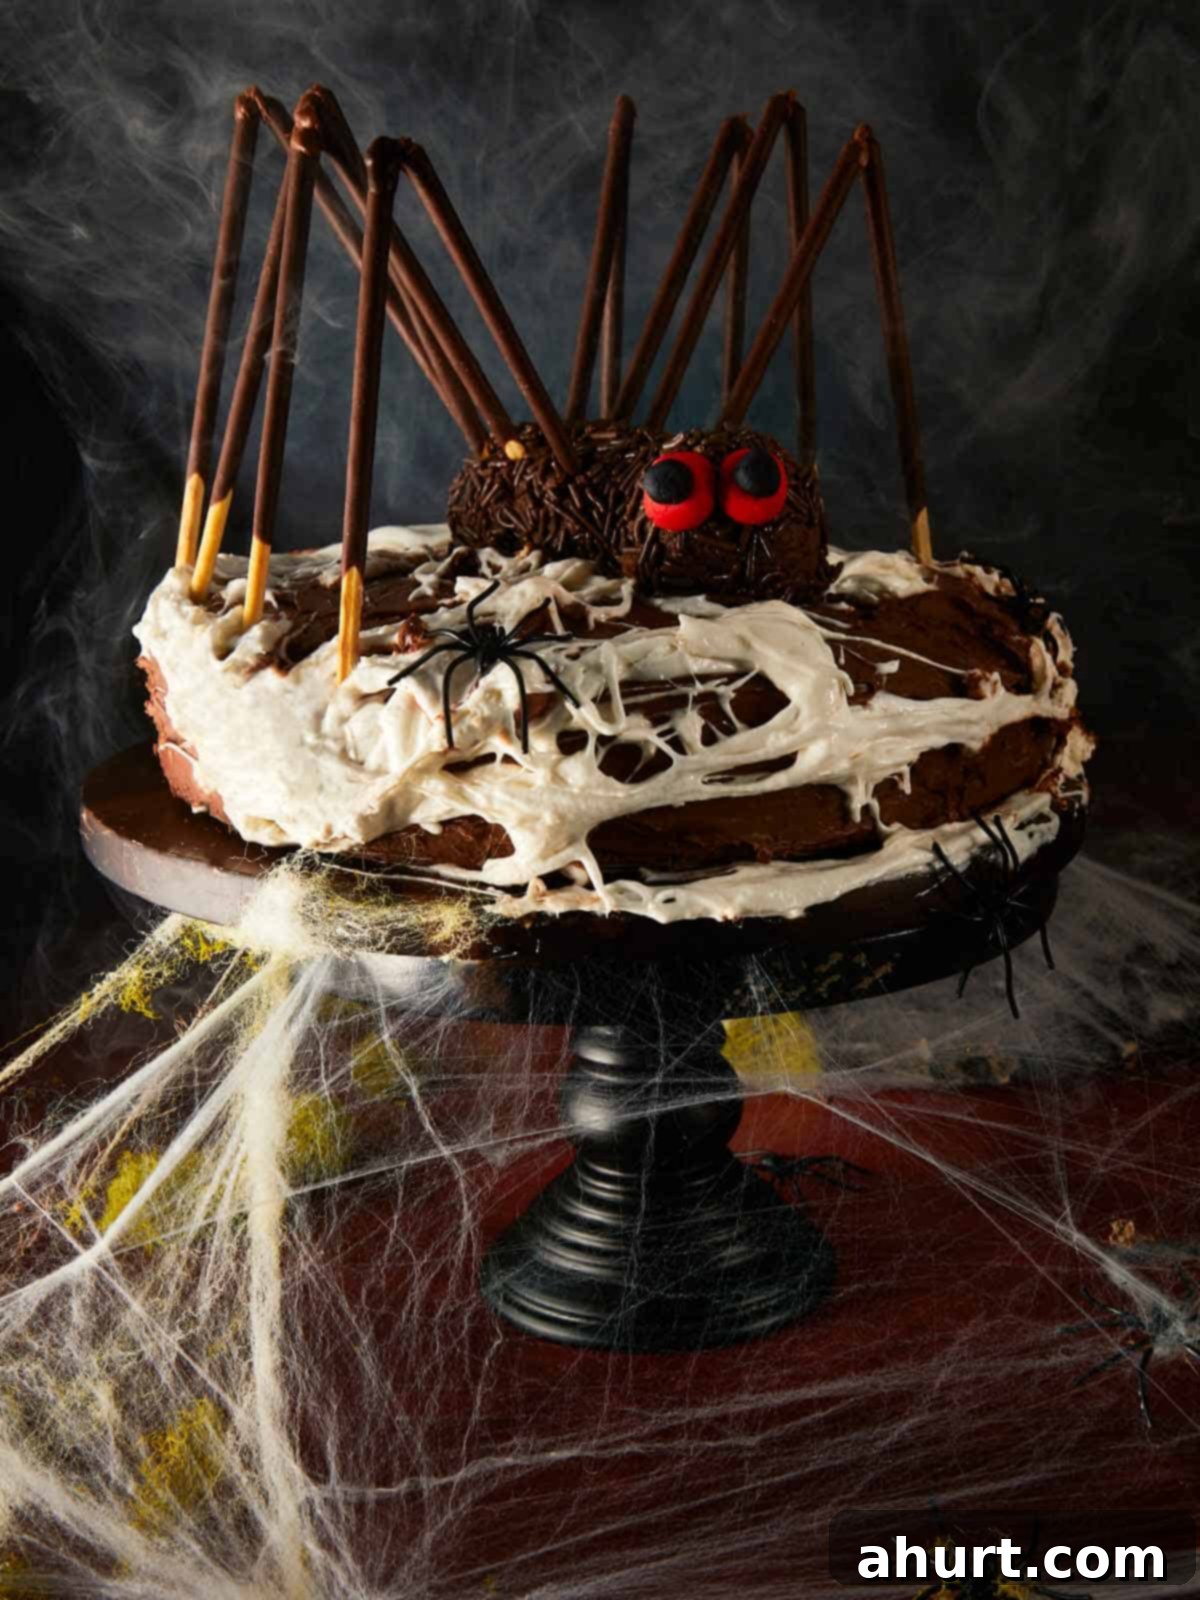
In a microwave-safe bowl, heat your large marshmallows for about 20-30 seconds until they are puffy and incredibly soft and stretchy. Be careful not to overheat them. Using your fingers (lightly greased with a tiny bit of oil or powdered sugar to prevent sticking) or two spoons, gently pull strands of the melted marshmallow apart. Stretch these sticky strands around your chilled, frosted cake to create a natural, organic-looking spider web effect. The messier, the better for that authentic spooky vibe!
- Assemble the Edible Spider Body
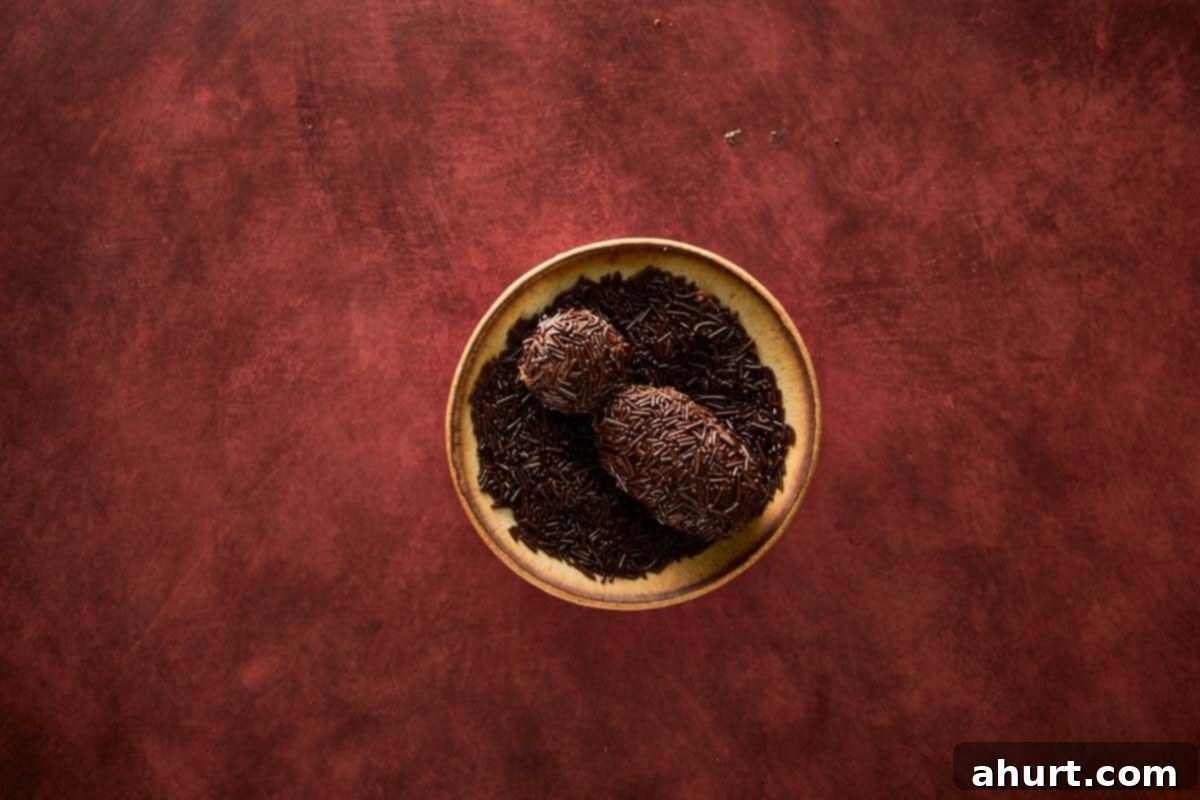
If you baked a small separate cake for the spider body, crumble it into a bowl. Mix it with the ¼ cup of reserved ganache until well combined and pliable. Shape this mixture into a spider body and head (a larger oval for the body, a smaller round for the head). Roll the entire shape in chocolate sprinkles to give it a fuzzy, realistic texture. For best results, briefly freeze the shaped spider body for 10-15 minutes to firm it up before placing it on the cake.
- Final Assembly: Legs and Eyes
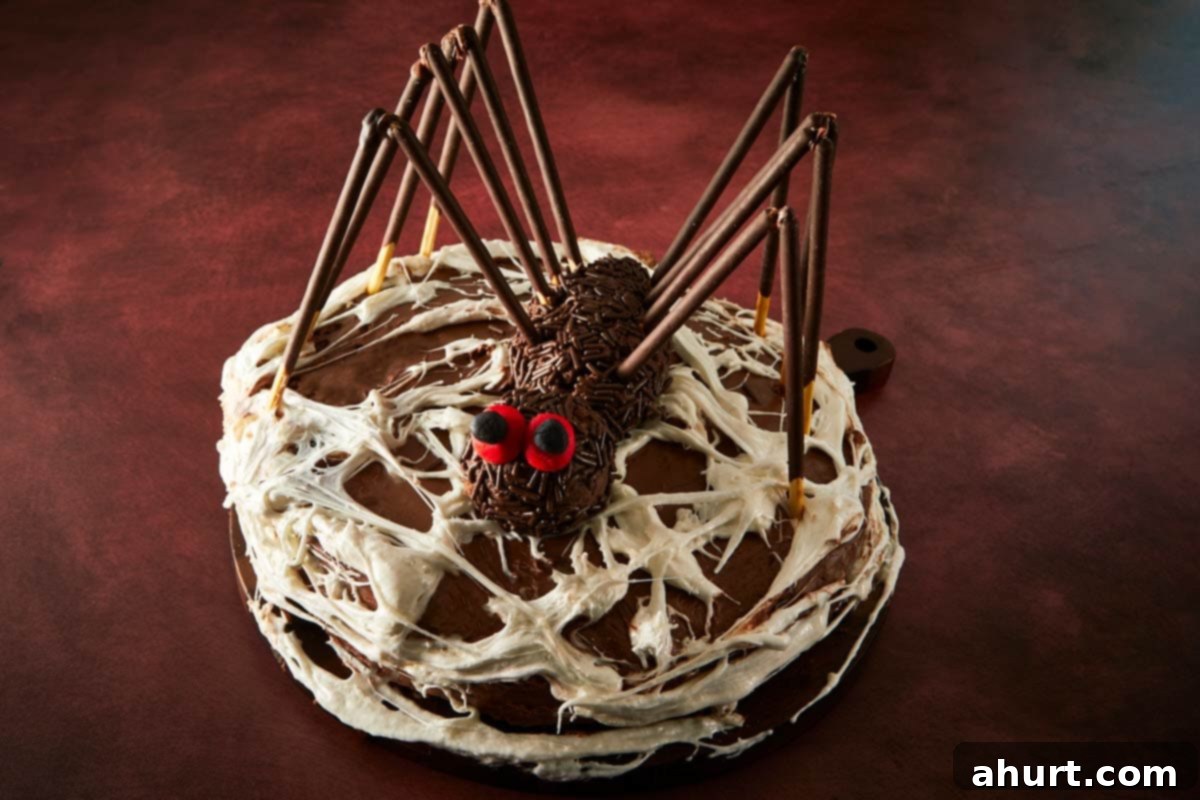
Carefully place your chilled chocolate spider body onto the top of the cake, in the center of your marshmallow web. Insert 8 Pocky sticks (four on each side) into the spider body to create the legs, bending them slightly into an upside-down ‘V’ shape for a more lifelike appearance. Use small pieces of red and black fondant to create tiny eyes and press them onto the spider’s head. Adjust the legs and web strands until your creepy crawler looks perfectly spooky and ready to scare (and delight!).
- Serve and Enjoy Your Spooky Creation
Your spectacular Chocolate Spider Layer Cake is now complete! For the best flavor and texture, allow the cake to come to room temperature for about 30 minutes before slicing. Carefully cut through the marshmallow web and rich chocolate layers to reveal the moist interior. Serve it proudly and watch as your guests’ faces light up with a mixture of awe and delightful shivers. This cake isn’t just a dessert; it’s a centerpiece, a conversation starter, and a truly delicious way to celebrate Halloween!
To complete your full Halloween spread, consider pairing this spooky showstopper with other hauntingly good recipes. Serve it alongside the eerie Witch Finger Grissini, perfect for dipping into a side of savory Bloody Dip. For a sweeter, complementary touch, add Bloody Raspberry Muffins with “broken glass” topping or warm, spiced Pumpkin Breads fresh from the oven. Together, these dishes create a darkly delicious and terrifyingly irresistible Halloween table, setting the perfect mood for a night of frightful fun and delectable treats.
Frequently Asked Questions About Your Chocolate Spider Cake
To maintain its freshness and delightful texture, store your Chocolate Spider Layer Cake in an airtight container in the refrigerator for up to 4 days. While it’s tempting to dig in right away, for the best soft, fudgy texture and intensified flavor, we recommend bringing the cake to room temperature for about 30 minutes before serving. This allows the ganache to soften slightly and the cake layers to become incredibly tender.
Absolutely! The ganache can be made up to 2 days in advance. Prepare it as instructed, cover the surface directly with plastic wrap, and store it in an airtight container in the refrigerator. When you’re ready to assemble your cake, simply remove the ganache from the fridge and whip it with a stand mixer or hand mixer until it’s light, fluffy, and spreadable. This advance preparation can significantly cut down on your assembly time on the day of your event.
No Pocky sticks? No problem! You have several great alternatives to create spooky spider legs. Chocolate-covered pretzel sticks are an excellent choice, offering a similar crunch and aesthetic. Thin chocolate wafers or even black licorice strands can also work well, providing different textures and visual effects. Get creative with what you have on hand – the goal is a distinct, edible leg shape!
While the marshmallow web adds an iconic spooky touch and a unique chewy texture, you can certainly skip it if you prefer a different look. As an alternative, you can drizzle melted white chocolate in concentric circles over the chilled cake and then drag a toothpick from the center outwards to create a more refined, delicate web pattern. You could also pipe a web design with royal icing or even a thinner chocolate ganache. The cake will still be stunning and delicious without the marshmallow, just with a slightly different aesthetic.
The secret to the incredible moistness of this chocolate cake lies in two key elements: the neutral oil and the boiling water. Using oil instead of butter ensures consistent moisture throughout the cake’s lifespan, as oil is liquid at room temperature. The boiling water is a game-changer; it helps to ‘bloom’ the cocoa powder, intensifying its flavor and creating a thin batter that bakes into an exceptionally tender and moist crumb. Don’t be alarmed by the thinness of the batter – it’s intentional and delivers fantastic results!
Pin
Chocolate Spider Layer Cake Recipe
Ingredients
Chocolate Whipped Ganache
- 2 cups heavy cream
- 13 oz dark chocolate chopped
Chocolate Cake
- 1¾ cups all-purpose flour
- ¾ cup unsweetened cocoa powder
- 1½ tsp baking powder
- 1½ tsp baking soda
- 1 tsp salt
- 2 cup granulated sugar
- 2 large eggs
- 1 cup milk
- ½ cup neutral oil vegetable oil
- 2 tsp pure vanilla extract
- 1 cup boiling water
Assembly Ingredients
- 16 chocolate pocky sticks
- 6 large white marshmallows
- Red and black fondant for eyes
- Chocolate sprinkles for spider hair
Instructions
Chocolate Whipped Ganache
-
Heat the cream to a boil.
-
Pour over the chocolate in three parts, stirring each time until smooth.
-
Reserve ¼ cup of ganache for shaping the spider body later.
-
Cover the remaining ganache with plastic wrap (touching the surface) and refrigerate for at least 2 hours, until chilled.
-
Once chilled, whip using a stand mixer until light, fluffy, and firm.
Chocolate Cake
-
Preheat to 350°F (180°C) standard or 320°F (160°C) fan/convection. Lightly grease and line two 7-inch (18 cm) round cake pans with parchment paper.
-
In a large bowl, whisk together flour, cocoa powder, baking powder, baking soda, salt, and sugar until well combined.
-
Add the eggs, milk, oil, and vanilla, whisking until the batter is smooth and lump-free.
-
Slowly pour in the boiling water, whisking until the batter is silky and slightly thin — this makes it extra moist.
-
Divide batter evenly between pans and bake for 30–35 minutes, or until a toothpick inserted in the center comes out clean.
-
Let cakes cool in the pans for 10 minutes, then remove and transfer to a wire rack to cool completely before frosting.
-
Optional: pour ¼ cup of batter into a small greased mold for the spider body; bake for 40 minutes.
-
Once baked, run a knife around the edges and let the cake cool completely before removing from the pan.
-
Slice: the large cake horizontally into 2 layers and trim the top if domed.
-
Spread whipped ganache between the layers and over the entire cake. Chill to set the ganache.
Spider Web
-
Microwave marshmallows for 30 seconds until stretchy.
-
Pull strands apart with your fingers or two spoons and wrap them around the cake to form a web.
Spider Body
-
Crumble the small baked cake and mix with the reserved ganache.
-
Shape into a body and head, then roll in chocolate sprinkles.
-
Freeze briefly (10-15 minutes), then place on top of the cake.
Legs and Eyes
-
Insert 8 Pocky sticks for legs in an upside down V shape (4 per side).
-
Add red and black fondant eyes.
-
Keep refrigerated until ready to serve
Notes
Before you begin to spin your web of chocolatey magic, keep these essential tricks and tips in mind. They’ll help ensure your spooky creation looks as hauntingly beautiful and tastes as wonderfully delicious as possible, making your Halloween dessert truly stand out.
- Don’t overmix the batter: Once the wet ingredients are combined with the dry ingredients, mix just until no streaks of flour remain. Overmixing develops the gluten, which can lead to a tough and dry cake crumb. Stop whisking as soon as everything is incorporated for a soft and tender result.
- The magic of hot water: When you add the boiling water, do so slowly and continue to whisk gently. It will make the batter appear surprisingly thin – but don’t worry, this is precisely what gives this chocolate cake its exceptional, incredibly moist, and delicate texture. It also helps to deepen the cocoa flavor.
- Cool completely before frosting: Patience is a virtue in baking, especially when it comes to frosting. Ensure your cake layers are entirely cool, to the touch, before you begin to stack and frost them with the whipped ganache. Any residual warmth will cause your beautiful ganache to melt and slide off, leading to a messy outcome.
- Build the spider with care: For a stable and well-structured spider, ensure the cake crumb and ganache mixture is well combined and firm. Chill the ganache-coated spider body briefly in the freezer (10-15 minutes) before adding the Pocky stick legs and fondant eyes. This prevents any unfortunate “spider slumps” and ensures your creepy-crawler maintains its shape.
- Patience pays off for flavor: While you can serve the cake immediately, chilling the finished cake overnight in the refrigerator often enhances its flavors and allows the ganache to fully set. This results in an even richer taste and ensures that each slice cuts cleanly and beautifully, revealing those glossy, moist layers.
Nutrition
Nutrition information is automatically calculated, so should only be used as an approximation.
