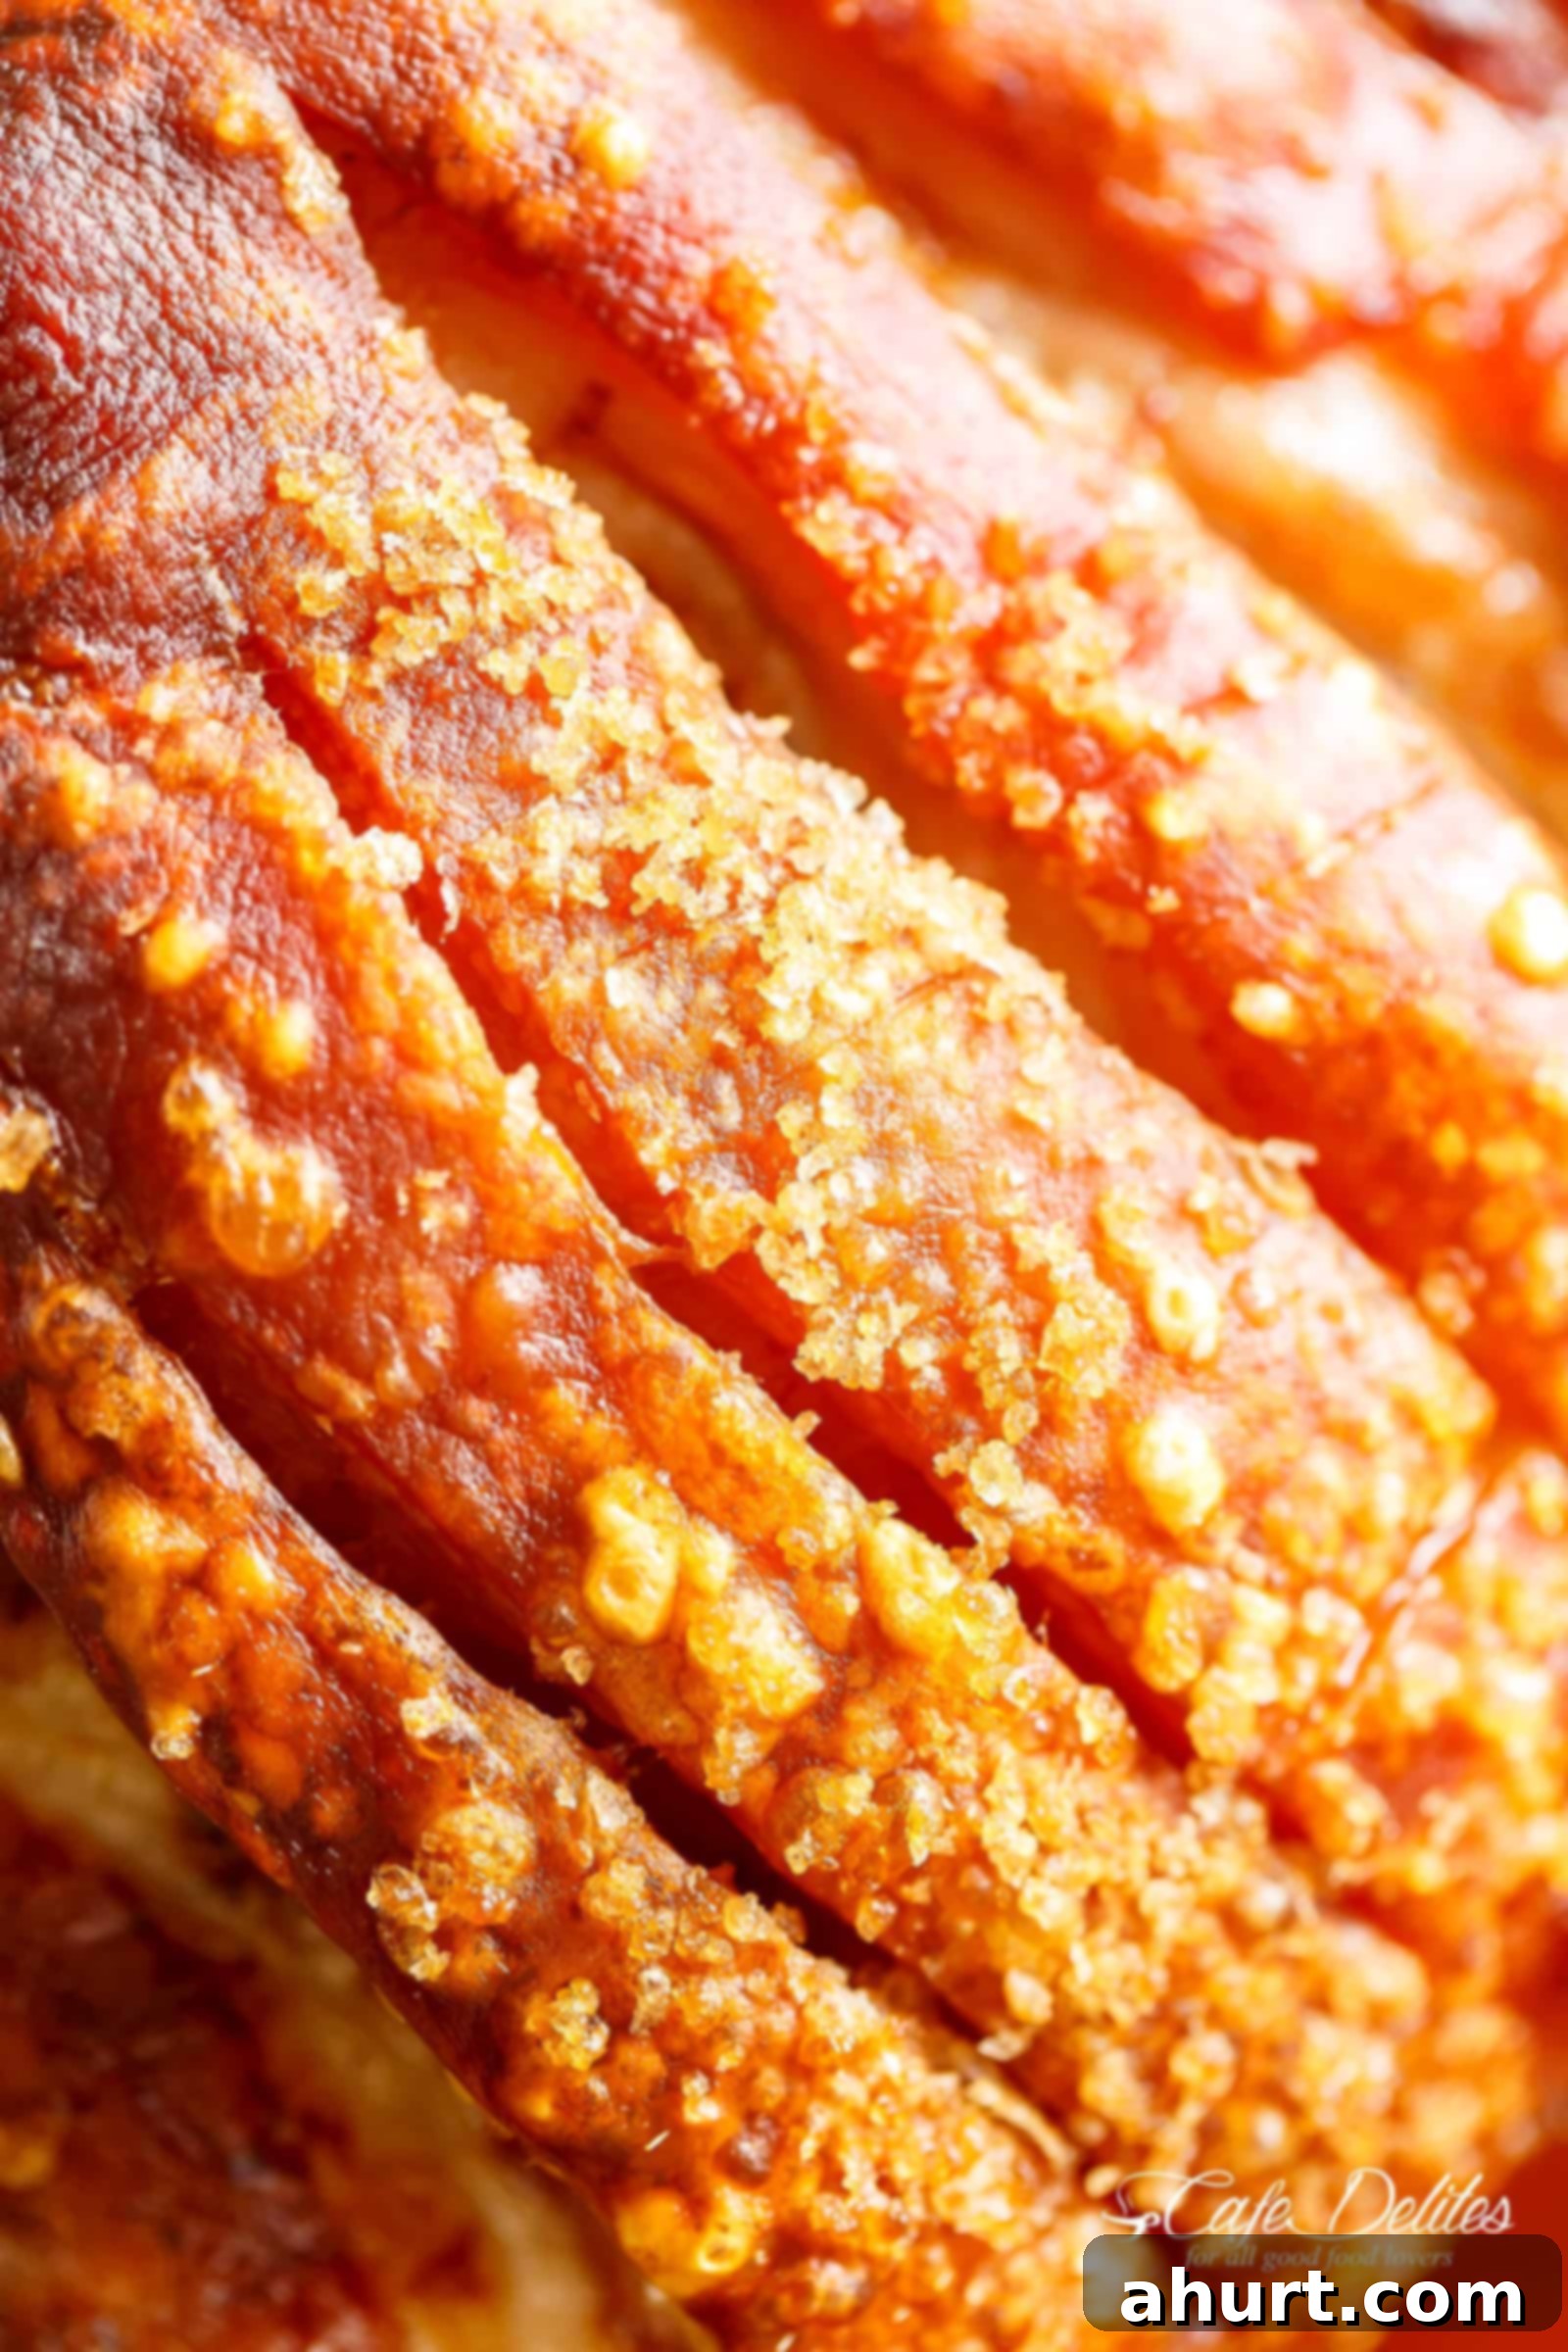
Ultimate Crispy Pork Roast with Perfect Crackling: Your Guide to Juicy Meat and Golden Skin
Imagine the aroma filling your kitchen – a promise of succulent, tender pork and that unmistakable, irresistible crunch. Today, we’re unveiling the secrets to creating the **Ultimate Crispy Pork Roast with Perfect Crackling**, a dish so incredibly satisfying it will become your go-to for special occasions and weekend feasts. While a pork roast might seem daunting, achieving that beautifully golden, blistered, and audibly crunchy crackling, perfectly balanced with incredibly juicy and flavorful meat, is entirely within your reach. This isn’t just a meal; it’s a culinary triumph. Our detailed guide focuses on simplicity and precision, ensuring you master the art of the perfect pork crackle every single time. For this extraordinary experience, we recommend starting with a high-quality boneless pork shoulder or butt, rind on. The journey from raw pork to a show-stopping centerpiece is a rewarding one, and the result is a symphony of textures and flavors that will delight your senses. Ready for more culinary adventures? Explore our Easy Honey Garlic Chicken for another delicious inspiration.
Why Our Crispy Pork Roast with Crackling Recipe Stands Out
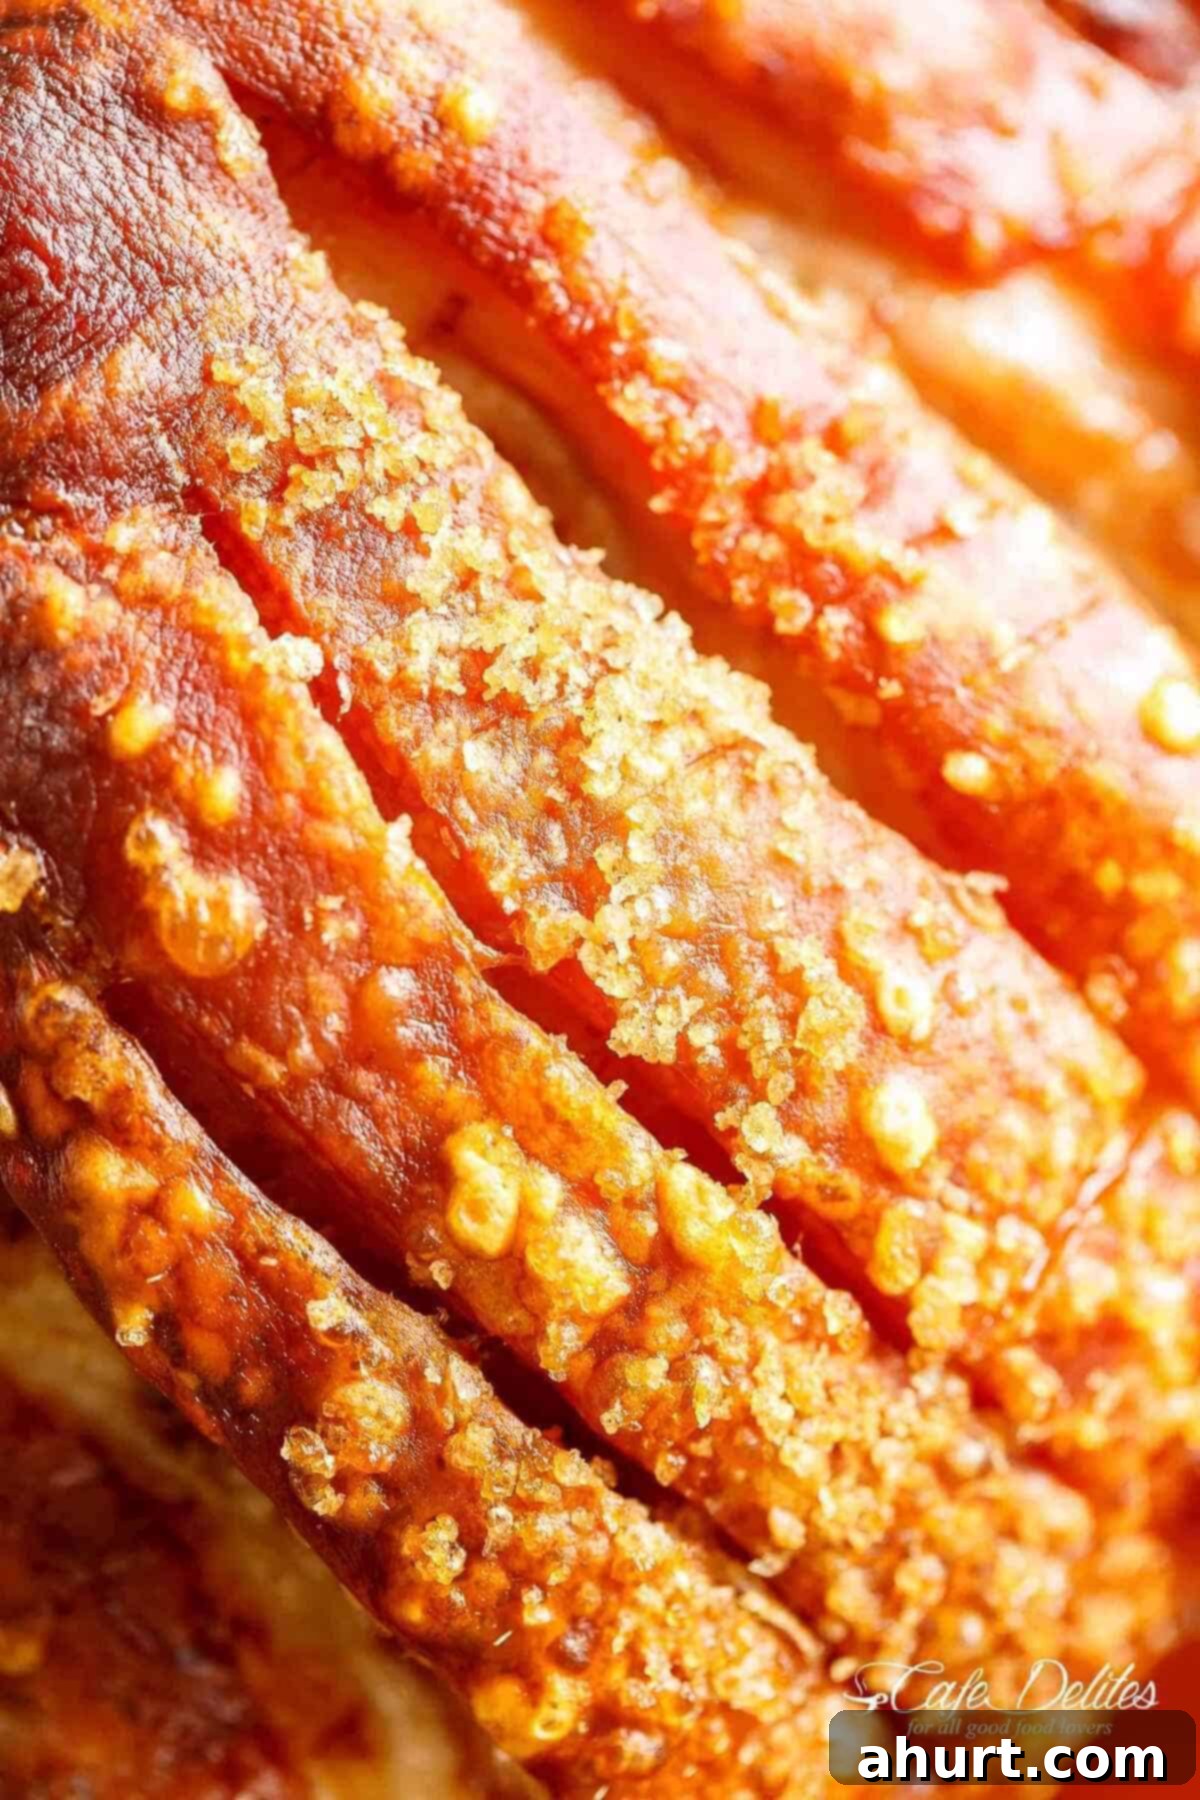
The quest for the perfect crackling is a culinary journey many embark on, and often, it’s the most anticipated element of any Sunday roast. That glorious, golden, and incredibly crispy skin, offering a delightful contrast to the tender, succulent meat underneath, is what elevates a good pork roast to an unforgettable one. Think of the satisfying crunch, similar to the rich flavors and textures found in Crispy Carnitas. The tantalizing aromas that waft through your home as it cooks are just a prelude to the exceptional meal awaiting you.
Our **Pork Roast with Crackling** recipe isn’t just another set of instructions; it’s a meticulously crafted guide that pays *unwavering attention to detail*. We understand that perfection lies in the subtle nuances: the precise scoring of the rind, the optimal drying time for maximum crispiness, and the strategic application of seasonings to infuse every bite with savory goodness. We delve deeper than basic methods, providing insights and techniques to ensure your crackling is not just good, but consistently spectacular.
What you’ll gain from this recipe are not just delicious results, but also confidence in your roasting abilities. Our step-by-step instructions, complete with visual aids and invaluable pro tips, demystify the process. You’ll learn how to achieve that coveted airy, bubbly crackle that shatters with every bite, while keeping the pork incredibly juicy and flavorful. Say goodbye to chewy skin and dry meat – this recipe guarantees a balanced and utterly delicious experience, making you a master of the crispy pork roast.
Essential Ingredients for Your Perfect Crispy Pork Roast
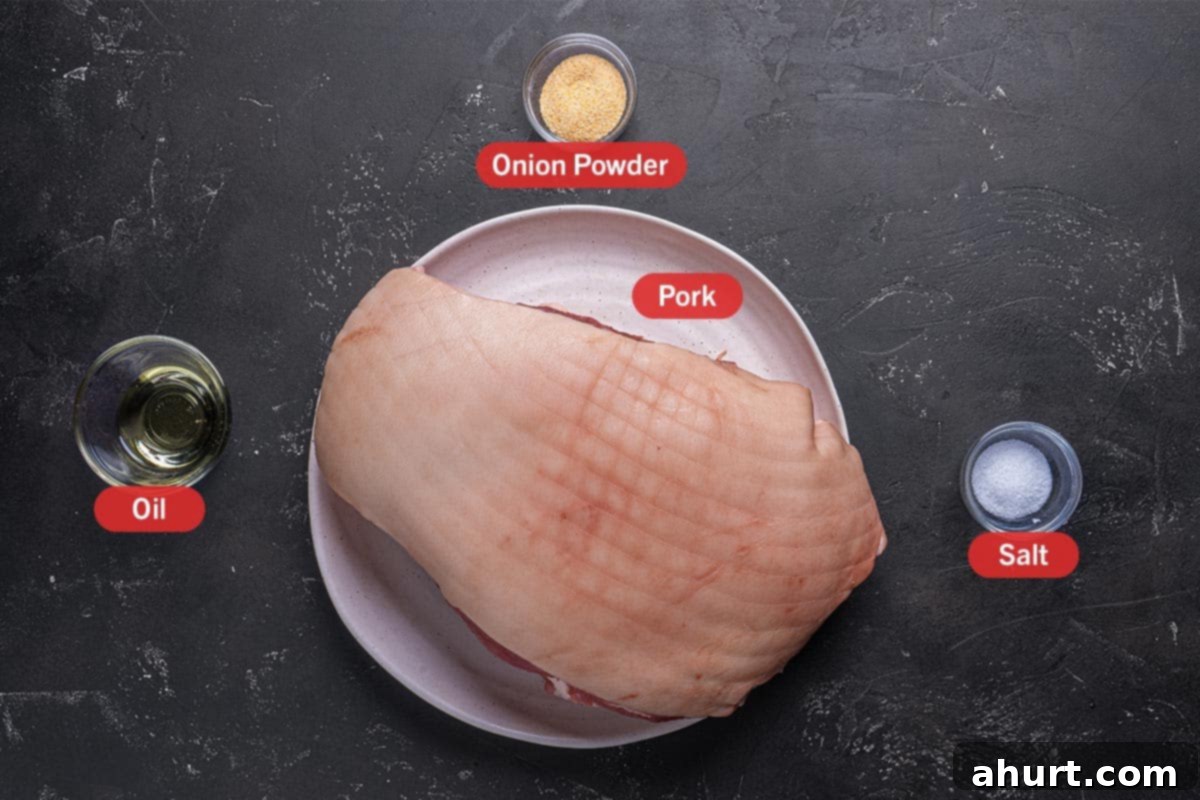
The foundation of an exceptional **Pork Roast with Crackle** lies in selecting the right ingredients. Each component plays a vital role in developing the deep, luxurious flavors and achieving that signature crispy rind. Let’s explore why these specific ingredients are crucial for making this recipe truly outstanding:
- Boneless Pork Shoulder or Butt, Rind On: This cut is the star of our show. The shoulder (also known as pork butt, despite its name, comes from the upper part of the front leg) is highly marbled with fat, which renders slowly during roasting. This self-basting process results in incredibly tender, juicy, and flavorful meat. Crucially, selecting a piece with an intact, thick rind is non-negotiable for superior crackling. The rind protects the meat and provides the canvas for that coveted crispy skin.
- Garlic Powder: More than just a seasoning, high-quality garlic powder infuses the pork with a rich, aromatic depth. Unlike fresh garlic, which can sometimes burn during long roasting periods, garlic powder distributes evenly and provides a consistent savory note that permeates the meat. Ensure your garlic powder is fresh and free-flowing for optimal flavor intensity.
- Olive Oil: Extra virgin olive oil serves multiple purposes. Its robust flavor complements the pork, and its application helps create a perfect environment for the crackling. When rubbed generously, it aids the seasonings in adhering to the skin and meat, promoting even browning. Furthermore, olive oil contributes to the fat rendering process, encouraging the rind to blister and crisp up beautifully without becoming overly dry.
- Coarse Sea Salt or Kosher Salt: The type of salt used is paramount for achieving incredible crackling. Coarse sea salt or kosher salt, with their larger crystals, are ideal because they effectively draw out moisture from the pork rind. This dehydration is key to producing a light, airy, and super crispy texture. A generous application, especially on the skin, not only seasons the crackling perfectly but also facilitates the formation of those delightful, bubbly blisters. Fine salt can sometimes dissolve too quickly or create a harsh salty crust, so coarser grains are preferred.
These core ingredients, combined with our precise techniques, will transform a simple cut of pork into a culinary masterpiece. For exact measurements and a complete list, please refer to the detailed **Recipe Card** at the bottom of this article.
Creative Additions and Smart Substitutions for Your Pork Roast
While our core recipe for **Pork Roast with Crispy Crackling** guarantees outstanding results, cooking is also about personalizing flavors and making the most of what you have. Don’t hesitate to experiment with additions or make smart substitutions to tailor this dish to your taste preferences or pantry availability. The goal remains the same: a rich, tender pork roast with irresistible crispy skin.
- Aromatic Herb Infusion: Elevate the underlying flavor of your pork by tucking fresh herbs beneath the skin before roasting. Robust herbs such as rosemary, thyme, or sage are excellent choices. Their earthy, pungent notes slowly release during cooking, permeating the meat and adding an aromatic depth that perfectly complements the savory pork and crispy crackling. You can also create a simple herb paste by finely chopping them with a little olive oil and rubbing it directly onto the meat (not the skin, as it can hinder crackling).
- Custom Spice Mix Variations: The classic combination of garlic powder and salt is fantastic, but the world of spices offers endless possibilities. Consider adding:
- Smoked Paprika: For a beautiful color and a smoky, slightly sweet depth.
- Cumin: Adds an earthy, warm note, particularly good if you’re leaning towards a more Latin or Mediterranean flavor profile.
- Cayenne Pepper or Red Pepper Flakes: A small pinch can introduce a subtle warmth without overwhelming the dish.
- Fennel Seeds: Offer a delicate anise-like flavor that pairs wonderfully with pork. Lightly crush them to release their aromatic oils.
These spices can be mixed with your garlic powder and salt and rubbed onto the meat for an enhanced flavor profile.
- Deepening Garlic Flavor with Whole Cloves: For true garlic aficionados, placing several whole, peeled garlic cloves directly into the roasting pan (perhaps nestled among any root vegetables you might be cooking alongside) will impart a profound, mellow garlic aroma and flavor to the entire dish. As they roast, they caramelize and soften, becoming sweet and spreadable, a perfect accompaniment to the rich pork.
- Vinegar or Lemon Juice Pre-treatment: For an extra crispy crackling, some chefs advocate for a quick rinse of the pork rind with white vinegar or lemon juice after patting it dry and before salting. The acidity can help further break down the skin and promote crispiness. Ensure to pat it completely dry again afterward.
These suggestions allow you to customize your pork roast experience, making each rendition uniquely yours while still achieving that glorious crispy crackling and tender meat.
Mastering the Art: Step-by-Step Guide to Your Ultimate Crispy Pork Roast
Embark on your journey to culinary excellence with this detailed, step-by-step guide to preparing the **Ultimate Crispy Pork Roast with Perfect Crackling**. Each instruction is designed for clarity and success, ensuring you confidently transform a simple cut of pork into a magnificent centerpiece. Get ready to impress your family and friends with an unbelievably juicy, tender roast, crowned with a crackling so crispy it sings!
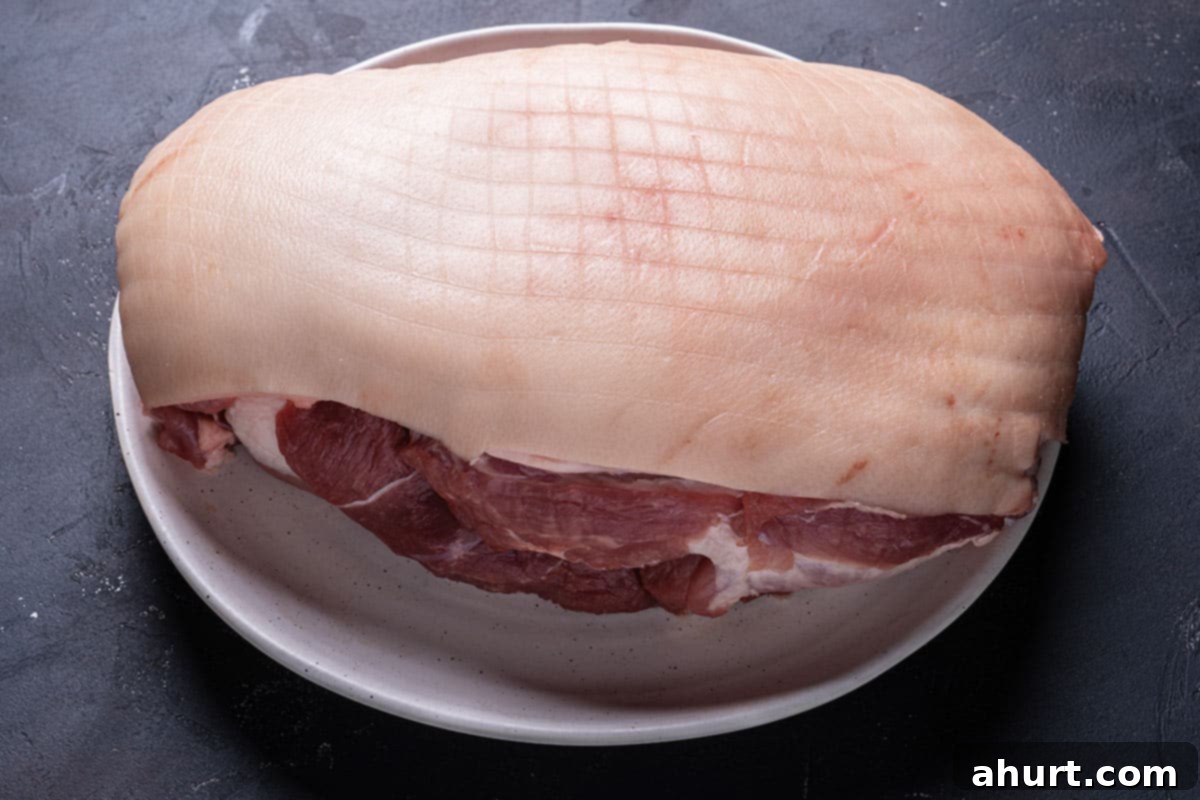
- Thoroughly Prepare and Dry the Pork: The absolute most crucial step for achieving magnificent crackling is to remove all moisture from the rind. Unpack your boneless pork shoulder or butt and pat it thoroughly dry with paper towels. Lay it rind-side up and uncovered in a tray. Place this tray in the refrigerator for a minimum of 1 hour, but ideally overnight (up to 24 hours). This extended drying period allows the skin to dehydrate, which is essential for it to crisp up effectively in the oven. Before roasting, remember to remove the pork from the refrigerator 1-2 hours in advance. This allows the meat to come closer to room temperature, ensuring more even cooking and preventing the meat from seizing up when it hits the hot oven.
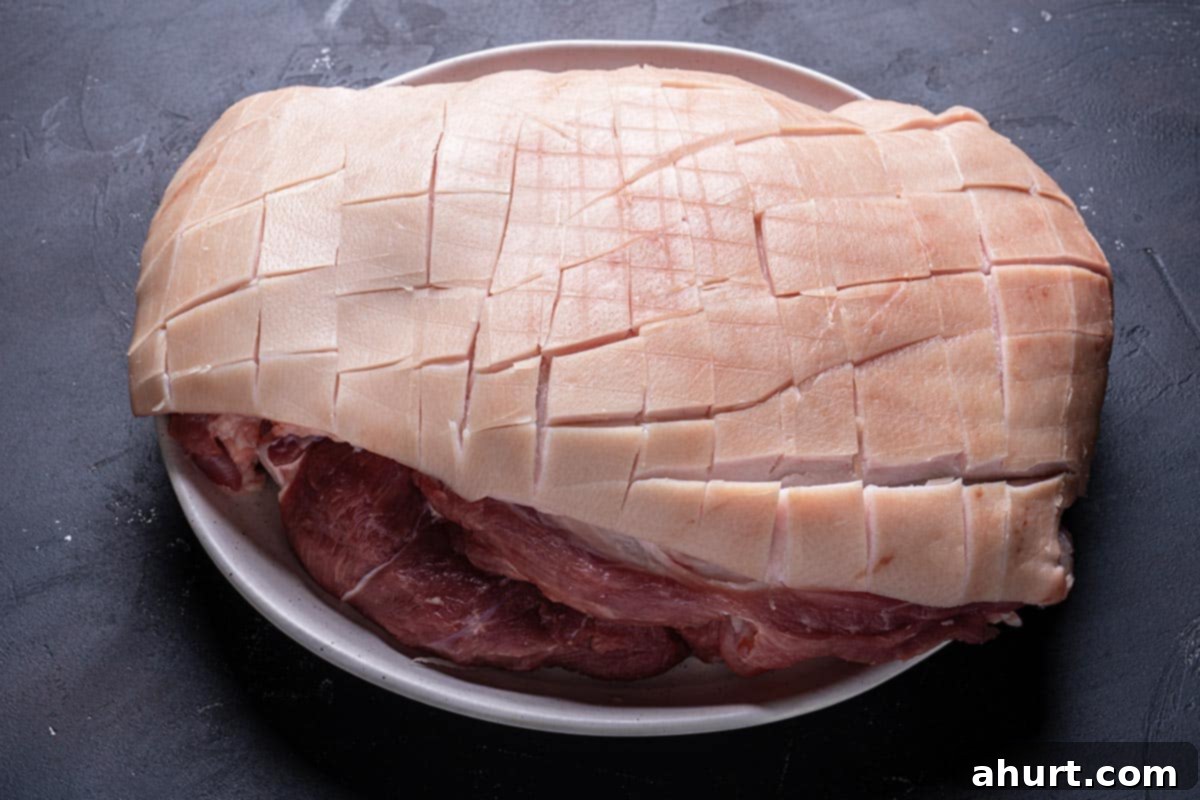
- Preheat Oven and Precisely Score the Rind: Begin by preheating your oven to a high temperature of 460°F (240°C). A high initial heat is critical for shocking the rind, helping it to puff up and crisp quickly. Next, using a very sharp knife or a craft knife/Stanley knife (preferred for precision), carefully score the pork rind in parallel lines, about 1-inch (2.5 cm) apart. Ensure you cut *through* the rind and just into the fat layer, but crucially, do not cut into the meat itself. Cutting into the meat will cause juices to escape and can result in a dry roast. Scoring helps the fat render, allows the seasonings to penetrate, and promotes even crackling. After scoring, give the skin another final pat-down with paper towels to absorb any last traces of moisture – this step cannot be overemphasized for crackling success.
*Pro Tip for Ultimate Crackling: The success of truly spectacular crackling hinges on dryness and heat. Beyond refrigerating uncovered, some expert cooks even recommend using a hairdryer on a cool setting for a few minutes just before roasting to ensure the skin is bone-dry. Additionally, consider cross-hatching your scores into a diamond pattern for even more surface area to crisp.
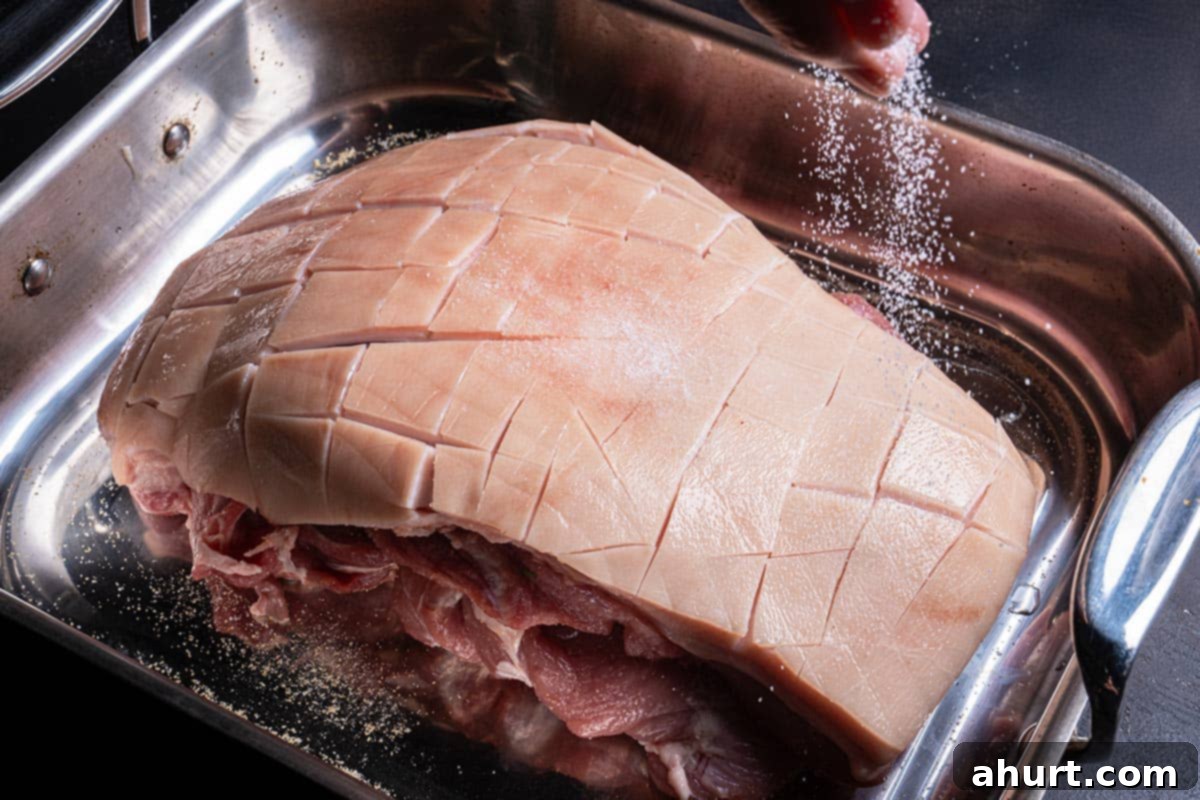
- Expertly Season the Pork: Flip the pork so the skin-side is down. Generously rub the garlic powder and about 1 teaspoon of coarse sea salt directly into the exposed meat. This ensures the foundational flavors penetrate deep into the roast. Next, turn the pork back, rind-side up. Drizzle approximately 1/4 cup of olive oil over both the rind and the meat, using your hands to thoroughly massage it in. The oil helps distribute the seasonings and facilitates the rendering of fat. Finally, and perhaps most importantly for the crackling, season the entire surface of the scored rind with a very generous amount of coarse sea salt – approximately 1 tablespoon. Press the salt firmly into the scores; this is crucial for drawing out moisture and promoting those beautiful, bubbly blisters.
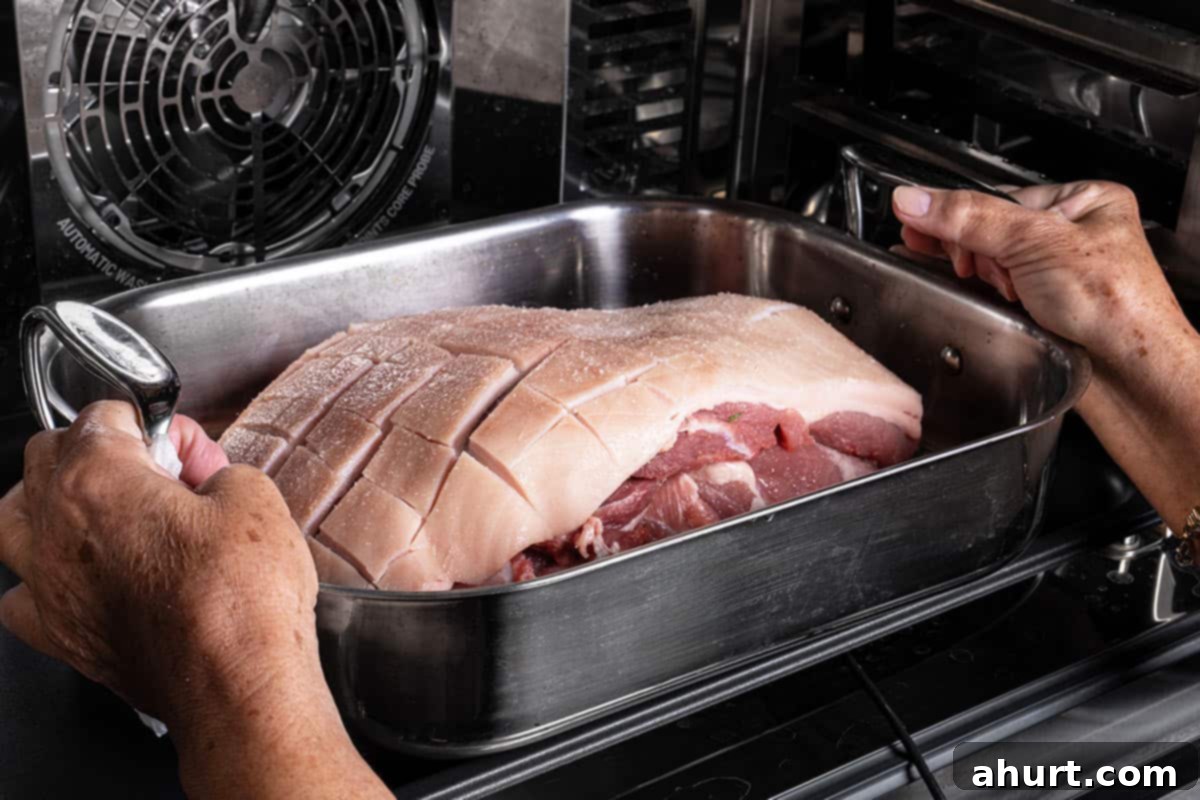
- Initial High-Heat Roast for Crackling: Carefully transfer the seasoned pork, rind-side up, to a sturdy roasting dish. Place it into your preheated 460°F (240°C) oven. Roast for an initial 50 minutes. During this high-heat blast, watch the rind closely; it should begin to blister, bubble, and transform into glorious crackling. This phase is about developing that incredible crispy texture.
- Continue Roasting at a Lower Temperature: Once the crackling has begun to form beautifully (after the initial 50 minutes), reduce the oven temperature to 350°F (180°C). Continue roasting for an additional 1 to 1 ½ hours. This lower temperature allows the pork shoulder to slowly cook through, becoming incredibly tender and juicy without drying out. The exact cooking time will vary based on the size of your roast and your desired level of doneness. Monitor the internal temperature for accuracy.
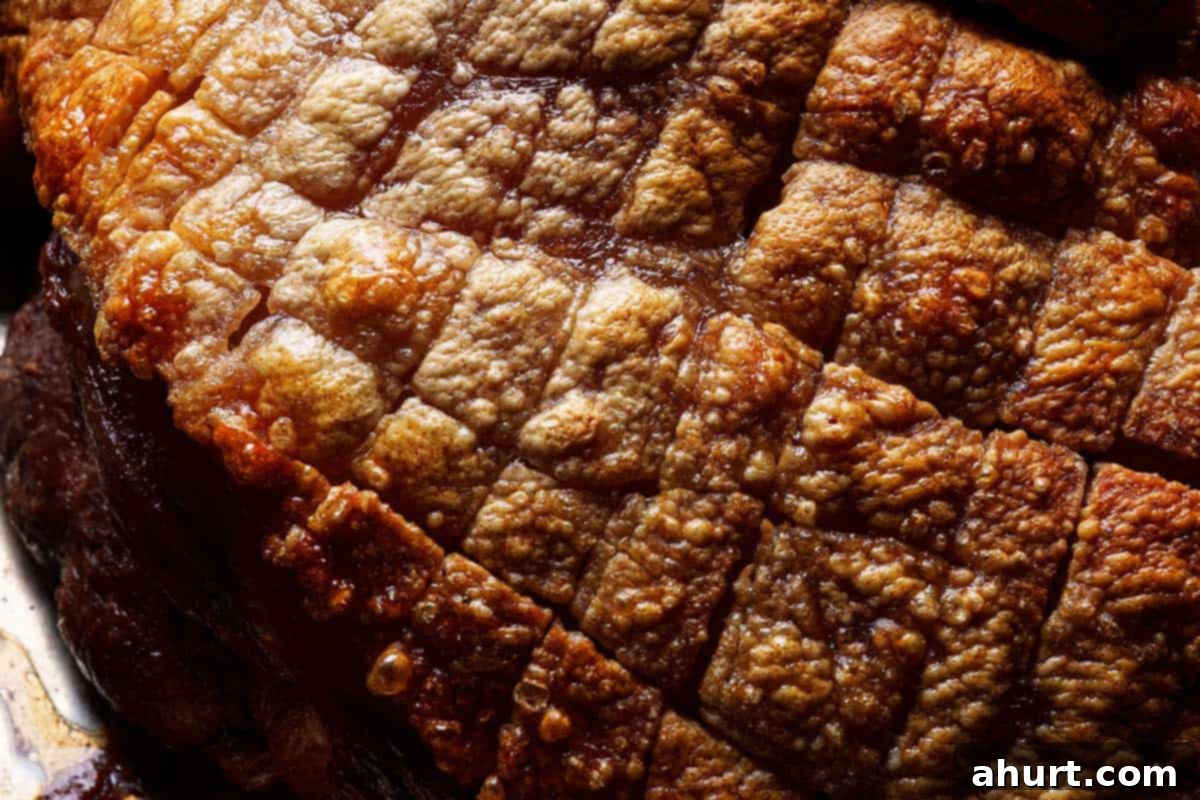
- The Grand Finale: Achieve Peak Crispiness: If your crackling isn’t as golden or bubbly as you’d like after the initial high-heat phase and subsequent low-heat roasting, it’s time for a final blast. Increase the oven temperature back up to 440°F (230°C) and roast for a final 10-15 minutes. Keep a very close eye on it during this period, as crackling can go from perfect to burnt quickly. This intense heat will ensure the rind achieves that stunning, deep golden color and incredible, airy crispness, making it truly irresistible.
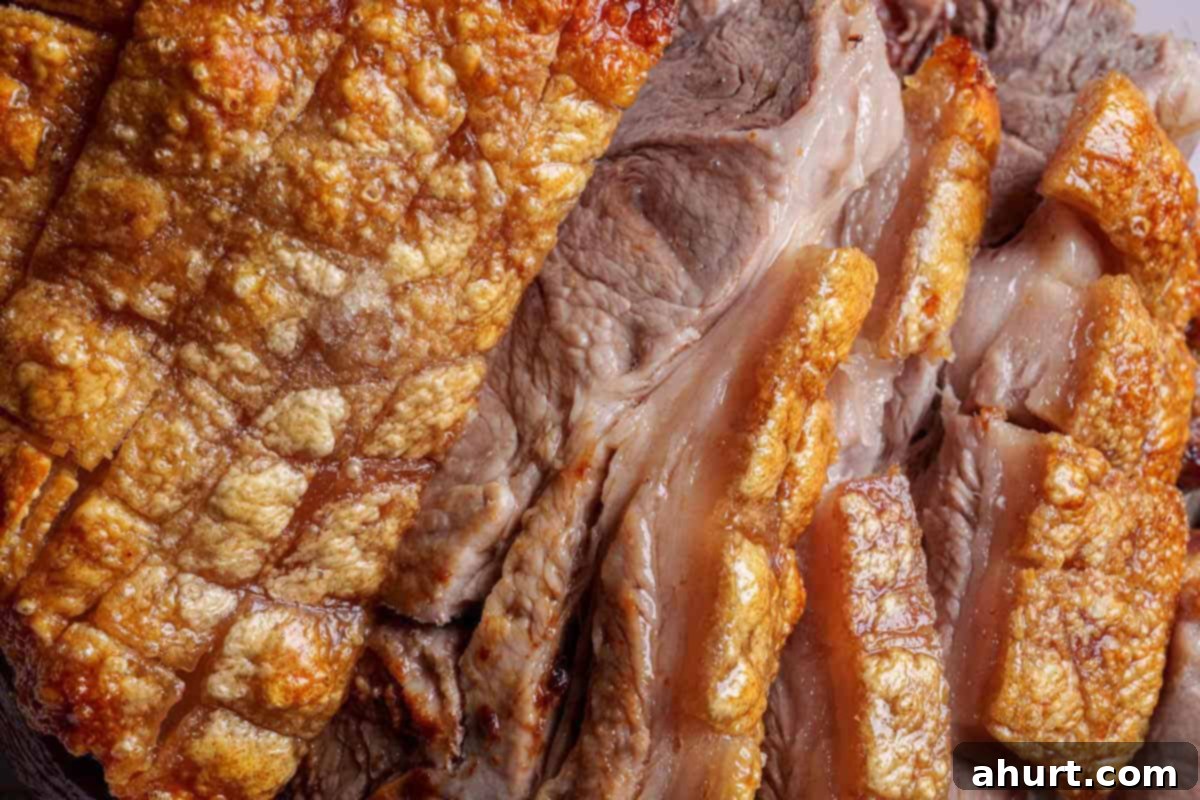
- Verify Doneness and Crucial Resting Period: To confirm your **Pork Roast** is perfectly cooked, insert a meat thermometer into the thickest part of the meat (avoiding bone or fat). For a safe and perfectly cooked pork shoulder, the internal temperature should reach 160°F (71°C). While a traditional method involves piercing the meat with a knife and checking if the juices run clear, a thermometer provides a much more accurate and consistent result. Once cooked, remove the roast from the oven and transfer it to a cutting board. Tent it loosely with foil and allow it to rest for at least 15-20 minutes before carving. This resting period is vital; it allows the juices to redistribute throughout the meat, resulting in a more tender, succulent, and flavorful roast. Do not skip this step!
Congratulations! You have successfully mastered the art of creating a truly **Perfect Pork Roast with Glorious Crackling**! The anticipation is finally over, and a magnificent meal awaits. To complete your dining experience, explore these delightful side dish pairings from our site:
- Fluffy and flavorful Crispy Garlic Roasted Potatoes
- Indulgently smooth Creamy Mashed Cauliflower
- Savory and satisfying Roasted Brussels Sprouts with Bacon
- Sweet and aromatic Honey Roasted Carrots With Garlic Butter
Each of these complements the rich flavors of your pork roast beautifully, creating a complete and unforgettable meal.
Frequently Asked Questions About Crispy Pork Roast with Crackling
Achieving truly crispy crackling boils down to three key factors: **dryness, proper scoring, and high heat**. First, ensure the pork rind is as dry as possible; pat it thoroughly with paper towels and ideally refrigerate it uncovered overnight. This dehydrates the skin. Second, score the rind deeply enough to cut through the skin and fat, but *not* into the meat, which helps fat render and creates channels for crisping. Finally, an initial blast of high heat (like 460°F / 240°C as in our recipe) is crucial to ‘shock’ the skin, making it puff and blister beautifully. Rubbing the rind generously with coarse sea salt and a little olive oil also plays a vital role in drawing out moisture and promoting crispiness. Patience during the drying phase and vigilant monitoring during the high-heat roast will yield the best results.
The carving process is vital for serving a tender, juicy roast with intact crackling. Always allow your **Pork Roast with Crackling** to rest for at least 15-20 minutes after removing it from the oven. This allows the meat fibers to relax and reabsorb juices, preventing them from running out when sliced, thus ensuring maximum tenderness and flavor. For carving, use a sharp carving knife. First, carefully remove the entire crackling layer (it should come off in large pieces or a single sheet if scored well). Break or cut the crackling into serving-sized portions. Then, slice the pork meat against the grain into your desired thickness. Serving the crispy crackling alongside or on top of the sliced meat ensures everyone gets to enjoy both incredible textures.
The most reliable way to check for doneness is by using a good quality meat thermometer. Insert the thermometer into the thickest part of the pork roast, avoiding any bone or large pockets of fat. For a safe and perfectly cooked pork shoulder, the internal temperature should reach 160°F (71°C). While a traditional method involves piercing the meat with a knife and checking if the juices run clear, a thermometer provides a much more accurate and consistent result. Remember, after reaching 160°F, the temperature will continue to rise slightly during the resting period (carry-over cooking), so don’t overcook it in the oven. Always allow it to rest for at least 15-20 minutes before carving for the best texture and flavor.
Several factors can prevent crackling from becoming perfectly crispy. The most common culprit is **moisture**. If the rind wasn’t thoroughly dried before roasting (either via refrigeration or additional patting), it will struggle to crisp. Insufficient scoring can also hinder fat rendering and crisping. Another common issue is **insufficient heat**; the oven might not have been hot enough, or it lost too much heat during roasting (avoid opening the oven door too often!). Ensure you’re using coarse salt, which is more effective at drawing out moisture than fine salt. If you find your crackling isn’t fully crispy towards the end, a final blast at a very high temperature (like 440°F / 230°C for 10-15 minutes, watched closely) can often rescue it. In rare cases, the quality or thickness of the rind itself might be a factor, so always choose a good cut with an intact rind.
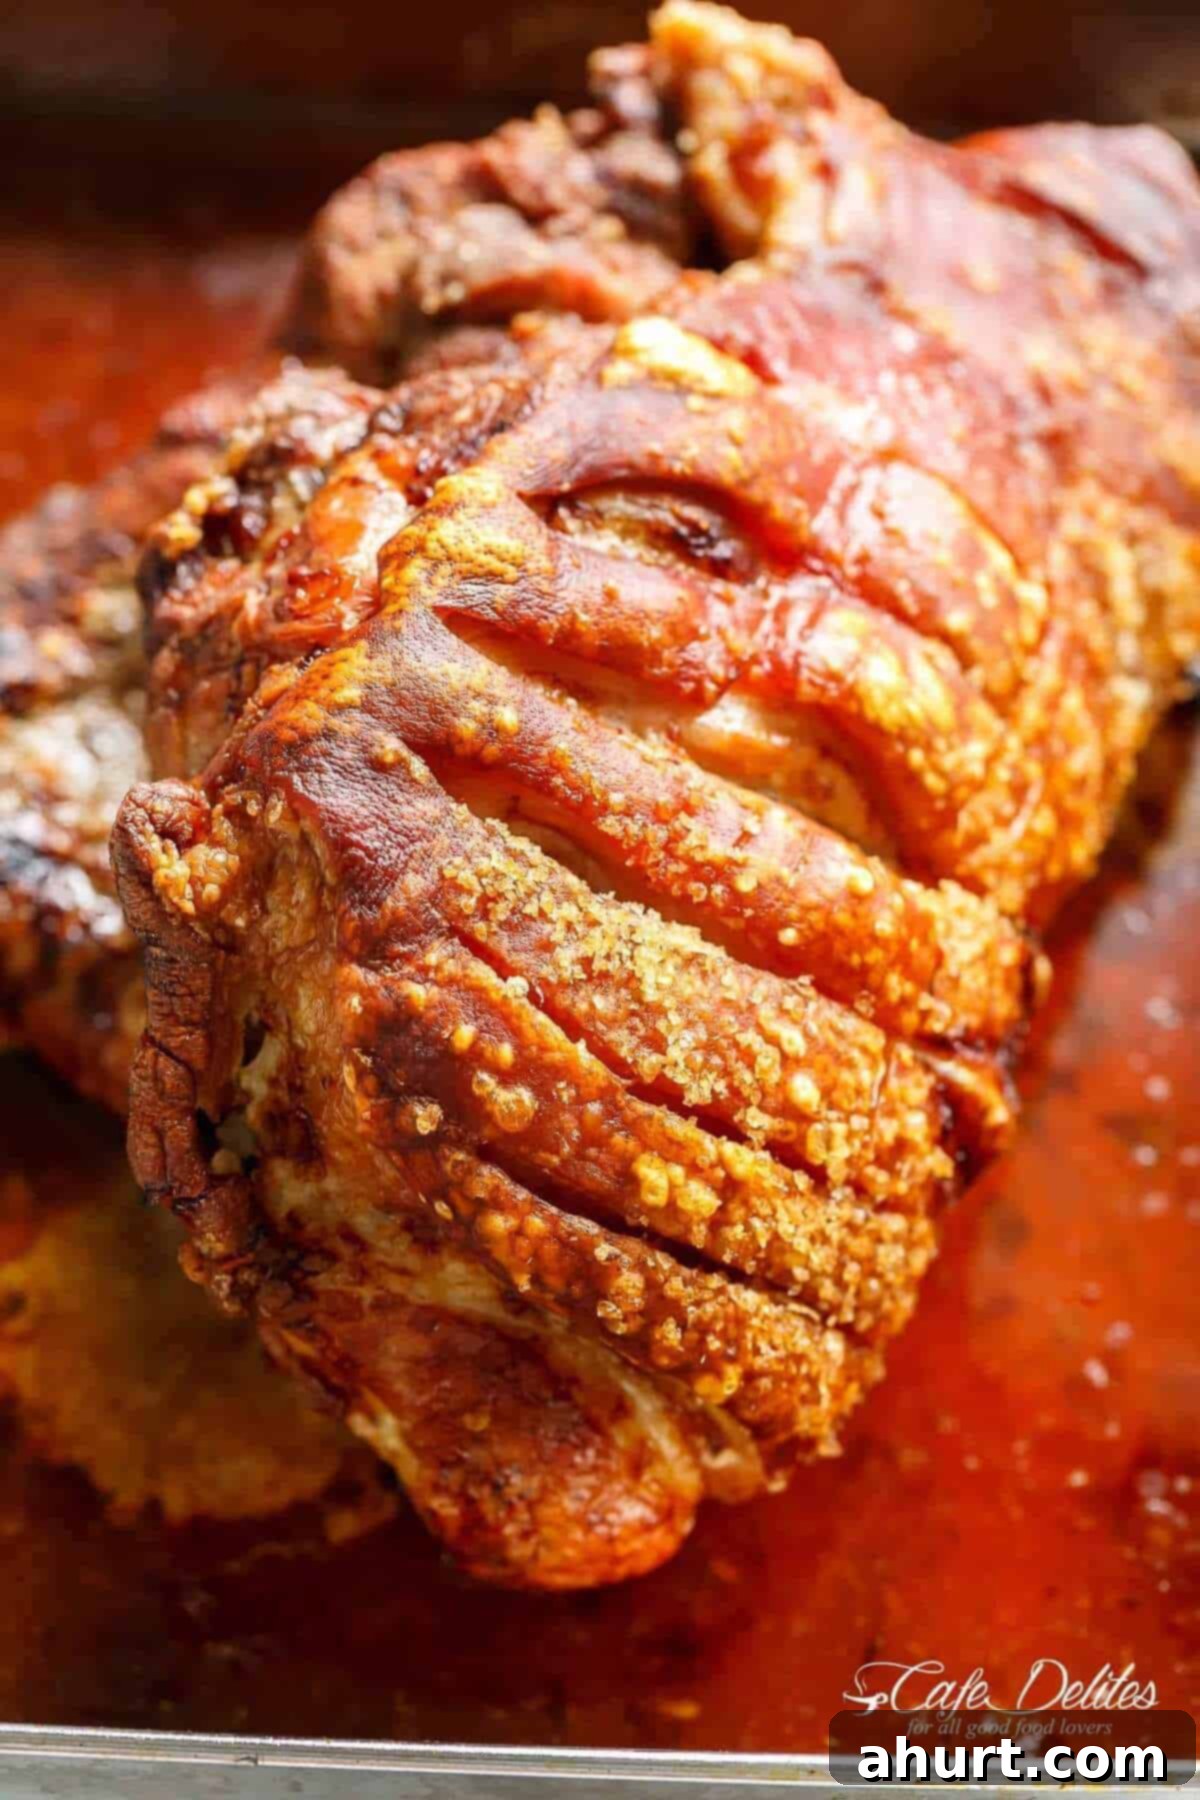

Pin
Pork Roast With Crackle
Ingredients
- 4 pound boneless pork shoulde or butt, rind on
- 2 teaspoons garlic powder
- 1/4 cup olive oil
- 1 teaspoon salt
Instructions
-
Remove all plastic wrap from the pork. Lay it out flat in a tray, rind-side up and uncovered. Allow to dry completely in the refrigerator for at least 1 hour, or overnight if time allows.
-
Remove pork from the refrigerator for 1-2 hours before roasting to allow it to come to room temperature.
-
Preheat oven to 460°F (240°C).
-
Use a sharp knife to score the rind in 1-inch intervals. Thoroughly pat the skin dry with paper towels.
-
Turn pork skin-side down. Rub garlic powder and about 1 teaspoon of salt into the meat underneath. Drizzle the olive oil over the pork rind and the meat, rubbing it in with your fingers for best results (if you need more oil, add more). Season the rind with a generous amount of sea salt (about 1 tablespoon).
-
Transfer pork to a roasting dish and roast for 50 minutes, or until the rind crackles. Reduce temperature to 350°F (180°C) and continue roasting for 1 – 1 1/2 hours, depending on how well done you like your roast.
-
Increase the oven temperature back up to 440°F (230°C). Roast for 10 minutes until the rind has turned into an amazing golden crackling and the pork is cooked through.
(To check if the pork is cooked, pierce the thickest part of the meat with a knife. If the juices run clear, the pork is cooked. Alternatively, pork is cooked when the thermometer shows 160°F (71°C).
-
Remove from the oven and allow to rest for 15 minutes before carving.
Nutrition
Nutrition information is automatically calculated, so should only be used as an approximation.
