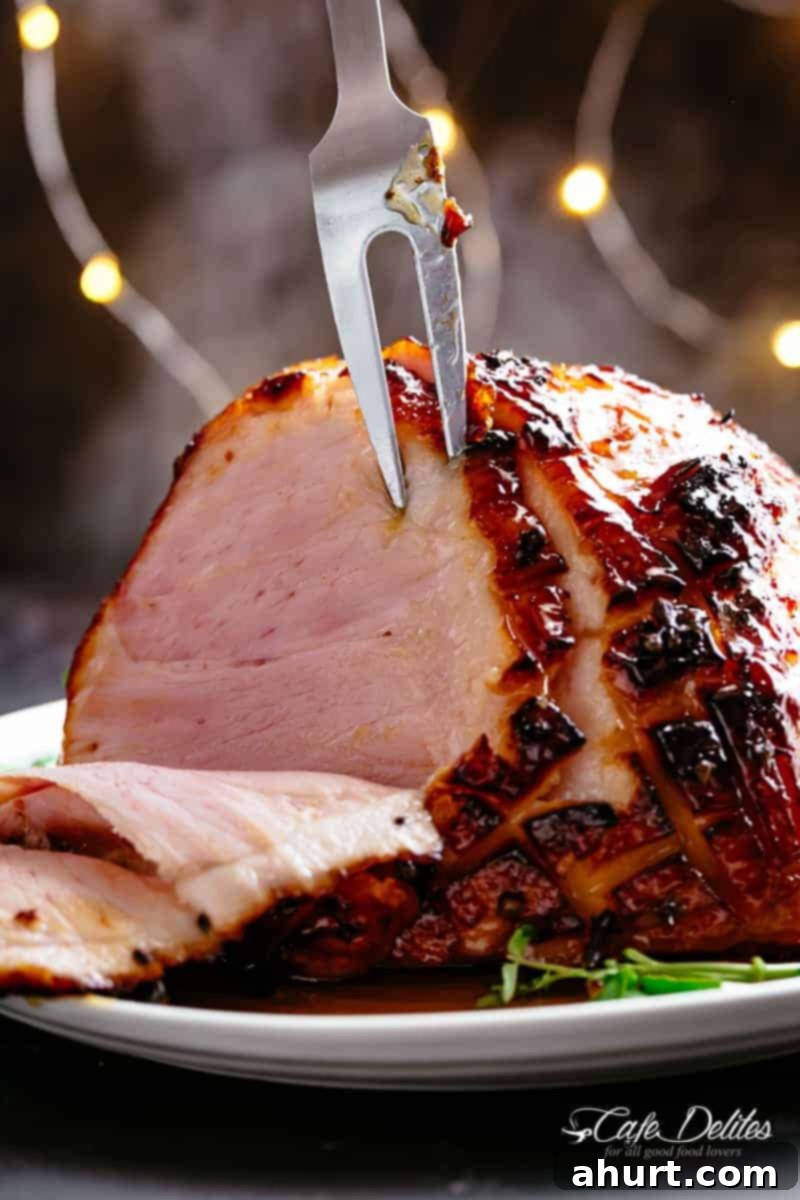
The Ultimate Honey Baked Ham: Achieve Juicy Perfection with a Sticky Pineapple Glaze
Imagine a culinary masterpiece at the heart of your holiday feast: a magnificent Honey Baked Ham, infused with a subtle hint of pineapple juice and coated in a lusciously buttery, irresistibly sticky glaze. This isn’t just a dish; it’s the centerpiece that will define your festive celebrations, delivering an unforgettable blend of sweet and savory flavors that tantalize the taste buds and leave everyone craving more.
As the aroma of this exquisite ham fills your home, you’ll know the holidays have truly arrived. Each slice promises a journey of textures – incredibly juicy and succulent on the inside, yielding to delightfully crispy, charred, and perfectly sticky edges. This isn’t just any ham; it’s the quintessential centerpiece for your Christmas Dinner Table, equally splendid for Easter, Thanksgiving, or any special gathering. Serve it alongside beloved classics like our Green Bean Casserole or a comforting Corn Casserole for a truly memorable spread.
This season, don’t just serve a meal; create an experience. Dive into the art of baking a flawless honey ham with all the expert tips, tricks, and secrets you need, meticulously laid out right here. We’ll guide you through every step to ensure your homemade honey baked ham is not only better than any store-bought alternative but truly legendary.
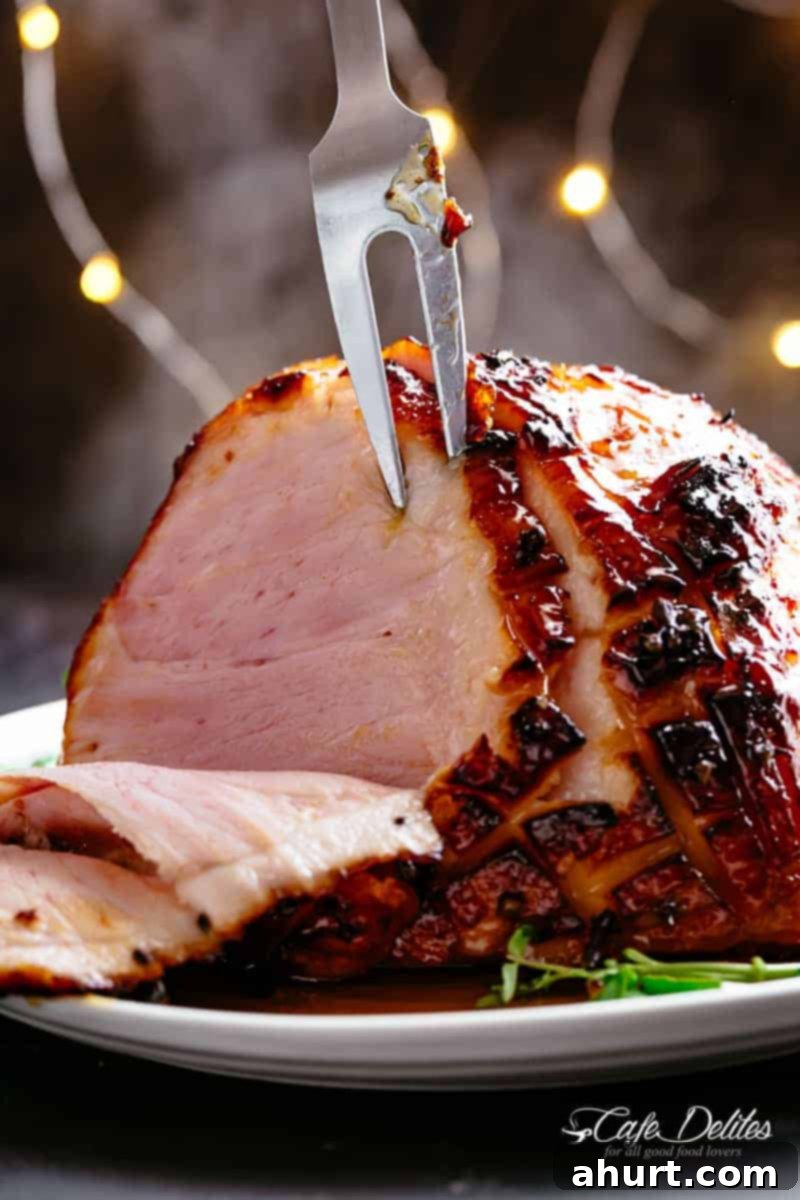
Crafting the Perfect Honey Baked Ham at Home
When it comes to holiday cooking, few dishes offer such impressive results with relatively minimal effort as a honey baked ham. Whether you opt for a convenient boneless ham or a flavorful bone-in variety, the process of preparing this festive centerpiece is incredibly enjoyable. Imagine your kitchen filling with the warm, rich, and utterly delicious aromas of buttery honey as your ham slowly bakes to perfection – it’s an experience in itself!
Making your own baked ham at home is not just a rewarding culinary adventure; it consistently yields results far superior to any store-bought alternative. The true magic lies in the ability to create and generously apply that irresistible, glistening sticky glaze. This homemade glaze adheres beautifully to every inch of the ham, developing a caramelized crust as it bakes, and providing an extra layer of lusciousness when served. It’s truly a game-changer that transforms a simple ham into a show-stopping dish. For an even more comforting feast, don’t forget to pair your magnificent ham with our delightful Cornbread Recipe.
Choosing the right ham is your first step to success. Most hams sold in stores are fully cooked, meaning your primary goal is to warm it through and, more importantly, create that signature glorious crust. You can choose between a bone-in ham, which often offers a richer flavor and more dramatic presentation, or a boneless ham, which is incredibly easy to slice and serve. Both options will shine brightly with our proven techniques.
Secrets to the Best Baked Ham: Juiciness and a Perfect Glaze
Creating the best baked ham involves a few key steps that guarantee a tender, flavorful result every time. Our secret weapon in this recipe is starting by placing your ham in a bath of pineapple juice. This isn’t just for flavor; the natural acidity present in the pineapple juice works wonders to keep the ham incredibly juicy and moist throughout the baking process. As it bakes, these delightful fruity notes gently permeate the meat, setting a magnificent foundation for the rich, sweet glaze you’ll be applying.
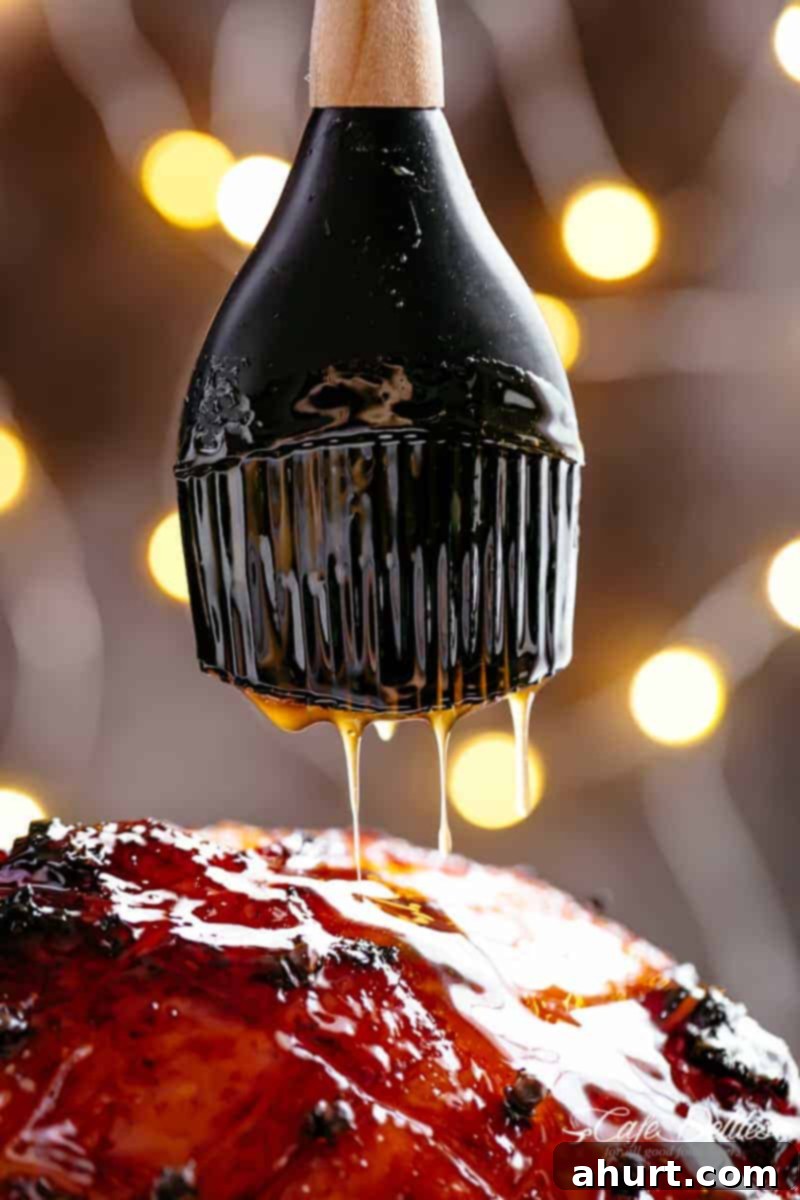
The true magic of a honey baked ham lies in its glossy, caramelized crust. This is achieved through a meticulous basting process. You’ll want to generously apply your homemade glaze and baste the ham every 15 minutes during the final stages of baking. This frequent application allows the sugars in the glaze to caramelize beautifully, transforming the surface fat into a deliciously rendered, crispy, and incredibly sticky exterior. The consistent basting ensures an even coating, building up layers of flavor and texture that are simply irresistible.
As your ham nears perfection in the oven, your kitchen will be enveloped in an aroma that is nothing short of heavenly. If only there were a “smell-ernet” to convey the rich, sweet, and savory fragrance emanating from this juicy, tender Honey Baked Ham – it smells every bit as good, if not better, than it looks! This tantalizing scent is a promise of the deliciousness to come, a true highlight of any holiday gathering.
The Rind Debate: Why Removing it is Essential for the Best Honey Baked Ham
Among the various steps in preparing a baked ham, the decision of whether or not to remove the rind (skin) often sparks the most discussion. While some traditional methods keep the rind on, our extensive testing has consistently shown that for the absolute best Honey Baked Ham experience, removing the rind is a non-negotiable step.
When the rind is left on during baking, we’ve observed that it tends to become unpleasantly chewy and gummy, especially as the ham cools. This makes it tough to cut through and significantly detracts from the overall eating experience. Furthermore, a crucial aspect of our honey baked ham recipe is allowing the exquisite glaze flavors to deeply penetrate the ham. When the rind is present, it acts as an impermeable barrier, preventing the delicious sweetness and butteriness of the glaze from seeping into the succulent, fleshy parts of the ham. This results in a less flavorful interior, which is exactly what we want to avoid.
Therefore, to achieve that perfectly juicy ham permeated with flavor and coated in a glorious sticky crust, we strongly recommend trimming the rind off. It’s important to understand that fully cooked ham rind, unlike pork belly skin, simply DOES NOT crisp up in the oven. We’ve put this to the test through various methods – broiling, baking at high temperatures, and even deep frying – and in every instance, the rind remained unappetizingly tough rather than transforming into a desirable crispy texture. Trust us on this one; removing the rind is the secret to unlocking the full potential of your Honey Baked Ham.
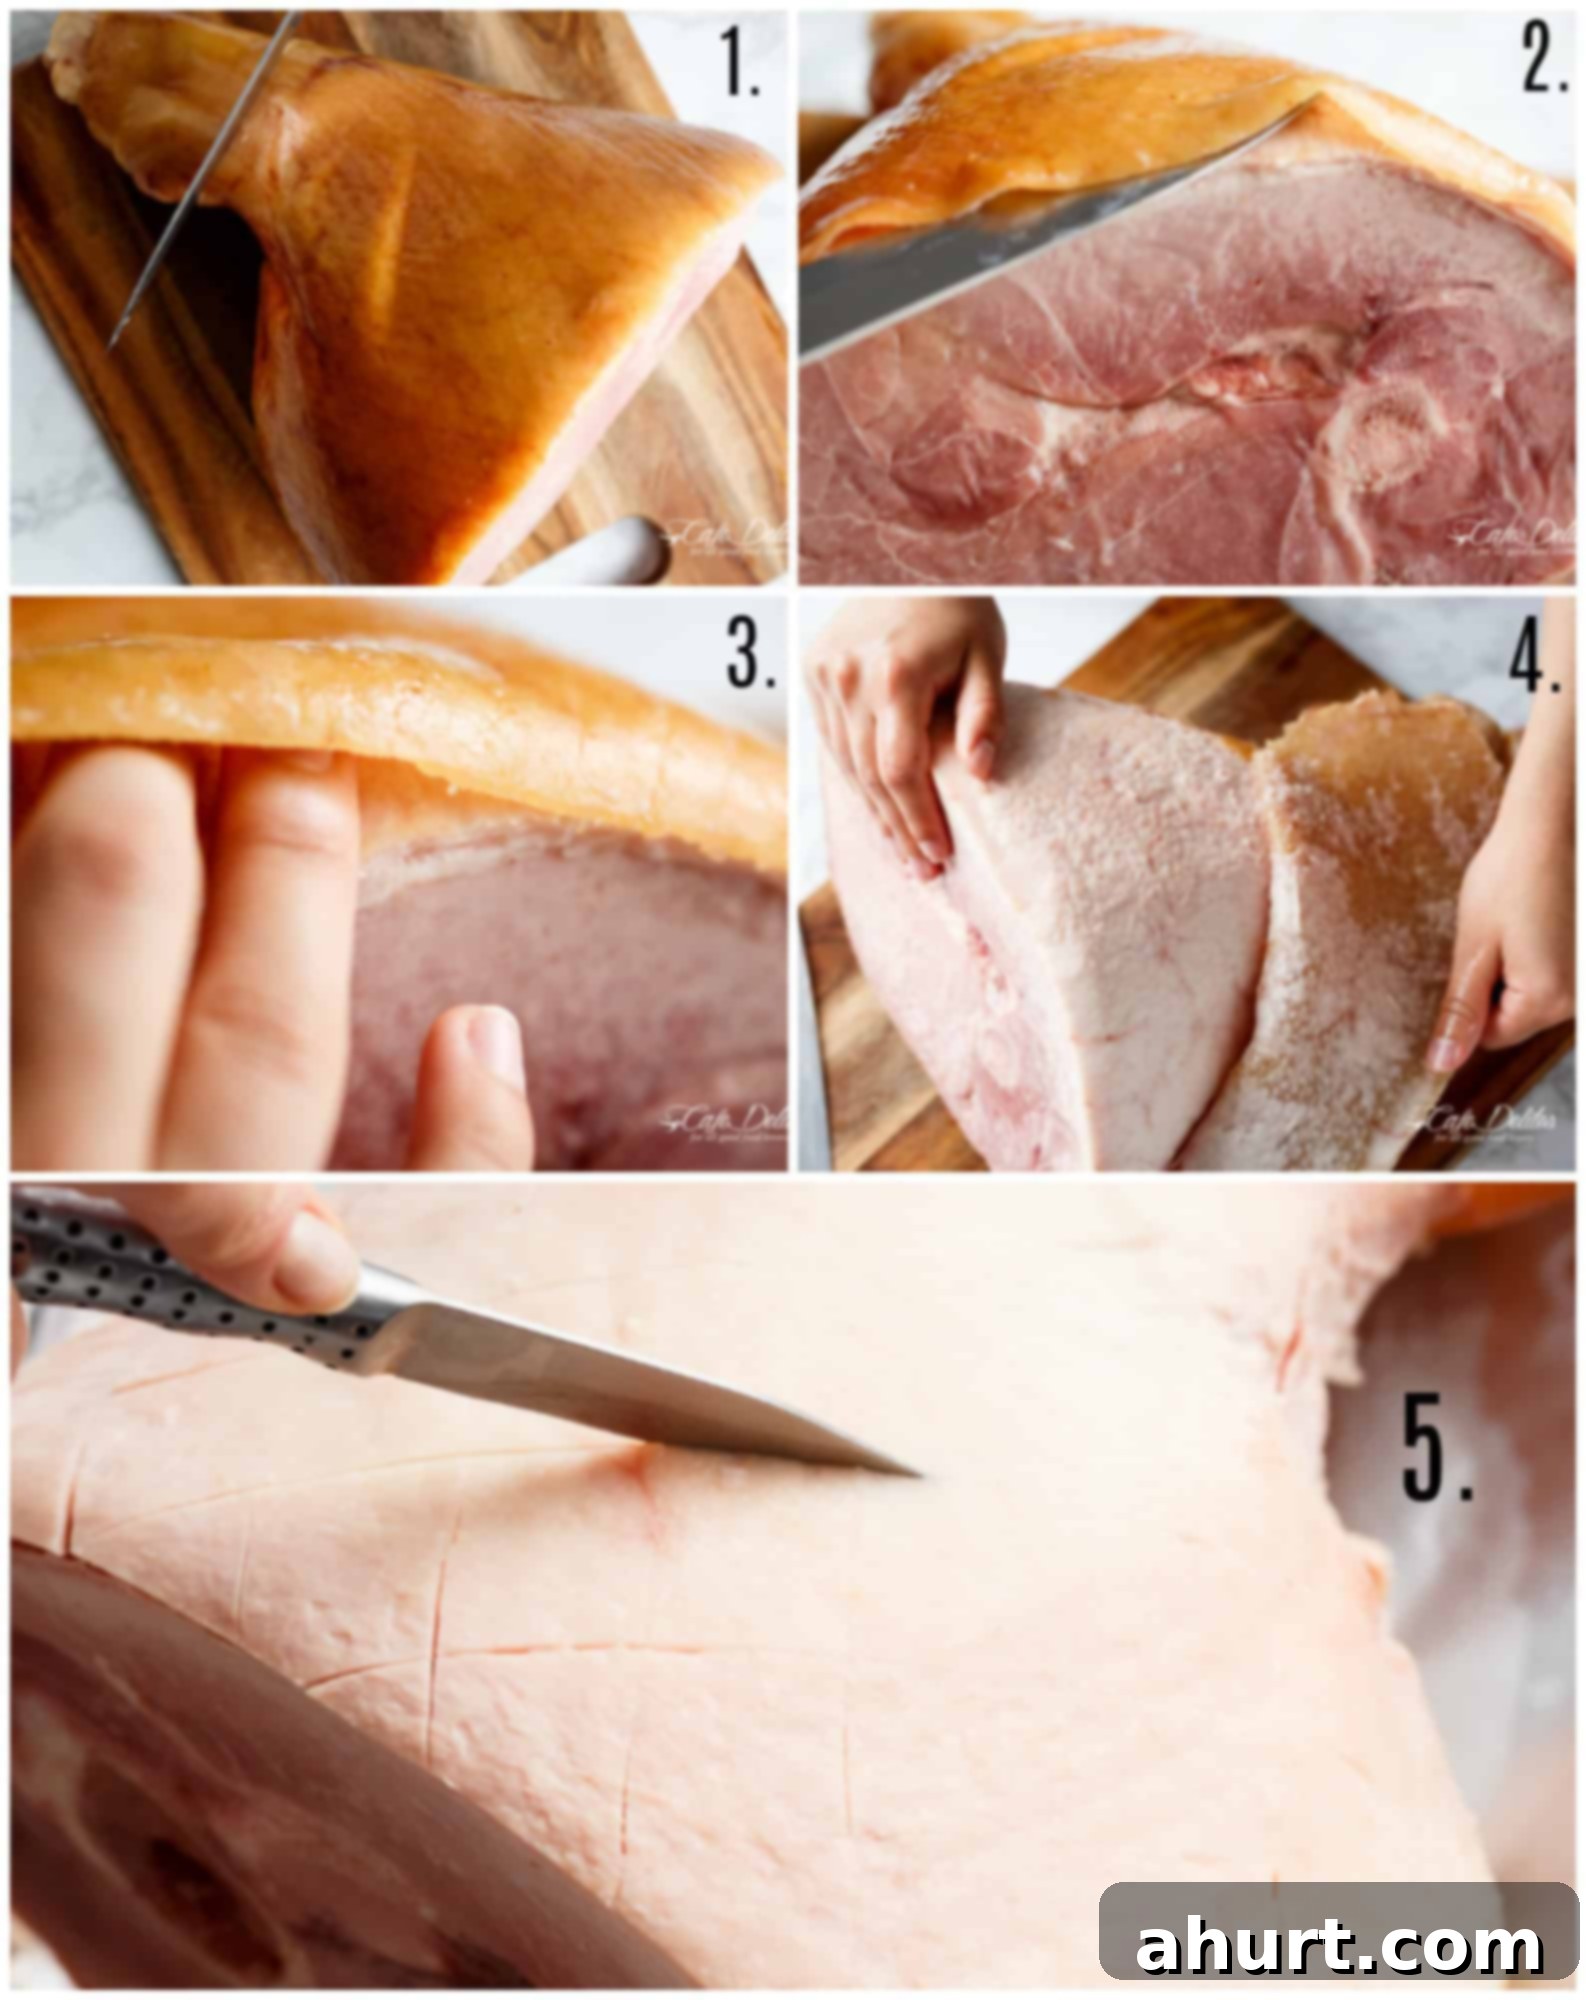
Step-by-Step Guide: Effortlessly Removing Ham Rind for Optimal Flavor
Once you’ve decided to remove the ham rind (which we highly recommend for the ultimate Honey Baked Ham experience), you’ll discover a crucial layer directly beneath it: a beautiful, glistening layer of fat. This fat is your friend – it renders down during baking, creating an incredibly flavorful, crispy, and sticky coating that perfectly holds your luscious glaze. **Crucially, do NOT trim this fat away!** It contributes significantly to both the texture and taste, making the final result utterly irresistible.
To guide you through this process with ease, we’ve broken down the rind removal into simple, actionable steps, as visually demonstrated in the collage above (which also features insights from our Brown Sugar Mustard Glazed Ham recipe):
- **Prepare the Shank End:** Begin by carefully cutting a clean line through the thick skin all around the shank end of the ham. This initial cut creates a starting point for easy separation.
- **Initial Separation:** Take a sharp, thin knife and gently insert it between the tough rind and the underlying layer of fat. Run the knife along this natural seam, carefully detaching the two layers without cutting into the precious fat.
- **Gentle Hand Separation:** Once you’ve created a small opening with your knife, use your fingers to gently separate the rind from the fat. You can work your hand deeper into the ham to keep detaching it so it’s easier to peel the rind off in Step 4.
- **Peel and Discard:** With the rind largely separated, you can now peel it off and discard it. You’ll be left with that wonderful layer of fat ready for the next step.
- **Score the Fat Layer:** Finally, with the rind gone, use your sharp knife to lightly score the exposed fat layer. Make cuts about 1/4-inch deep, creating an attractive diamond pattern all over the surface. This scoring not only looks beautiful but also helps the fat render more evenly and allows the glaze to seep into the ham, creating those incredible sticky, caramelized pockets of flavor.
With your ham meticulously prepared, it’s now ready for the oven. As it begins its initial bake, you can turn your attention to creating the star of the show: our exquisite honey glaze.
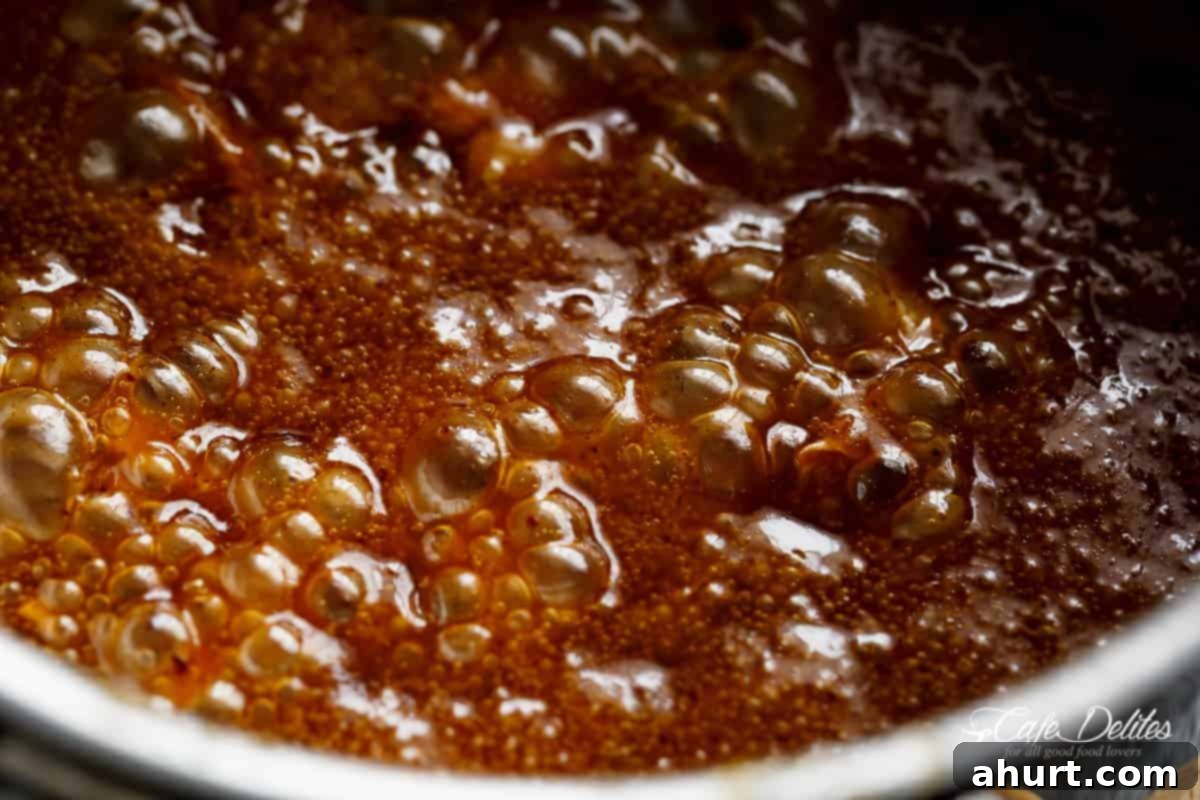
Crafting the Ultimate Ham Glaze: Sweet, Savory, and Irresistibly Sticky
The secret to an unforgettable Honey Baked Ham lies undeniably in its glaze. A truly exceptional ham glaze achieves a perfect harmony between sweetness and the inherent saltiness of the ham. Traditional choices for the best glazes often include rich honey, deep brown sugar, or aromatic maple syrup. These ingredients provide the essential sticky, sweet counterpoint that makes baked ham such a beloved dish, ensuring a “pretty special glaze” every time.
For our specific Honey Baked Ham recipe, we combine the golden richness of butter with the natural sweetness of honey, complemented by a subtle hint of brown sugar. This trio creates a complex base that’s both deeply flavorful and wonderfully aromatic. The slight acidity from the pineapple juice (which the ham bakes in) plays a crucial role here, expertly balancing out the sweetness of the honey and brown sugar. Meanwhile, the inherent saltiness of the ham provides yet another essential layer of flavor, creating a dynamic taste profile that is truly addictive.
Beyond these core ingredients, you have the flexibility to personalize your glaze with additional spices. Classic additions include warm ground cinnamon, a touch of nutmeg, or even a pinch of ground ginger for extra warmth. While we sometimes opt out of piercing our ham with whole cloves for other recipes, for this particular honey-pineapple combination, whole cloves add a delightful aromatic depth that truly enhances the overall flavor. Feel free to experiment with spices that appeal to your palate, ensuring they complement the sweet and savory profile.
Expert Tips for a Flawless Glaze
Mastering the glaze is crucial, and here’s our most important piece of advice: **do not simmer the glaze for too long.** Over-simmering will cause the sugars to caramelize excessively, leading to a hard, unmanageable caramel once it begins to cool. This dense consistency makes it incredibly difficult, if not impossible, to smoothly slather onto the outside of the ham during the basting process. Your goal is to bring the mixture to a gentle simmer just long enough for the sugar to dissolve and the ingredients to combine, then quickly remove it from the heat. The glaze should be thick enough to cling to a spoon but still easily brushable, akin to the consistency of warm, runny honey.
Should your glaze accidentally become too thick between basting sessions, don’t despair! A quick fix is to add a tablespoon or two of the warm pan juices from the baking ham back into the glaze. Gently reheat the mixture over low heat, stirring continuously, until it returns to a brushable consistency. This not only thins the glaze but also infuses it with even more delicious ham flavor, ensuring a consistently sticky and flavorful crust.
Remember, the goal is multiple thin, even layers of glaze during basting, rather than one thick application. This layering technique allows the glaze to build up a beautiful, caramelized crust and ensures maximum flavor penetration into the scored fat layer, resulting in those irresistible sticky edges that are the hallmark of a truly great Honey Baked Ham.
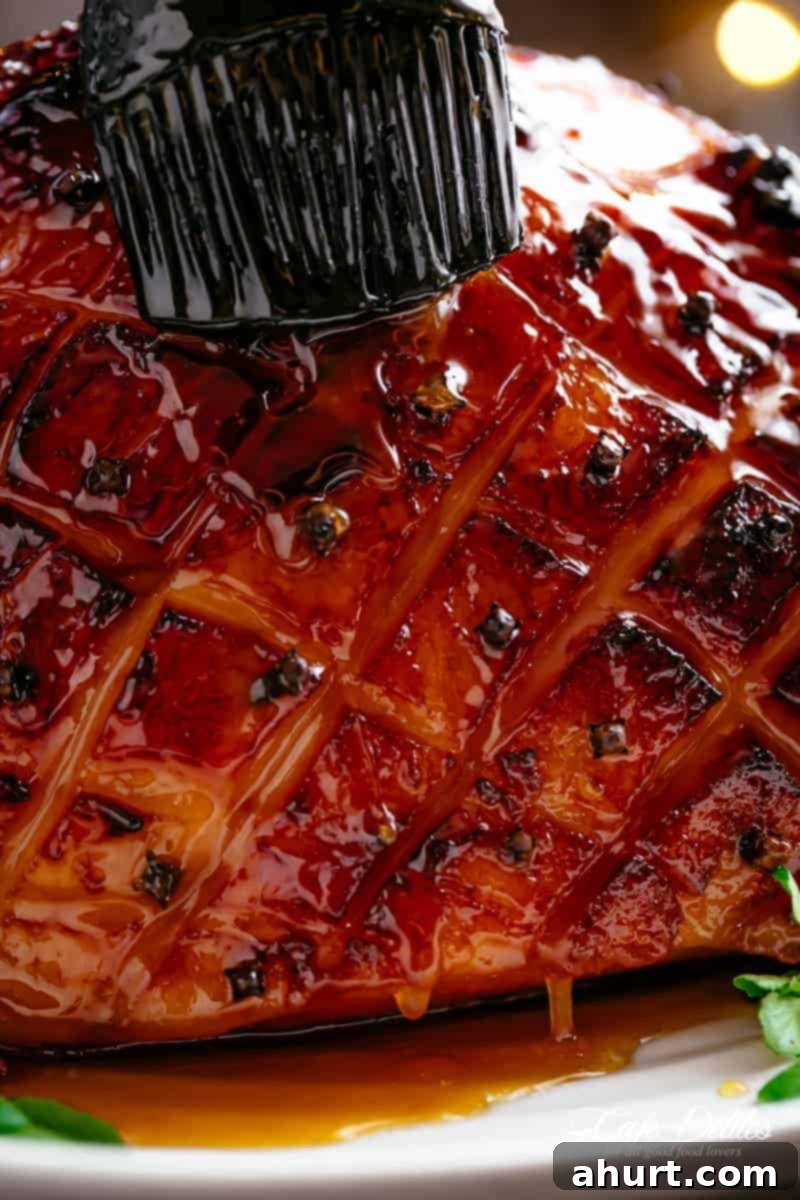
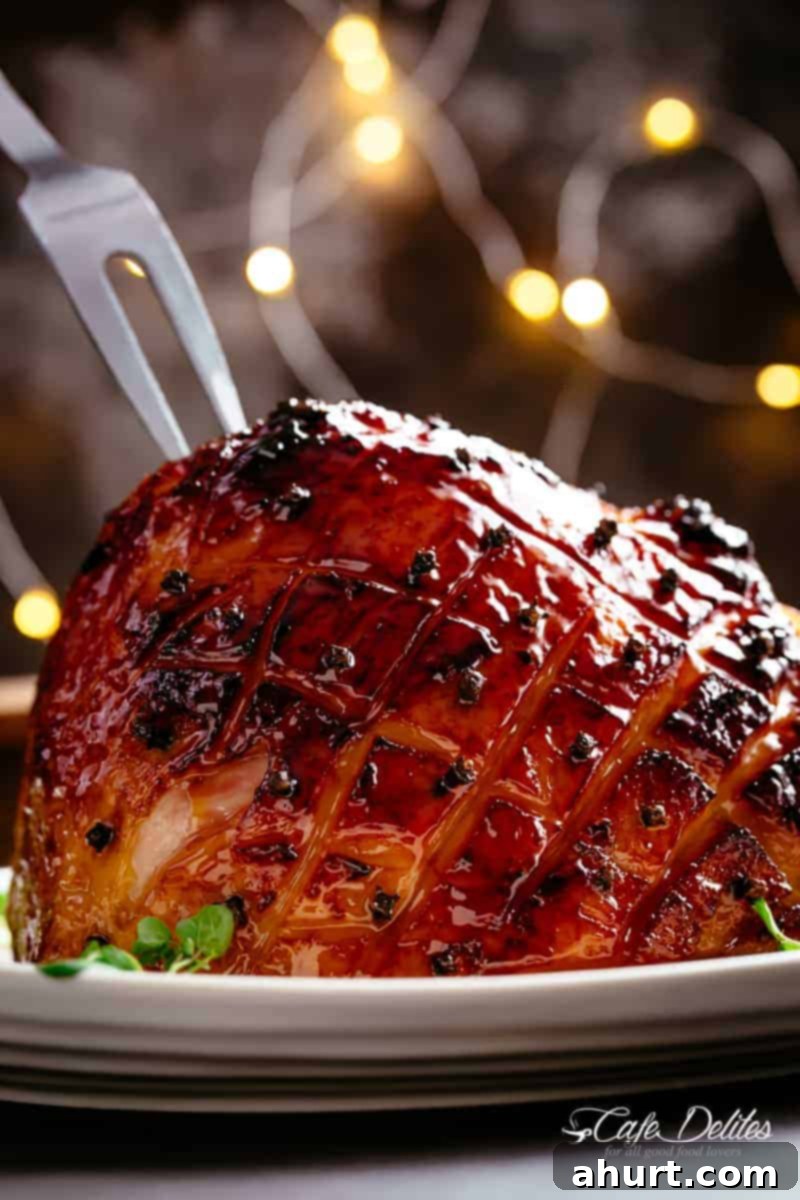
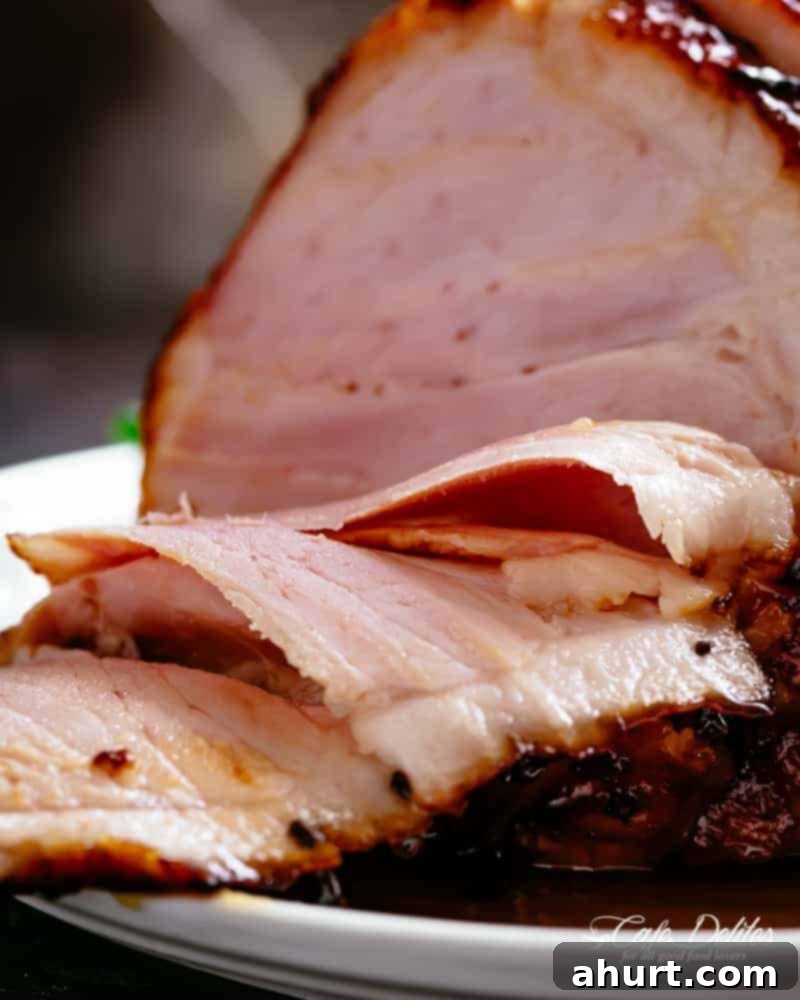
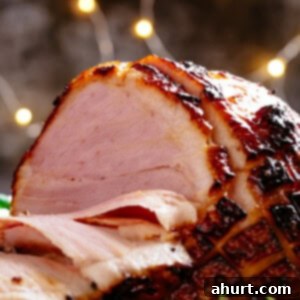
After patiently basting and watching your ham transform into a golden-brown masterpiece, the moment of truth arrives. The BEST part of this entire culinary journey is undoubtedly slicing through your perfectly baked Honey Ham. It will yield effortlessly, like butter, revealing its tender, juicy interior. As you carve, watch with satisfaction as the rich, savory juices burst out and glisten, running down behind each succulent slice. This visual feast is a testament to the care and attention you put into its preparation, promising an exquisite taste in every single bite.
Allowing the ham to rest for 10-15 minutes after baking is a critical, often overlooked step. This resting period allows the internal juices to redistribute throughout the meat, ensuring that every fiber remains incredibly moist and tender. Skipping this step can result in a drier ham, as the juices would simply spill out upon immediate carving. Cover it loosely with foil during this time to keep it warm. Once rested, carve it against the grain for the most tender slices, ready to be devoured.
Perfect Pairings: What Side Dishes Elevate Your Honey Baked Ham?
A glorious Honey Baked Ham deserves an equally impressive array of side dishes to complete your holiday feast or any special dinner. Whether you’re meticulously preparing this culinary gem for your family or proudly presenting it at a festive gathering, these expertly chosen accompaniments are guaranteed to make your crowd even happier and transform your meal into an unforgettable spread. Each of these sides complements the sweet and savory notes of the ham beautifully, adding texture, color, and additional layers of flavor to your plate:
Crispy Garlic Butter Smashed Potatoes
Cheesy Roasted Brussels Sprouts
Garlic Parmesan Roasted Carrots
Creamy Mashed Potatoes
Buttery Mashed Cauliflower
Avocado Tomato Corn Salad
Consider also a fresh green salad with a light vinaigrette to cut through the richness, or a hearty loaf of crusty bread to soak up any extra pan juices. The versatility of Honey Baked Ham means it pairs wonderfully with both comforting, starchy sides and brighter, fresher vegetable dishes, ensuring there’s something to delight every palate at your table.
Pin
Honey Baked Ham
Ingredients
- 8-10 pound bone-in cooked ham or boneless
- 1/3 cup pineapple juice
- 1 cup honey
- 1/4 cup brown sugar
- 1/4 cup unsalted butter
- 1/4 cup whole cloves
Instructions
-
Preheat the oven to 300°F (150°C) and arrange a rack in the lower third. Remove any plastic packaging or netting from the ham. Trim away the rind and discard. Set the ham aside to rest at room temperature for 1-2 hours.
-
Line a baking tray or dish with several sheets of aluminium foil or parchment paper if you prefer (it will make cleanup a lot easier).
-
Remove the rind or skin of the ham (refer to steps in post), ensuring you leave the fat on. Using a sharp knife score a 1-inch-wide diamond pattern (don’t cut more than 1/4 inch deep) over the entire ham. Insert cloves into the centre of each diamond.
-
Place the ham in the baking tray; pour the pineapple juice into the base of the pan and cover the ham with two pieces of foil or parchment paper and bake for 15 minutes.
-
Meanwhile, heat the butter in a small pot or saucepan over medium heat until golden browned. Add in the honey and brown sugar, stirring to combine until the brown sugar has completely dissolved, (about 2 minutes).
-
Reduce heat to low and let simmer to thicken slightly, then set aside and let cool to lukewarm (the glaze should be the consistency of room-temperature honey).
-
After 15 minutes baking time, carefully remove the ham from the oven and increase the oven temperature to 425°F | 220°C. Discard the foil or parchment paper and pour 1/3 of the glaze all over the ham, brushing in between the cuts to evenly cover. Return to the oven and bake uncovered for 15 minutes.
-
Remove from the oven, brush with another third of the glaze and some of the pan juices, and repeat again after 15 minutes more minutes of baking until a dark golden-brown crust has formed, (about 30 minutes total). For added depth of flavour, mix some of the ham pan juices together with the glaze in the pot which will help keep it runny enough for brushing.
-
If your crust is still pink after the suggested baking time, turn on your broiler (or oven grill), and allow it to broil for 2-5 minutes, while keeping an eye on it so it doesn’t burn from the sugar.
-
Let the ham rest 10-15 minutes before slicing.
Notes
Nutrition
Nutrition information is automatically calculated, so should only be used as an approximation.
