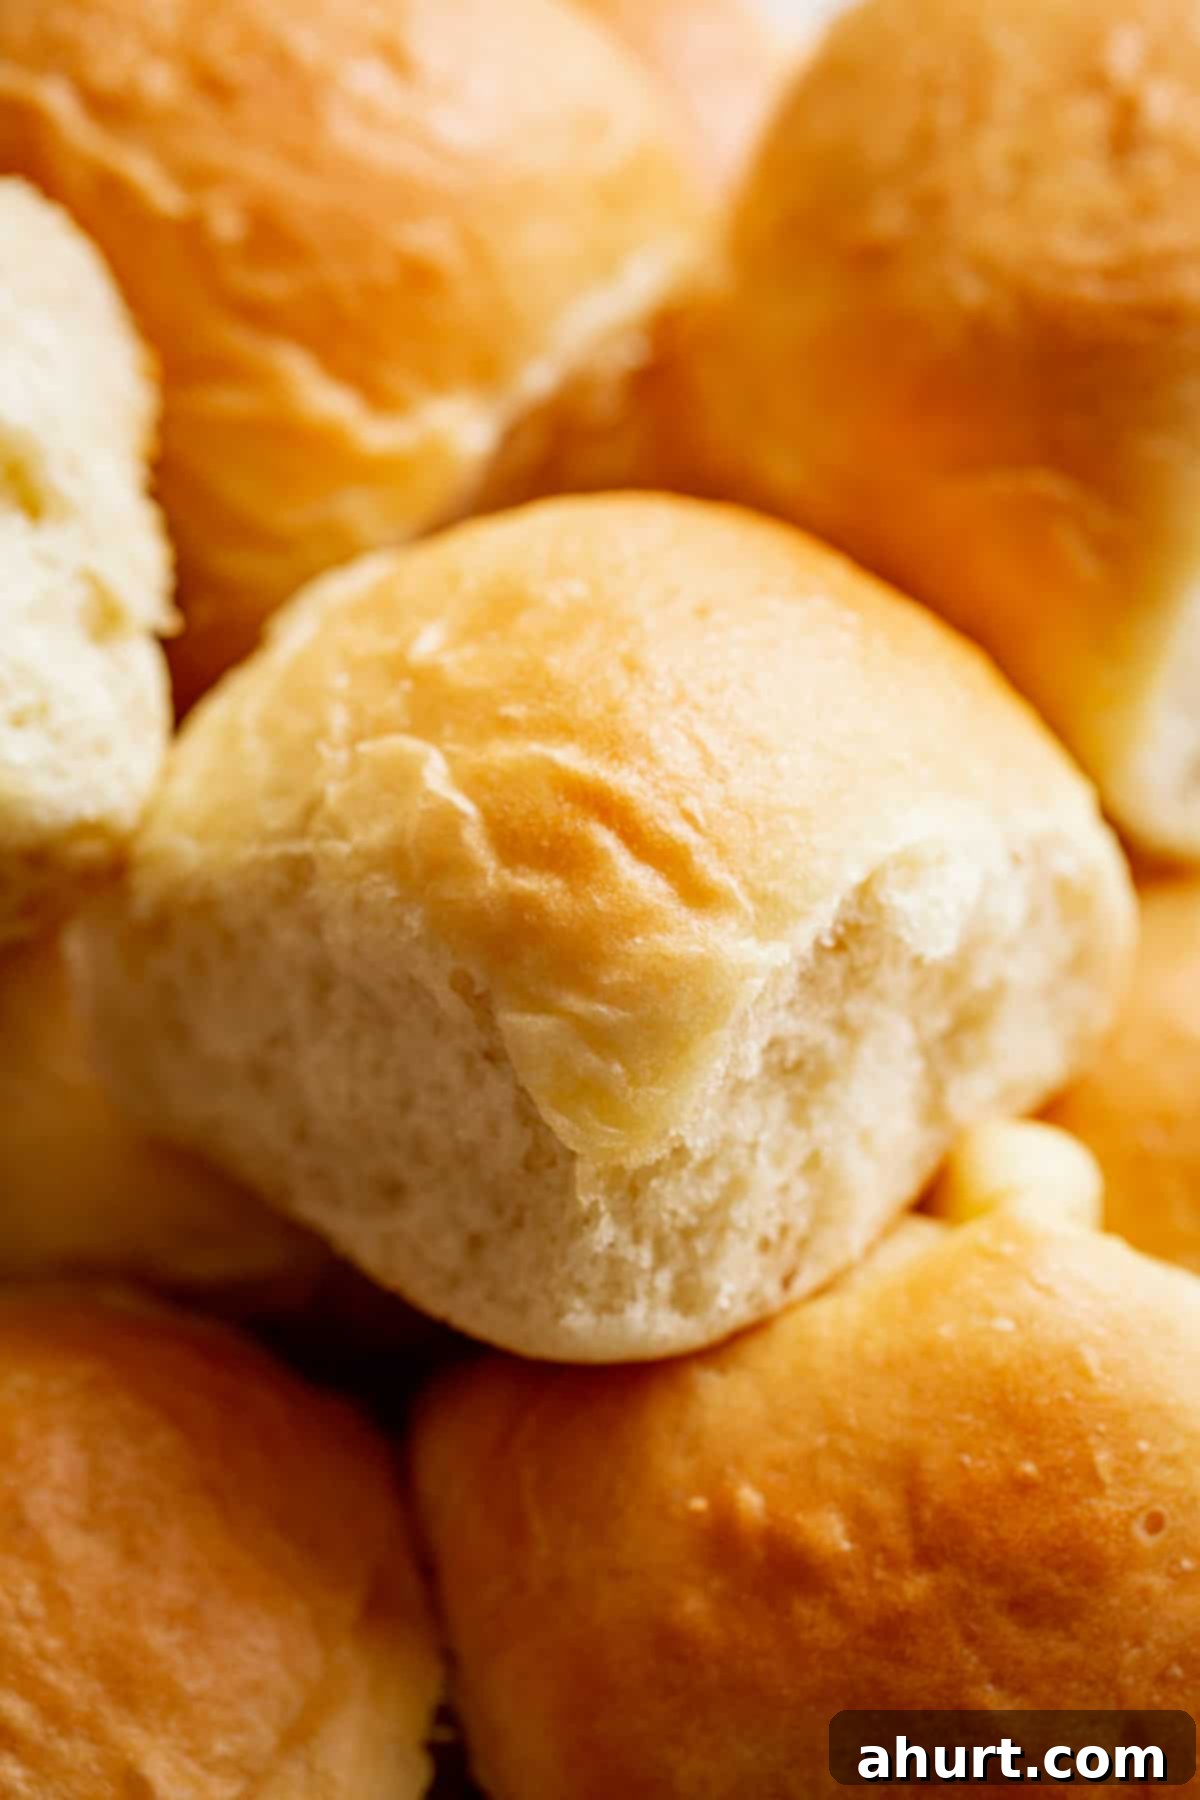
The Easiest & Fluffiest Soft Dinner Rolls: No Mixer, Minimal Kneading, & Egg-Free!
When it comes to baking bread, achieving that perfect balance of ease and incredible flavor can feel like a daunting task. But what if we told you that making melt-in-your-mouth, super soft dinner rolls could be incredibly simple? This Easy Soft Dinner Rolls recipe proves just that! You won’t need a stand mixer, and you’ll hardly do any kneading, yet you’ll produce bakery-quality rolls right in your own kitchen.
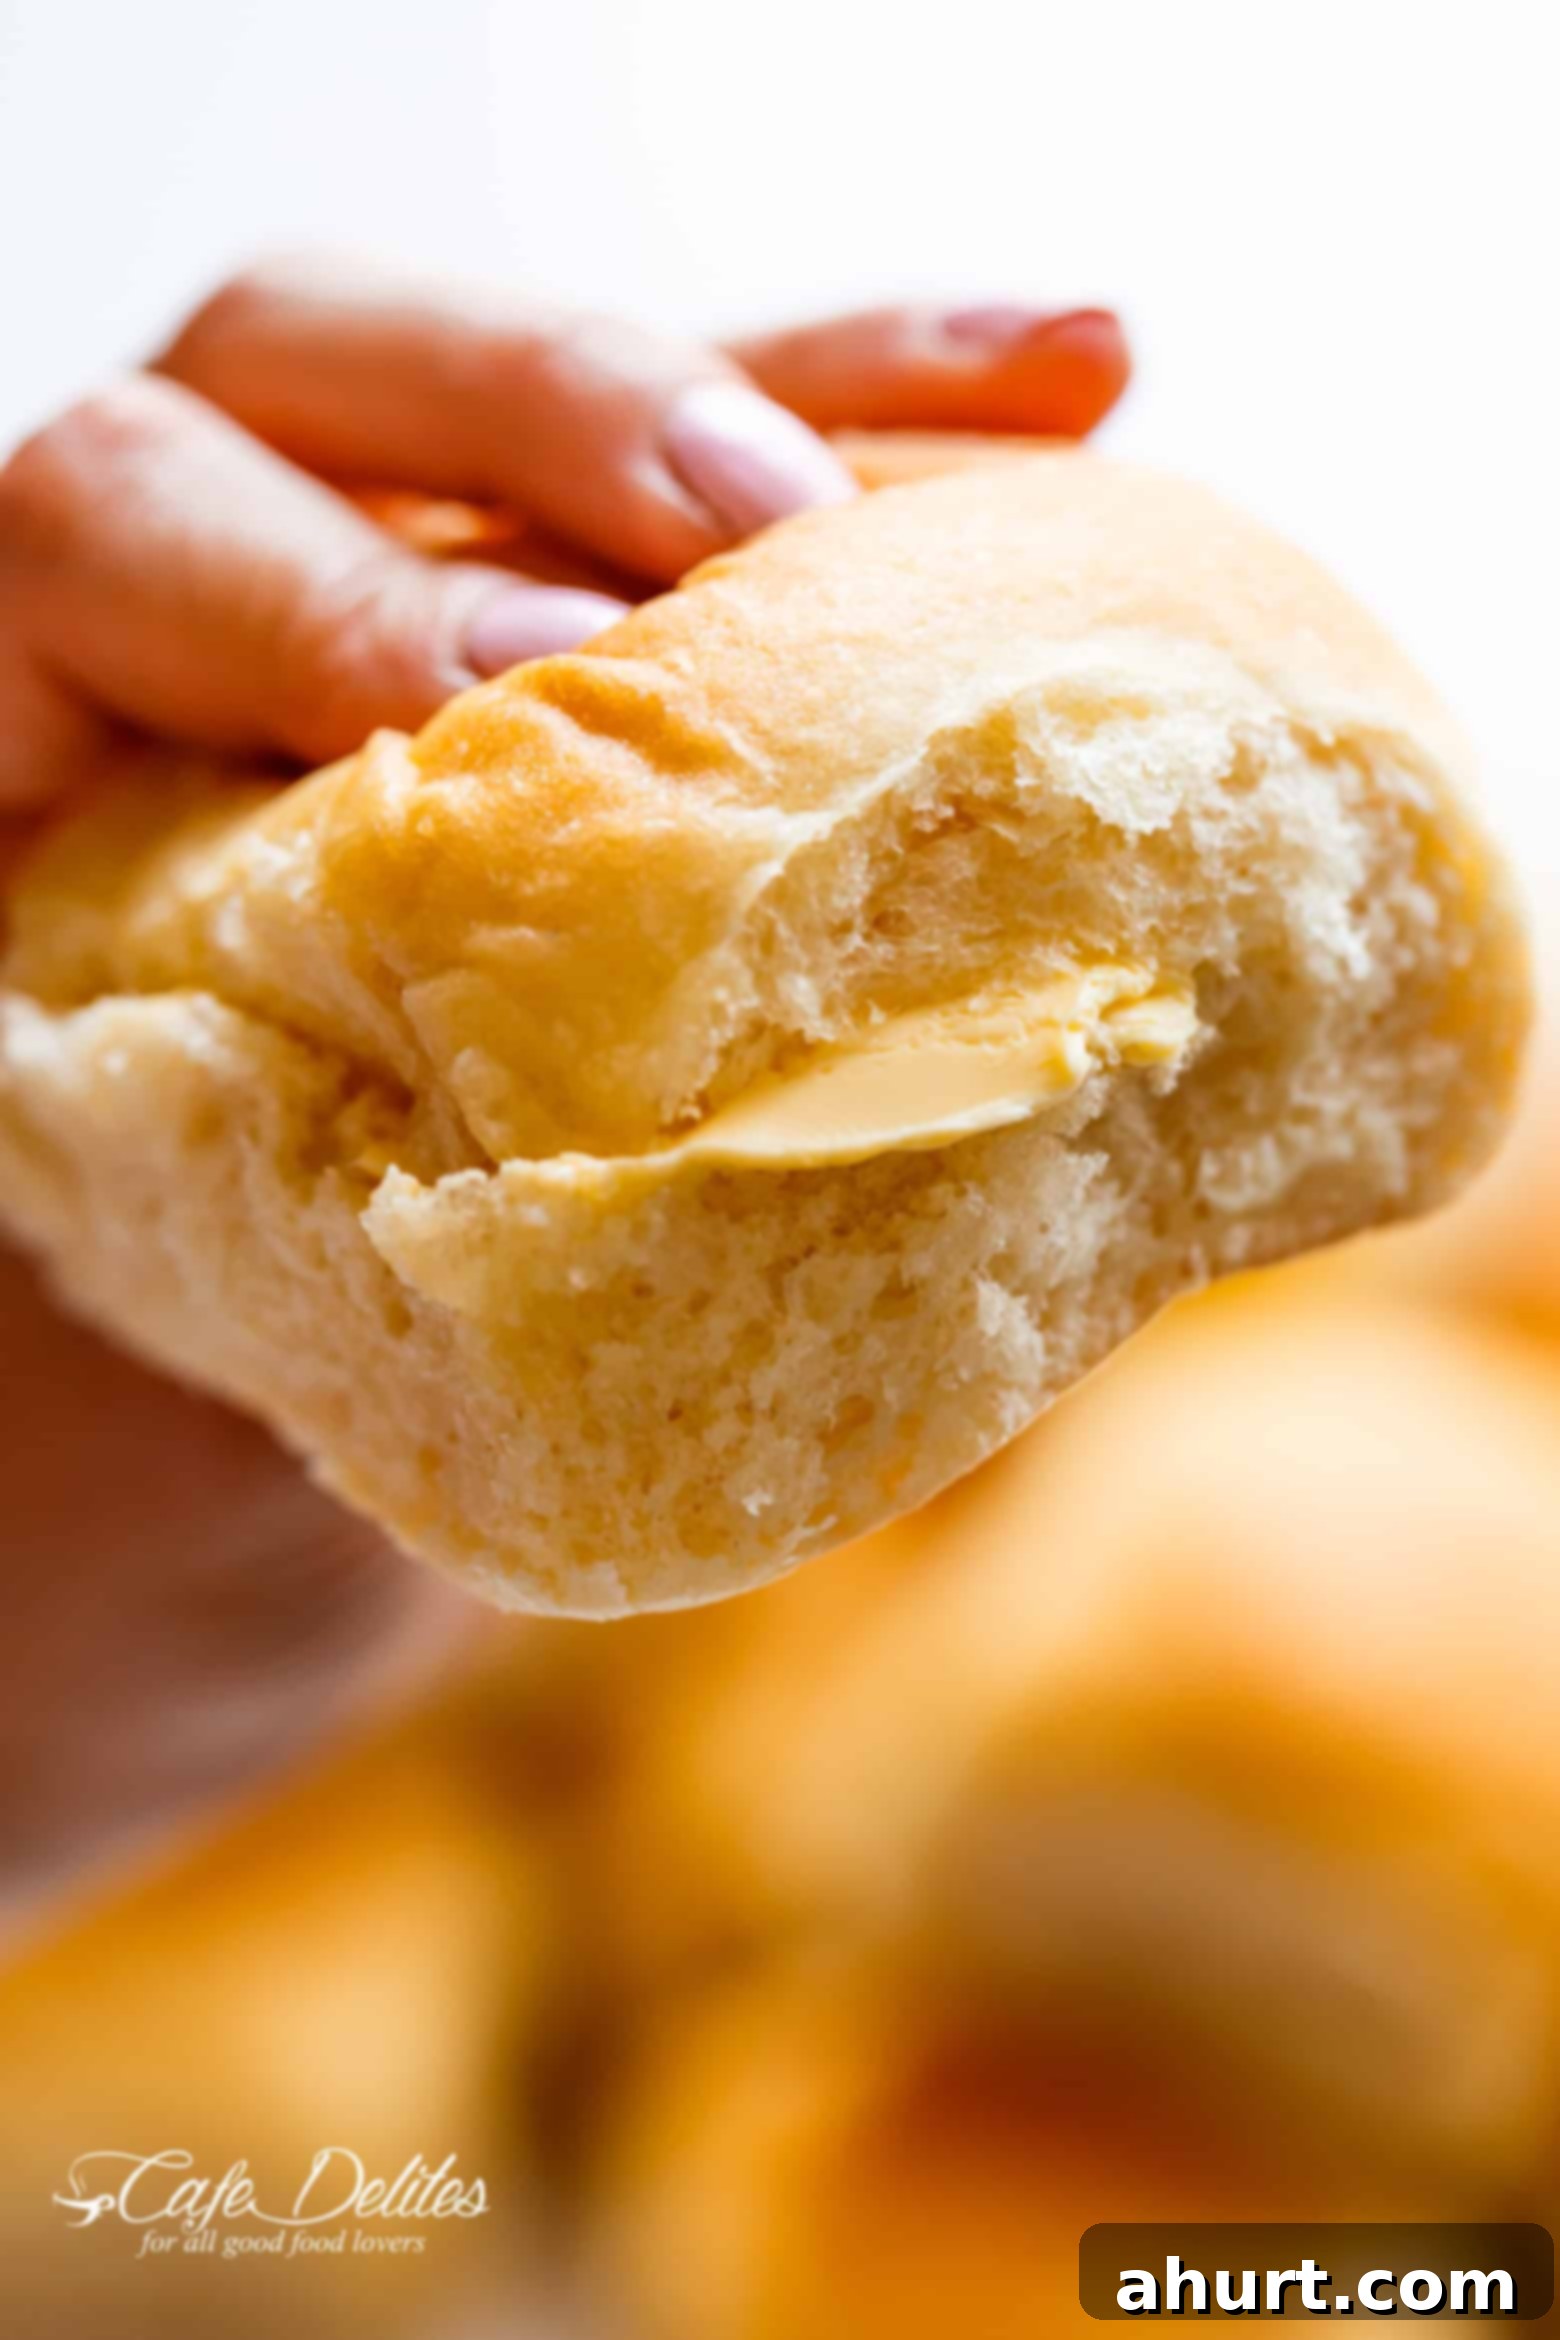
These soft dinner rolls are designed for simplicity and speed, requiring only two sets of rising times and a clever trick to get your dough proofing faster than ever before. Prepare to fall in love with this bread recipe! Each roll is unbelievably fluffy and soft, both inside and out, featuring a perfectly balanced salt and sugar ratio that elevates them far beyond any store-bought equivalent. The aroma alone will transport you back to childhood memories of warm, fresh bread.
Imagine serving these divine rolls alongside some of our most beloved recipes, like our Creamy Pumpkin Soup, hearty Beef and Guinness Stew, or a comforting bowl of our Cream of Mushroom Soup. These dishes are practically begging for a soft, fluffy piece of bread to help mop up every last drop of their mouthwatering sauces. The softer and fluffier the roll, the more satisfying the experience!
The Journey to Perfect Dinner Rolls
Finding the ultimate dinner roll recipe was no easy feat, I assure you. I honestly don’t want to recount the countless batches, the hours spent researching yeast, different types of flour, and the eternal debate of eggs versus no eggs, milk versus just water. It felt like an endless cycle of trial and error, filled with “SO. MUCH. WORK.” Each attempt brought new lessons, but also new frustrations.
Then came the rigorous testing phase: rolls with eggs, rolls without; variations using regular milk, buttermilk, or even just a water base. The kitchen became a laboratory, and at times, I thought I’d never find the perfect combination. But through perseverance, I finally hit the jackpot with this particular batch of dinner rolls. The moment they emerged from the oven, they looked, smelled, and felt utterly perfect. It was a genuinely emotional moment.
For all my fellow carb lovers out there, you know exactly what I’m talking about when I describe that incredible, warm, fresh bread smell wafting from the kitchen, filling every room of the house. That’s the magical experience you’re about to create! This recipe delivers not just rolls, but an entire sensory experience that elevates any meal. If you’re looking for something with a different texture but just as easy to make, our Cornbread Recipe is another fantastic option.
Do I Need a Mixer for These Dinner Rolls? Absolutely Not!
While I do own a powerful stand mixer, I often find myself reaching for a simple bowl and spoon for many of my baking projects, and these dinner rolls are a prime example. Why? Because by the time I’d typically drag out that 200-pound machine (okay, a slight exaggeration, but it feels heavy!) and set up all the attachments, I’ve already mixed my flour thoroughly into the activated yeast mixture. This recipe is designed to be so straightforward that a mixer simply isn’t necessary, saving you time and cleanup. So, no need to dust off that heavy appliance – your hands and a sturdy spoon are all you’ll need for this incredibly easy dough.
How to Make Easy Soft Dinner Rolls: A Detailed Guide
Making these dinner rolls involves a few simple yet crucial steps that guarantee a soft, fluffy outcome every time. Let’s walk through them:
The Oven Proofing Trick: Faster Dough Rise
- Remember the genius trick we used for our Quick Soft Cinnamon Rolls? We’re employing it again here! The secret to getting your dough to proof in an hour or even less is to preheat your oven to a very low temperature (around 200°F | 100°C), then turn it OFF before placing your bowl of dough inside. This creates a perfectly warm, draft-free environment ideal for yeast activity. Don’t worry about drying out your dough; simply cover your bowl with a clean, warm, damp towel. If this method isn’t for you, some bakers use their clothes dryers or place the bowl near a boiling kettle. However, I personally swear by the oven method for its consistent results.
Activating Your Yeast: The Key to Fluffy Rolls
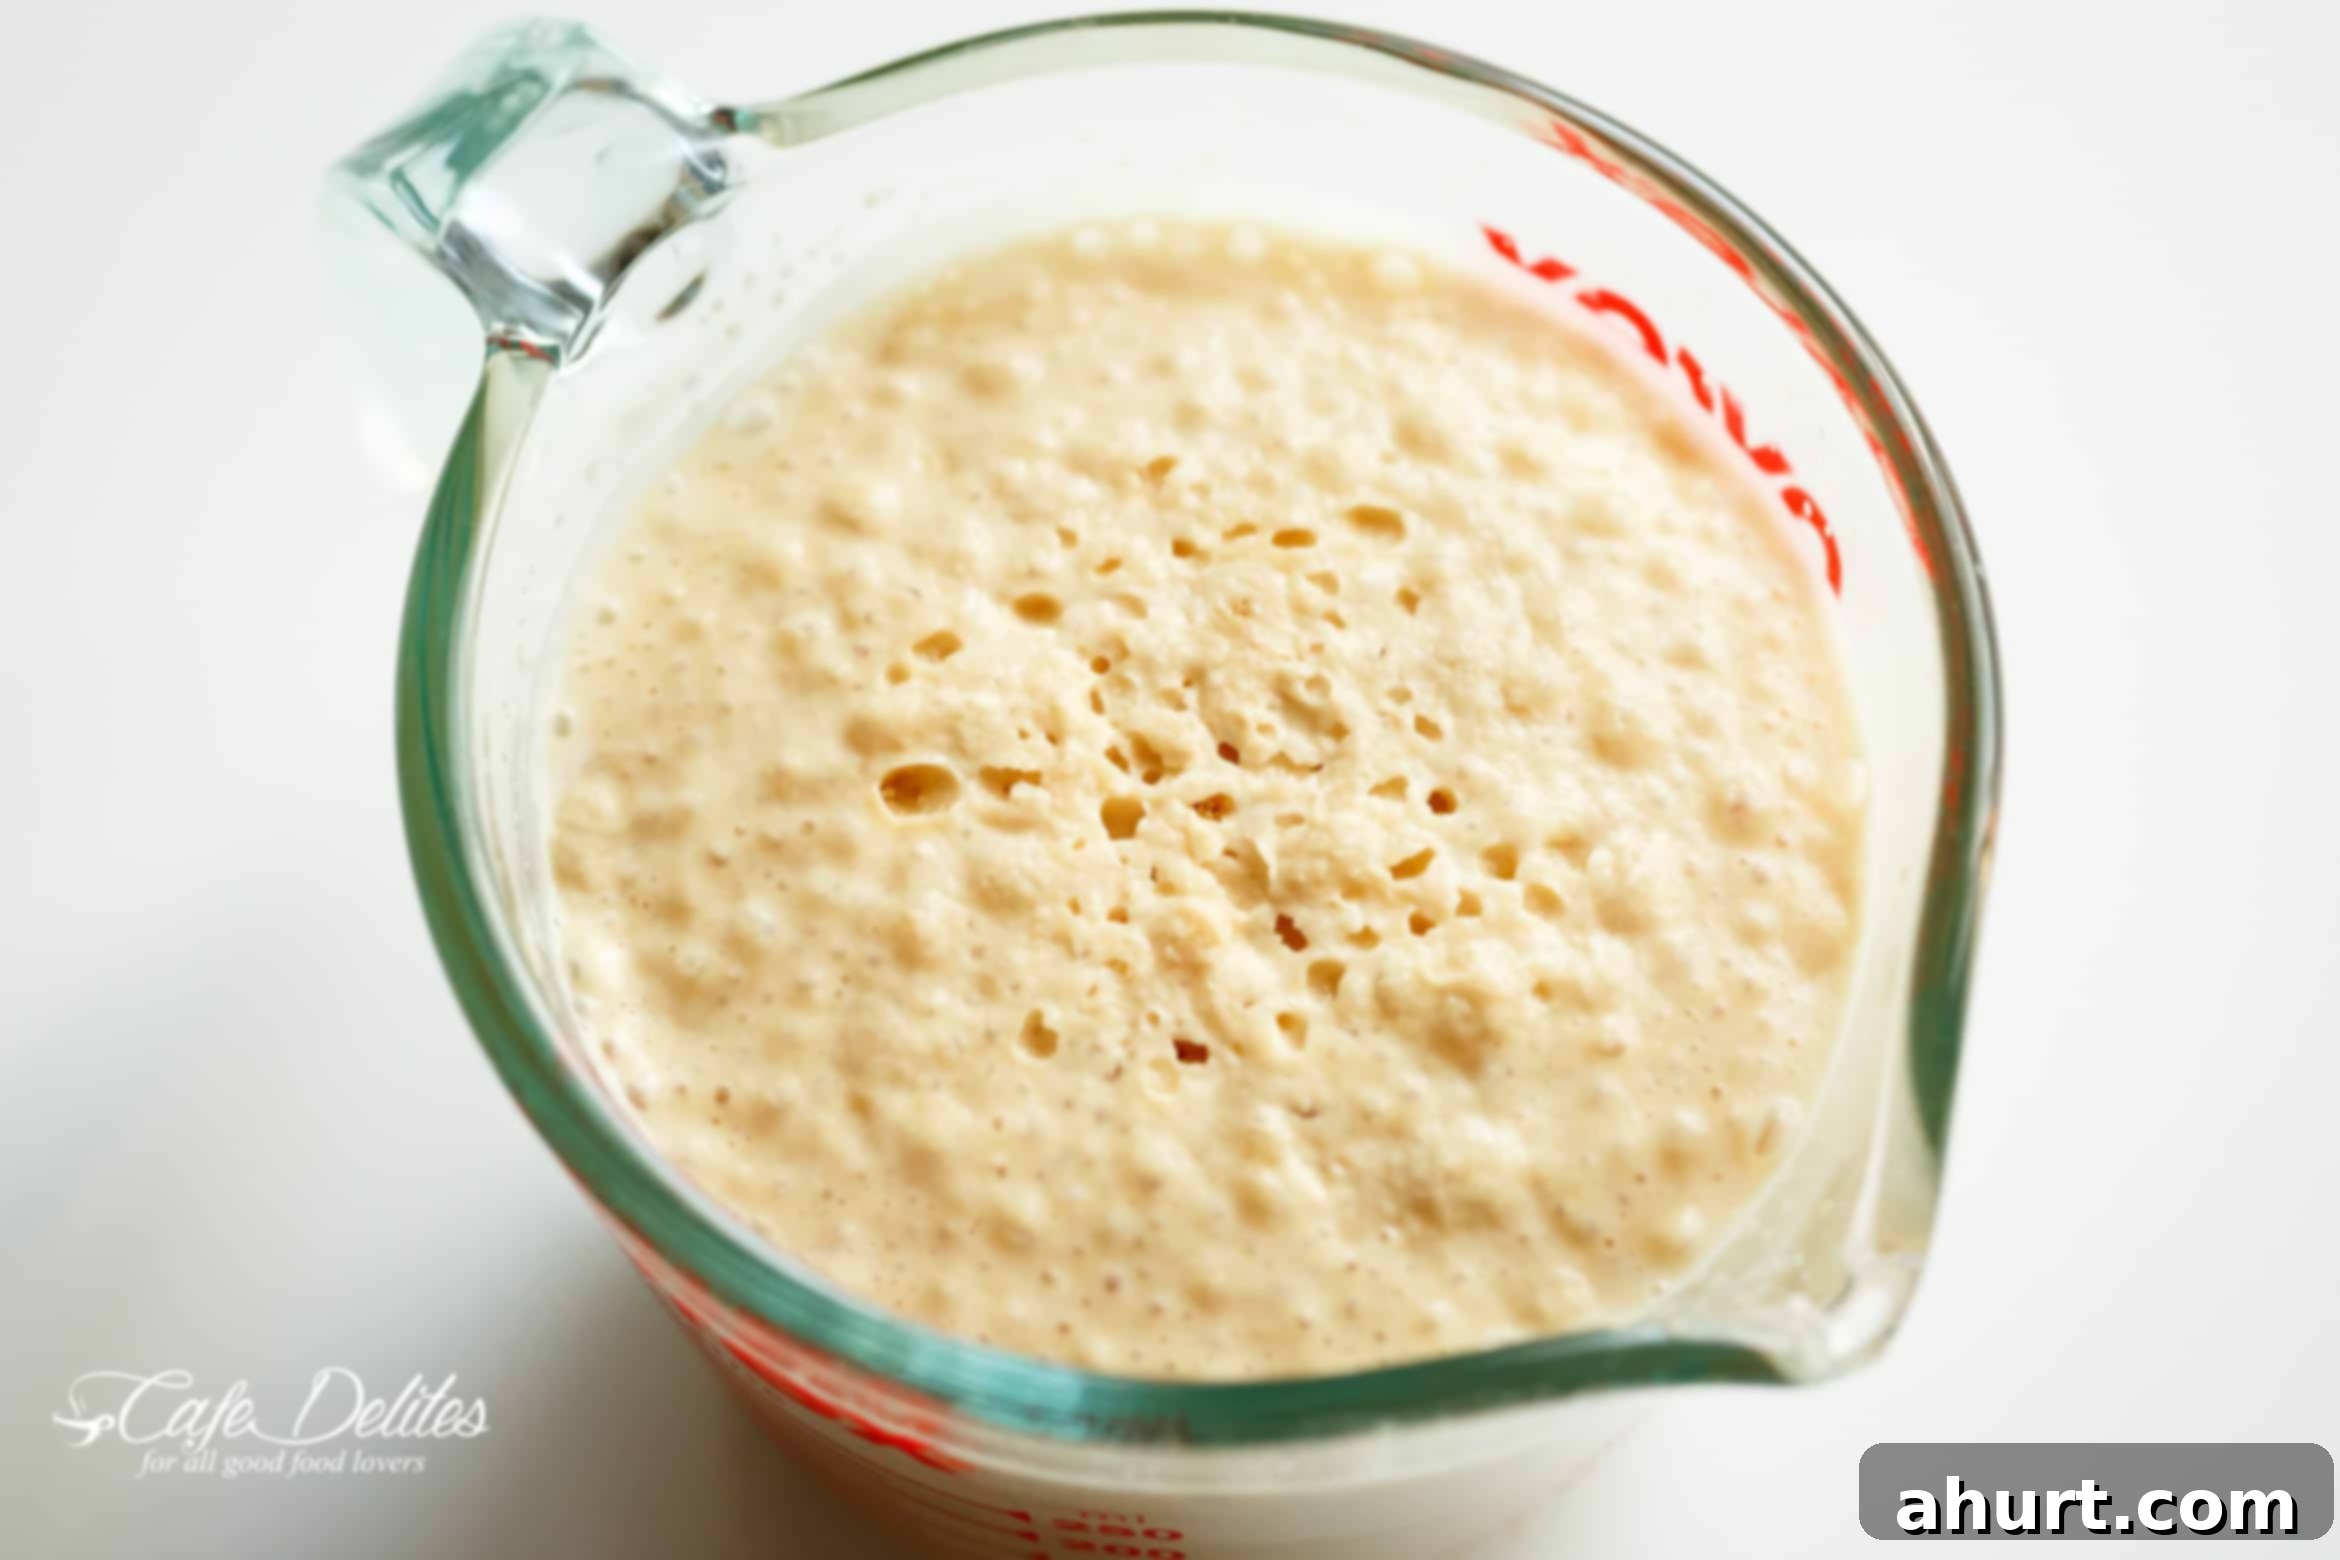
- Even though I use rapid-rise yeast, which technically doesn’t require activation, I still perform this step. It’s a quick and easy way to confirm your yeast is alive and well, ensuring your rolls will rise beautifully.
- This is what properly activated yeast looks like: foamy and frothy within the first couple of minutes after mixing with warm water and sugar. If your mixture doesn’t bubble and foam after 5-10 minutes, unfortunately, your yeast is likely expired or inactive, and you’ll need to get a new batch. Don’t skip this critical check, as it’s the foundation of airy bread.
Understanding Yeast and Sugar
- When mixing your dough, always use a large, deep bowl. This is important because you will also be proofing your dough in the same bowl, and it needs ample space to double (or even triple) in size without overflowing.
- Yeast thrives on sugar – it’s its primary food source. Therefore, do not skip or alter the amount of sugar specified in this recipe. This step is absolutely crucial for the yeast to activate fully and for your dough to rise, resulting in those wonderfully soft and airy rolls.
Dissolving Sugar in a Milk/Butter Mixture for Even Flavor
A smart shortcut in this recipe is warming your milk and butter together in the microwave. This is much faster than heating them separately. Furthermore, adding your remaining sugar and salt directly into this warm milk/butter mixture ensures that both the sugar and salt dissolve completely before being incorporated into your mixing bowl with the yeast. This prevents any grainy texture and ensures an even distribution of sweetness and seasoning throughout your dough. As soon as your warm butter/milk mixture is ready, pour it into the activated yeast, and then it’s time for the flour. Having all your ingredients measured and ready on your counter will make this process seamless.
Flour Selection for Ultimate Softness
This is probably the only ingredient I’ll strongly encourage you to buy specifically for this recipe if you don’t already have it (besides yeast, perhaps): bread flour. Please, don’t walk away! While you can certainly use all-purpose or plain flour, extensive testing revealed that all-purpose flour tends to produce a slightly heavier, denser dinner roll. While still edible, it lacked the ethereal lightness and unparalleled softness I was striving for. If your goal is truly super airy, wonderfully fluffy, and exquisitely soft dinner rolls, then bread flour is your best friend. Its higher protein content contributes to a stronger gluten structure, which in turn traps more air, giving you that coveted light texture.
Minimal Kneading for Maximum Ease
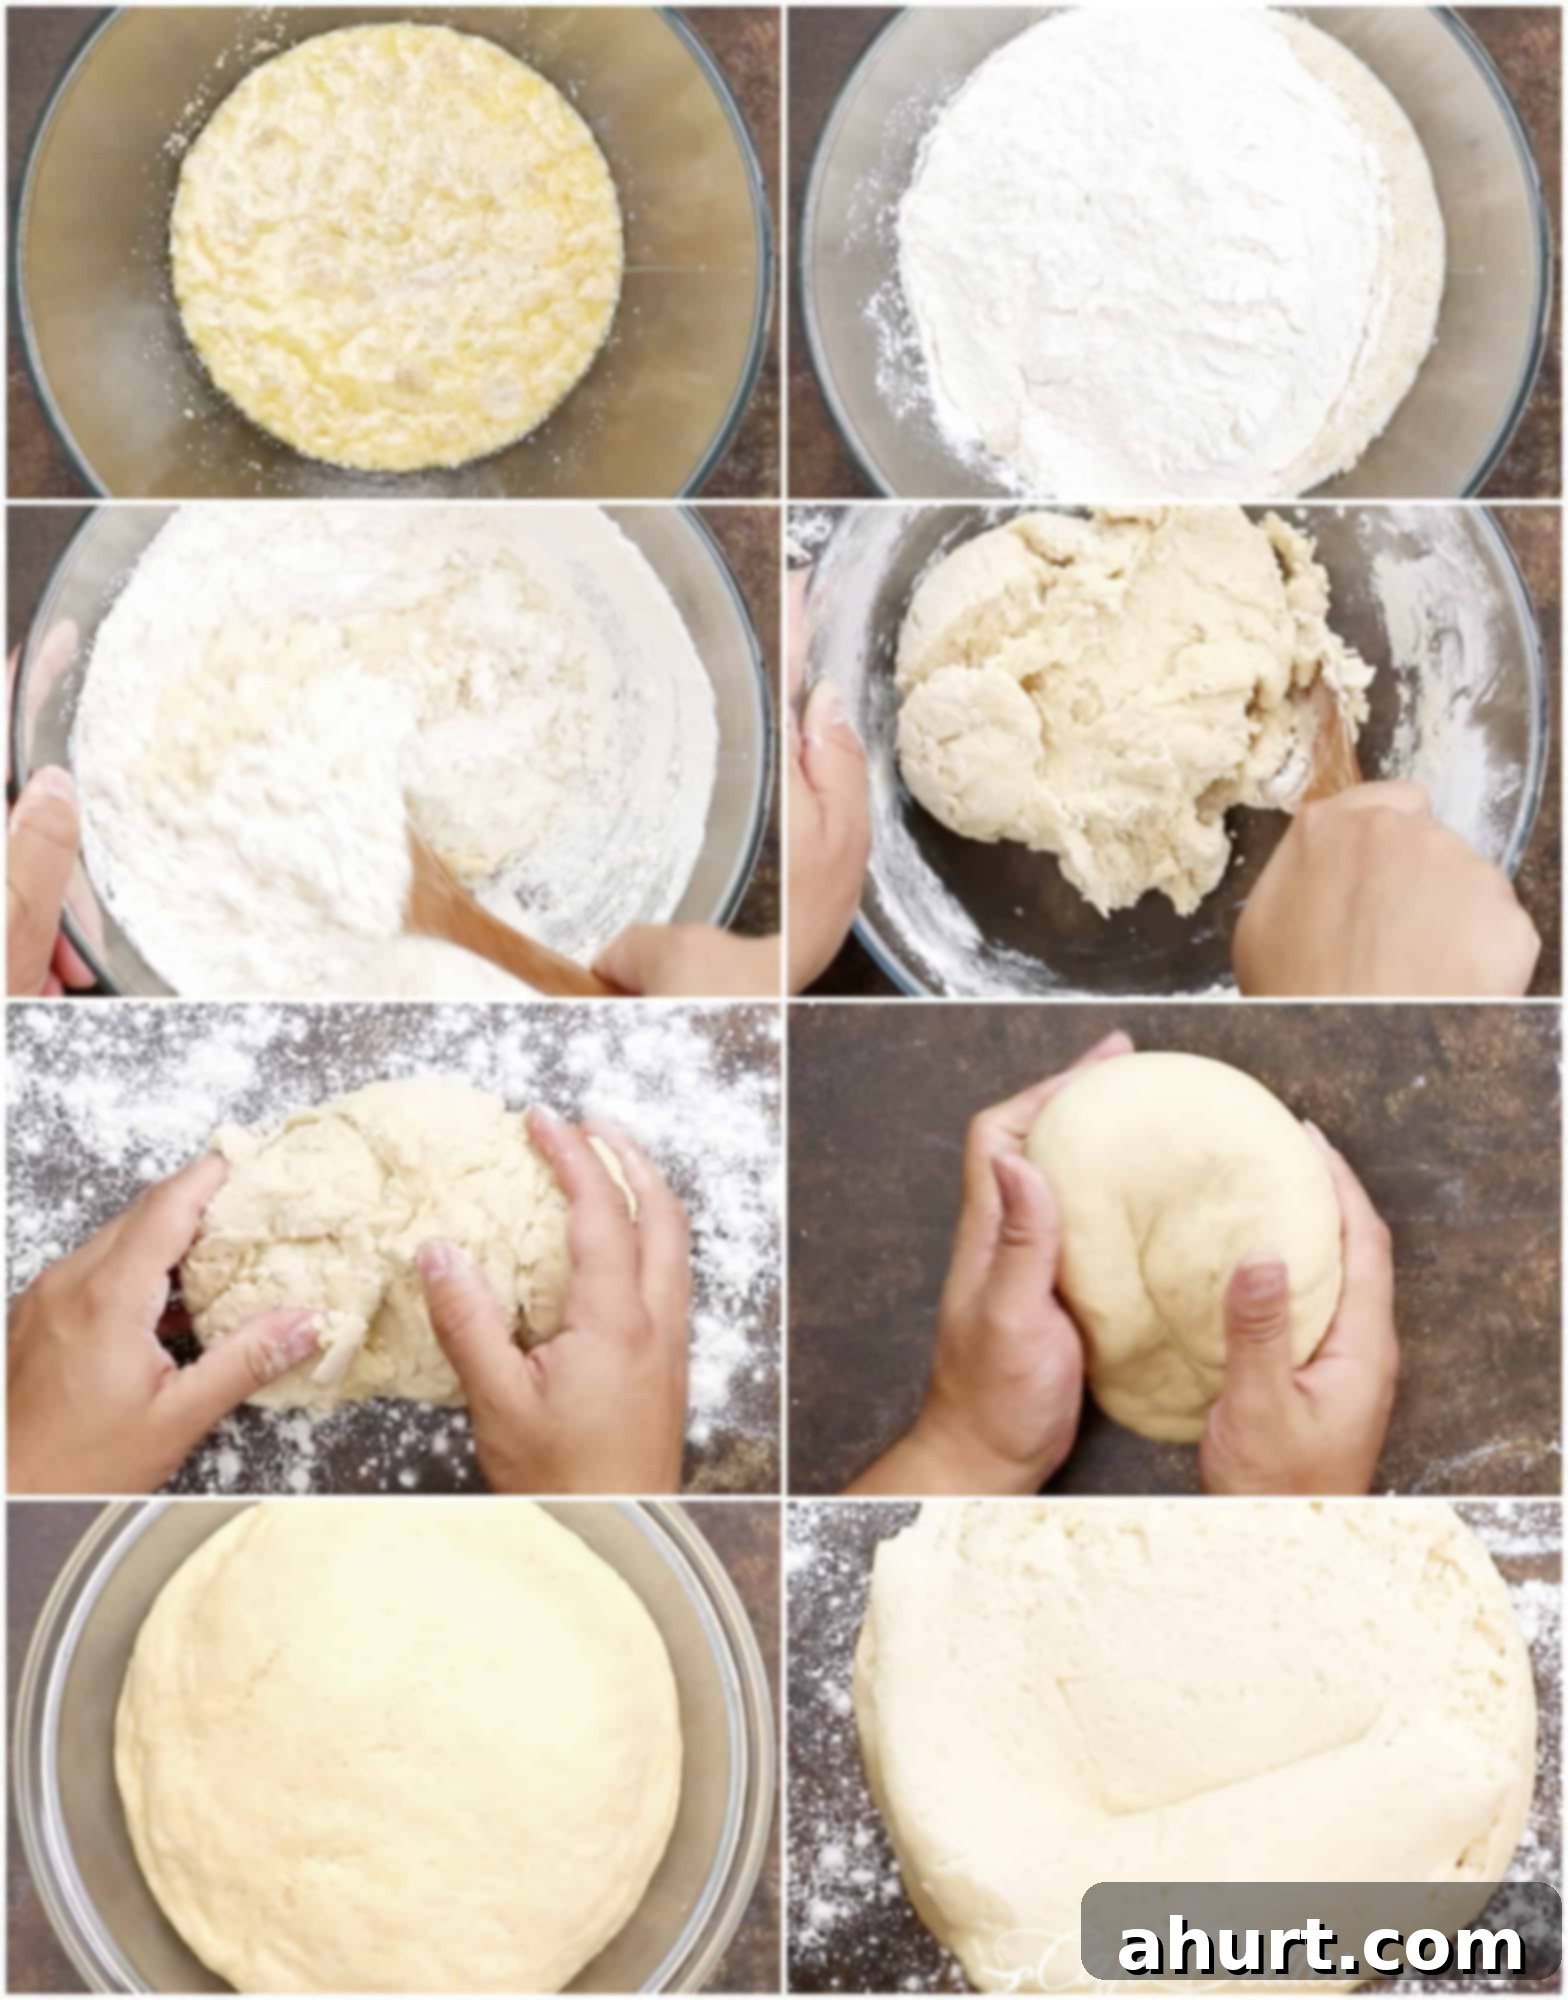
As promised, extensive kneading is simply not necessary for these rolls. The key is gentle mixing and just enough kneading to bring the dough together. First, mix your dough thoroughly in your BIG bowl. As the dough starts to pull away from the sides of the bowl, you’ll notice it’s still quite sticky – and that’s exactly what you want! To make handling easier, I found that lightly coating your hands with a touch of oil really helps manage the stickiness. Here are the two easy kneading options I’ve successfully tried:
- Option 1 (In-Bowl Kneading): Add a couple of tablespoons of flour directly to the dough while it’s still in the bowl. Give it a light, gentle knead for about 4-5 minutes. This isn’t a rigorous bench-top knead, but rather a simple process of folding and pressing the dough within the bowl. This method still works wonders to develop enough gluten for a soft roll.
- Option 2 (Light Bench Kneading): Alternatively, scrape the dough out onto a lightly floured surface. Sprinkle it with 2-3 tablespoons of flour, rub your hands with a touch of oil, and gently work the dough for only about 3-4 minutes. You’ll be surprised how quickly the dough comes together from its initially wet and sticky state to a smooth, manageable ball.
A crucial tip: You DON’T want your dough to become too dry, so resist the urge to add too much flour! The ideal consistency is still tacky and should lightly stick to your fingers – this stickiness is essential for ultimate softness and moisture in the final baked rolls.
First Proofing: The Magic of the Rise
This is where our oven trick really shines! Proper proofing is what gives your rolls their airy texture.
- First, thoroughly wet a clean kitchen cloth with warm water, then wring it out firmly so it’s damp but not dripping. Crucially, TURN OFF YOUR OVEN if you’re using this method. Place your bowl of dough, covered with the damp towel, inside the warm (but off) oven. For the initial 10-15 minutes, you can leave the oven door slightly ajar to prevent the dough from drying out too quickly. After this time, close the oven door and allow the dough to continue proofing until it has visibly doubled in size, which should take approximately another 45 minutes. If, at any point, your towel starts to feel too dry, you can temporarily move the covered bowl to your countertop or another warm, draft-free spot.
- Once your dough has successfully doubled, gently scrape it out onto a lightly floured work surface. You can give it a very light knead for about 30-40 seconds if it feels a bit too tacky to handle, just to bring it together. Then, gently mould your dough into a rectangular shape.
- Carefully divide the rectangle in half, and then divide each half into 6 equal pieces. This should give you 12 pieces in total. Working one piece at a time, lightly flatten each portion of dough in your hands. Then, gather the edges upwards into a peak, almost like forming a small tent. Pinch this ‘peak’ firmly with your fingertips to seal it. Now, turn the dough upside down. You should have a beautifully smooth, taut ball. If you notice any cracks, simply turn the roll over again and gently smooth them out towards the pinched peak, re-sealing it if necessary, then flip it once more to ensure a perfect top. Place each perfectly shaped ball into your prepared baking pan as you go.
- For an extra layer of moisture and to prevent any drying during the second proof, lightly spray your shaped dinner rolls with cooking oil spray. This small step makes a big difference in maintaining their soft texture.
Second Proof: Building Anticipation & Preheating
The second proof is shorter but just as important for that final rise and fluffy texture.
- Once all your rolls are shaped and placed in the pan, cover them loosely with plastic wrap. Alternatively, you can use your damp towel again, but this time wring it out as much as possible to ensure it’s barely moist. Allow the rolls to proof for another 20-30 minutes, or until they have nearly doubled in size again.
- During this crucial second proofing time, remember to preheat your oven for baking! This is a step often forgotten (yes, I’m speaking from experience!). My oven heats up quickly, so I usually turn it on during the last 5 minutes of the second proof. If your oven takes longer to reach temperature, adjust accordingly and turn it on earlier.
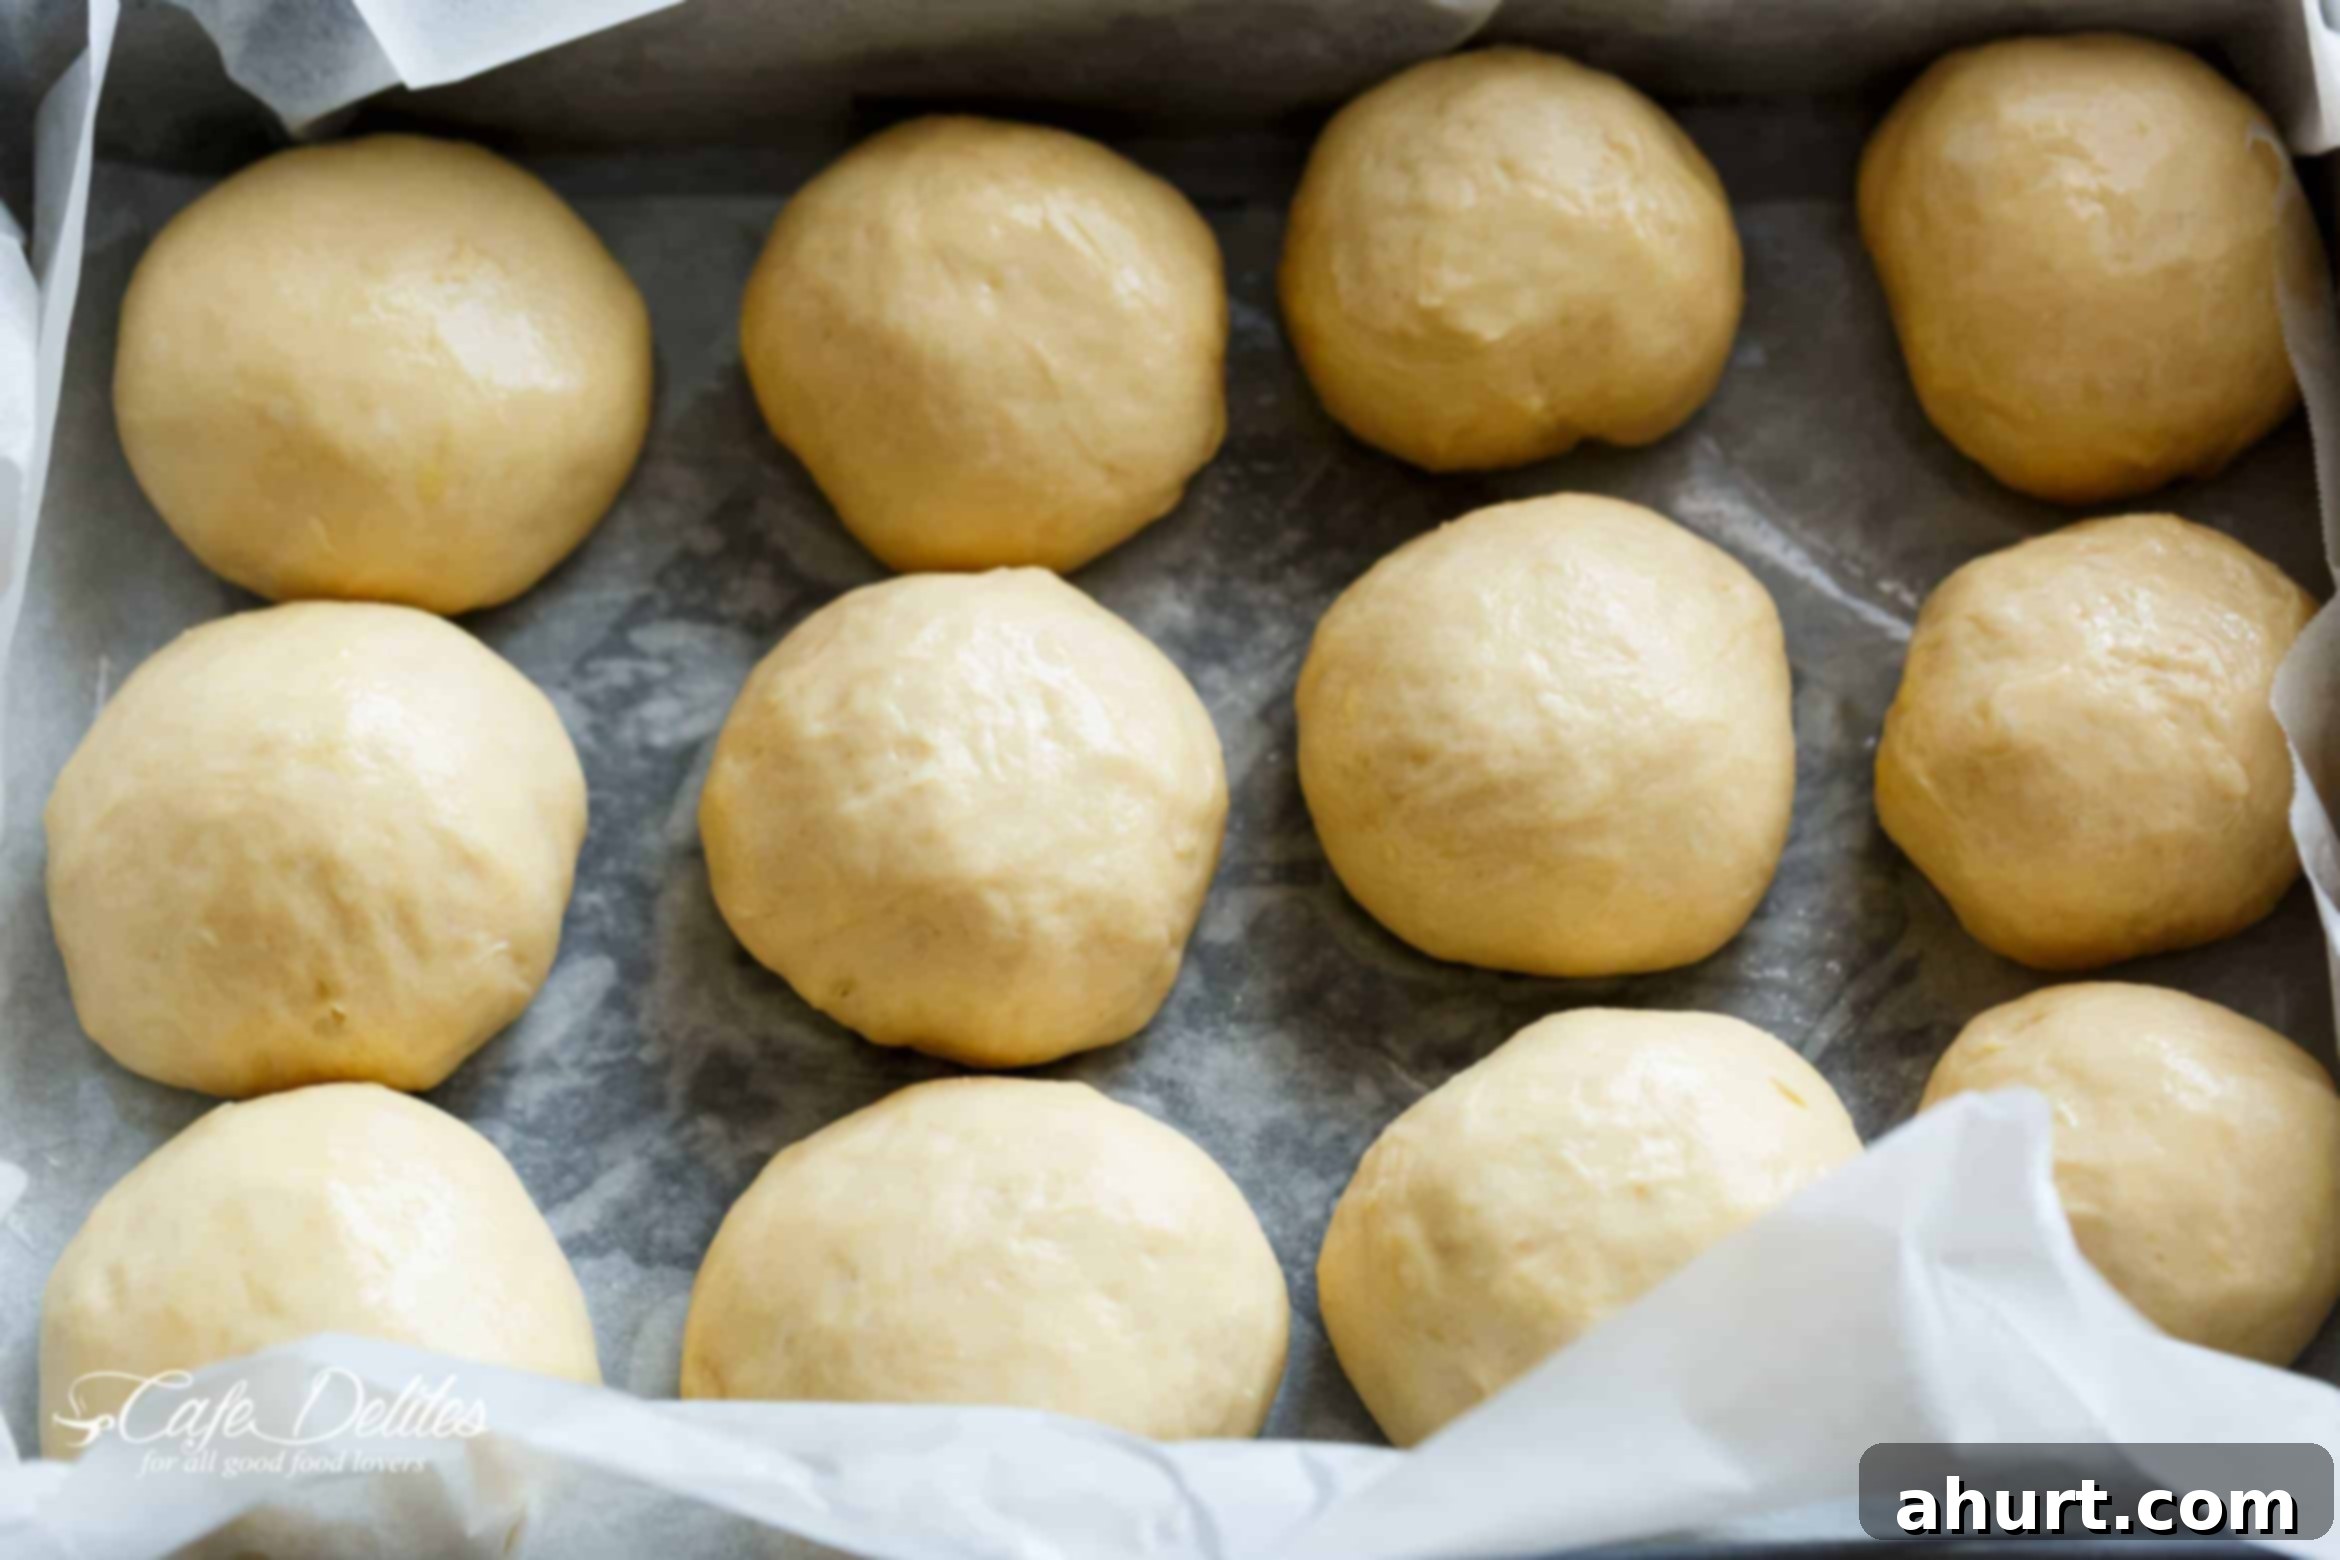
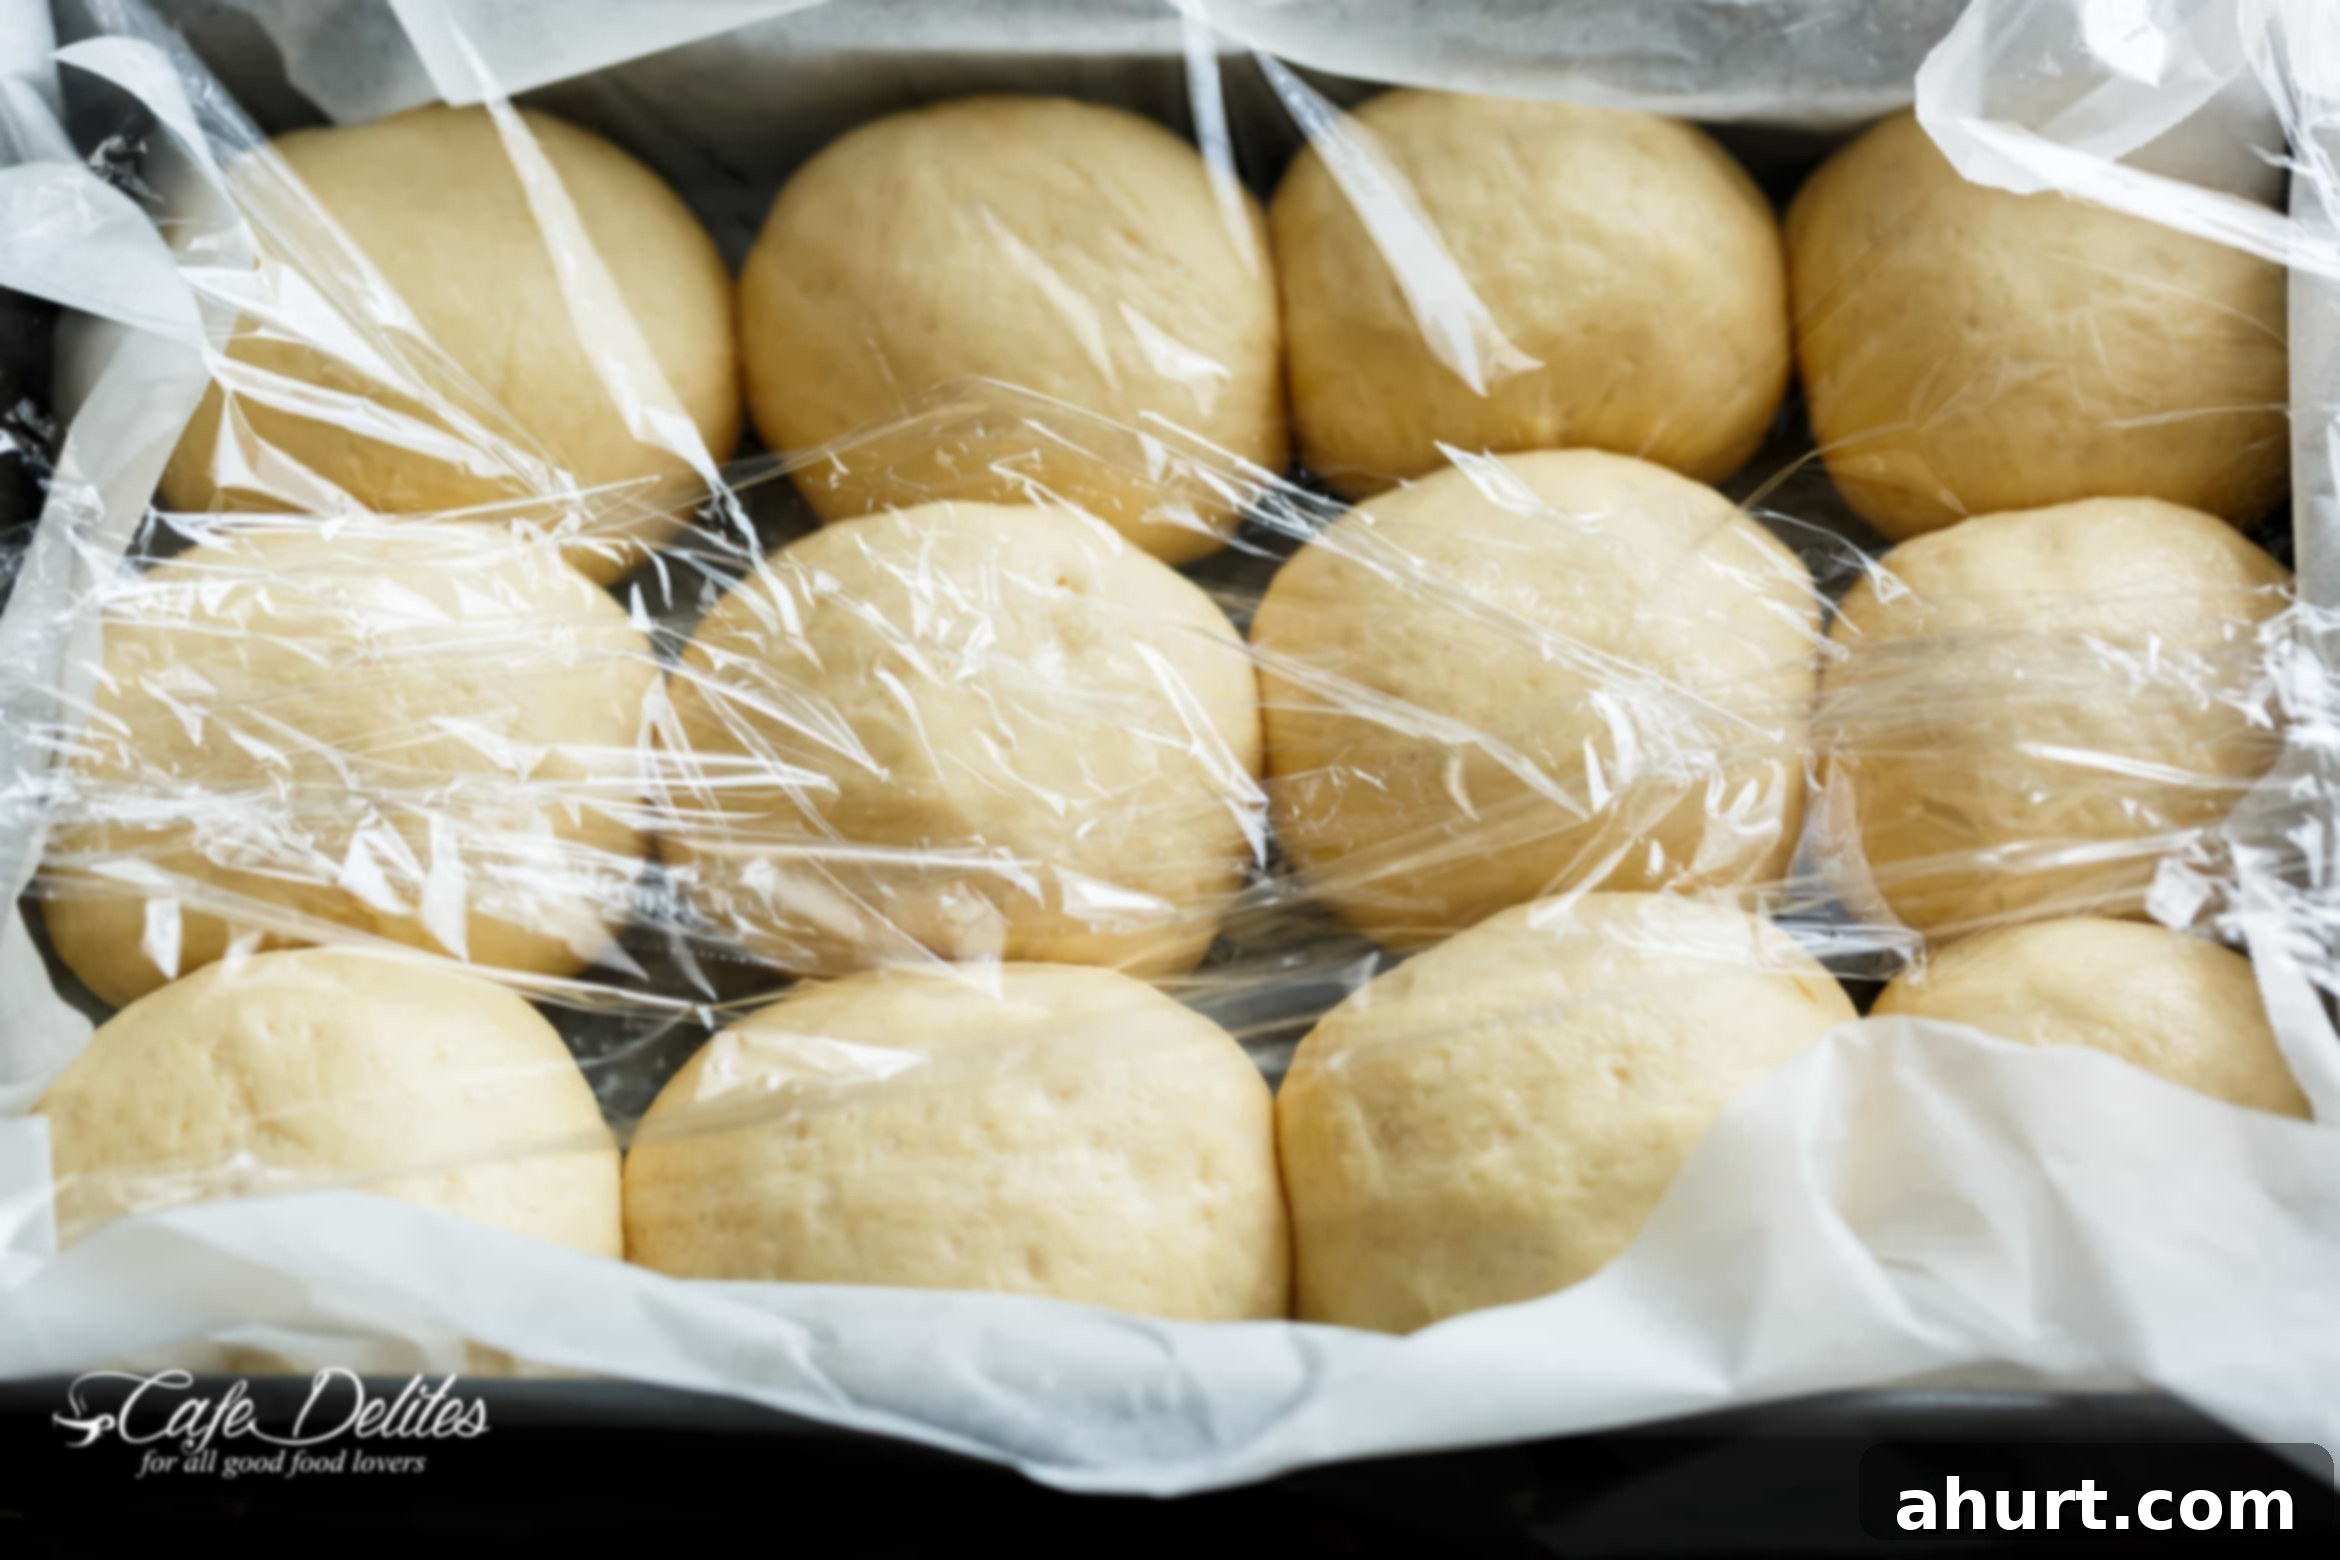
Ah, the aroma! The SWEET, sweet, intoxicating smells wafting from your kitchen as these rolls bake will be absolutely captivating. It’s the best part of baking homemade bread!
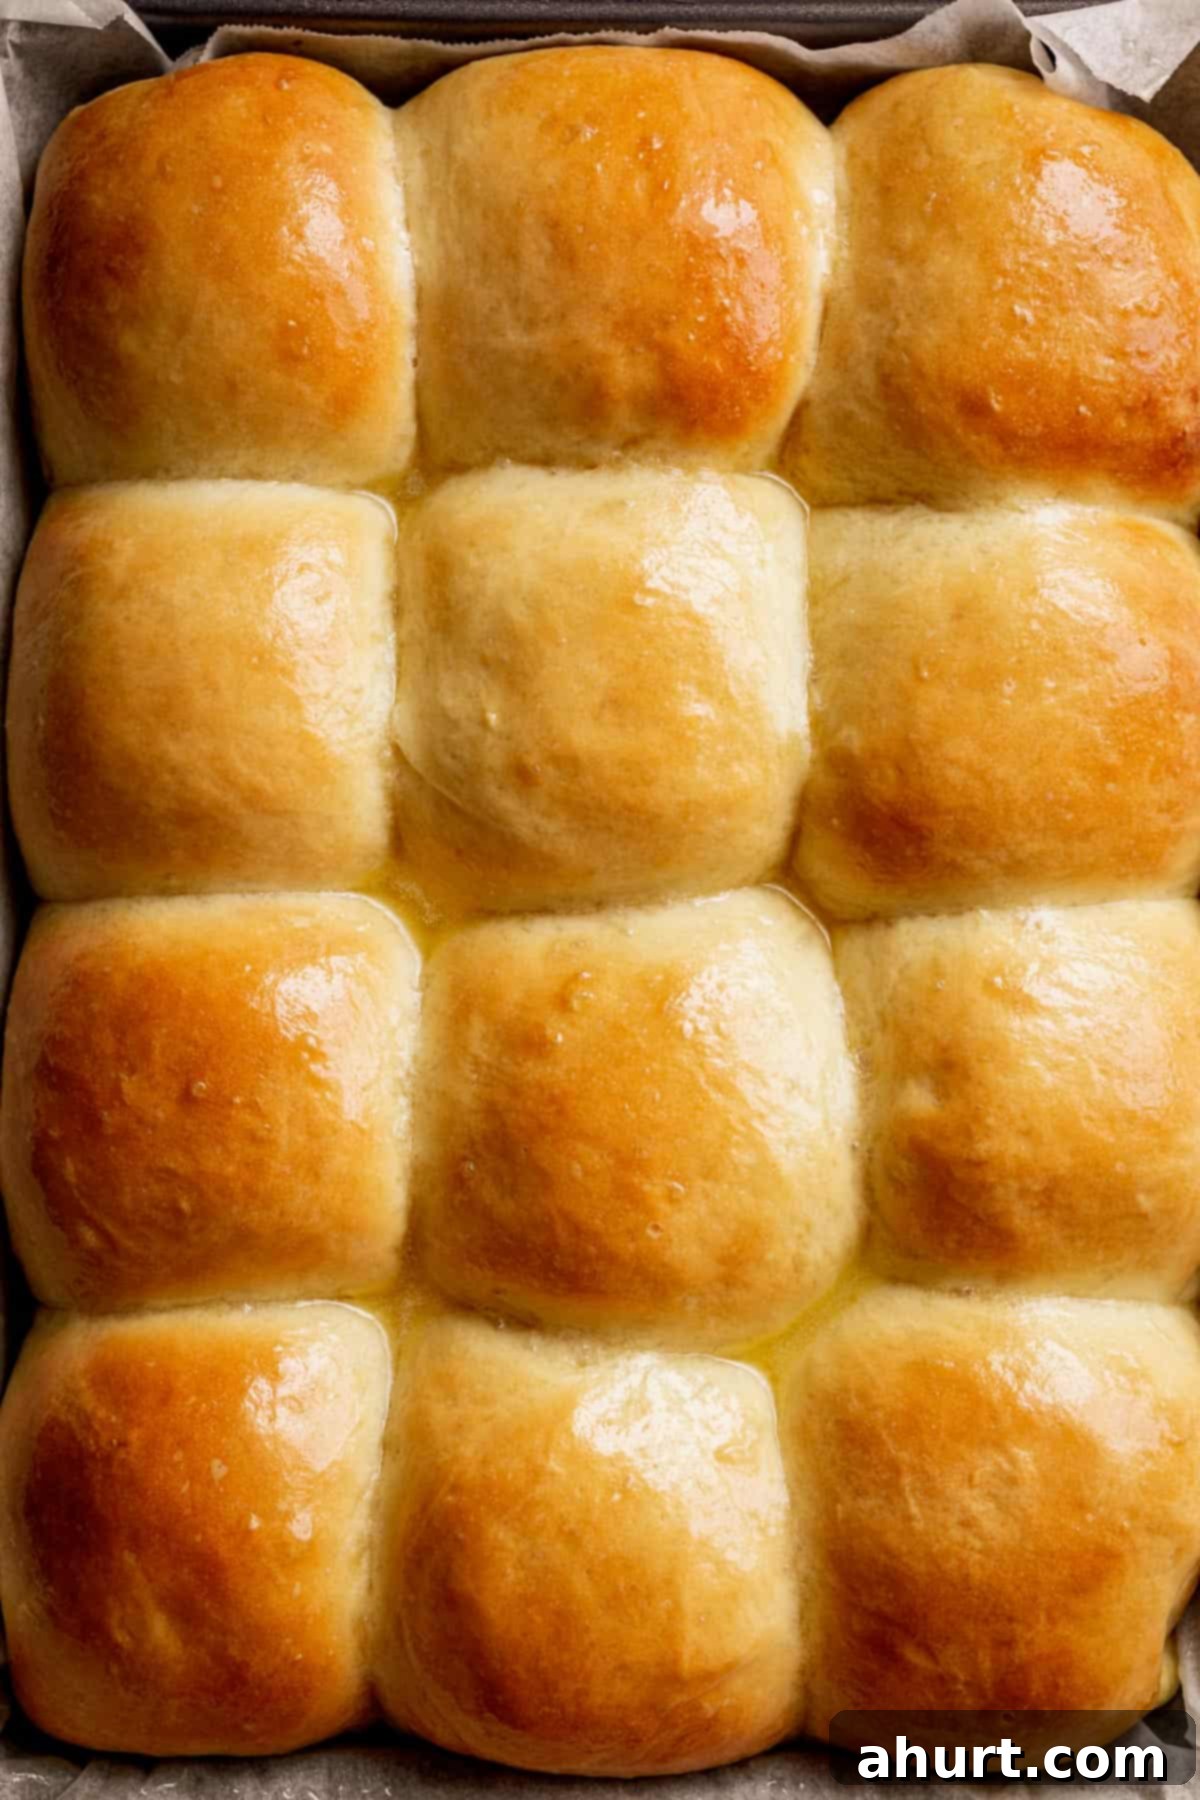
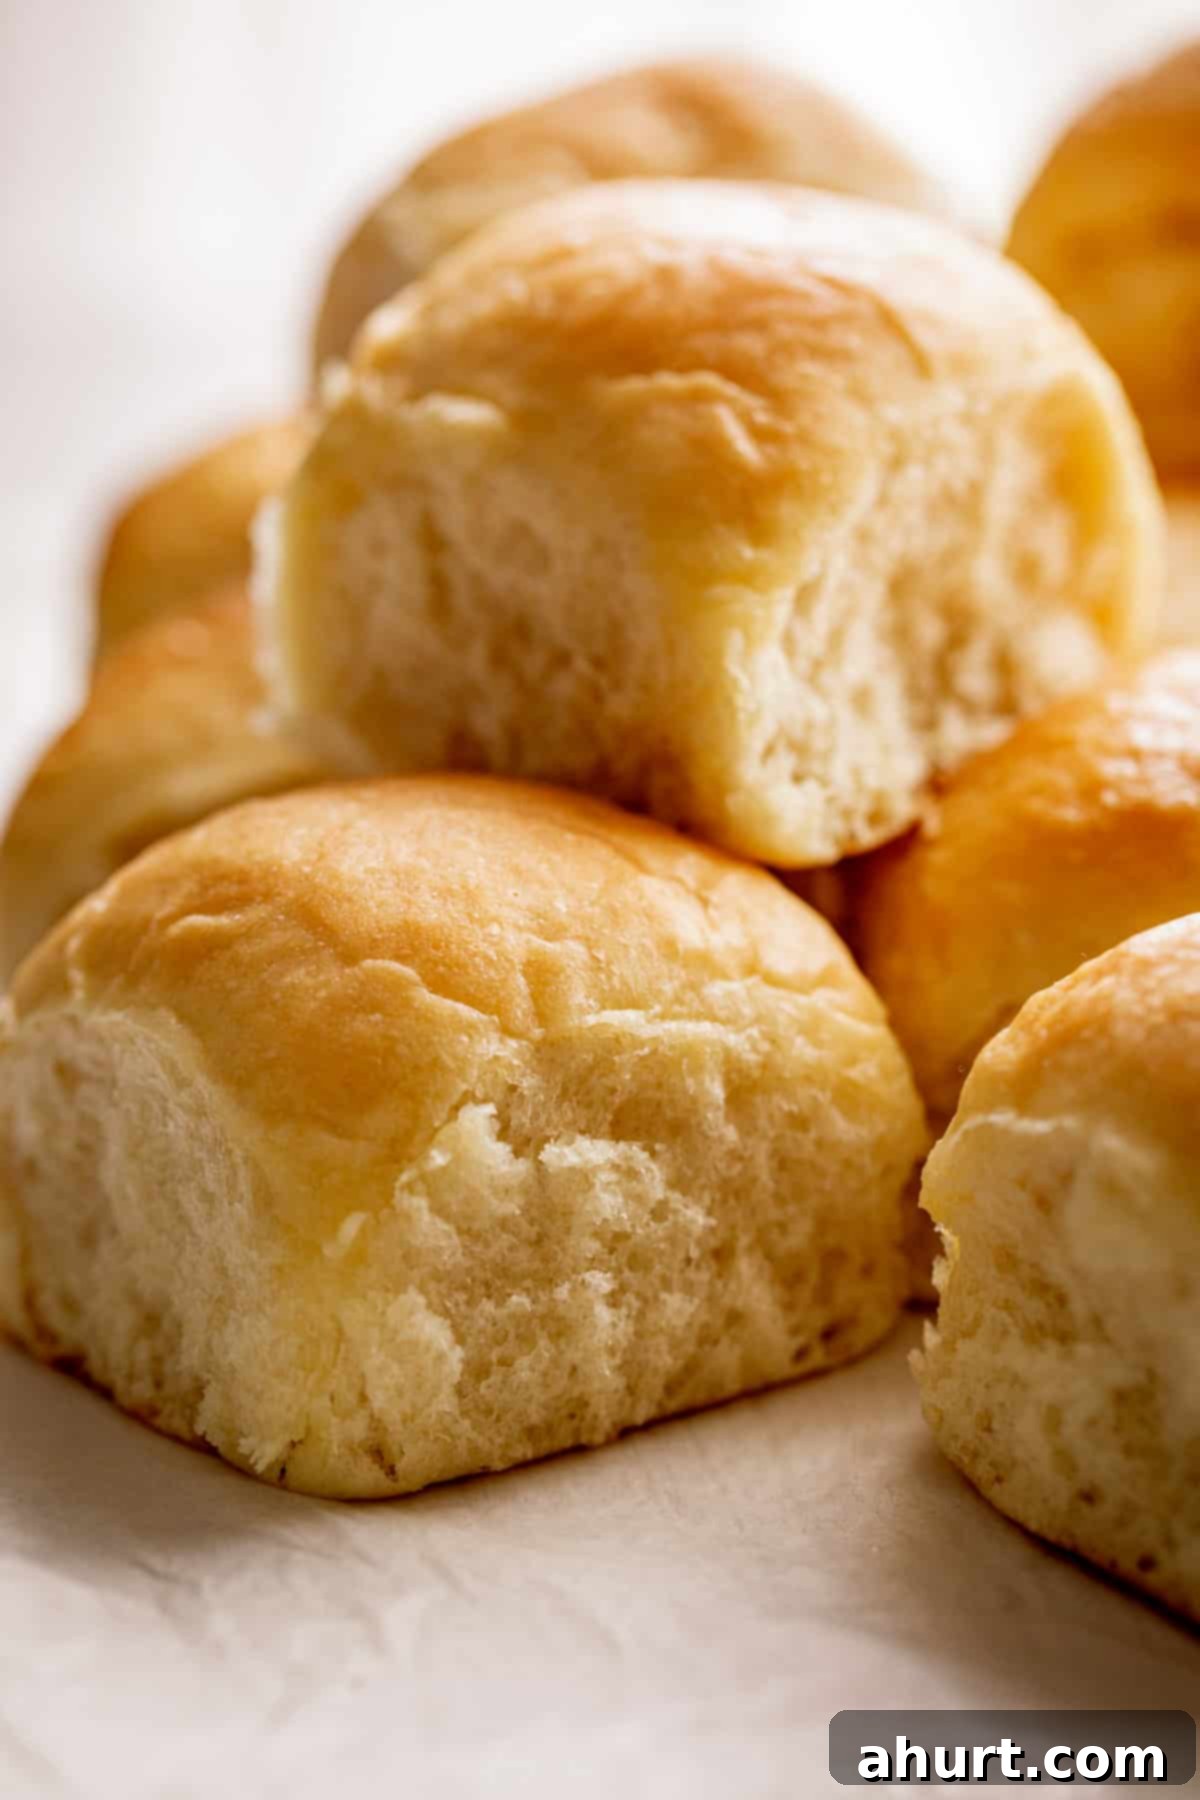
Once your dinner rolls have baked to a beautiful golden brown, gently brush them over with a light coating of melted butter. While many recipes call for an egg white wash or a full egg wash for a glossy finish, you can absolutely do that if you prefer. However, in our kitchen, we often deal with egg allergies, which is precisely why this Easy Soft Dinner Rolls recipe is completely egg-free, yet still delivers a gorgeous, golden crust and unbeatable flavor with just a simple butter glaze.
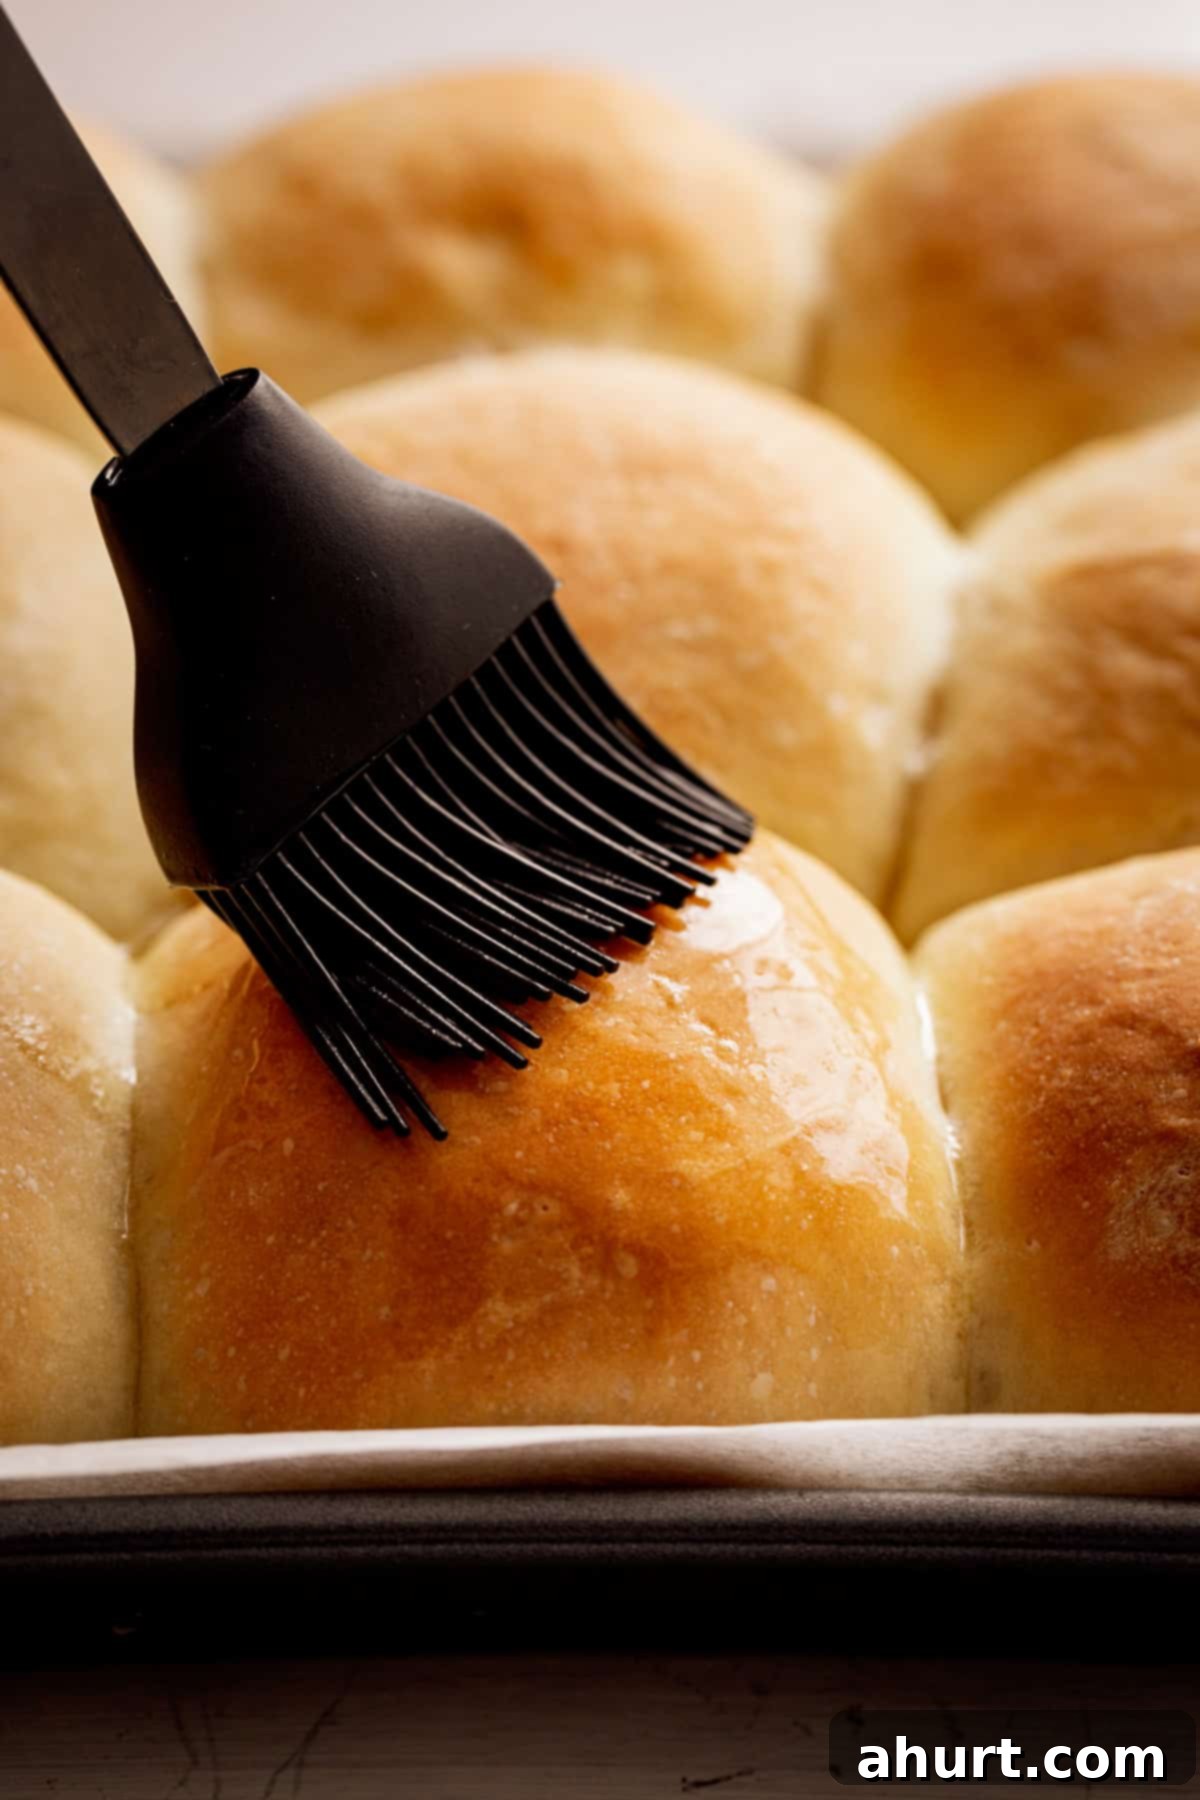
These homemade dinner rolls are truly amazing the day they are baked – warm, fresh, and irresistibly soft. But don’t worry if you have leftovers; they are equally delicious the next day! Simply warm them slightly in the microwave or oven for a few minutes to bring back that fresh-baked feel.
What to Serve with Your Heavenly Dinner Rolls
These versatile, soft dinner rolls are the perfect accompaniment to almost any meal. Their light texture and savory-sweet flavor make them ideal for soaking up delicious sauces and gravies, or simply enjoyed on their own.
- Use them to sop up every last drop of the rich gravy from our Crispy Skin Turkey and Gravy.
- They pair beautifully with the delicate flavors of our Easy Baked Salmon with Lemon Butter Cream Sauce.
- Transform any soup or stew into a more satisfying meal – think classic comfort foods like a robust beef stew or our creamy Easy Lobster Bisque.
- They’re fantastic for mini sliders, especially with pulled pork or shredded chicken.
- Serve them alongside a fresh salad for a light yet fulfilling lunch.
- Spread with a little extra butter and a sprinkle of garlic powder for a quick garlic bread alternative.
More Baking Recipes to Love
If you enjoyed making these easy dinner rolls, you’ll love exploring some of our other fantastic baking recipes:
- Bacon Cheddar Biscuits: Savory and rich, perfect for breakfast or with a hearty meal.
- Soft Cinnamon Rolls: Sweet, sticky, and utterly irresistible – a weekend brunch favorite.
- Garlic Pizza Pull Apart Bread: A fun, shareable, and intensely flavorful side dish.
- Easy Buttermilk Cornbread: A classic, moist cornbread that complements any Southern-style dish.
Watch the Magic Unfold!
Prefer to see it in action? Watch our step-by-step video tutorial to guide you through making these perfect soft dinner rolls:

Pin
Easy Soft Dinner Rolls
Ingredients
- 1 tablespoon rapid-rise yeast
- 3 tablespoons white granulated sugar divided
- 1/2 cup water warm (110-115˚F)
- 1 cup milk
- 1/4 cup butter melted
- 1 1/2 teaspoons salt
- 4 cups bread flour or all purpose four, plus about 1/4 cup extra for dusting your work surface
- 2 tablespoons butter melted, for brushing baked rolls
Instructions
-
Heat oven to 200°F | 100°C (if using your oven to proof the dough).
-
Mix the yeast, 1 tablespoon of sugar and warm water in a large bowl. Let sit for 7-10 minutes until foamy and frothed.
-
While yeast is activating, combine the milk and butter in a 2-cup capacity microwave safe jug. Microwave on high for about 40-50 seconds, or until butter has half melted and milk is luke warm. Stir in remaining sugar and salt. Give it a light mix until the butter completely melts through the milk, and the sugar dissolves. Add to the yeast in the bowl.
-
Add in 2 cups of flour, giving it a light mix to combine with a wooden spoon, then add in the remaining 2 cups of flour. Mix until starting to pull away from the walls of the bowl (about 1-2 minutes). Turn out on a lightly floured work surface and use the extra 1/4 cup of flour in tablespoon increments to knead until smooth, elastic and slightly sticky (about 4-5 minutes kneading). (Lightly oil your hands if the dough gets too sticky.)
-
Transfer dough back into the bowl. Cover with a warm damp towel.
TURN OVEN OFF and transfer bowl of dough to the warm oven, leaving the door ajar for the first 10-15 minutes or so.
After 15 minutes, close oven door and allow the dough to double in size (another 45 minutes).
-
Scrape dough onto a lightly floured work surface or kitchen bench, knead lightly for about 30-40 seconds if needed to bring the dough together, and mould into a loaf shape. Cut in half, then cut both halves into 6 equal pieces (you should now have 12 equal pieces all together).
-
Working one by one, lightly flatten each piece of dough in the palm of your hands, then bring up all sides to form a peak on top (like a tent shape), and pinch and seal this peak. Flip it over and you should have a smooth top! Ensure there are no cracks. If there are, turn the roll upside down again and smooth the cracks out towards the peak you just made, pinching the seal again, and flip over to double check the top is smooth. (Use a light dusting of flour in your hands to prevent sticking if you need to.)
-
Arrange rolls, smooth side up into a lightly greased 9×13-inch baking pan or dish (you can line your pan or dish with parchment paper if you wish).
Preheat oven to 375˚F | 190˚C (or 350°F | 180°C for fan forced ovens).
-
Lightly spray rolls with cooking oil spray, cover with plastic wrap and let rise again until just about doubled in size, (about 30 minutes).
-
Bake in a preheated oven for 20-25 minutes, or until rolls are golden browned. (Check them after 18 minutes to make sure they are ok.)
-
Lightly brush with a little extra melted butter, and transfer to a cooling rack.
Notes
Nutrition
Nutrition information is automatically calculated, so should only be used as an approximation.
