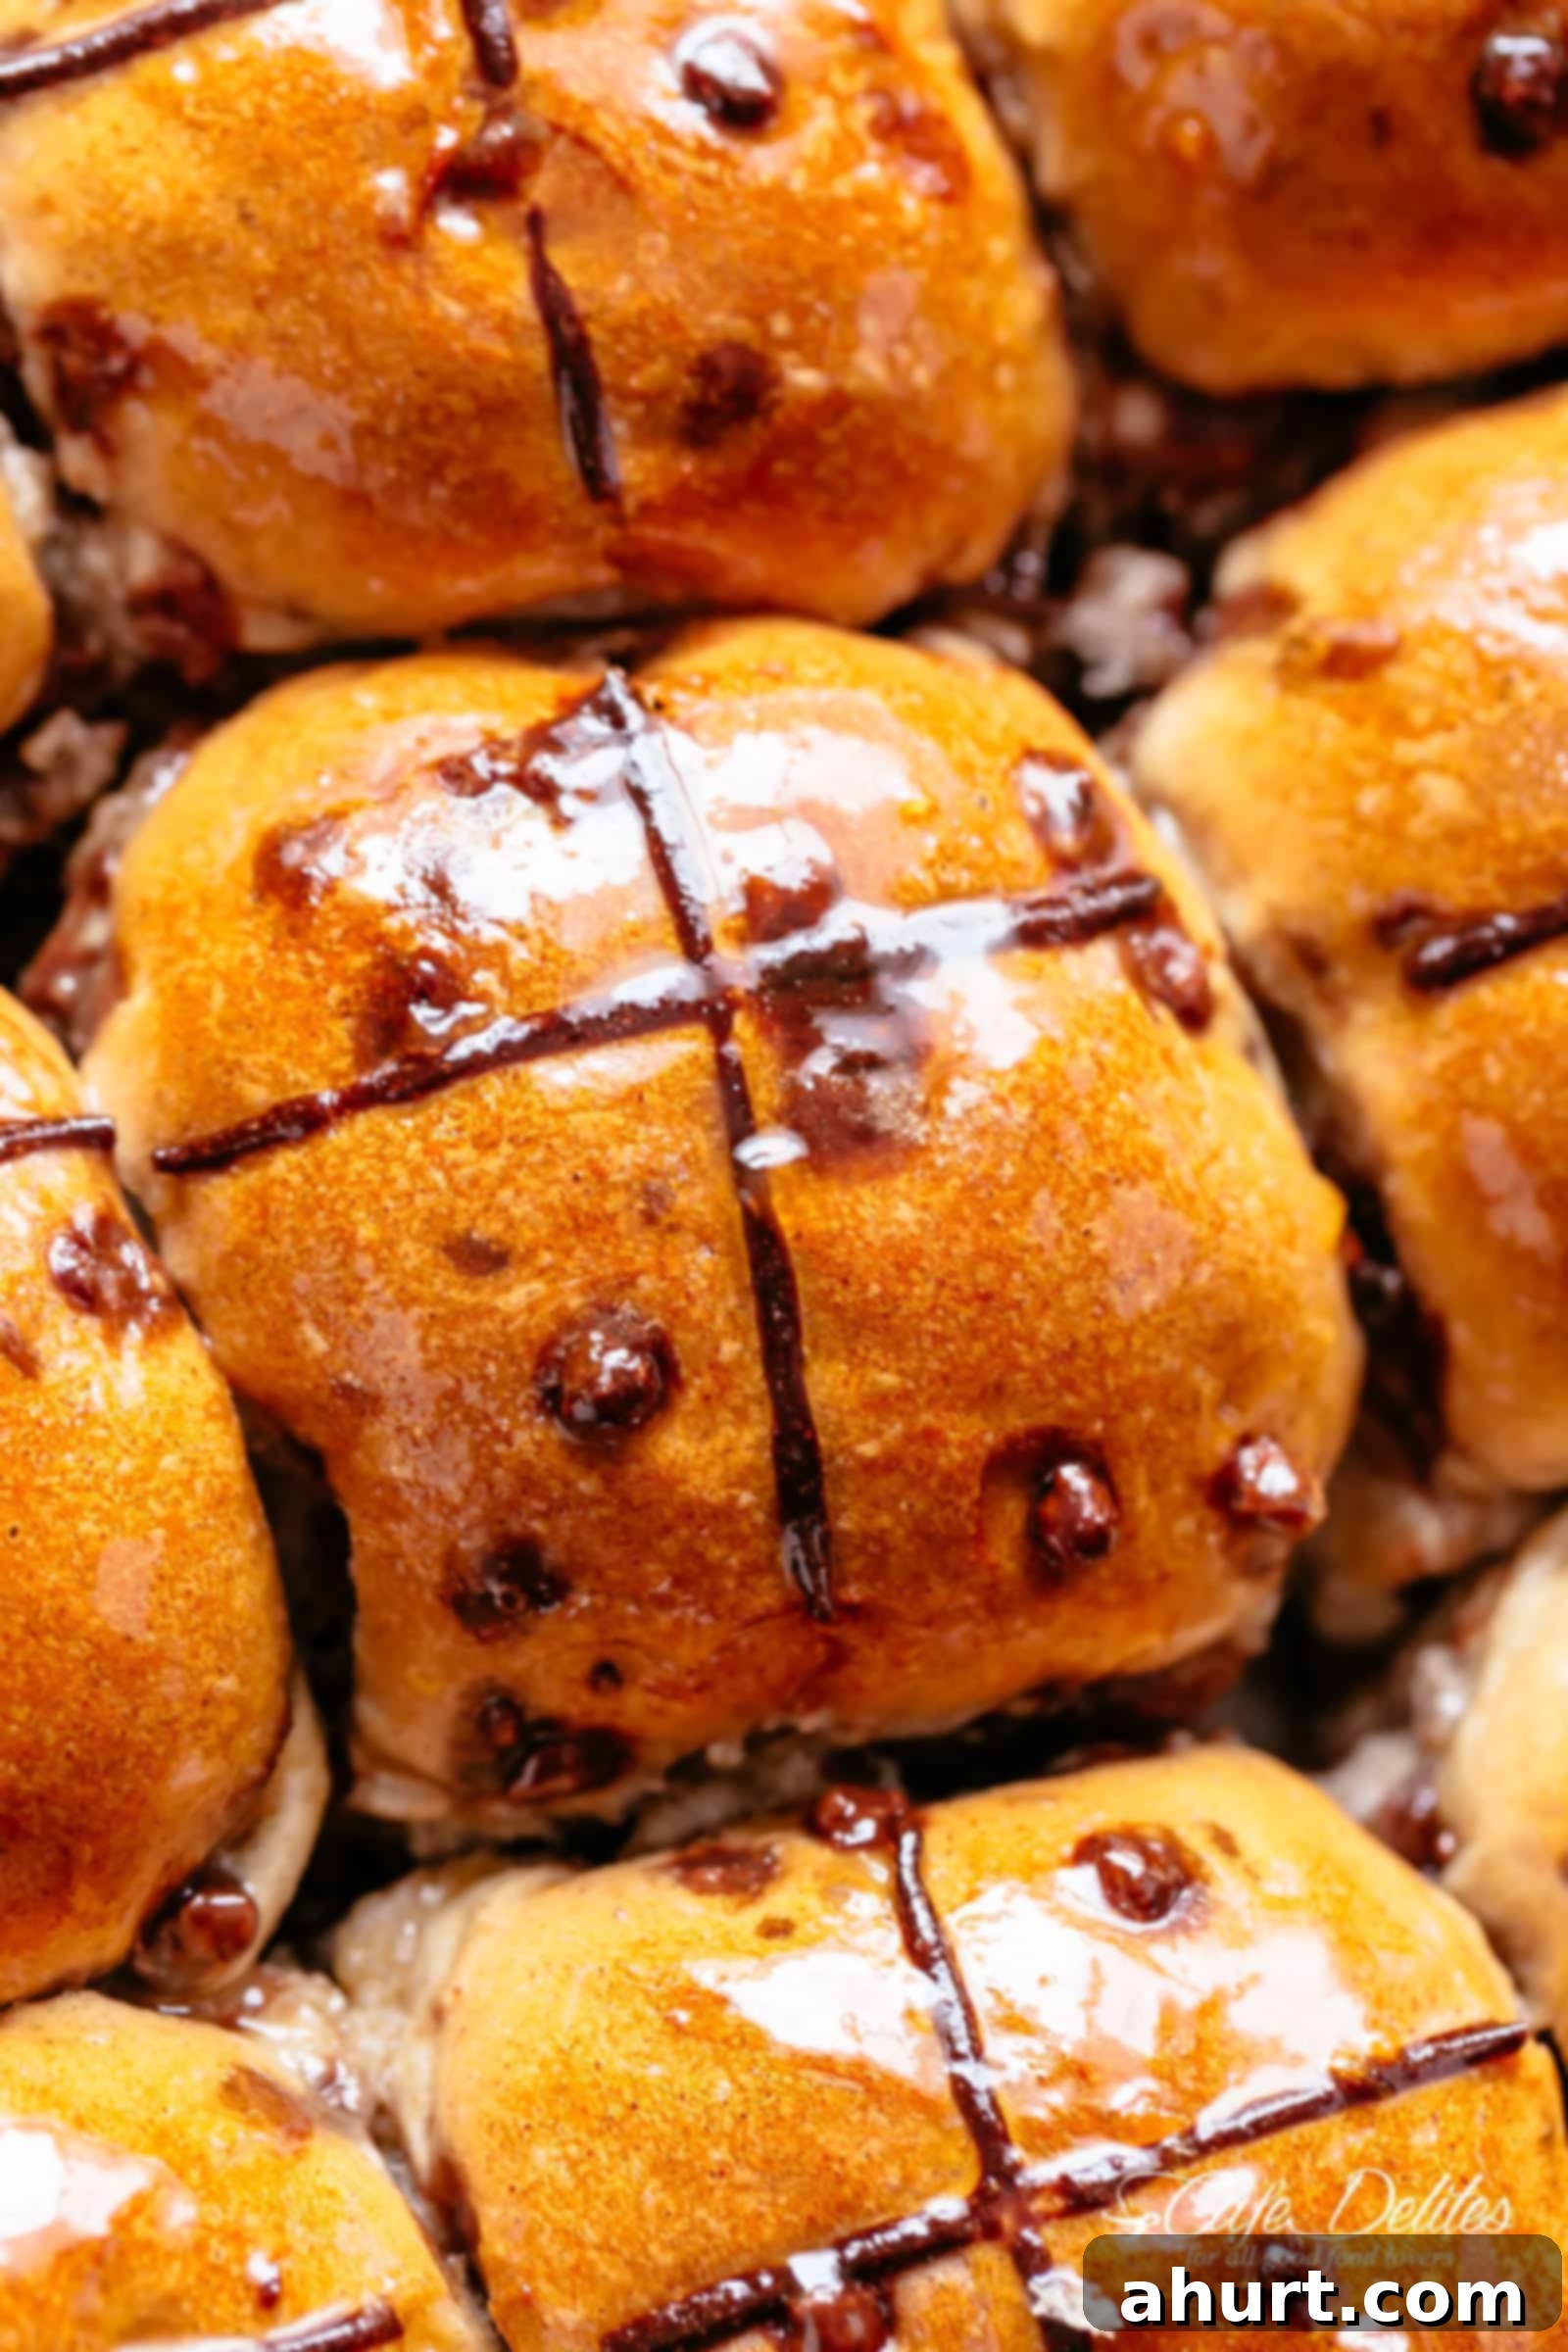
Irresistibly Easy Chocolate Chip Hot Cross Buns: Your New Easter Baking Tradition
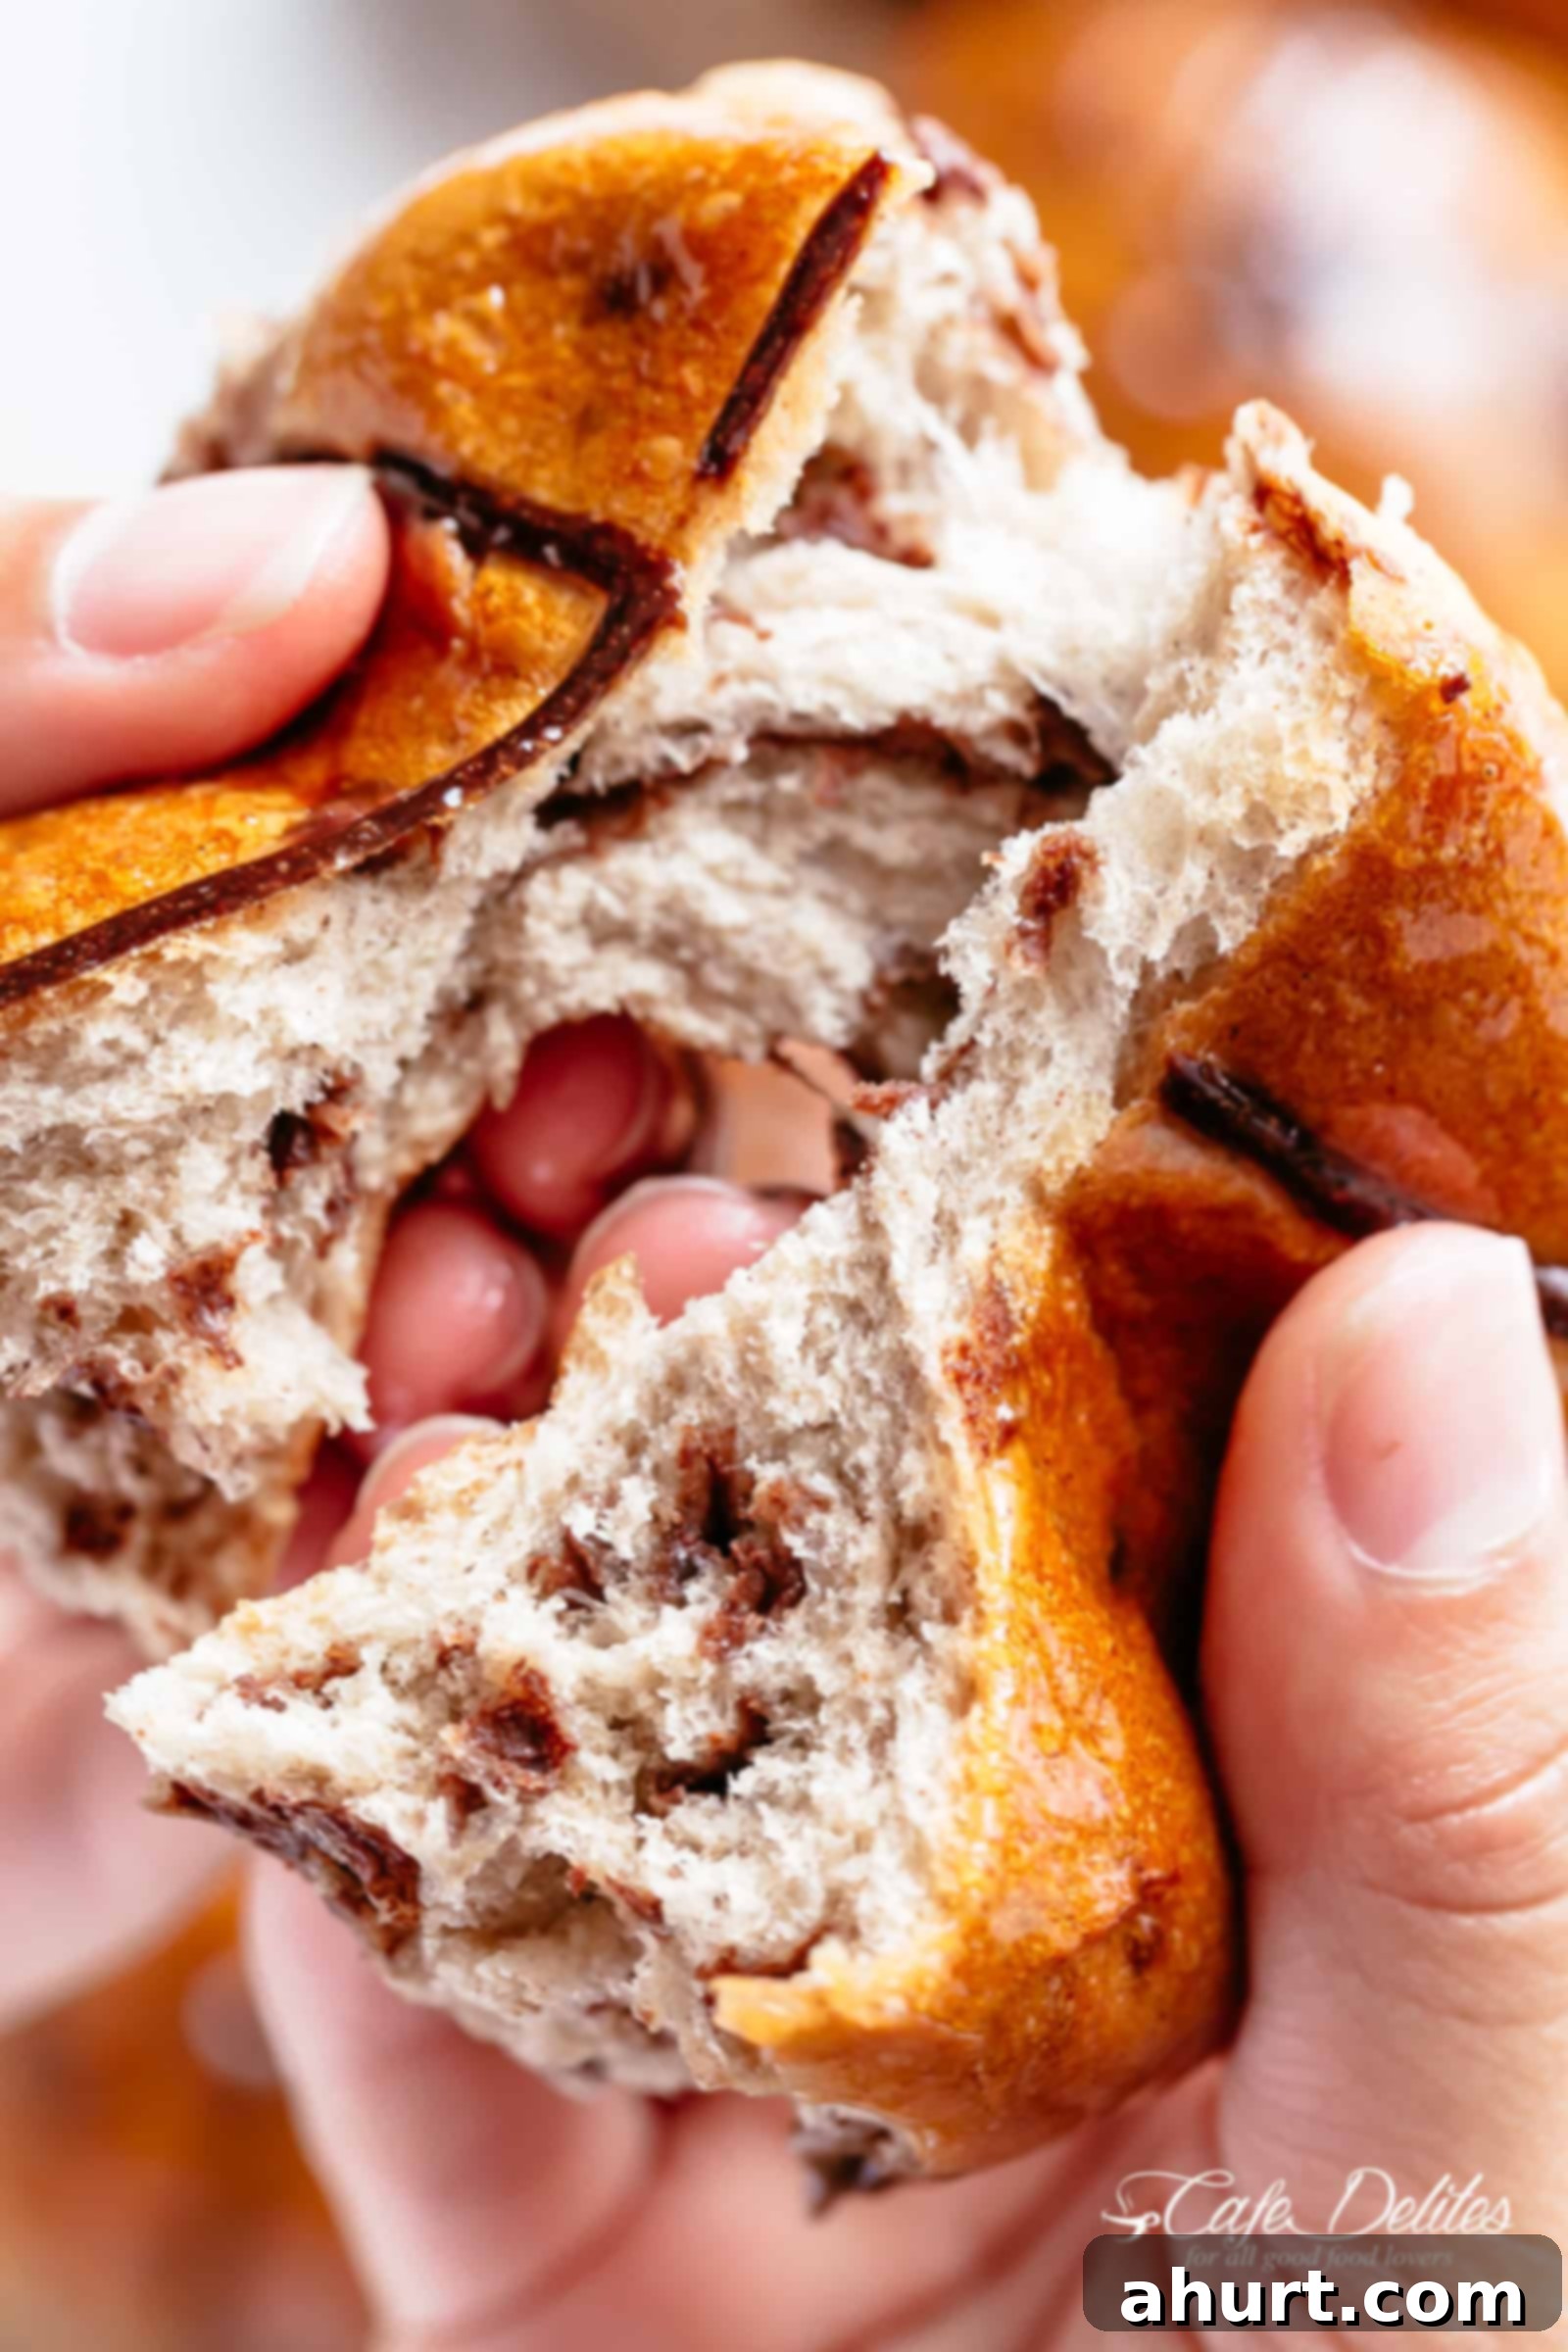
There’s an undeniable magic to warm, fresh-from-the-oven baked goods, and these Easy Chocolate Chip Hot Cross Buns are no exception. Far superior to anything you’ll find in a store, these fluffy, fragrant buns, studded with pockets of melted chocolate, are guaranteed to delight both children and adults alike. What makes this recipe truly special? It’s incredibly straightforward, requiring no proofing yeast beforehand, making it perfect for bakers of all experience levels.
As Easter approaches, the tradition of hot cross buns comes to mind. While the classic fruit-filled versions hold a special place, sometimes a modern twist is exactly what’s needed to get everyone excited. This recipe embraces that spirit, offering a deliciously sweet and utterly simple way to celebrate the season with a homemade touch.
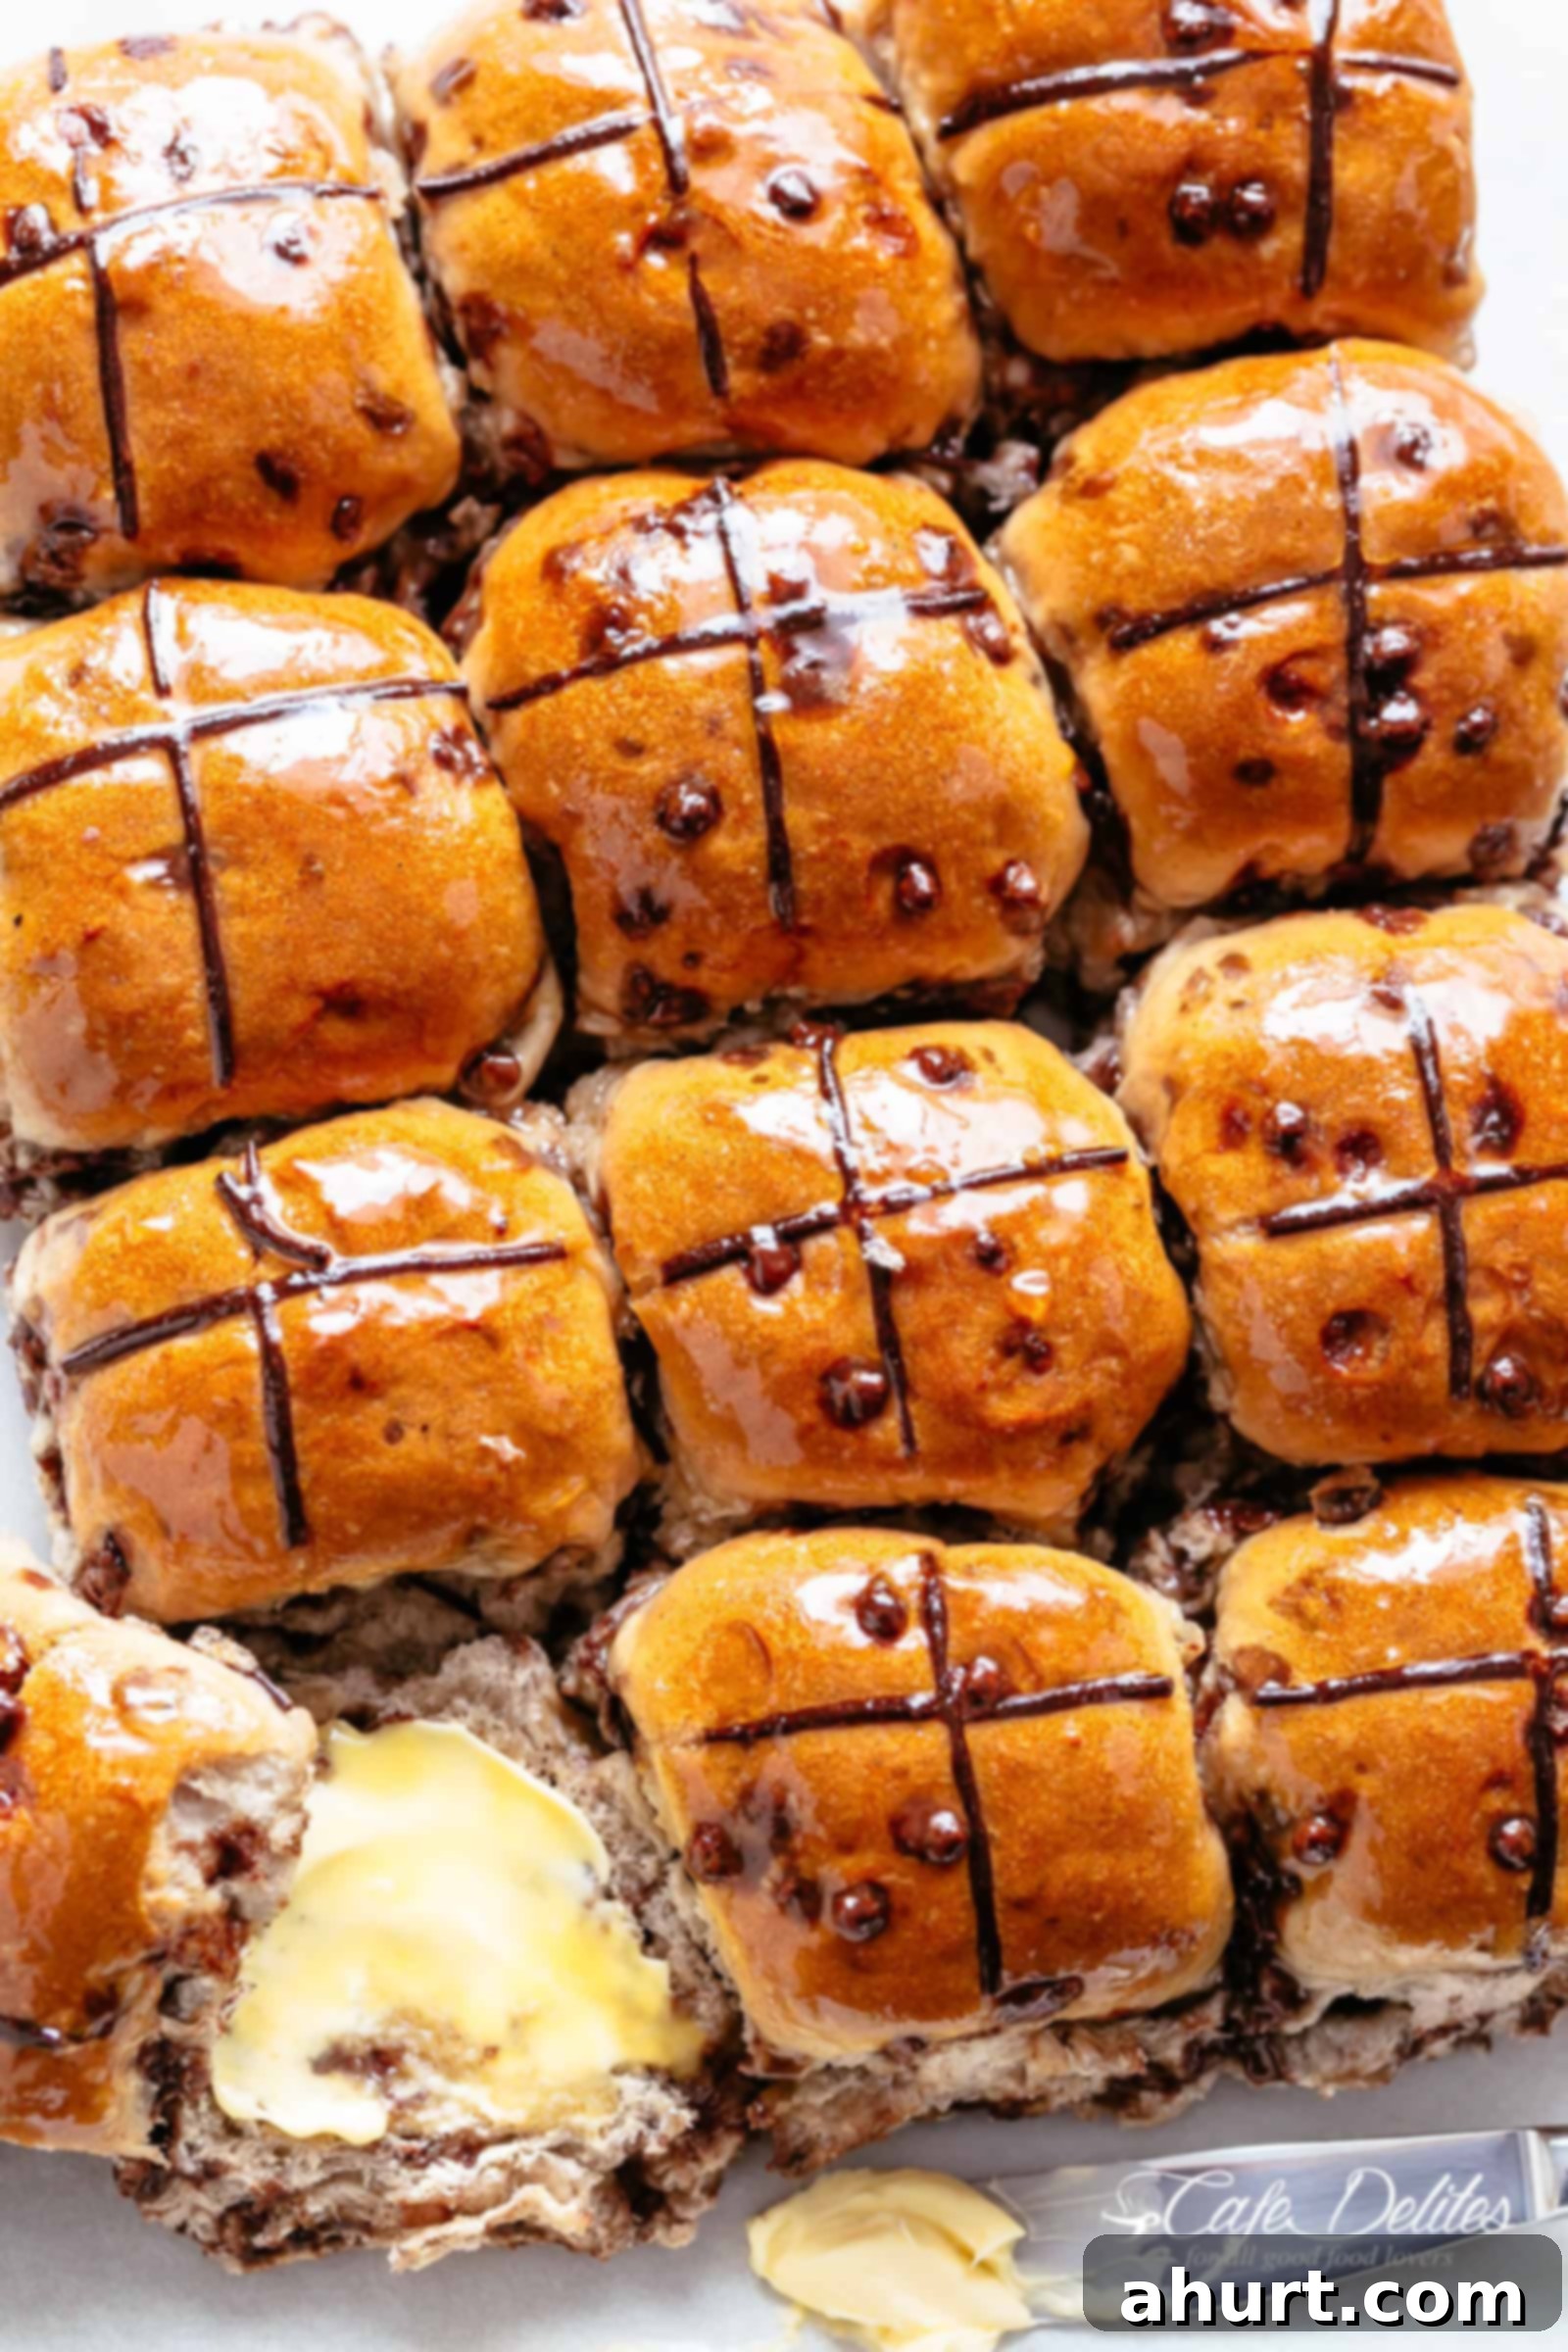
Why Homemade Hot Cross Buns Are Always Best
Forget dry, overly sweet, or bland store-bought hot cross buns. Crafting them from scratch is a deeply rewarding experience, filling your home with an aroma that signals comfort and celebration. When you bake your own, you control the quality of the ingredients, ensuring each bite is fresh, flavorful, and incredibly soft. Plus, there’s an unmatched sense of accomplishment that comes with presenting a tray of beautifully baked, golden-brown buns to your loved ones.
The Journey to Perfection: My Baking Adventures
Developing the perfect hot cross bun recipe wasn’t without its challenges! Over the past few weeks, my kitchen has been a veritable hot cross bun factory. My family has been on the receiving end of countless test batches – some glorious successes, others… less so. There were buns that emerged from the oven as flat as pancakes, crosses that turned out dry and unappetizingly powdery, and even a batch so overloaded with chocolate it became a gooey, delicious mess (not that anyone truly complained about that one!). This rigorous testing, however, led to the simplified, foolproof recipe you’ll find below, ensuring you skip all the trial and error and go straight to baking perfection.
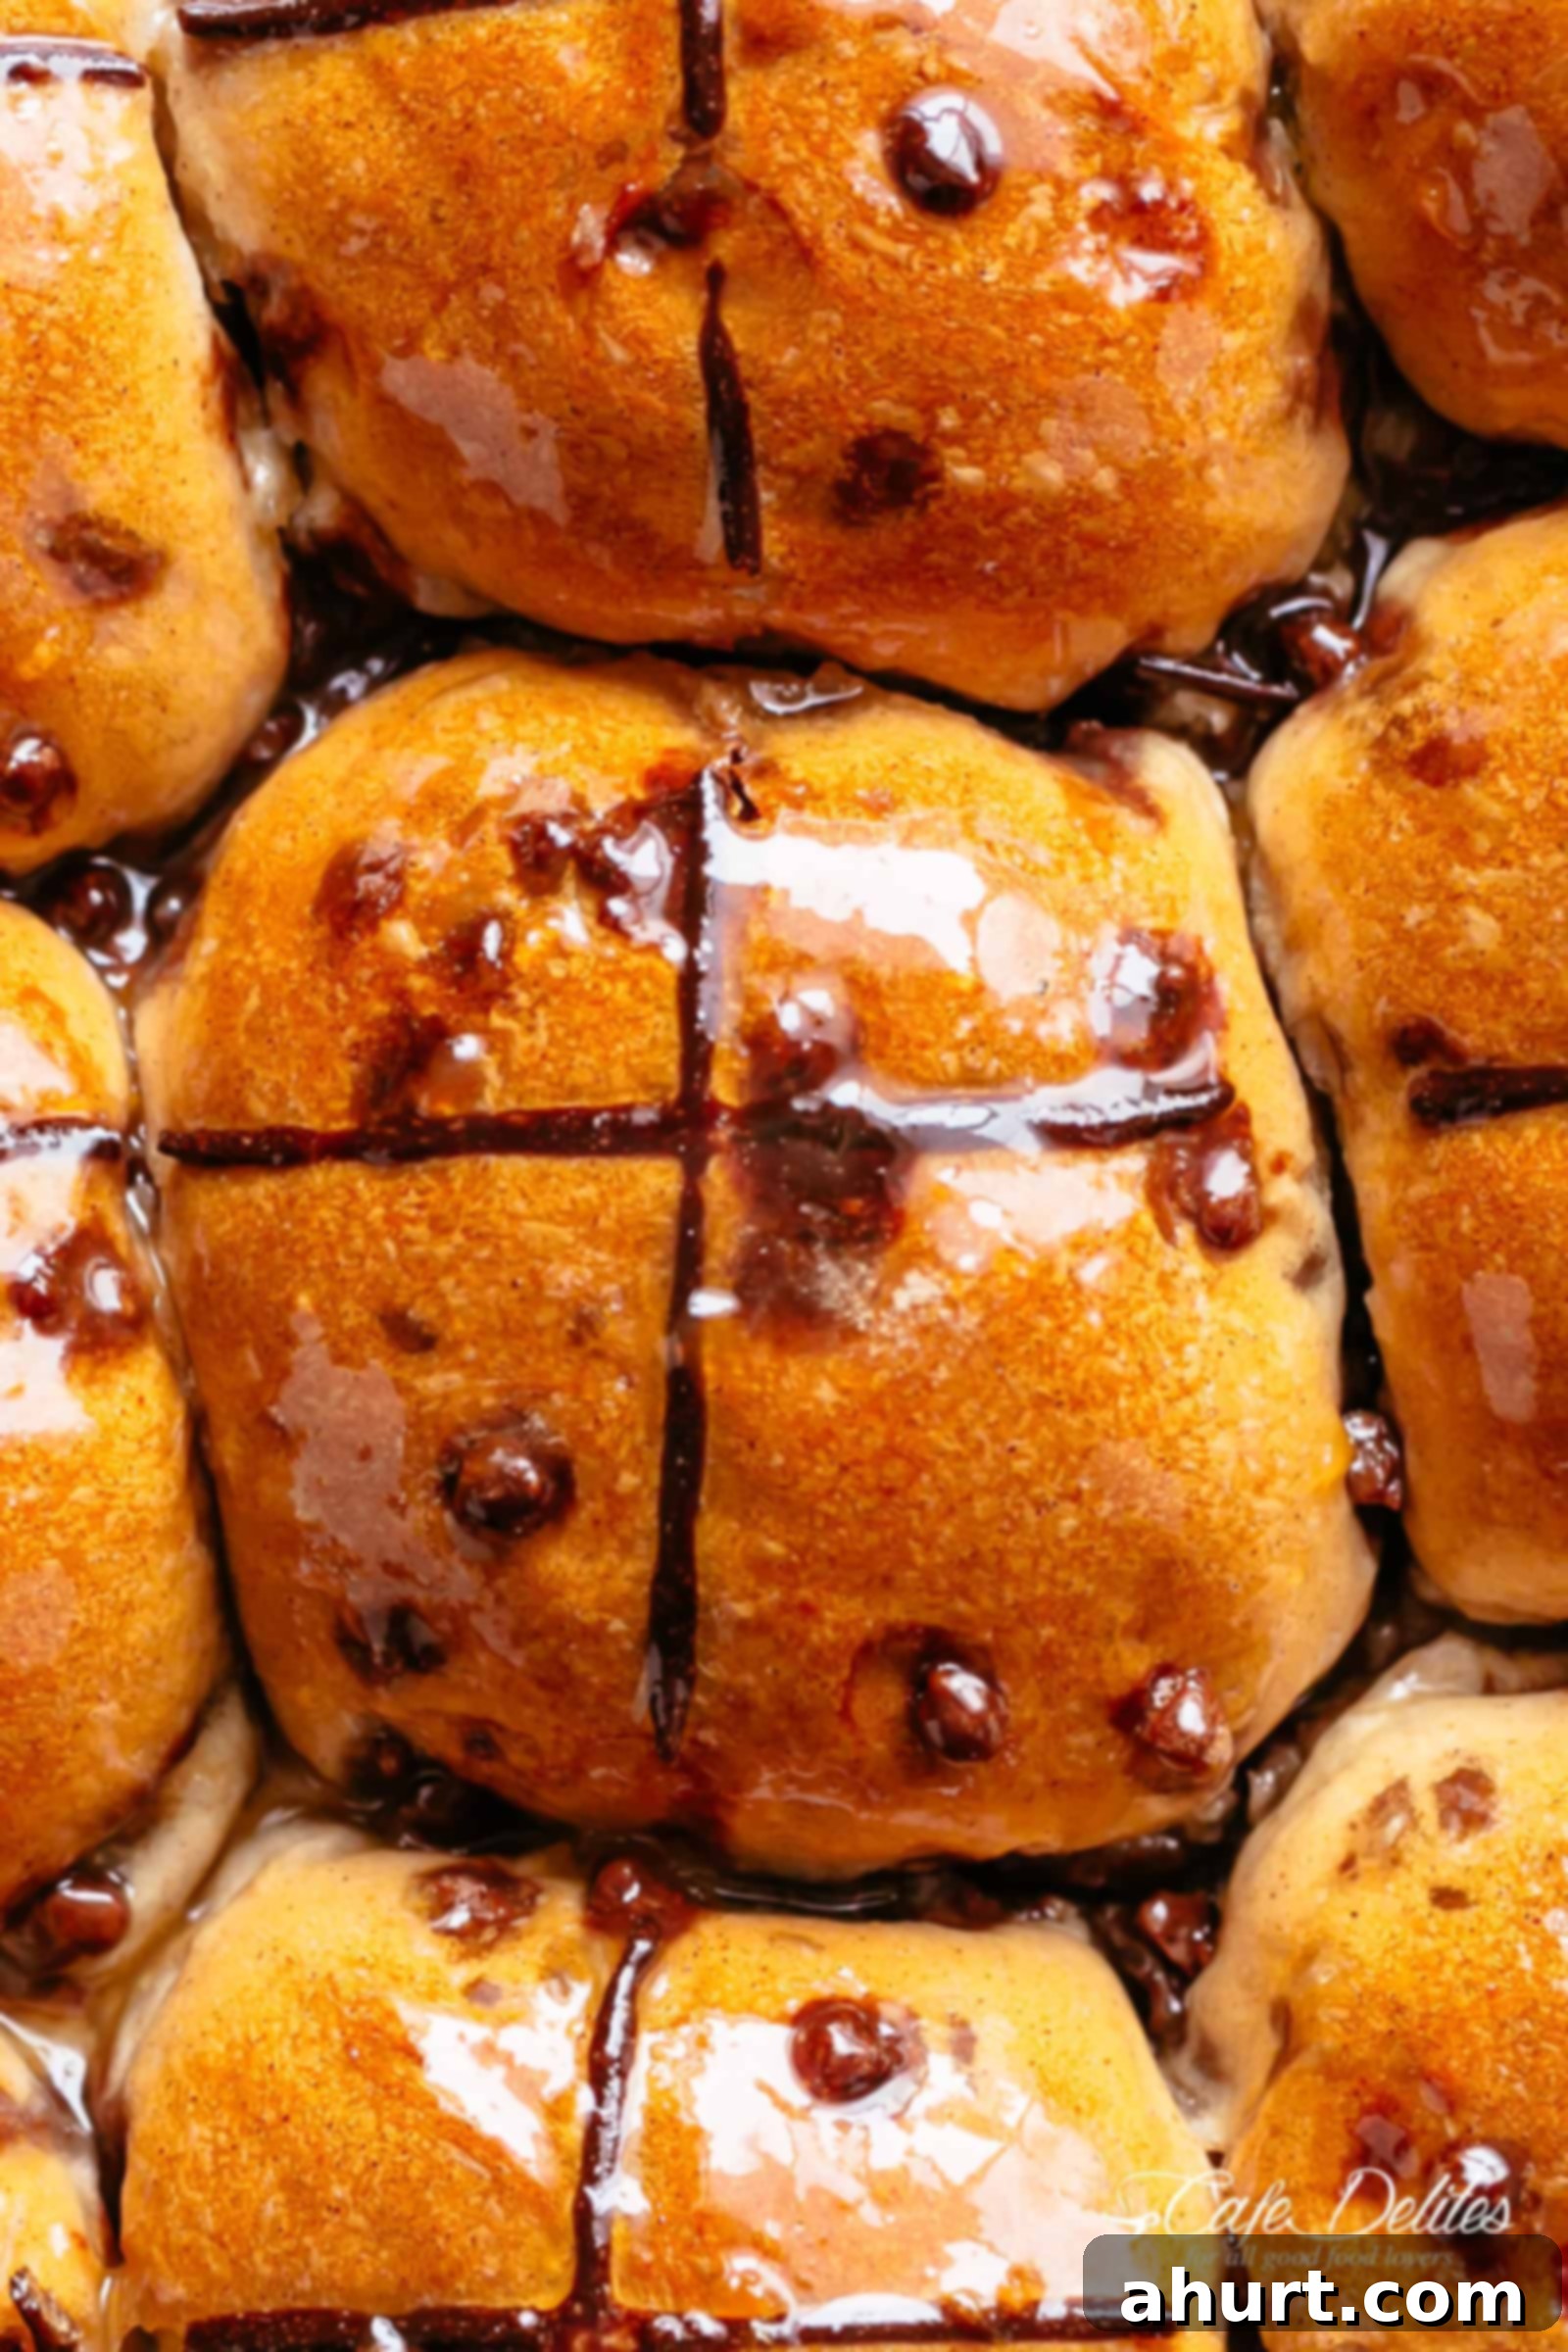
The Chocolate Chip Twist: A Family Favorite
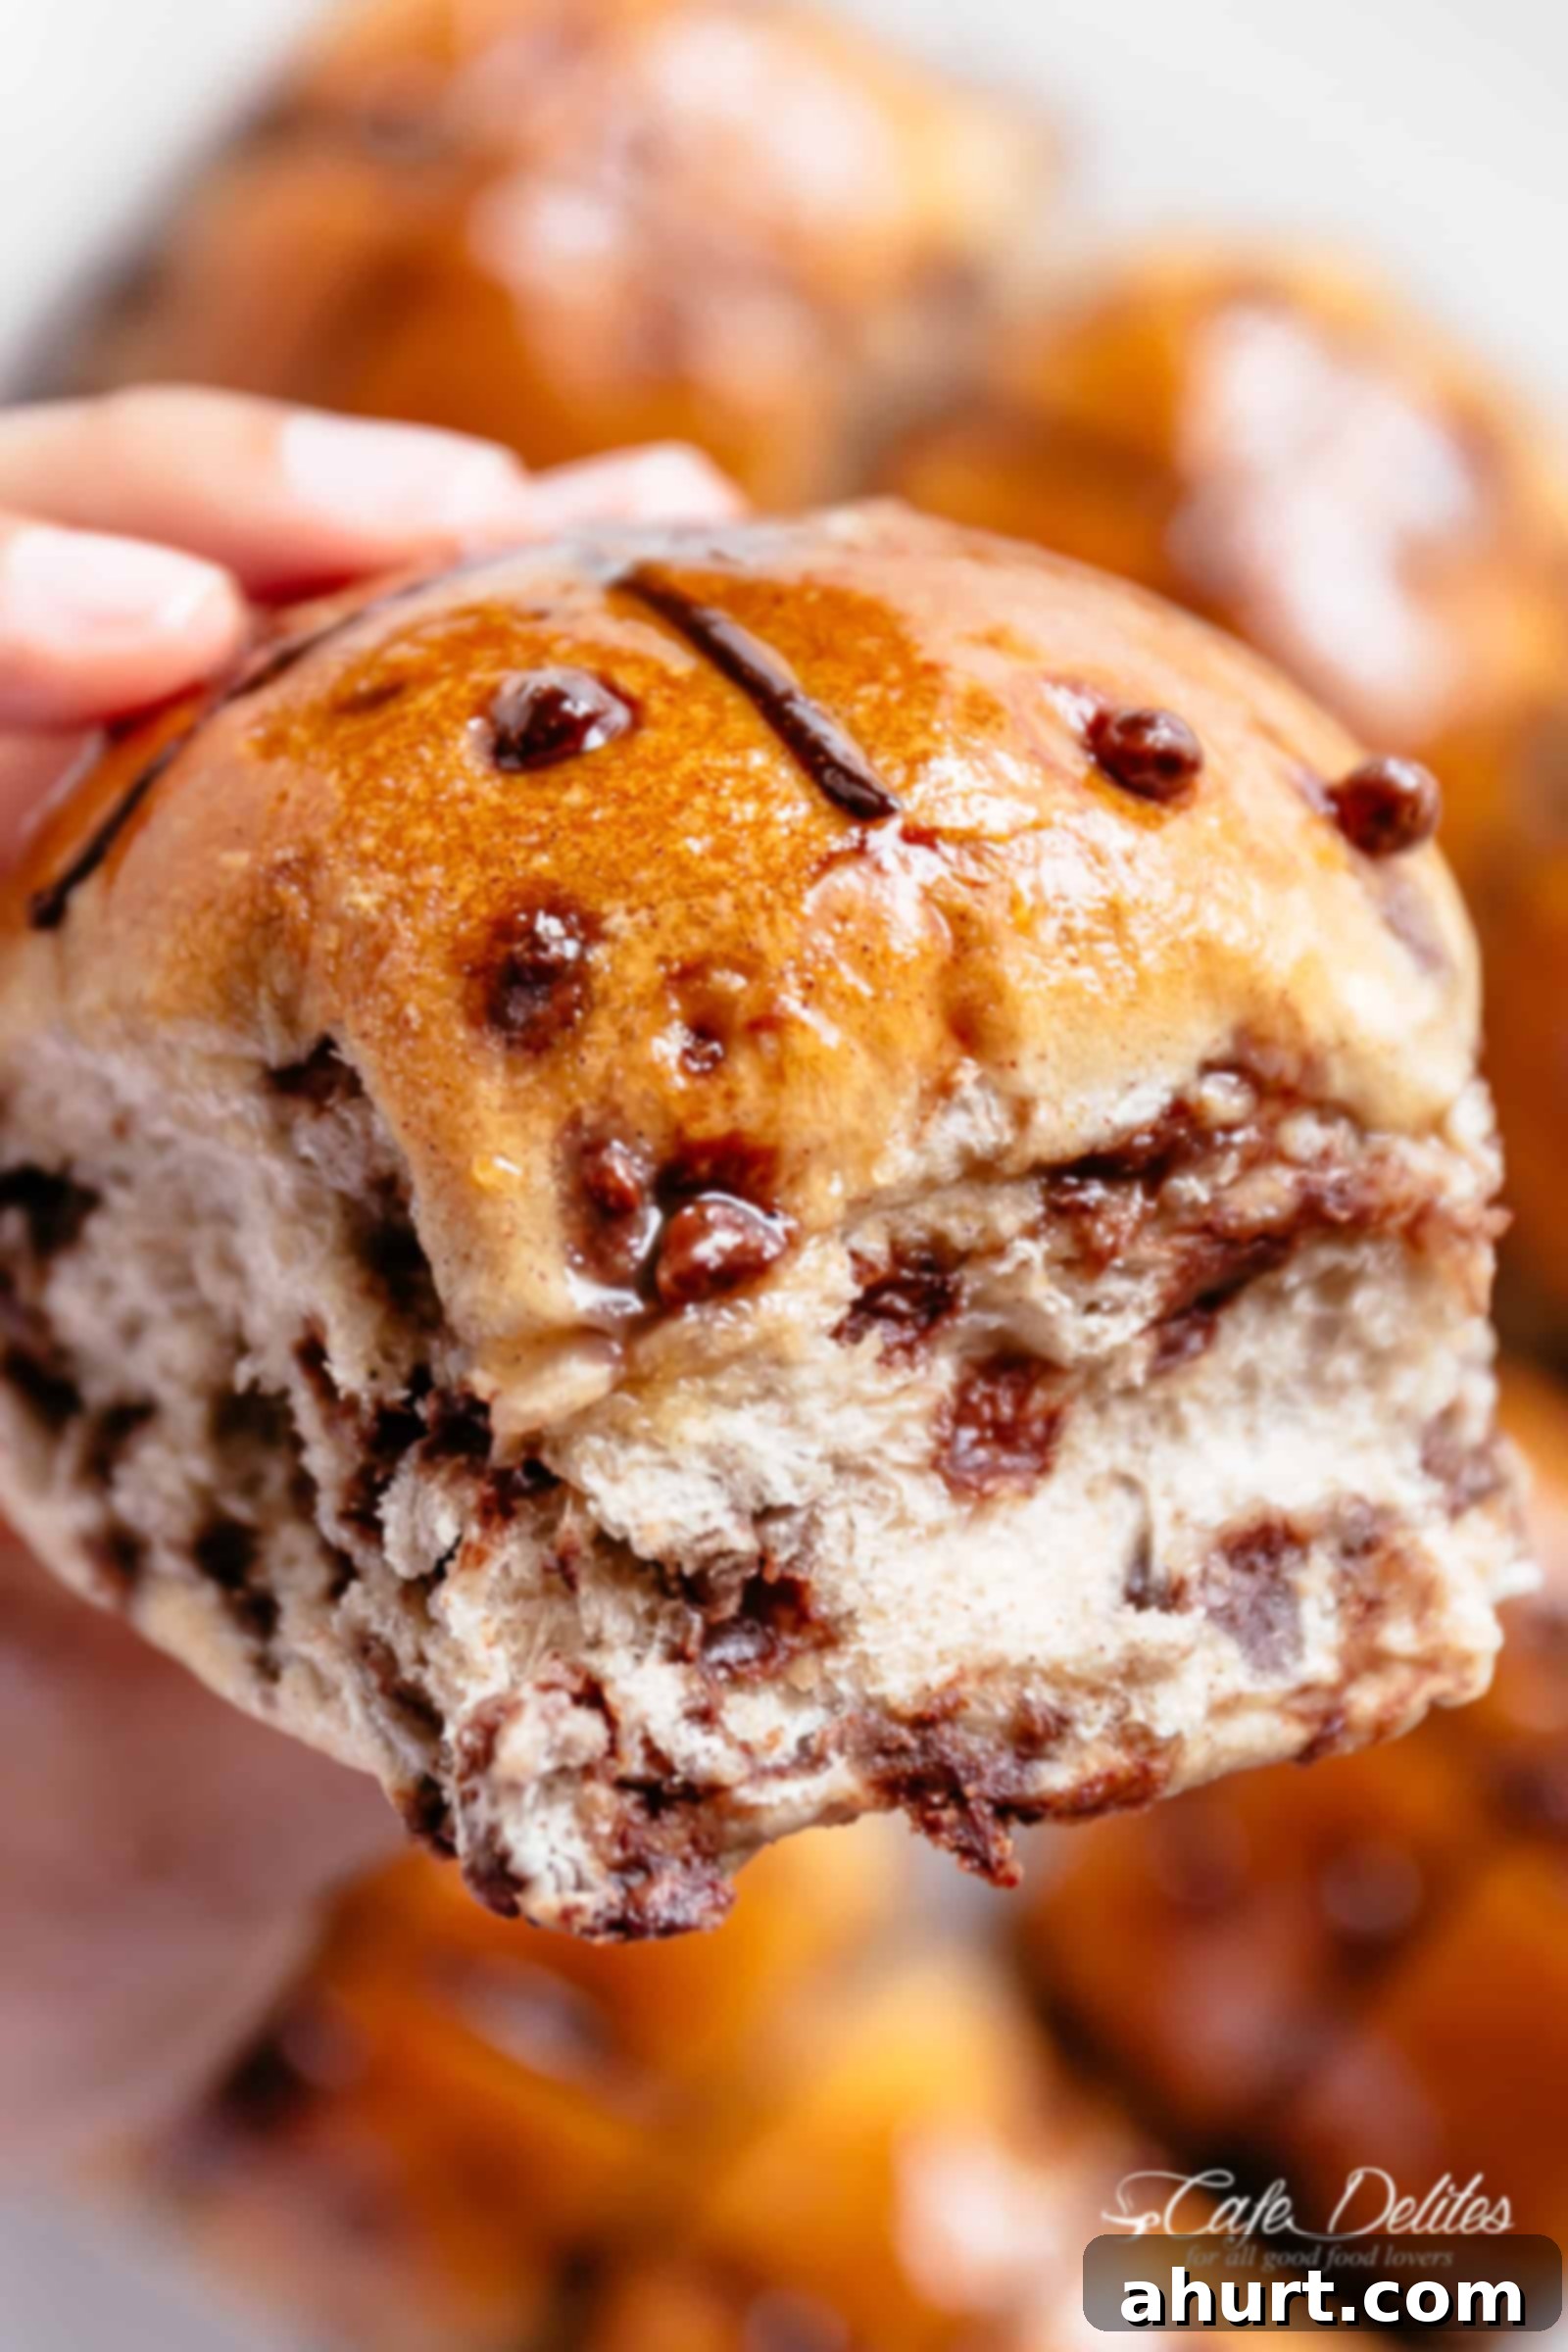
In many homes, the debate between traditional fruit hot cross buns and their chocolate-laden counterparts is a lively one. While I cherish the classic spiced fruit buns, my own household unanimously votes for chocolate! If your kids (or even some adults!) tend to shy away from raisins and sultanas, then this chocolate chip version is your perfect solution. Each bun is generously studded with rich, melted chocolate chips, creating a sweet surprise in every bite that makes them utterly irresistible.
Of course, if you’re a purist or prefer the fruity flavor, this recipe is incredibly versatile. You can easily substitute the chocolate chips with an equal amount of plump sultanas, juicy raisins, or a mix of dried cranberries and orange zest for a more traditional profile. The base dough remains wonderfully adaptable, allowing you to tailor these festive treats to everyone’s preference.
Crafting the Iconic Cross: Sweet or Traditional?
The distinctive cross on a hot cross bun is not just for decoration; it symbolizes the crucifixion, making these buns a poignant Easter tradition. Traditionally, this cross is formed from a simple paste of flour and water, piped onto the buns before baking. It bakes into a slightly crisp, pale stripe that contrasts with the golden bun.
However, to align with our family-friendly, chocolate-infused theme, we’re taking a deliciously modern approach! Instead of a flour paste, this recipe features a cross made from luscious melted chocolate. This not only reinforces the decadent chocolate flavor but also ensures that every part of the bun is appealing, especially to younger palates who might otherwise pick off a savory cross. The melted chocolate cross provides an extra layer of sweetness and a beautiful finish that truly elevates these buns.
Demystifying Yeast: Your No-Fuss Approach to Baking
Many home bakers are intimidated by yeast, often seeing it as a finicky ingredient that requires precise conditions. But fear not! This recipe for chocolate chip hot cross buns is designed to be incredibly forgiving and easy, eliminating the need for traditional yeast proofing. This is why so many readers have loved my Soft Cinnamon Rolls, which uses a similar method, proving that yeast baking can be simple and rewarding!
In this recipe, the instant or rapid-rise yeast is simply mixed directly with the dry ingredients. It activates gradually within the dough, leveraging the warmth of the milk and the subsequent rising periods to work its magic. This “no-proofing” method saves time and reduces stress, allowing you to achieve wonderfully light and airy buns without extra steps.
Ensuring Your Yeast is Active: A Quick Test
While this recipe simplifies the yeast process, ensuring your yeast is active is still a good practice, especially if your yeast has been sitting in the pantry for a while. Here’s a quick and easy test:
- Combine 1 teaspoon of instant yeast with 1/4 cup of warm water or milk (ensure it’s around 105-115°F / 40-46°C, which is typically 1 to 1:30 minutes in a microwave).
- Stir gently and let the mixture sit for 5-10 minutes.
- If the yeast is active, you should see a foamy layer forming on the surface, indicating it’s alive and ready to make your buns rise beautifully. If there’s no foam, your yeast might be past its prime, and it’s best to get a fresh packet.
For optimal results and the easiest experience, I highly recommend using instant yeast (also known as rapid-rise or quick-rise yeast) for this recipe. It’s formulated to work quickly and efficiently, making the baking process a breeze.
Tips for Baking Your Best Chocolate Chip Hot Cross Buns
Achieving bakery-quality hot cross buns at home is easier than you think with a few key tips:
- Don’t Rush the Rise: While this is a “no-fuss” recipe, allowing the dough ample time to rise in a warm spot is crucial for developing that light, airy texture. Patience truly pays off here.
- Measure Flour Correctly: Too much flour can lead to dry, dense buns. Spoon your flour into the measuring cup and level it off with a straight edge rather than scooping directly, which can compact it.
- Kneading is Key: Kneading the dough for the recommended 5-10 minutes develops the gluten, which is essential for the buns’ elasticity and soft crumb. If kneading by hand, it’s a good workout! A stand mixer with a dough hook makes this step effortless.
- Evenly Distribute Chocolate Chips: When adding the chocolate chips, knead them in thoroughly but gently to ensure they’re well distributed throughout the dough. You want a burst of chocolate in every bite!
- Warm Environment for Rising: A slightly warm, draft-free spot is ideal for rising. You can preheat your oven to its lowest setting for a few minutes, then turn it off and let the dough rise inside (with the door ajar if still too warm).
- The Perfect Glaze: The apricot jam glaze adds a beautiful shine and subtle sweetness. Don’t skip it! Warm the jam and water gently to ensure it’s smooth and easy to brush.
Serving and Storage Suggestions
These chocolate chip hot cross buns are best enjoyed warm, fresh from the oven, perhaps with a slather of butter or a dollop of cream. They make an excellent Easter breakfast, a delightful afternoon snack, or a comforting dessert.
Storage:
- Room Temperature: Store cooled buns in an airtight container at room temperature for up to 2-3 days. Reheat briefly in the microwave or oven for that fresh-baked experience.
- Freezing: Hot cross buns freeze beautifully! Once completely cooled, place them in a freezer-safe bag or container. They can be frozen for up to 3 months. Thaw at room temperature and warm them gently before serving. This is especially useful if you make a large batch, as my “testing” phase might have suggested!
Your Go-To Recipe for Easy Chocolate Chip Hot Cross Buns
Ready to bake the most delicious hot cross buns you’ve ever tasted? This recipe is designed for ease and maximum flavor. Follow the simple steps below and get ready to impress your family and friends this Easter.

Pin
Hot Cross Buns with Chocolate Chips
Ingredients
- 3 1/2 cups bread flour or all purpose or plain
- 1 tablespoon instant yeast or rapid rise yeast, quick-rise yeast
- 1/2 cup sugar caster or superfine sugar preferred
- 1/2 teaspoon salt
- 2 teaspoons ground cinnamon
- 1 teaspoon all spice
- 1 cup milk warm, temperature at 110°F (45°C)
- 1/4 cup butter melted
- 1 large egg at room temperature
- 2 cups semi sweet chocolate chips mini or regular
Glaze:
- 2 tablespoons apricot jam
- 1 tablespoon hot water
Instructions
-
Sift the flour into a large bowl. Add the yeast, sugar, salt and spices and mix well to combine.
-
Make a well in the centre and pour in the milk and butter. Stir the liquid into each other, then add in the egg. Mix with a wooden spoon then bring the dough together with your hands, pressing into it until it forms a sticky ball. (If the dough is too dry add a little water in tablespoon increments (up to 1/2 cup if needed) until the dough is just sticky to touch.)
-
Transfer dough onto a lightly floured surface and knead for 5-10 minutes until it becomes smooth and springy.
-
Transfer dough back into the bowl and cover with plastic wrap (or a clean, damp tea towel). Leave in a warm place to rise until doubled in size (about 1 hour depending on how warm the room is).
-
Lightly grease a large baking sheet or line with parchment paper. Set aside.
-
Punch down dough and transfer onto lightly floured surface. Sprinkle with 3/4 of the chocolate chips and knead the dough for 2-3 minutes.
-
Divide dough into 12 or 15 even portions (depending on how many buns you need). Roll each piece into round smooth balls and arrange on baking sheet, leaving space between each bun to allow them to rise. Press remaining chocolate chips on top of each bun.
-
Cover with plastic wrap (or damp tea towel) and place in a warm place once again to prove for 20-30 mins, until doubled and just touching. Preheat oven to 400°F (200°C).
-
When oven is hot, bake buns for 20 minutes until they are golden brown and sound hollow inside when tapped.
Crosses:
-
Melt the remaining chocolate in the microwave in 30 second increments until melted. Transfer chocolate to a ziplock bag and snip a small hole in a bottom corner (the larger the hole the wider the crosses will be).
-
Allow buns to cool slightly and pipe crosses onto your buns. Allow them to set before glazing.
Glaze:
-
Mix together the jam and warm water to combine, and brush the glaze evenly over each bun using a pastry brush.
Notes
Nutrition
Nutrition information is automatically calculated, so should only be used as an approximation.
