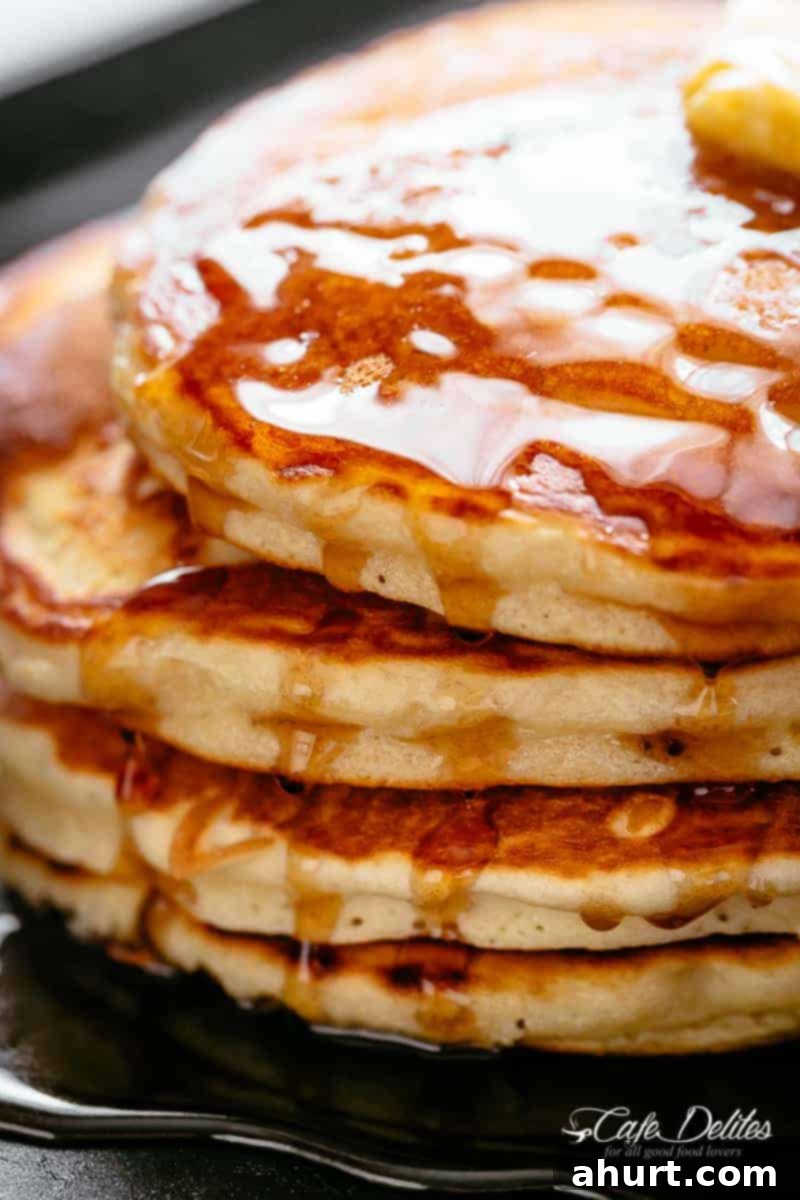
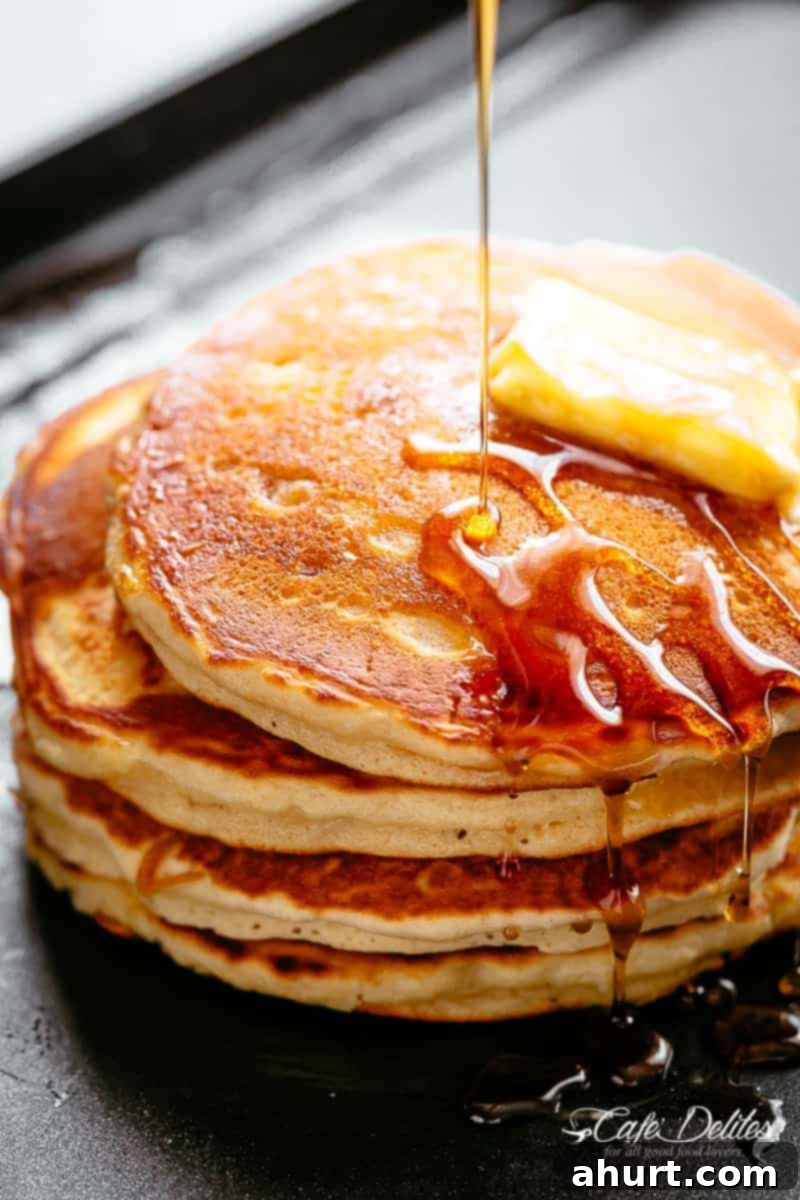
The Ultimate Guide to Perfectly Fluffy Buttermilk Pancakes
Welcome to the world of truly exceptional Buttermilk Pancakes! Imagine waking up to the aroma of freshly cooked, golden-brown pancakes that are unbelievably buttery, incredibly fluffy, and feature those coveted crisp edges. This isn’t just a dream; it’s an achievable reality with our ultimate guide.
Buttermilk pancakes offer a unique, irresistible flavor profile – a perfect balance of sweet, salty, and a subtle tang that makes them stand out from their regular counterparts. So light, soft, and cloud-like, you might find yourself enjoying them plain, without a drop of syrup (though we won’t judge if you douse them!). Forget bland, rubbery pancakes; prepare to create a steaming stack of breakfast perfection that will satisfy your deepest pancake cravings any day of the week, not just on special occasions.
Why Buttermilk is the Secret to Superior Pancakes
For years, our classic fluffy pancake recipe has been a family favorite, but one question kept resurfacing: “Can I add buttermilk to these?” The answer, after countless experiments and delightful breakfasts, is a resounding yes! With just a few tweaks, you can transform a great pancake into an extraordinary one.
Forget about relying on pre-packaged pancake mixes. Crafting truly amazing buttermilk pancakes from scratch is surprisingly simple and incredibly rewarding. These aren’t just for special occasions; once you unlock the secrets to their perfection, you’ll want to whip up a batch every weekend, or even on a whim during the week.
The Magic of Buttermilk: Flavor and Texture
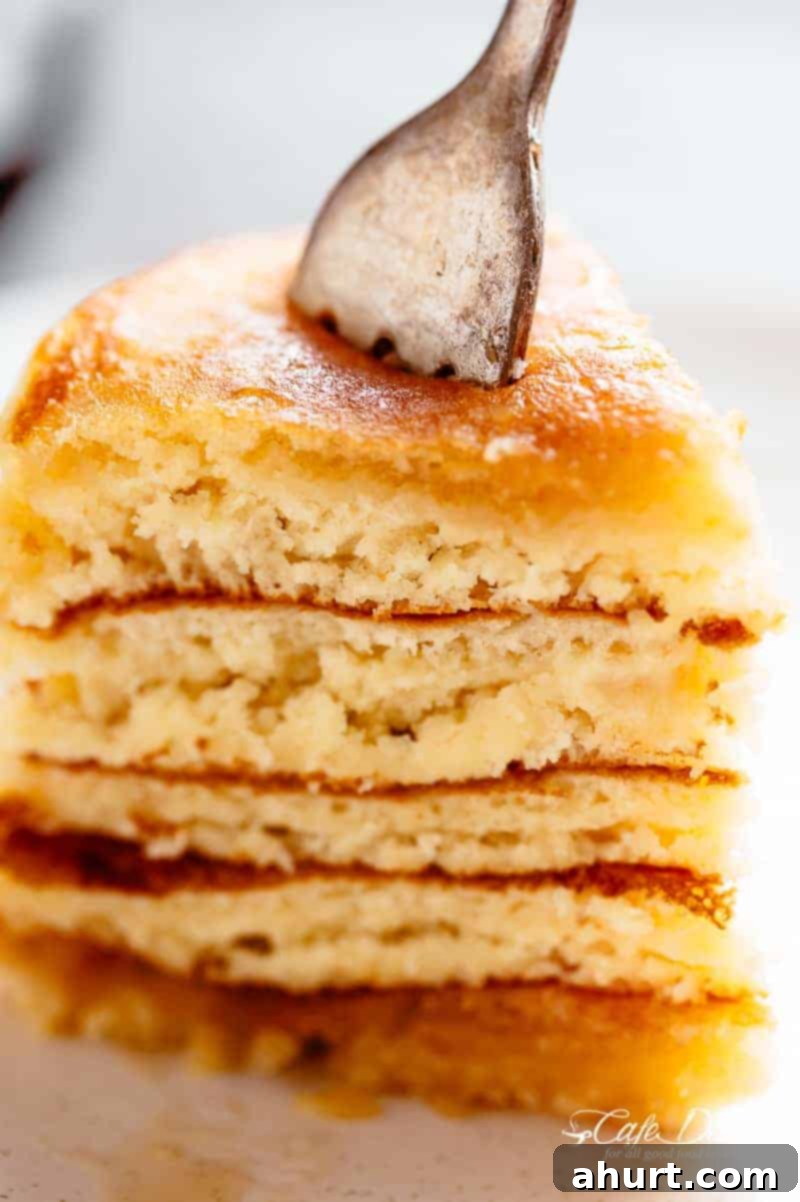
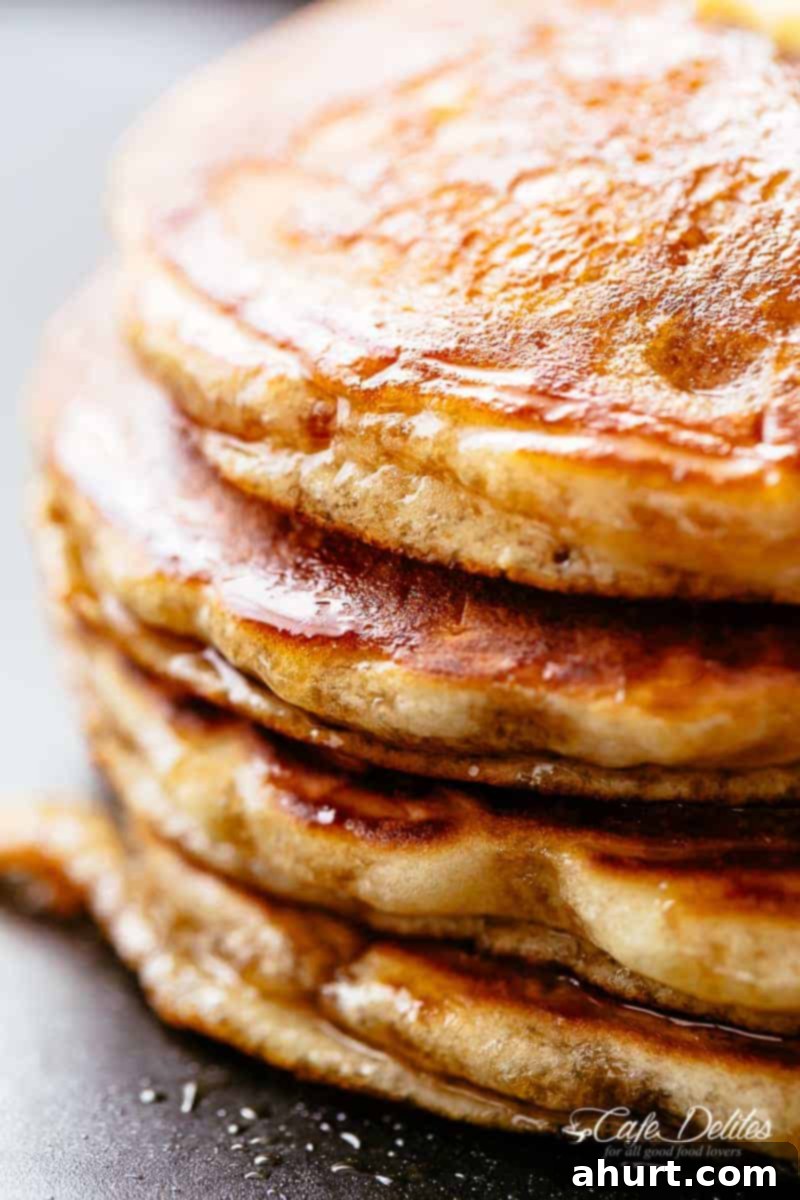
Buttermilk isn’t just a substitute for regular milk; it’s a game-changer for pancakes. Its distinct tangy flavor adds an extra layer of complexity that elevates the taste far beyond what you get with standard milk. But the benefits extend beyond just flavor – buttermilk is essential for achieving that coveted light, soft, and incredibly fluffy texture.
The secret lies in its acidity. Buttermilk reacts with leavening agents like baking soda (and sometimes baking powder, depending on the recipe), creating carbon dioxide bubbles. These bubbles are what make your pancakes rise beautifully and become airy and light. This activation process begins even before the batter touches your hot griddle, giving your pancakes a head start on fluffiness.
Furthermore, the acid in buttermilk plays another crucial role: it helps to break down the gluten in the flour. This means your pancakes won’t be tough or chewy; instead, they’ll be wonderfully moist and tender with every bite. It’s this combination of tangy flavor, incredible lift, and tender crumb that makes buttermilk an indispensable ingredient for the best pancakes you’ll ever taste.
Crafting the Perfect Buttermilk Pancake Batter
The foundation of any great pancake is its batter, and buttermilk pancakes are no exception. Achieving the right consistency is paramount; it’s the difference between dense, heavy pancakes and light, airy ones. If your batter is too thick, your pancakes will be gummy and undercooked in the center. Conversely, if it’s too runny, they’ll spread out excessively on the griddle, resulting in thin, flat discs rather than fluffy stacks.
To check the ideal consistency, dip a spoon or ladle into the batter and lift it gently above the bowl. The batter should be thick enough to cling to the spoon but still flow slowly and smoothly off of it. It should resemble a thick cream or a milkshake that has been sitting for a moment. If it pours like water, it’s too thin; if it refuses to budge from the spoon, it’s too thick. Adjust with a tablespoon or two of extra buttermilk (if too thick) or a sprinkle of flour (if too thin) until you find that sweet spot.
The Art of Gentle Mixing: Embrace the Lumps!
One of the most common mistakes in pancake making is overmixing the batter. While it might be tempting to whisk vigorously until every lump disappears, resist the urge! Overmixing develops the gluten in the flour too much, leading to tough, chewy pancakes. For the fluffiest results, mix your batter just until the wet and dry ingredients are combined. A few lumps are not only acceptable but often desirable. These small pockets of flour will hydrate during the resting period and magically disappear as the pancakes cook, contributing to a tender texture.
Aim for a batter that looks just combined, not perfectly smooth. This minimal mixing technique ensures the gluten remains relaxed, allowing for maximum rise and a wonderfully delicate crumb. Remember, a perfectly smooth batter is often a sign of over-mixing, and you’ll sacrifice fluffiness for aesthetics.
The Indispensable Rest: Why Your Batter Needs a Break
If you’ve ever noticed that your first few pancakes are thin and flat, while subsequent ones grow delightfully thick and fluffy, you’ve already experienced the magic of batter resting, perhaps without even realizing it! For a consistently perfect stack of light and airy buttermilk pancakes, a crucial step often overlooked is allowing your batter to rest.
The Science Behind Resting Pancake Batter
After mixing, your batter needs approximately 10 to 15 minutes to rest at room temperature. This short break is incredibly beneficial for several reasons:
- Hydration: The flour particles fully absorb the liquid, ensuring a uniform and plump consistency. This helps any remaining small lumps dissolve naturally.
- Gluten Relaxation: The gluten, which was slightly activated during mixing, relaxes. This prevents tough pancakes and contributes to a tender, delicate texture.
- Leavening Agent Activation: The chemical reaction between the buttermilk and baking soda continues, producing more carbon dioxide gas. This gas gets trapped in the batter, ready to expand and create air pockets when it hits the heat.
- Flavor Development: The ingredients have time to “marry” or meld together, deepening the overall flavor profile of your pancakes.
While your griddle or skillet heats up, let your batter sit. This waiting period is not wasted time; it’s an essential part of the process that guarantees those beautiful bubbles and that irresistible fluffiness in every single pancake. Don’t skip it!
Mastering the Griddle: Tips for Perfectly Cooked Pancakes
Once your batter has rested and your anticipation is building, it’s time to cook! The cooking process itself is key to achieving that ideal golden exterior and tender interior. Here are the essential steps and pro tips:
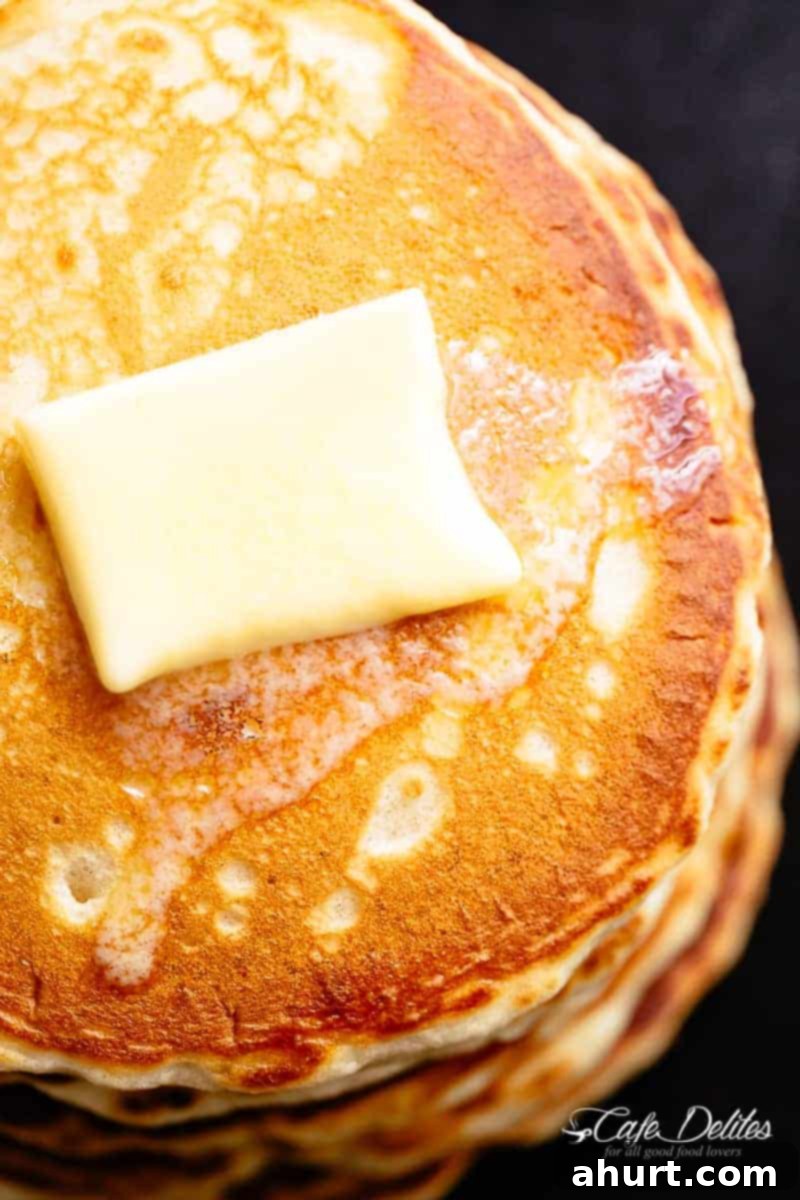
- The Perfect Pan Temperature: Begin by preheating a high-quality non-stick pan or griddle over medium heat. Let it get adequately hot for about 2-3 minutes. This initial heat ensures an even surface. Then, and this is crucial, reduce the heat to low-medium. This allows the pancakes to cook through without burning the outside. Lightly grease the pan with a tiny bit of butter – even if it’s non-stick – and wipe away any excess with a paper towel. This creates a beautifully golden crust without tasting greasy.
- Consistent Sizing and Shape: For uniform, picture-perfect pancakes, use a 1/3 cup measuring cup to portion your batter. Start pouring the batter directly in the center of where you want your pancake to be. Then, in a slow, continuous circular motion, gently pour outwards from the center. This technique helps the batter naturally spread into a perfectly round shape, rather than an uneven blob.
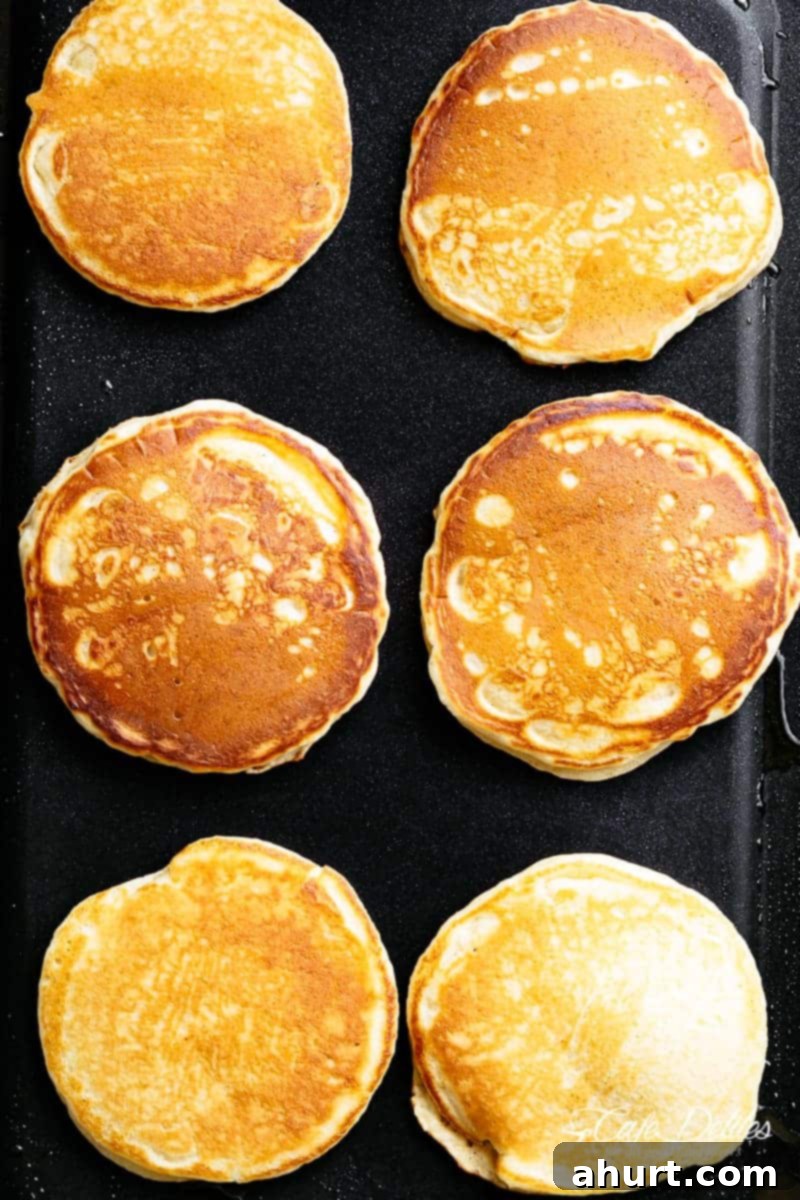
- Know When to Flip: Patience is a virtue when cooking pancakes. Resist the urge to flip too early or cook on too high heat. Allow the underside to cook undisturbed until it reaches a beautiful golden-brown color. Crucially, watch for the tell-tale signs on the raw side of the pancake: bubbles will begin to form on the surface, some popping, and the edges will appear slightly set. Once you see these indicators, your pancake is ready for its grand flip.
- The Wrist Flip Technique: This is a game-changer for avoiding lopsided or messy pancakes. Use a thin, flexible plastic spatula. Slide it completely under the pancake. Instead of using your whole arm to fling the pancake over, use a quick, gentle flick of your WRIST. This controlled motion keeps the pancake flat and ensures a smooth, even flip, landing it perfectly back in the pan to cook the second side. Practice makes perfect, but this technique will significantly improve your pancake game!
Buttermilk Alternatives: When You’re Short on the Real Thing
While true buttermilk offers unparalleled flavor and texture, there might be times when you don’t have it on hand, or perhaps you’re looking for a dairy-free option. Don’t let that stop your pancake dreams!
Substitute for Buttermilk (Regular Milk Option)
If the tangy flavor of buttermilk isn’t to your liking, or if you simply prefer a more classic pancake, you can easily substitute regular milk. Our best fluffy pancakes recipe uses standard milk and yields fantastic results. Just remember that the texture might be slightly different without the acid interaction with baking soda, so you might need to rely a bit more on baking powder for lift.
How to Make Your Own Homemade Buttermilk Substitute
This is a brilliant trick for when you’re craving buttermilk pancakes but realize your fridge is empty of the key ingredient. Creating a homemade buttermilk substitute is simple and effective. For every 1 cup of “buttermilk” you need, combine 1 cup of regular milk (dairy or non-dairy, though dairy works best) with 1 tablespoon of white vinegar or lemon juice. Stir it gently and let it sit at room temperature for about 5-10 minutes. You’ll notice the milk will start to curdle slightly and thicken – this is exactly what you want!
While this DIY version won’t be as thick or creamy as genuine cultured buttermilk, it will provide the essential acidity needed to activate the baking soda in your recipe, ensuring your pancakes still achieve a wonderful rise and tender crumb. It’s a perfect last-minute solution that works remarkably well.
Dairy-Free Buttermilk Options
For those avoiding dairy, you can adapt the homemade buttermilk method using non-dairy milk. Almond milk, soy milk, or oat milk can all be curdled with a tablespoon of white vinegar or lemon juice per cup of milk. The results will still be delicious, offering a dairy-free way to enjoy light and fluffy pancakes.
Get Ready for Your Best Buttermilk Pancakes Yet!
With these comprehensive tips and tricks, you are now fully equipped to create the most deliciously buttery, perfectly fluffy, and irresistibly tangy buttermilk pancakes right in your own kitchen. From understanding the nuances of batter consistency and the vital importance of resting, to mastering the cooking technique and knowing your alternatives, you’re set for breakfast success.
Gone are the days of flat or rubbery pancakes. Embrace the golden-crisp edges and tender interior that only true buttermilk pancakes can offer. We sincerely hope these incredible pancakes become a new staple in your home, bringing joy to every morning. Happy cooking, and get ready to enjoy a stack of pure bliss!
LOOKING FOR MORE PANCAKE RECIPES? TRY THESE!
Easy 3-Ingredient Pancakes
Zebra Marble Pancakes
Jam (Jelly) Donut Pancakes
Chocolate Chip Banana Bread Pancakes
Cappuccino Pancakes
Orange Poppy Seed Pancakes
Pin
Buttermilk Pancakes
Ingredients
- 2 cups all purpose or plain flour
- 1/2 cup granulated sugar
- 2 teaspoons baking powder
- 1 teaspoon baking soda
- 1/2 teaspoon salt
- 1 1/2 cups buttermilk plus up to 1/4 cup extra if needed
- 1/3 cup unsalted butter melted
- 2 teaspoons pure vanilla extract
- 2 large eggs
Instructions
-
Combine together the flour, sugar (or sweetener), baking powder, baking soda and salt in a large-sized bowl. Make a well in the centre and add the buttermilk, slightly cooled melted butter, vanilla and egg.
-
Use a wire whisk to whisk the wet ingredients together first before slowly folding them into the dry ingredients. Mix together until smooth (there may be a couple of lumps but that’s okay).
(The batter will be thick and creamy in consistency. If you find the batter too thick — doesn’t pour off the ladle or out of the measuring cup smoothly — fold a couple tablespoons of extra milk into the batter at a time until reaching desired consistency).
-
Set the batter aside for a good 10 minutes to let rest and settle the ingredients into each other while heating up your pan or griddle.
-
Heat a nonstick pan or griddle over low-medium heat and wipe over with a little butter to lightly grease pan. Pour 1/3 cup of batter onto the pan and spread out gently into a round shape with the back of your ladle or measuring cup.
-
When the underside is golden and bubbles begin to appear on the surface, flip with a spatula and cook until golden. Repeat with remaining batter.
-
Serve with honey, maple syrup, fruit, ice cream or frozen yoghurt, or enjoy plain!
Notes
Nutrition
Nutrition information is automatically calculated, so should only be used as an approximation.
