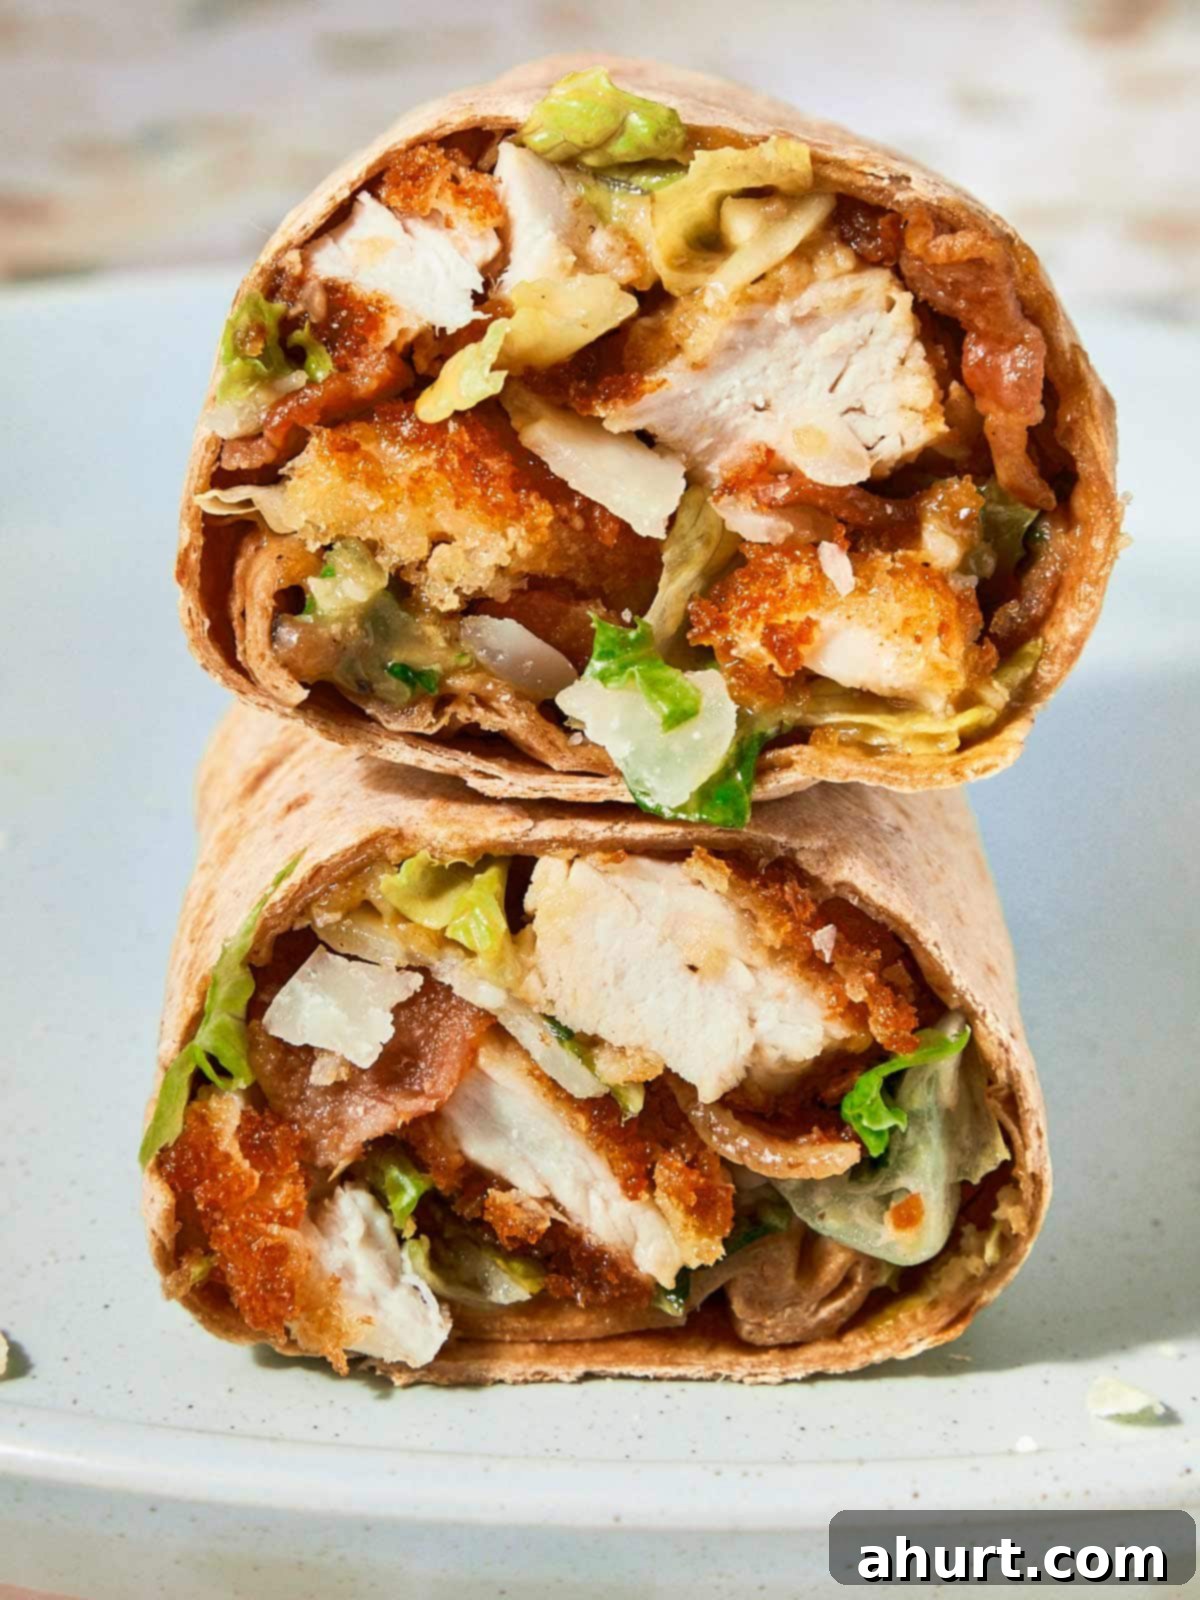
The Ultimate Crispy Chicken Caesar Wrap: Your New Favorite Lunch Just Got an Upgrade!
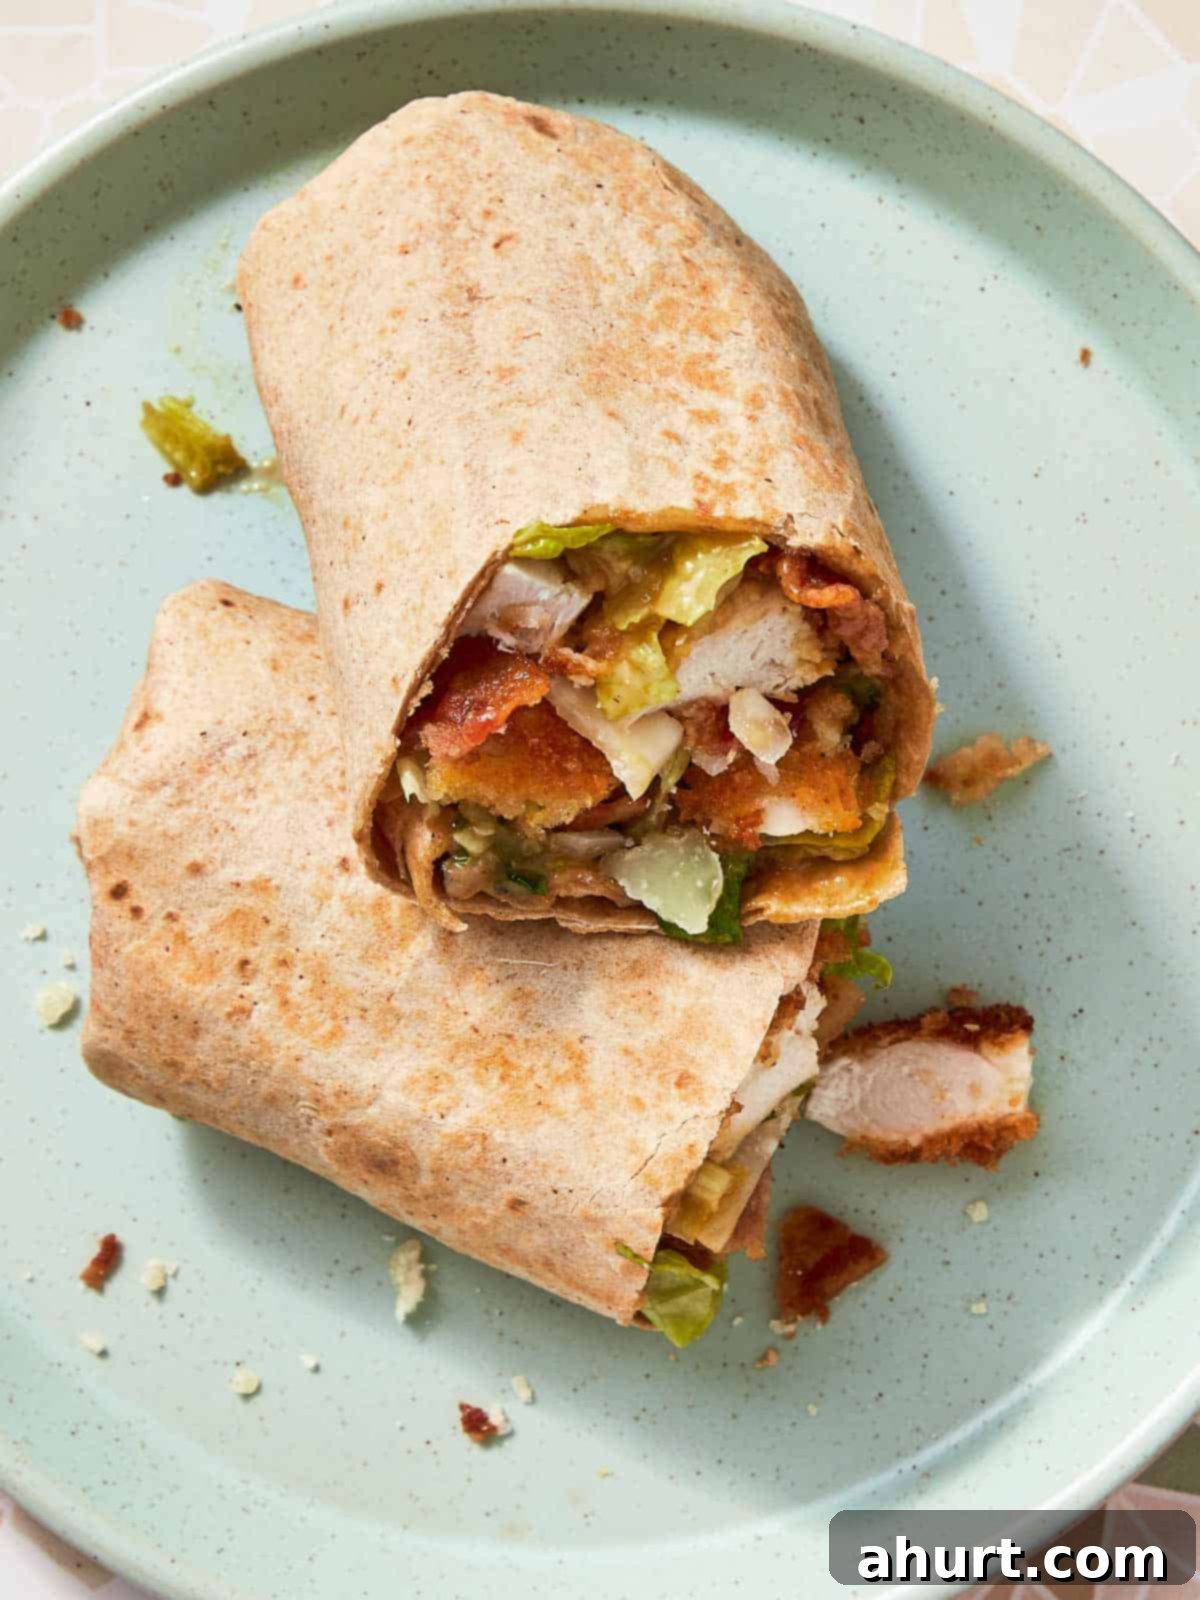
Prepare yourself, because the quest for your perfect lunch might just end here. This Crispy Chicken Caesar Wrap is more than just a meal; it’s a culinary revelation that will redefine your expectations for handheld deliciousness. Imagine the vibrant symphony of flavors and textures: hot, golden-crisp chicken meeting cool, creamy Caesar dressing, all nestled with fresh romaine and savory bacon, then perfectly toasted in a soft tortilla. It’s a harmonious blend of contrast that’s utterly irresistible. Seriously, once you try this, all other wraps might just pale in comparison. Go ahead, take that first glorious bite. We dare you to resist.
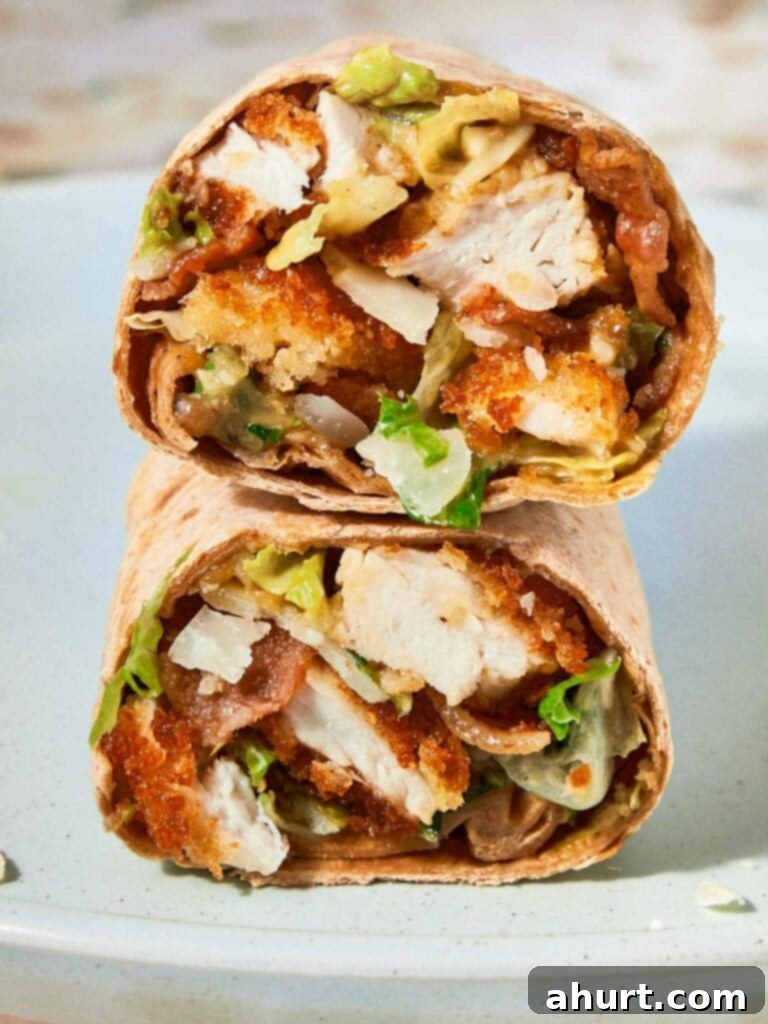
What Makes This Crispy Chicken Caesar Wrap a Knockout?
This isn’t just another wrap; it’s a full-on obsession waiting to happen, primarily because of its masterfully orchestrated contrasts. Every element is carefully chosen to create an explosion of flavor and texture that delights the palate. It all begins with our rich, bold, and incredibly fresh homemade Caesar dressing—the creamy, savory foundation that envelops every ingredient. This luxurious dressing perfectly complements the shatteringly crispy, golden-brown chicken, creating a dynamic interplay of smooth and crunchy. But the true magic happens when the entire package is gently toasted in a hot skillet. This final step transforms the wrap, sealing in the goodness, warming the fillings, and creating an outer shell that is both wonderfully golden and utterly irresistible. It’s the perfect harmony of hot and cold, crisp and creamy, fresh and savory, making each bite an unforgettable experience.
Crafting Perfection: The Essential Ingredients for Your Crispy Chicken Caesar Wrap
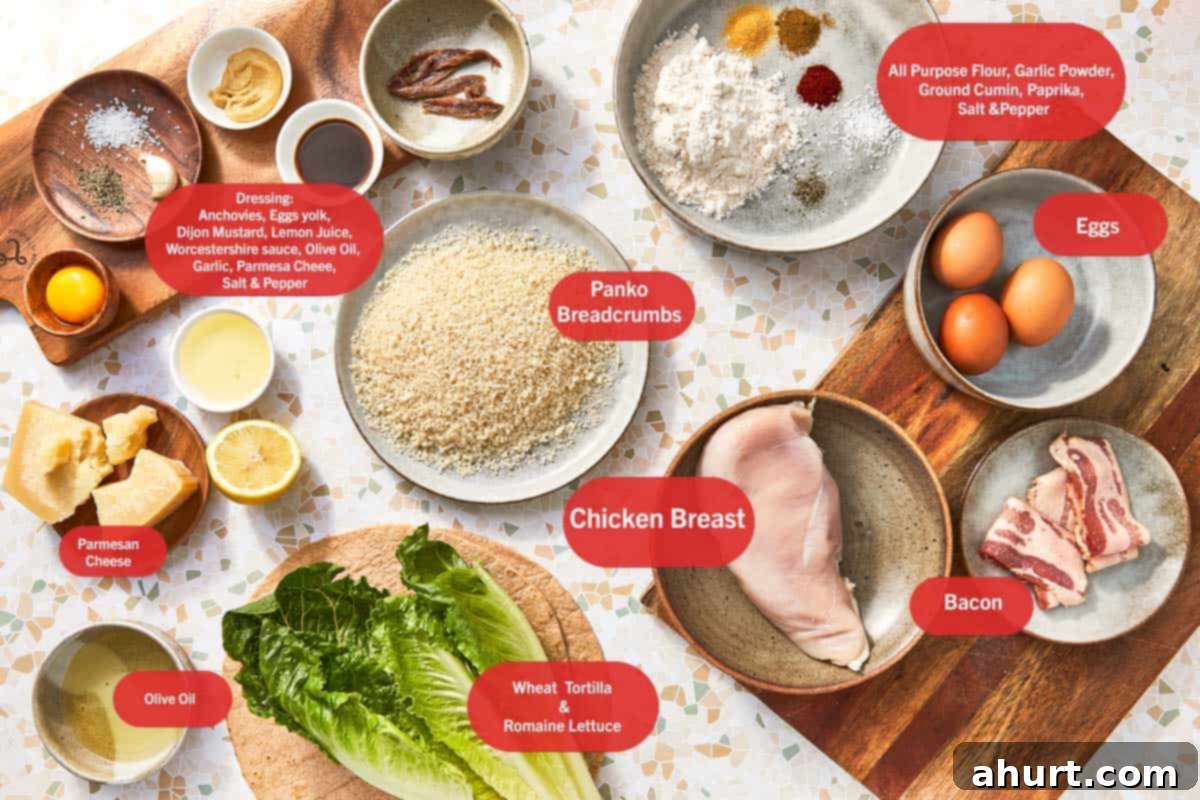
Creating this outstanding wrap is all about selecting quality ingredients and combining them to hit those perfect notes of creamy, crunchy, and savory. While you’ll find the full, precise list of ingredients and measurements in the recipe card below, here’s a closer look at the star components that make this wrap truly shine:
- Authentic Homemade Caesar Dressing: This is unequivocally the soul of the recipe. We bypass mediocre bottled versions entirely, opting for an authentic, from-scratch dressing that boasts unparalleled depth of flavor and creaminess. Key ingredients like finely chopped anchovies (don’t worry, they dissolve completely, lending a profound umami richness, not a fishy taste), a pasteurized egg yolk for luxurious emulsification, fresh garlic, Dijon mustard for a zesty kick, Worcestershire sauce for complexity, and generous amounts of freshly grated Parmesan cheese come together to create a dressing that is vibrant, tangy, and unbelievably savory. This homemade touch truly elevates the entire wrap experience.
- Shatteringly Crispy Chicken: The textural star! Achieving that incredibly crunchy exterior with a juicy interior is simpler than you think, thanks to a straightforward two-step breading process. First, the chicken is seasoned and coated in all-purpose flour, creating a base for adherence. Then, a dip in beaten eggs acts as a binder before a final, generous coating of panko breadcrumbs. Panko is crucial here, as its larger, flakier structure yields a far superior, lighter, and more satisfying crunch compared to regular breadcrumbs. This method guarantees a golden, irresistibly crisp coating that makes every bite a joy.
- The Classic Caesar Fillings: No Caesar wrap is complete without its signature fresh and savory elements. We layer in crisp, refreshing romaine lettuce, which provides a vital cool crunch and a burst of freshness. Alongside, perfectly cooked, salty bacon adds a delightful smoky depth and another layer of irresistible crispiness. And, of course, a generous sprinkle of extra shaved Parmesan cheese enhances that signature sharp, nutty flavor, marrying all the components beautifully.
- A Sturdy & Pliable Large Tortilla: To hold all this glorious filling together, you need a robust yet flexible vessel. A large (typically 10-12 inch) wheat or flour tortilla is ideal. Warming it briefly before assembly is a small but critical step; it makes the tortilla more pliable, preventing cracks and ensuring it rolls up tightly and securely, ready to be toasted to golden perfection. This ensures your wrap remains intact, delivering a perfect bite every time.
Note: For the precise quantities and detailed preparation steps for each ingredient, please refer to the comprehensive Recipe Card below.
From Prep to Perfection: Your Step-by-Step Guide to the Best Crispy Chicken Caesar Wrap
Alright, it’s time to bring this masterpiece to life! Each step in this process is designed to build layers of flavor and texture, leading to that ultimate, irresistible bite you’ve been anticipating. Get ready to create some kitchen magic!
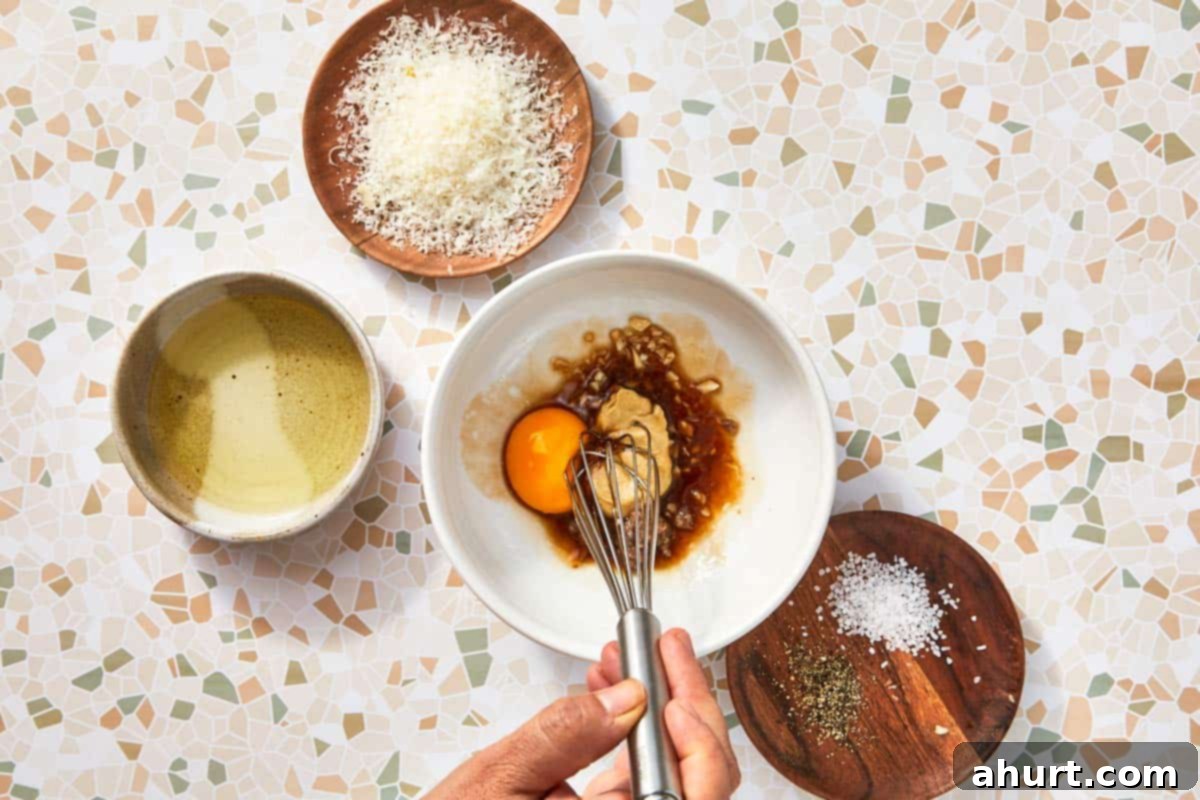
- Combine Dressing Base: In a small bowl, thoroughly combine the finely chopped anchovies, minced garlic, tangy Dijon mustard, savory Worcestershire sauce, fresh lemon juice, and the essential egg yolk. Whisk these ingredients vigorously to create a well-blended, aromatic base.
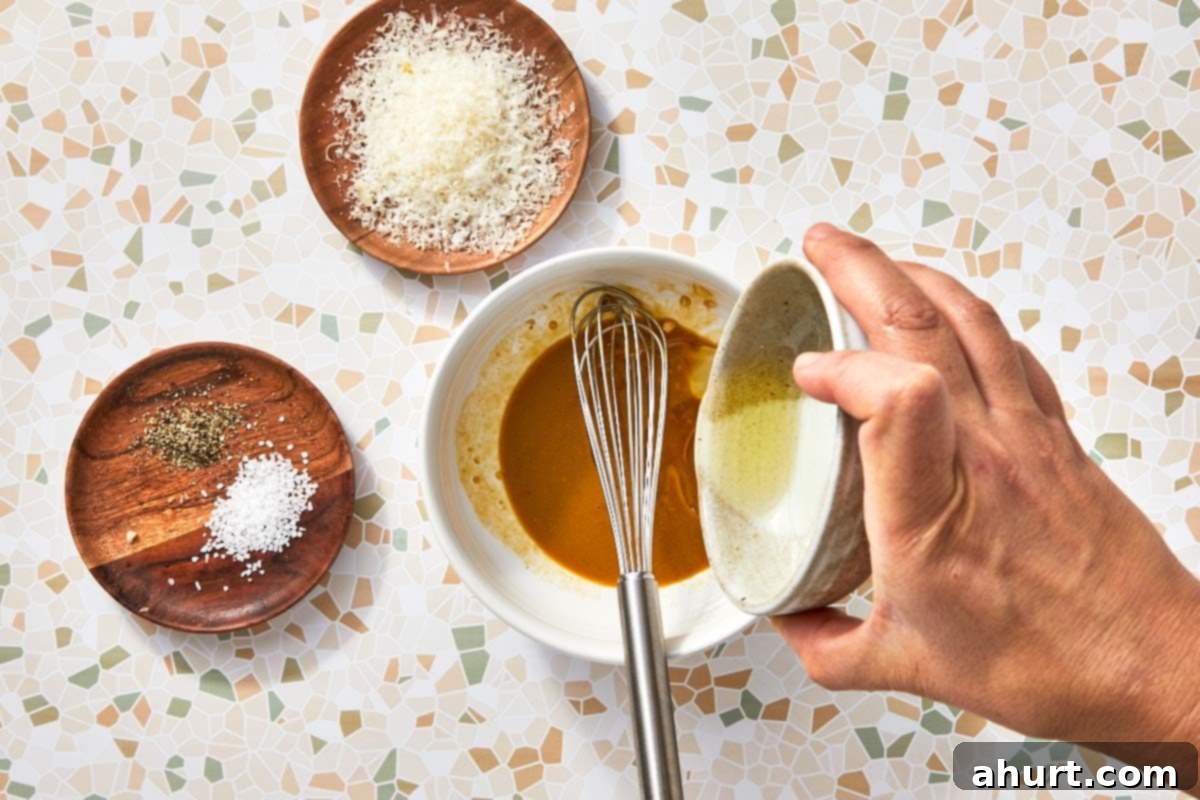
- Emulsify the Dressing: This step is key for a creamy texture! While whisking constantly and energetically, slowly drizzle in the extra virgin olive oil in a thin, steady stream. Continue whisking until the dressing thickens beautifully, becoming smooth, glossy, and perfectly emulsified.
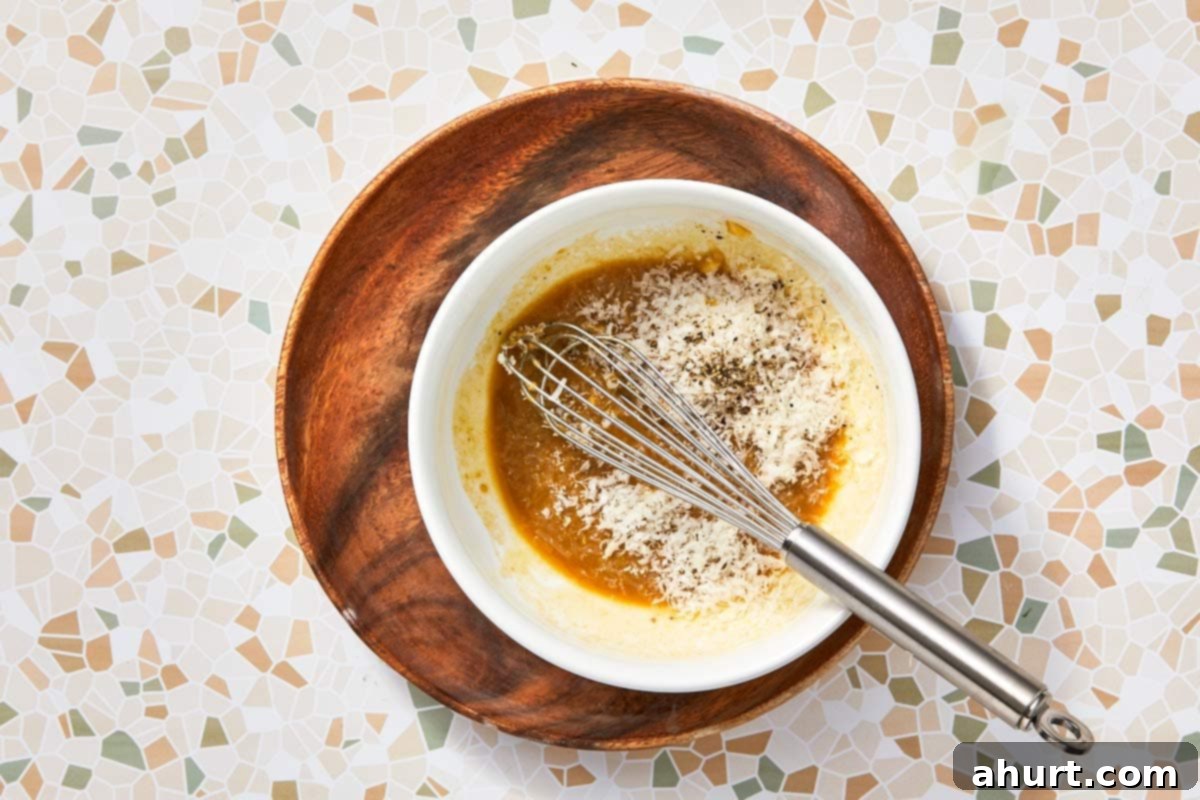
- Finish the Dressing: Gently fold in the finely grated Parmesan cheese, allowing its nutty flavor to meld with the other ingredients. Season with a generous pinch of freshly ground black pepper to taste. Give it a final whisk and set the dressing aside to allow the flavors to deepen.
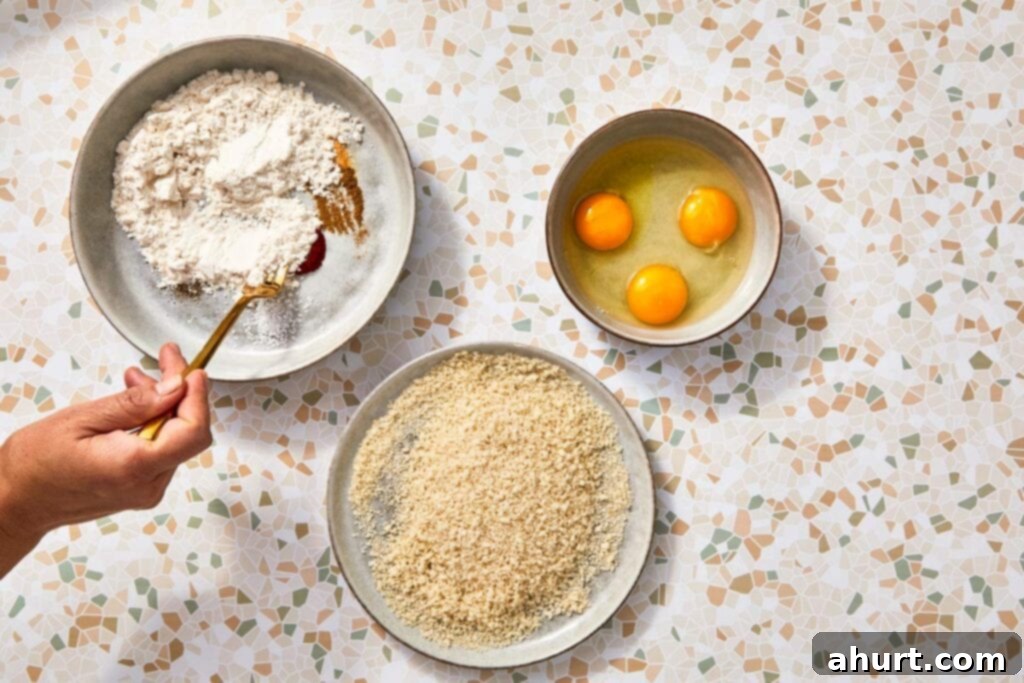
- Season the Flour: In a separate shallow bowl, prepare your dredging station by mixing together the all-purpose flour with aromatic garlic powder, a hint of ground cumin, vibrant paprika, and a generous amount of salt and pepper. This seasoned flour will be the first layer of crispiness for your chicken.
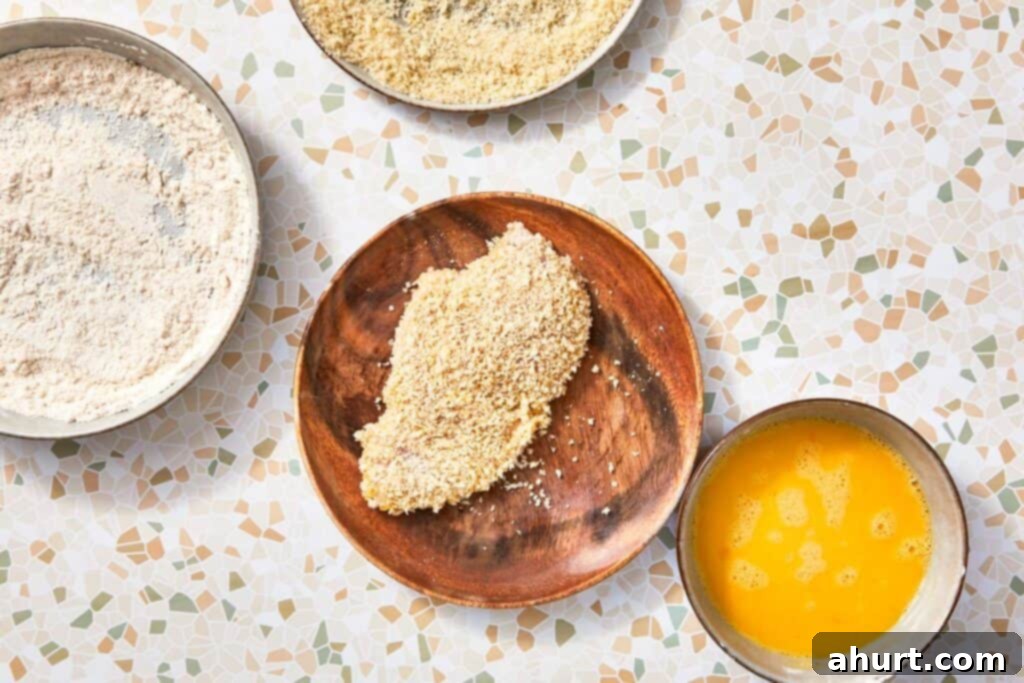
- Bread the Chicken: Prepare your chicken breasts (sliced or pounded thin). Dredge each piece thoroughly in the seasoned flour mixture, ensuring it’s completely coated. Next, dip the floured chicken entirely into the beaten eggs, letting any excess drip off. Finally, press the chicken firmly into the panko breadcrumbs, ensuring every surface is generously covered for maximum crispiness.

- Fry the Chicken: In a large, heavy-bottomed skillet, heat about 2 tablespoons of oil over medium-high heat until it reaches 350°F (175°C). Carefully place the breaded chicken into the hot oil. Fry for 4-5 minutes per side, or until the chicken is beautifully golden brown, shatteringly crispy, and fully cooked through with an internal temperature of 165°F (74°C). Transfer the cooked chicken to a paper towel-lined plate to drain excess oil.
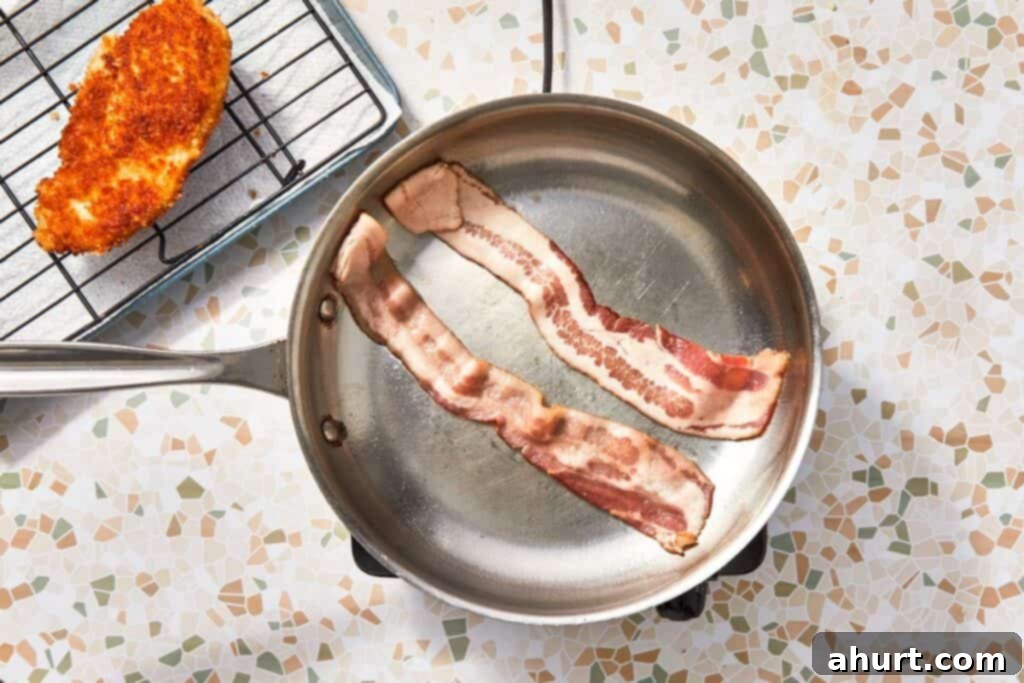
- Cook the Bacon: In a separate pan (or after the chicken, carefully wiping out the pan), cook the bacon over medium heat until it renders its fat and becomes perfectly crispy. Once cooked, transfer the bacon slices to a paper towel-lined plate to drain, ensuring they stay crisp.
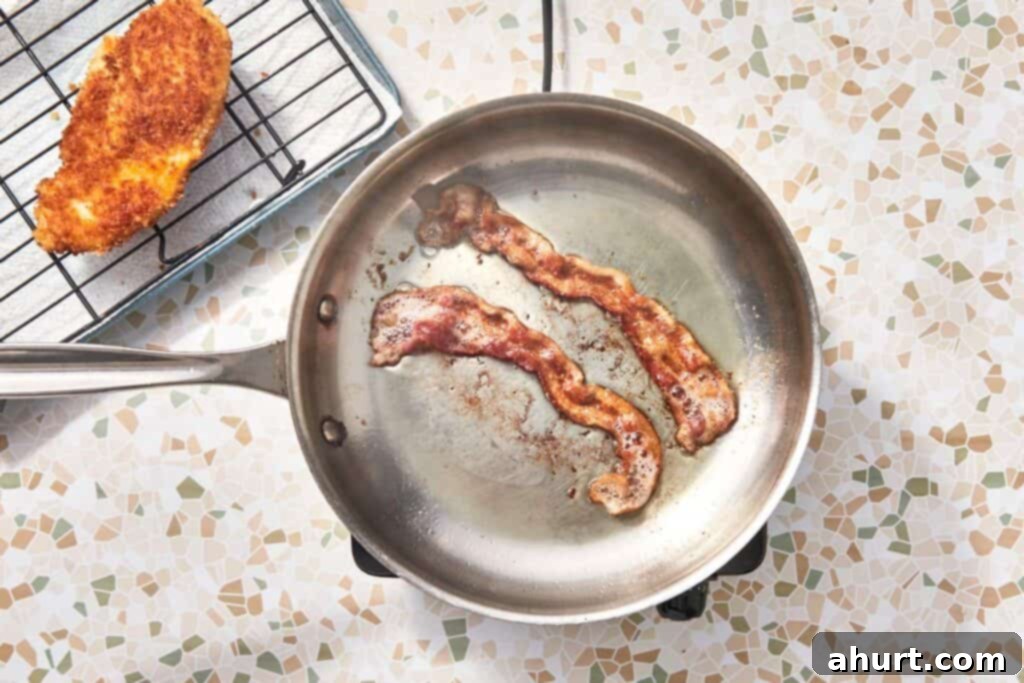
- Prep the Meats: Once the bacon has cooled slightly, break it into large, easy-to-eat pieces. Similarly, allow the crispy chicken to cool for a few minutes before slicing it into uniform strips. This helps it retain its juices and makes it easier to handle for assembly.
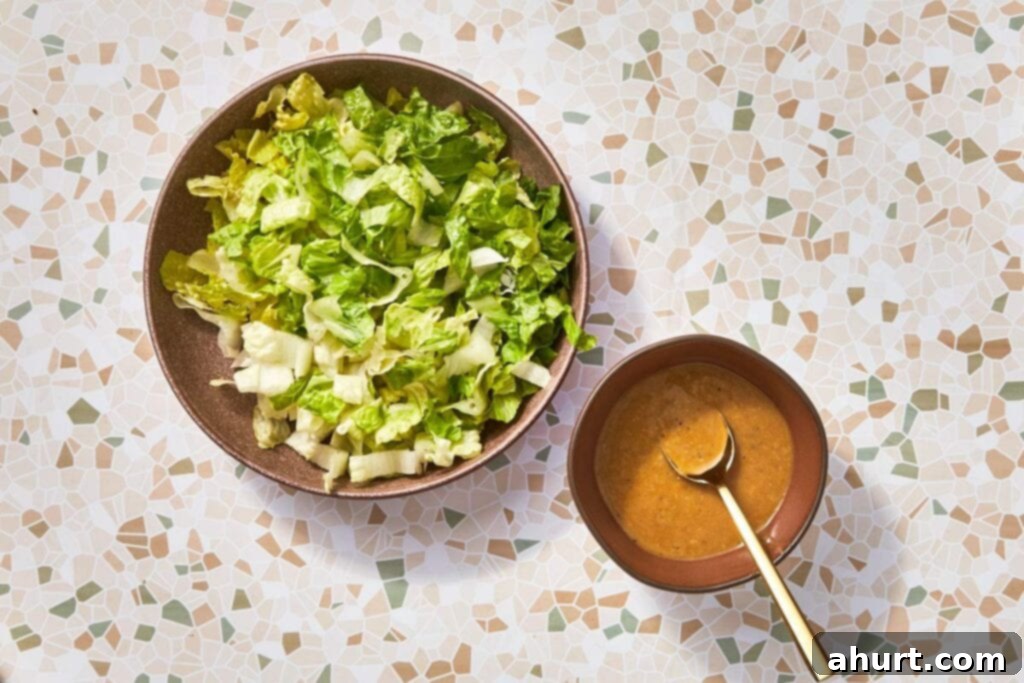
- Dress the Lettuce: In a medium bowl, take your crisp chopped romaine lettuce and lightly toss it with about 2 tablespoons of your delicious homemade Caesar dressing. Just enough to coat it lightly, ensuring freshness without making it soggy.
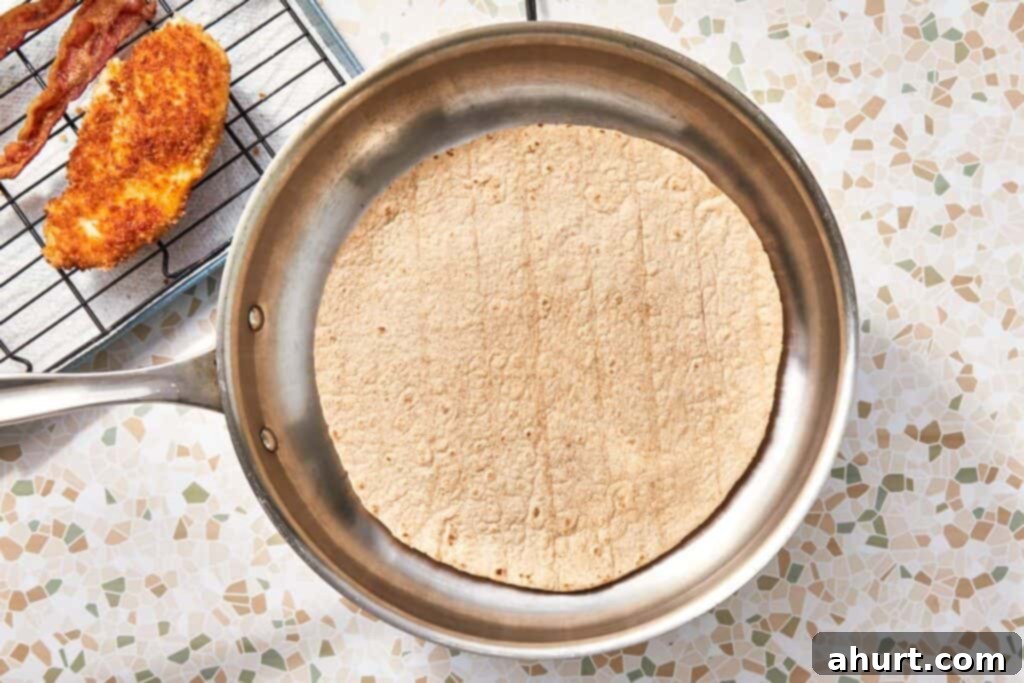
- Warm the Tortilla: For ultimate flexibility and to prevent tearing, gently warm your large tortilla. You can do this in a dry skillet over medium heat for about 15-20 seconds per side, or briefly in the microwave for 10-15 seconds, until it is soft and pliable.
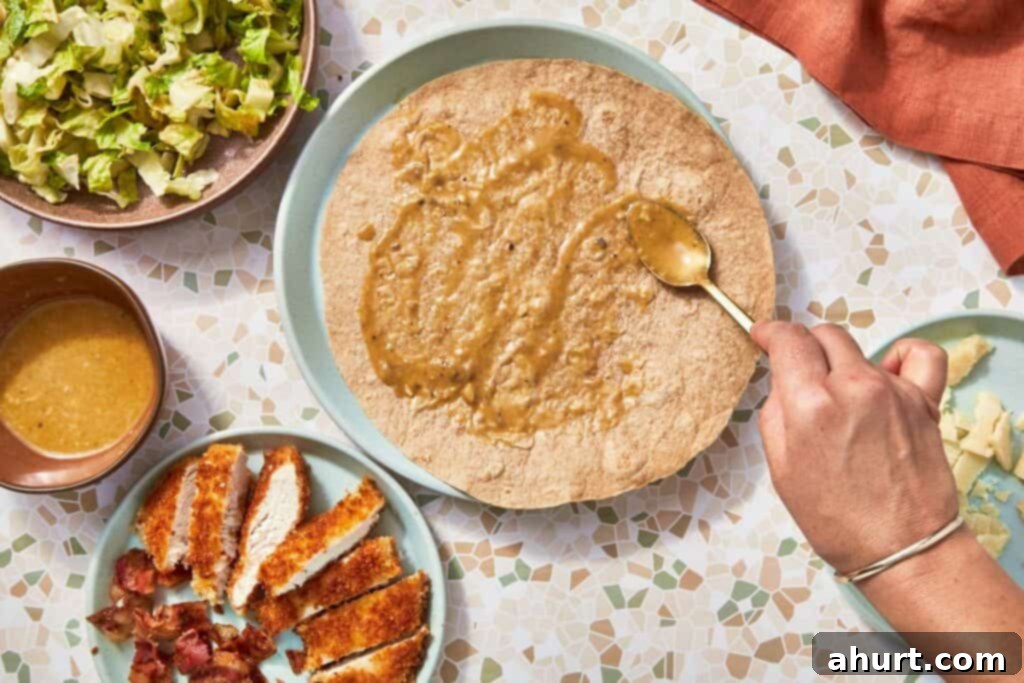
- Spread the Base: Lay your warm tortilla flat on a clean surface. Spread about 1 tablespoon of the Caesar dressing down the center, leaving a border around the edges. This base layer adds flavor and helps secure the fillings.
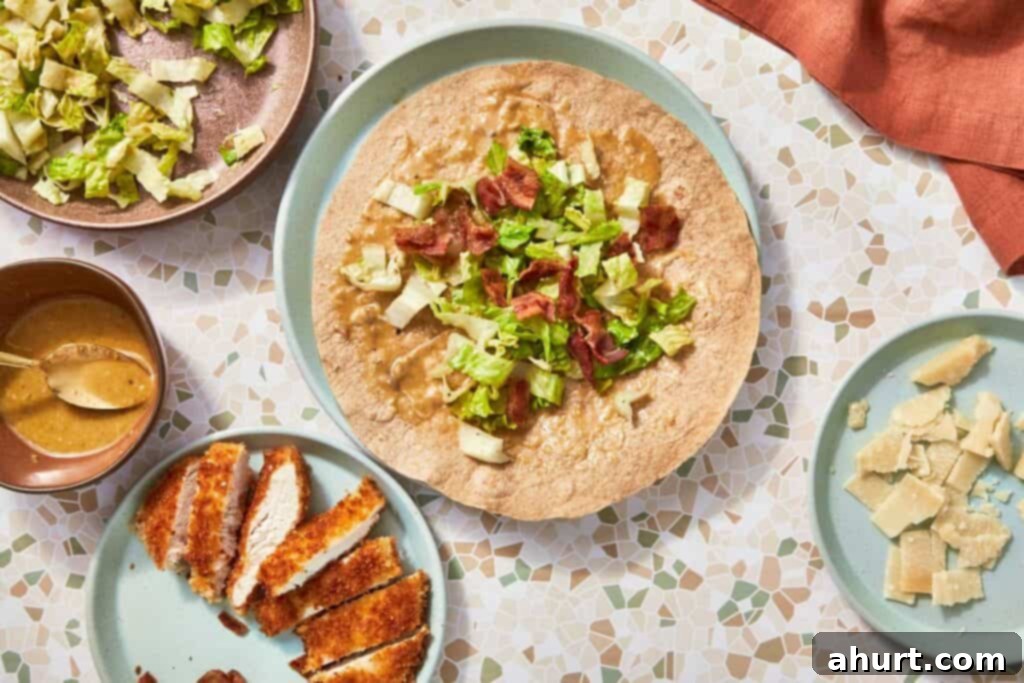
- Layer the Fillings: Artfully arrange the dressed romaine lettuce, crispy bacon pieces, succulent sliced chicken, and a generous sprinkle of shaved Parmesan cheese in a neat line down the center of the tortilla, over the dressing base. Be careful not to overfill, allowing room for rolling.
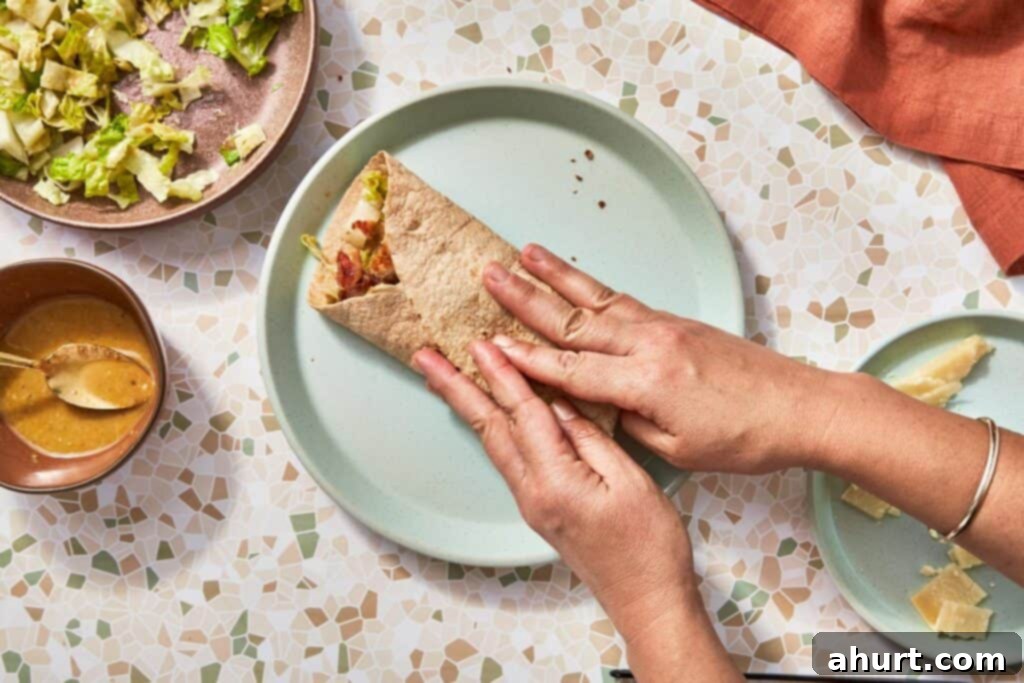
- Fold the Wrap: To create a sturdy, secure wrap, start by folding the bottom edge of the tortilla up and over the fillings, tucking it in tightly. Then, fold in the two sides towards the center. Finally, roll the entire wrap away from you, pulling it taut as you go, to create a tight, compact cylinder that won’t fall apart.
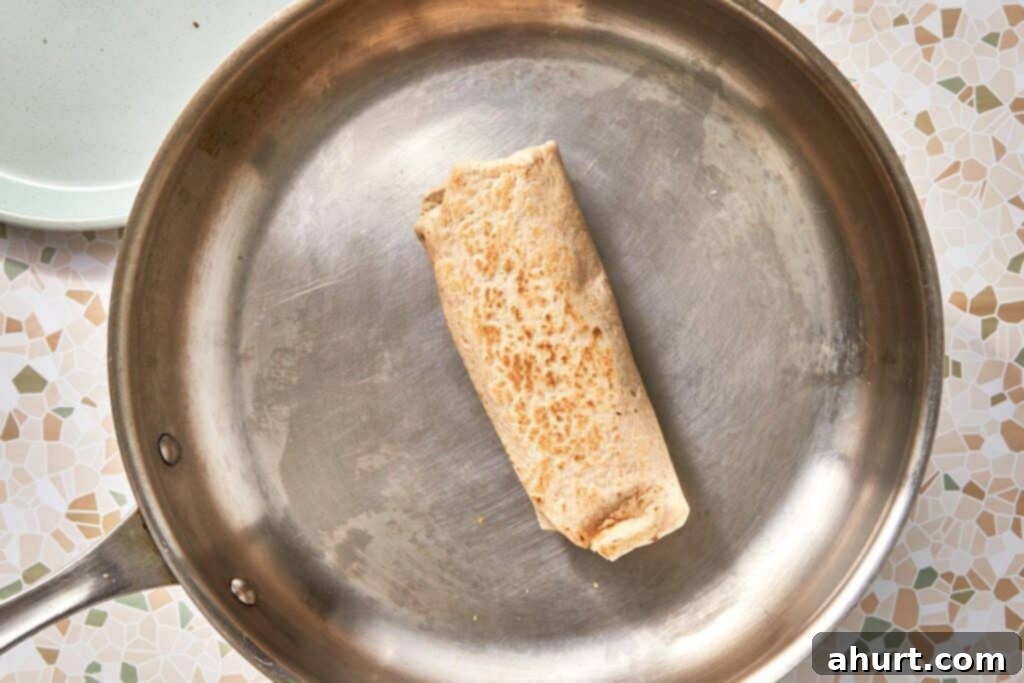
- Toast to Perfection: Heat a clean, dry skillet over medium heat. Once hot, carefully place the rolled wrap seam-side down in the pan. Toast for 1-2 minutes until that side is golden brown and deliciously crispy. Flip the wrap and toast the other side for another 1-2 minutes, or until evenly golden and crisp. This step adds an incredible dimension of flavor and texture, sealing the wrap and making it extra satisfying. Serve immediately and enjoy!
Elevate Your Meal: Perfect Pairings for Your Crispy Chicken Caesar Wrap
While this Crispy Chicken Caesar Wrap is undoubtedly a complete and powerhouse meal all on its own – bursting with flavor and satisfying textures – sometimes you want to create a full, delightful dining experience. To truly round out that perfect café-style lunch or a hearty dinner, consider these phenomenal pairings that complement the wrap’s unique profile:
- For an irresistible crunch and savory goodness that echoes the wrap’s crispiness, a side of my unbelievably crunchy Crispy Garlic Roasted Potatoes is an absolute dream. Their tender interior and perfectly seasoned, golden-brown exterior make them the ideal comforting companion.
- If you’re craving a deeply comforting soup-and-wrap combo, this Caesar wrap pairs absolutely dreamily alongside my rich and flavorful Creamy Tomato Tortellini Soup with Spinach. The warm, hearty soup provides a wonderful contrast to the cool, crisp elements of the wrap, making for a truly satisfying and wholesome meal.
- And, of course, no perfect meal is complete without a sweet finish. To cap off your culinary adventure, you can never go wrong with a batch of my famous Soft Pumpkin Chocolate Chip Cookies. Their chewy texture and spiced sweetness offer a delightful counterpoint to the savory wrap, ensuring a thoroughly enjoyable end to your meal.
Frequently Asked Questions About the Crispy Chicken Caesar Wrap
I highly, highly recommend it for the most authentic and flavorful Caesar dressing! The anchovies don’t impart a “fishy” taste, contrary to popular belief. Instead, they completely dissolve into the dressing, providing an incredible depth of savory, umami flavor that is characteristic of a classic Caesar. This ingredient is truly the secret weapon that elevates the dressing from good to absolutely phenomenal, adding a complex richness that cannot be achieved with anything else. Trust me on this one – it’s worth it for the ultimate taste experience!
Absolutely! For a lighter version of this delicious wrap, you can definitely bake or air fry the breaded chicken. To achieve a similar crispy texture, preheat your oven to 400°F (200°C) or your air fryer to the same temperature. Lightly spray the breaded chicken pieces with olive oil or cooking spray before cooking. Bake for approximately 15-20 minutes, flipping halfway, or air fry for 10-12 minutes, shaking the basket occasionally, until the chicken is golden brown, cooked through, and wonderfully crispy. This is a fantastic way to cut down on oil without sacrificing that satisfying crunch.
To ensure complete safety when using raw egg yolks in homemade dressings like this Caesar recipe, I always strongly recommend using pasteurized eggs. These eggs are gently heated in their shells to kill any potential bacteria, making them perfectly safe for raw consumption without altering their taste or texture. Pasteurized eggs are readily available at most major grocery stores, often found right alongside regular eggs. If you cannot find pasteurized eggs, you can also use an egg substitute, though the texture might vary slightly.

Pin
Crispy Chicken Caesar Wrap Recipe
Ingredients
For the Caesar Dressing
- ⅓ tbsp anchovies finely chopped
- 1.5 garlic cloves finely chopped
- 1 ½ tsp dijon mustard
- 1 tsp Worcestershire sauce
- 1 tbsp lemon juice
- 1 large egg yolk
- 2 ¼ tbsp olive oil extra virgin
- 2 tbsp finely grated parmesan cheese
- freshly ground black pepper to taste
For the Crispy Chicken & Bacon
- ½ cup all-purpose flour
- ½ tsp garlic powder
- ¼ tsp teaspoon ground cumin
- ¼ tsp paprika
- salt and pepper to taste
- 3.5 oz boneless chicken breast
- 3 large eggs beaten
- 1 cup panko breadcrumbs or regular breadcrumbs (as needed)
- 2 tbsp oil for frying
- 2 slices bacon
For the Wrap Assembly
- 1 cup chopped romaine lettuce
- 1 large wheat tortilla
- Shaved Parmesan to serve (optional)
Instructions
Make the Caesar Dressing
-
In a small bowl, add the anchovies, garlic, mustard, Worcestershire sauce, lemon juice, and egg yolk. Whisk thoroughly to combine.
-
While whisking continuously, slowly drizzle in the olive oil until the dressing is smooth and emulsified.
-
Stir in the grated Parmesan cheese and a pinch of black pepper. Set the dressing aside.
Prepare the Crispy Chicken & Bacon
-
In a shallow bowl, mix together the flour, garlic powder, cumin, paprika, salt, and pepper.
-
Coat each piece of chicken first in the flour mixture, then dip it into the beaten eggs, and finally press it firmly into the panko breadcrumbs until fully coated.
-
Heat oil in a large skillet to 350°F (175°C). Carefully fry the chicken for 4–5 minutes per side, until golden brown, crispy, and cooked through. Transfer to a paper towel-lined plate to drain.
-
In a separate pan, cook the bacon over medium heat until crispy. Drain on paper towels, then break into large, bite-sized pieces.
Assemble & Toast the Wrap
-
In a medium bowl, toss the romaine lettuce with about 2 tablespoons of the homemade Caesar dressing.
-
Gently warm the tortilla in a dry pan or for a few seconds in the microwave until it’s soft and pliable.
-
Spread 1 tablespoon of dressing down the center of the tortilla. Layer the dressed lettuce, crispy bacon pieces, sliced chicken, and shaved Parmesan on top.
-
Looking down at the wrap, fold the bottom edge up over the filling. Then, fold in the two sides and roll it away from you into a tight, secure cylinder.
-
Heat a clean skillet over medium heat. Place the wrap seam-side down and toast for 1–2 minutes, then flip and toast the other side until both are golden brown and perfectly crispy.
Notes
Unlocking the full potential of your wrap means paying attention to these small but mighty details. These tricks will elevate your creation from simply good to absolutely unforgettable:
- For the Creamiest, Most Stable Dressing: The key to a silky-smooth, non-separated Caesar dressing lies in the emulsification. Drizzle the olive oil in very slowly, a few drops at a time, while whisking constantly and vigorously. This gradual incorporation creates a stable, thick emulsion that beautifully clings to every strand of lettuce and every piece of chicken, ensuring a burst of flavor in every bite.
- Maximum Chicken Crunch Every Time: For that truly spectacular crunch, Panko breadcrumbs are non-negotiable! Their coarser, flakier texture absorbs less oil and results in a dramatically crisper crust than standard breadcrumbs. Additionally, ensure your frying oil reaches a precise 350°F (175°C) before adding the chicken. Oil that isn’t hot enough will lead to greasy, soggy chicken, while excessively hot oil can burn the exterior before the inside cooks through.
- The Foolproof Fold for a Secure Wrap: To prevent your delicious fillings from escaping, avoid the temptation to overfill. When rolling, start by folding the bottom edge up first, tucking it tightly over the fillings, then fold in the sides. Roll it away from you as tightly as possible, maintaining tension. A crucial trick is to always toast the wrap seam-side down first in the skillet. This helps to seal the edge, creating a secure package that’s easy to handle and eat, right to the last bite.
- Smart Prep for Busy Days: The homemade Caesar dressing is a fantastic make-ahead component. Prepare it up to 3 days in advance and store it in an airtight container in the refrigerator. This significantly cuts down on prep time on a busy weekday, making it a breeze to assemble a fresh, gourmet lunch or dinner in minutes. You can also bread the chicken a few hours in advance and keep it refrigerated on a wire rack until ready to fry.
- Avoiding a Soggy Wrap: To keep your wrap fresh and crispy, assemble it just before eating. If packing for lunch, keep the dressed lettuce, crispy chicken, and bacon separate and assemble right before you toast it (or enjoy cold if a toaster isn’t available). This prevents the dressing from making the tortilla or chicken soggy.
Nutrition information is automatically calculated, so should only be used as an approximation.
