Mastering Perfect Christmas Sugar Cookies: Easy Recipe, Flawless Shapes & Festive Decorating
Welcome to the magical world of holiday baking, where tradition meets irresistible flavor! These quick and easy Christmas Sugar Cookies are the quintessential treat for the festive season. Imagine soft, melt-in-your-mouth cookies, perfectly buttery, and sweetened just right. Whether you prefer them simply baked for a rustic charm or adorned with vibrant royal icing and sprinkles, they are guaranteed to be a sensational hit at any gathering.
This Christmas cookie recipe is designed for success, even for beginner bakers. It’s truly foolproof: the cookies impressively hold their festive shapes during baking, boast an incredible flavor that evokes holiday cheer, and come together effortlessly, often without needing a large stand mixer. If you’re on the hunt for reliable and easy sugar cookies that transform into the most beautiful (and undoubtedly delicious) homemade Christmas cookies, then this is the treasured recipe you’ll want to revisit throughout December. Prepare to bake, decorate, and share the joy!

The Magic Behind Our Perfect Christmas Sugar Cookies
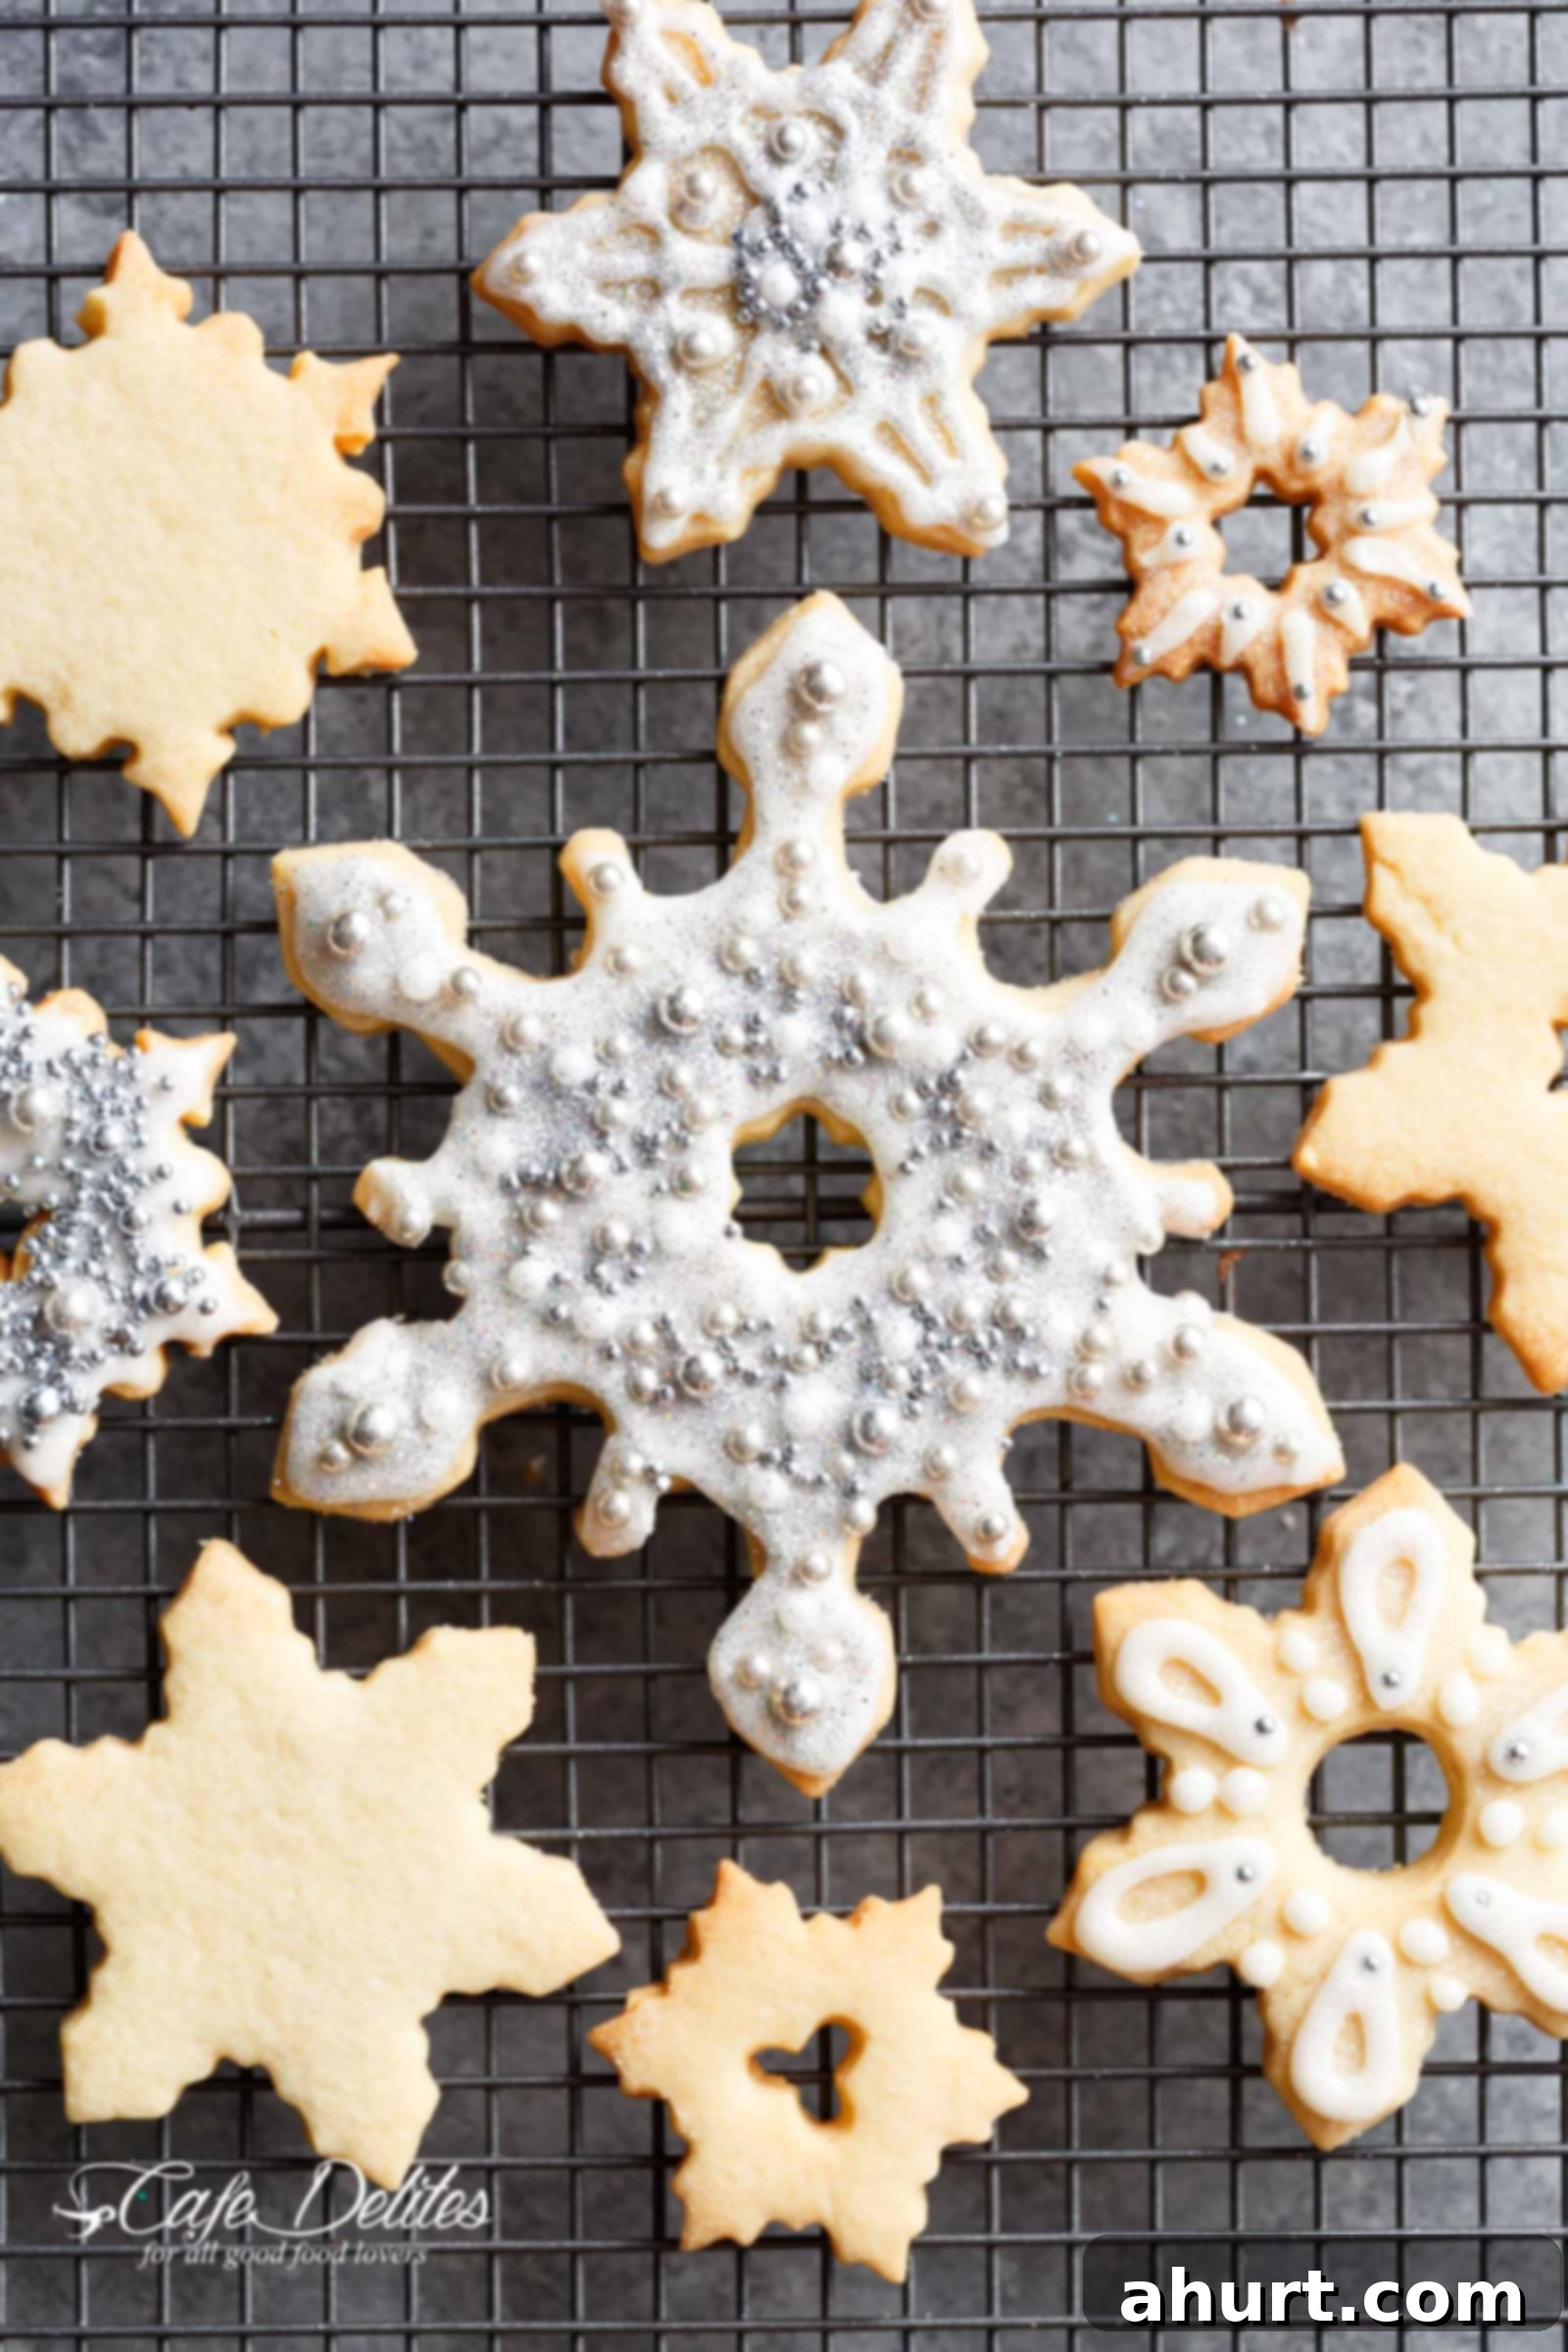
These Christmas Sugar Cookies strike a perfect balance: delightfully soft and tender in the center, with delicate, lightly crisp edges that add just the right amount of bite. They are utterly satisfying on their own, offering a pure, buttery vanilla flavor. However, their true potential shines when they become a canvas for your creative flair, ideal for decorating with smooth royal icing, colorful sprinkles, or shimmering colored sugar.
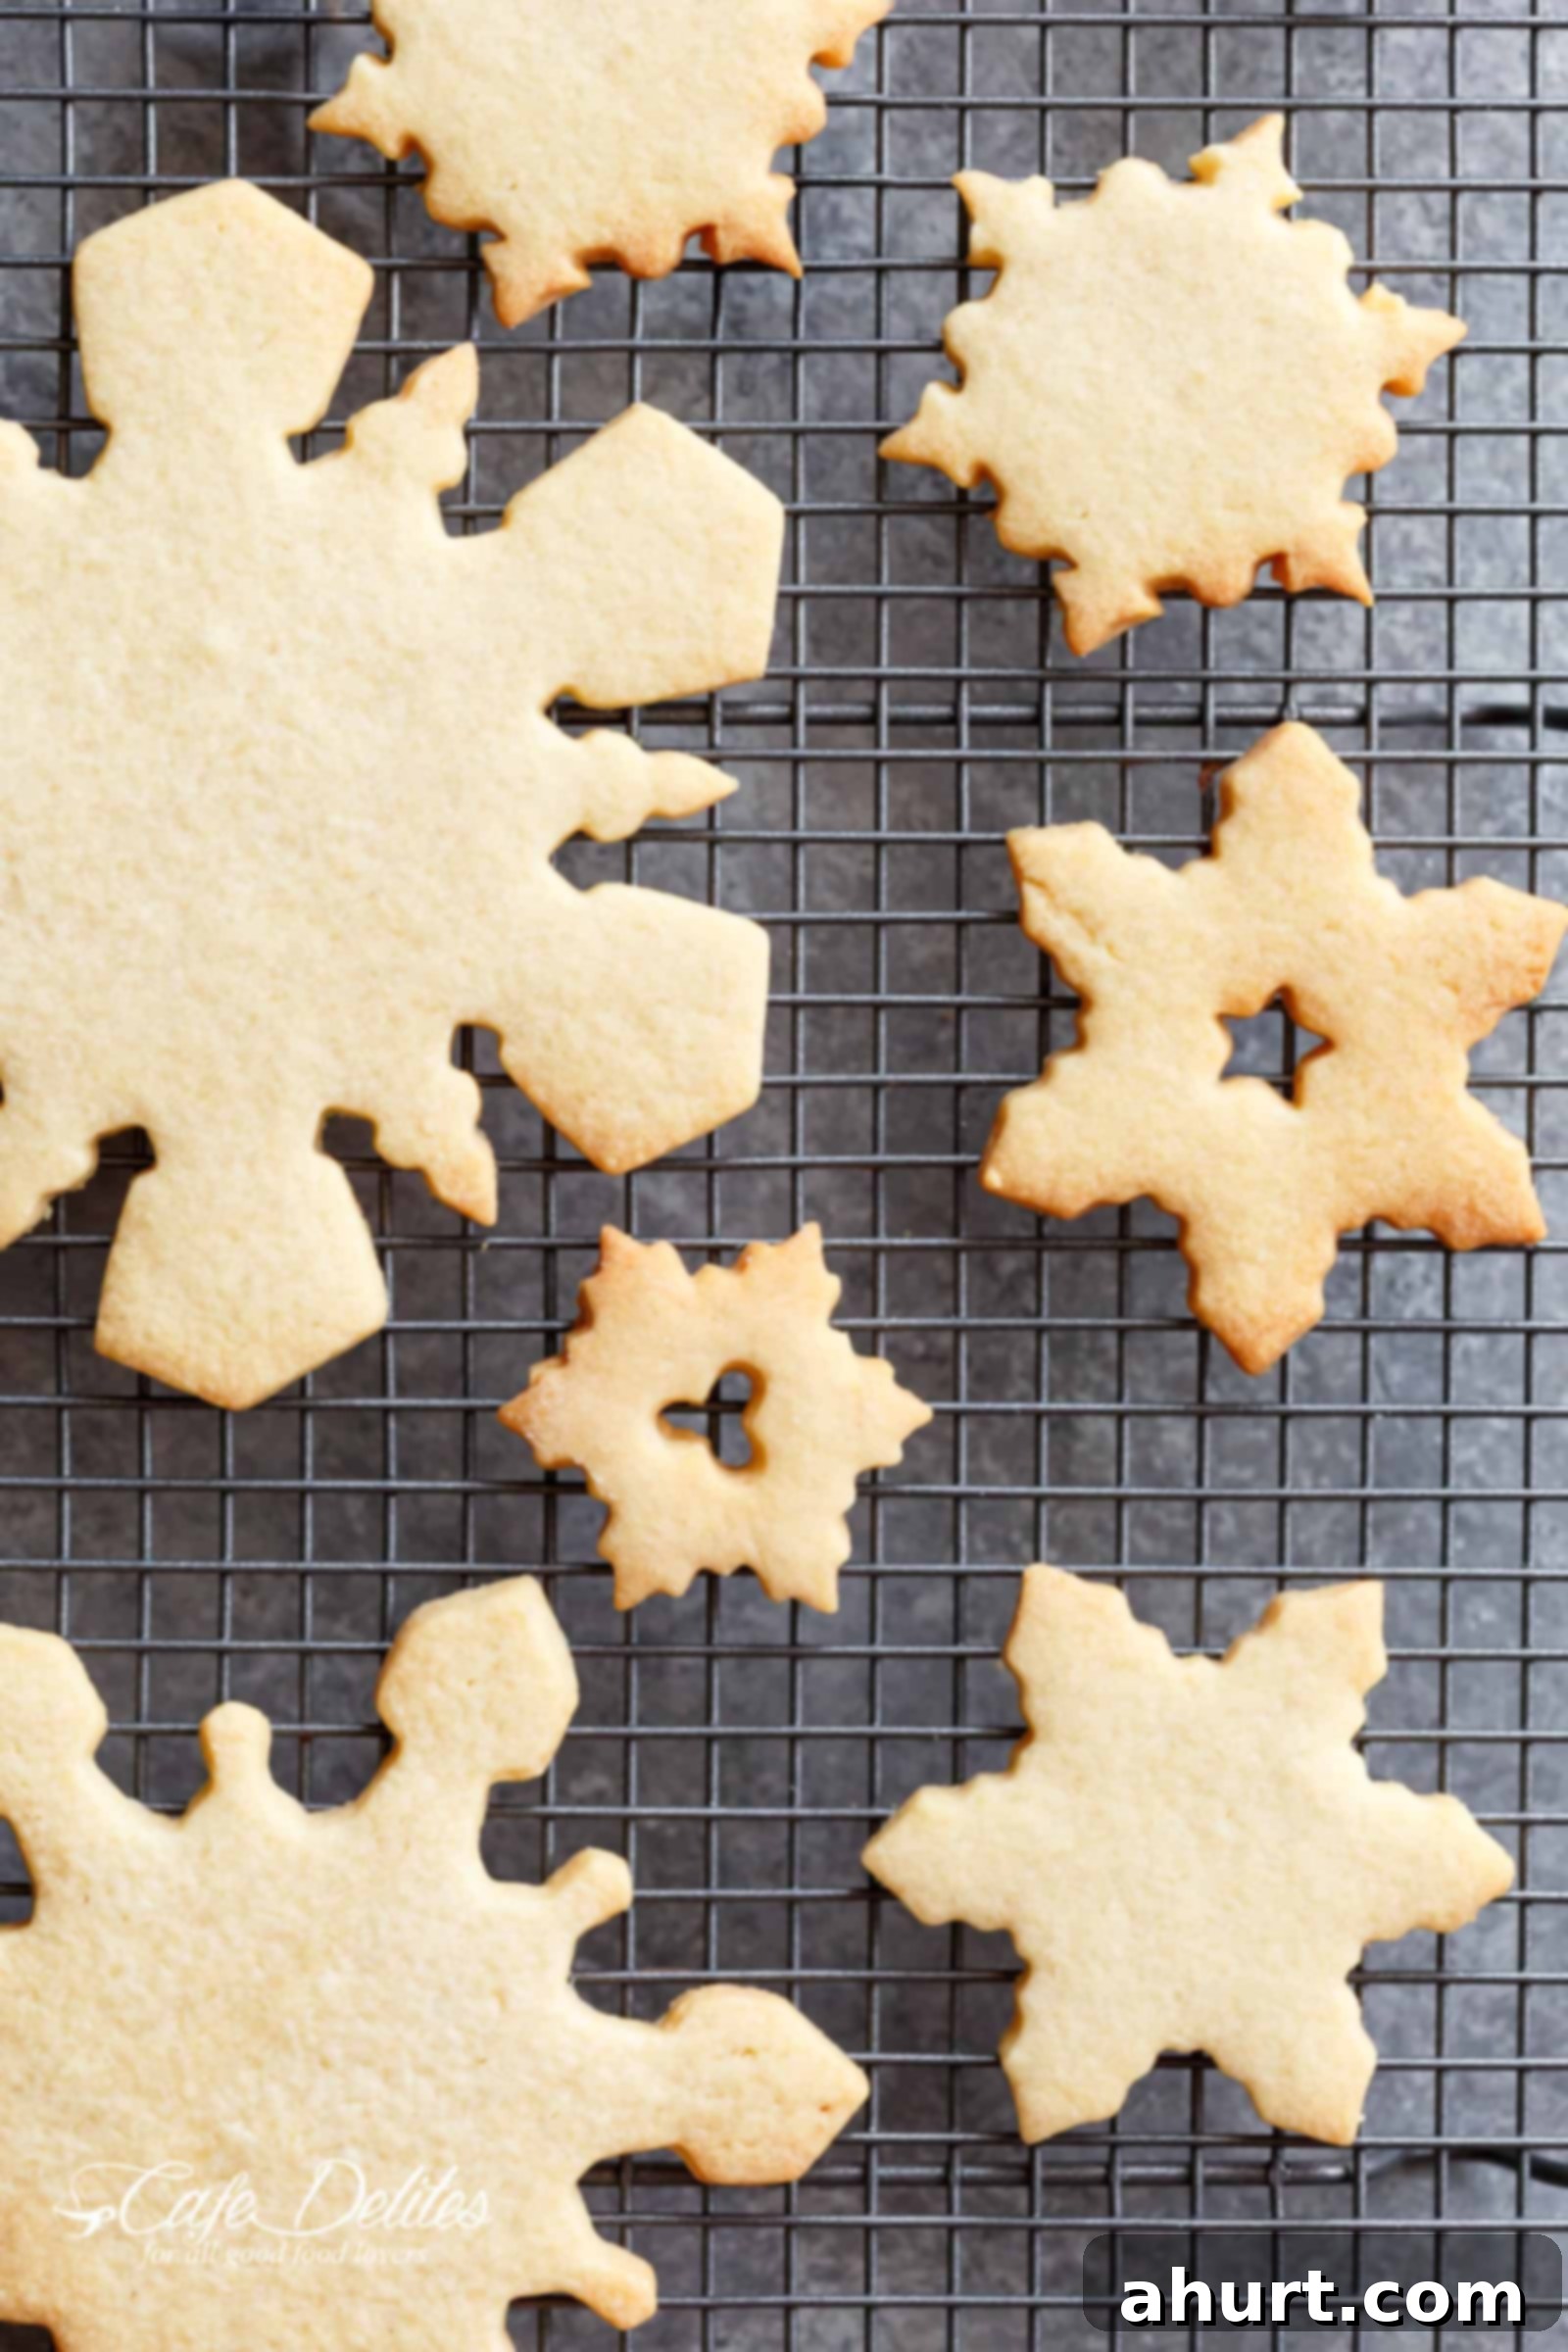
What truly elevates this recipe above the rest is its remarkable versatility and unwavering reliability. This isn’t just another cookie recipe; it’s a guaranteed success story. Whether you’re baking a large batch for a lively holiday party, assembling elegant tins of treats for thoughtful gifts, or simply preparing a special plate of cookies for Santa Claus, this Christmas cookie recipe consistently delivers perfection. There’s no fuss, no frustrating spreading in the oven (a common sugar cookie woe!), and no guesswork involved. Just genuinely easy sugar cookies that look as professionally made as they taste homemade and heartwarming. The secret lies in a carefully balanced ratio of ingredients and a crucial chilling step, ensuring your beautiful cookie cutter shapes remain intact, creating picture-perfect results every single time.
Why These Sugar Cookies Won’t Spread
One of the most common frustrations with sugar cookie recipes is dough spreading excessively in the oven, causing intricate shapes to lose their definition. Our recipe combats this effectively through a few key techniques:
- Balanced Leavening: We use just a small amount of baking powder and completely omit baking soda. Too much leavening agent causes cookies to puff up and spread outwards. This recipe ensures a tender crumb without sacrificing shape integrity.
- Chilling the Dough: This is a non-negotiable step! Chilling the dough firms up the butter, which prevents it from melting too quickly in the hot oven. This means the cookies set before they have a chance to spread, locking in those crisp, defined edges.
- Perfect Flour-to-Fat Ratio: The precise measurement of all-purpose flour provides the necessary structure to support the butter and sugar, ensuring a stable dough that bakes up beautifully.
By following these simple principles, you’ll achieve beautifully shaped cookies ready for any holiday decorating whim.
Essential Ingredients for Your Christmas Sugar Cookies
Crafting these delightful Christmas Sugar Cookies requires nothing more than simple, everyday pantry staples. No exotic ingredients or specialized tools are necessary, making this recipe accessible for everyone. The resulting dough is wonderfully soft yet remarkably sturdy, making it a joy to roll out and cut into all your favorite festive shapes. And for that extra touch of holiday magic, royal icing provides a smooth, glossy, and quick-setting finish that’s perfect for endless decorating fun.
- Unsalted Butter: This is the foundation of our cookies, providing unparalleled richness and contributing significantly to that sought-after soft, melt-in-your-mouth texture. Using unsalted butter allows you complete control over the total salt content in your recipe.
- Granulated Sugar: Beyond simply sweetening the cookies, granulated sugar also plays a crucial role in their structure and helps achieve those desirable lightly crisp edges while ensuring the cookies hold their intricate shapes during baking.
- All-Purpose Flour: The primary structural component of the dough, all-purpose flour gives the cookies a tender yet stable bite. It’s important to measure your flour correctly (preferably by weight or by spooning into a measuring cup and leveling) to avoid tough cookies.
- Vanilla Extract: A generous amount of pure vanilla extract infuses these cookies with a warm, classic, and utterly irresistible flavor that is synonymous with homemade holiday treats. Don’t skimp on the quality here!
- Egg: A single egg acts as a binder, helping to hold the dough together and adding a touch of richness and moisture, contributing to the cookie’s tender texture.
- Baking Powder: A small amount of baking powder provides a subtle lift to the cookies, giving them a slight puffiness without causing them to spread excessively. This is key for maintaining shape.
- Salt: Essential for balancing and enhancing all the other flavors, salt prevents the cookies from tasting overly sweet and brings out the buttery notes.
- Royal Icing Mix (for decorating): While optional, a good quality royal icing mix (or homemade royal icing) offers a smooth, quick-drying, and beautifully opaque finish that makes these cookies perfect for elaborate decorating. You’ll simply mix it with water to achieve your desired consistency.
Note: Please refer to the detailed recipe card at the bottom of this page for the precise measurements and a full list of ingredients.
Step-by-Step Guide: How to Bake and Decorate Christmas Sugar Cookies
Making these festive sugar cookies is a delightful process, and we’ve broken it down into easy-to-follow steps to ensure your baking journey is smooth and enjoyable. Follow along for perfect results!
- Preheat the Oven & Prepare: Begin by preheating your oven to 350°F (175°C). Line a large baking sheet with parchment paper to prevent sticking and ensure even baking. Lightly flour a clean, flat surface – this will be your workspace for rolling out the dough.
- Cream Butter and Sugar: In a spacious mixing bowl, combine the softened unsalted butter and granulated sugar. Using a sturdy wooden spoon or an electric hand mixer, cream them together until the mixture is light, fluffy, and pale in color. This usually takes about 3 minutes, incorporating air for a tender cookie.
- Incorporate Vanilla and Egg: Beat in the pure vanilla extract and the egg. Mix thoroughly until all ingredients are fully combined and the mixture achieves a creamy, emulsified texture. Remember to scrape down the sides of the bowl to ensure everything is evenly incorporated.
- Begin Forming the Dough: Add 2 cups of the all-purpose flour to the wet mixture, along with the baking powder and salt. Stir gently with your spoon or mixer on low speed until the dry ingredients are mostly incorporated and the dough just begins to come together. Avoid overmixing at this stage.
- Finish the Dough: Gradually mix in the remaining cup of flour until a stiff, cohesive cookie dough forms. The dough should be thick and might appear slightly crumbly at first, but it should hold together well when pressed.
- Knead and Chill: Turn the dough out onto your lightly floured surface. Using lightly damp hands, gently knead the dough for a minute or two until it forms a smooth, uniform ball. Flatten it slightly, wrap tightly in plastic wrap, and chill in the refrigerator for at least 30 minutes. This step is crucial for preventing spread!
- Roll and Cut Shapes: Divide the chilled dough in half. Take one portion and roll it out on your lightly floured surface to an even thickness of about 1/4-inch. Use your favorite holiday cookie cutters to cut out festive shapes. Carefully transfer these cutouts to your prepared baking sheet. Gather and gently re-roll any scraps, but avoid doing this too many times as it can toughen the dough.
- Bake the Cookies: Bake the cookies for 6 to 8 minutes. For cookies that are just set and still soft in the center, aim for the shorter baking time. If you prefer lightly golden edges and a slightly crisper texture, bake for up to 9 minutes. Let them cool on the baking sheet for 5 minutes (they will firm up as they cool) before carefully transferring them to a wire rack to cool completely.
- Prepare the Royal Icing: In a small bowl, combine the royal icing powder with water, mixing until you achieve a thick, smooth, and pipeable consistency. For outlining, you’ll want it a bit thicker; for flooding, slightly thinner (like honey). Spoon the icing into a piping bag fitted with a #5 round tip for outlining and filling larger areas.
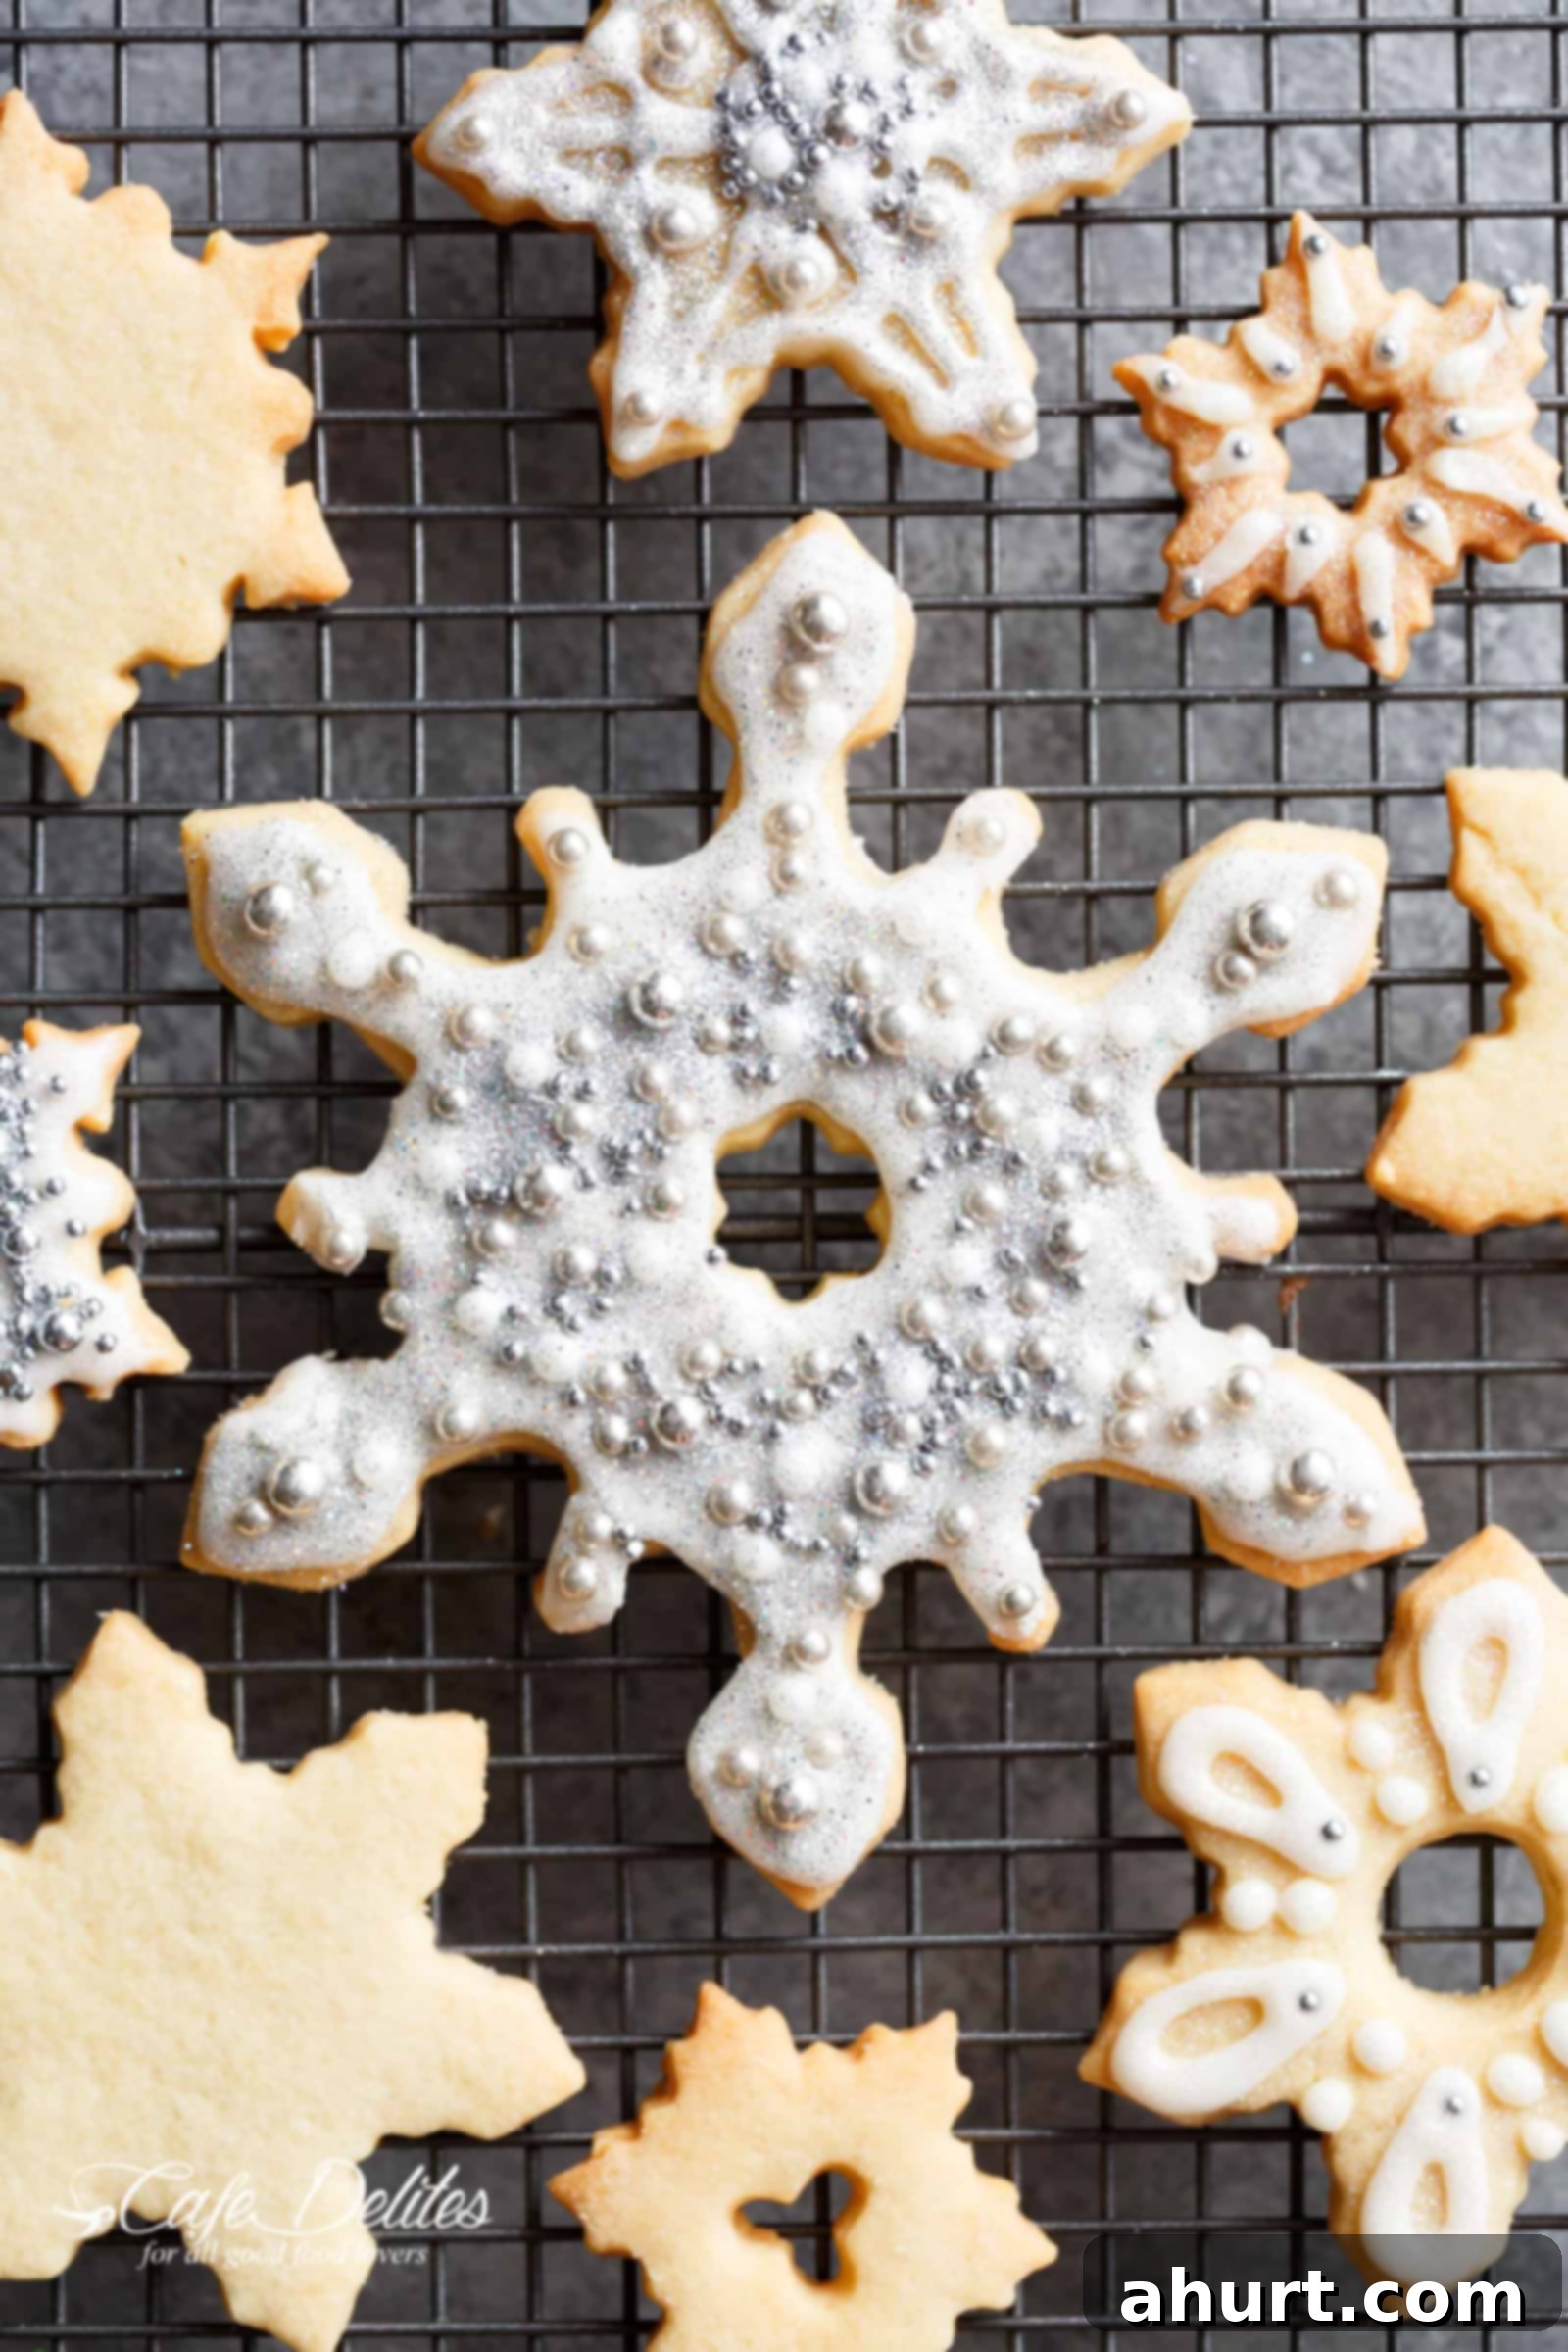
- Decorate Your Cookies: Once the cookies are completely cool, outline each cookie with the prepared icing. Then, using a slightly thinned version of the icing (or the same consistency if you’re quick), “flood” the outlined area to fill it in. Allow this base layer to set for about 15-20 minutes in the fridge or 1-2 hours at room temperature. Once the base is dry, add intricate details using a smaller #1 tip, or adorn with festive sprinkles, edible pearls, or a dusting of edible glitter. The icing will fully set in about 20 minutes in the fridge or around 2 hours at room temperature, making them stackable and giftable!
These beautifully crafted Christmas Sugar Cookies are the ultimate indulgence, perfect for a lively holiday gathering, a festive cookie exchange, or a quiet, cozy night by the fire. Enhance the classic holiday experience by pairing them with a warm mug of rich hot chocolate or a creamy glass of eggnog. For the little ones (and Santa, of course!), a cold glass of milk is the perfect accompaniment.
To create an impressive holiday dessert spread, serve these decorated masterpieces alongside other homemade Christmas favorites, such as spicy gingerbread men, crinkly chocolate cookies, or vibrant stained-glass cookies. You can also package them beautifully with a few candy canes, a piece of peppermint bark, or a small toy for a charming and personal edible gift that everyone will adore. They are more than just cookies; they are a cherished part of your holiday memories.
Recipe FAQs: Your Top Questions Answered
The secret to perfectly shaped sugar cookies lies in a couple of key techniques, both of which are central to this recipe. Firstly, we use only a modest amount of baking powder and intentionally exclude baking soda. Excessive leavening agents cause cookies to spread and puff up too much in the oven, distorting their cut shapes. Secondly, chilling the dough before rolling and cutting is absolutely essential. This step firms up the butter in the dough, preventing it from melting too quickly when it hits the heat of the oven. A firm, cold dough makes it significantly easier to cut clean, sharp edges and ensures that your beautiful shapes are perfectly preserved during baking, resulting in crisp-edged, picture-perfect cookies every time.
Yes, chilling the dough is not just recommended, it’s absolutely essential for this recipe! Skipping this step is the most common reason sugar cookies spread excessively and lose their shape. Chilling serves several critical purposes: it solidifies the butter, making the dough easier to handle and roll without becoming sticky; it prevents the butter from melting too rapidly in the oven, which in turn stops the cookies from spreading; and it allows the flour to fully hydrate, resulting in a more tender and flavorful cookie. A minimum of 30 minutes in the refrigerator is all you need to achieve beautifully defined, non-spreading cookies.
Absolutely, you can use salted butter in a pinch! If you opt for salted butter, simply reduce the amount of added salt in the recipe to 1/4 teaspoon. This adjustment helps to maintain the proper salt balance, preventing your cookies from becoming overly salty. The flavor will still be wonderfully rich and buttery, just as intended. Always taste your dough (before adding eggs if you’re concerned about raw egg consumption, though a tiny bit is generally fine for tasting) and adjust seasoning if needed.
Yes, absolutely! This dough is fantastic for making in advance, which is perfect for busy holiday schedules. You can prepare the dough, wrap it tightly in plastic wrap (or even press it into a disk), and store it in the refrigerator for up to 2-3 days. If you need to store it longer, the dough freezes beautifully for up to 3 months. Just be sure to let it thaw in the refrigerator overnight before rolling and cutting. This flexibility makes holiday baking much less stressful!
Once baked and completely cooled, these sugar cookies (decorated or plain) will stay fresh when stored in an airtight container at room temperature for up to 1 week. If you’ve decorated them with royal icing, ensure the icing is fully set and hardened before stacking them with parchment paper in between layers to prevent sticking and smudging. For longer storage, you can freeze undecorated cookies in an airtight container for up to 3 months. Thaw at room temperature before decorating.
Achieving an even thickness is key for consistent baking and a uniform appearance. Here are a few pro tips:
- Flour Your Surface (Lightly!): Too much flour can make your cookies tough, but a light dusting prevents sticking.
- Use a Rolling Pin with Guides: Some rolling pins come with adjustable rings that ensure a consistent thickness (e.g., 1/4 inch).
- Work in Batches: Divide your dough into smaller, manageable portions. Keep the unused dough chilled while you work.
- Rotate Your Dough: Roll a few times, then gently lift and rotate the dough 90 degrees. This helps prevent sticking and ensures even rolling.


Saved
Pin
Christmas Sugar Cookies
Karina
10 minutes
7 minutes
17 minutes
24
– 36 cookies
Ingredients
Sugar Cookies
-
1
cup
unsalted butter -
1
cup
granulated white sugar -
2
teaspoons
pure vanilla extract -
1
egg -
3
cups
all purpose flour
or plain flour -
3/4
teaspoon
salt -
1/2
teaspoon
baking powder
Royal Icing:
-
1/4
cup
water -
1
tablespoon
royal icing mix
or more, the consistency should be thick and creamy
Instructions
Cookies:
-
Preheat oven to 350°F | 175°C. Line a baking sheet with parchment paper, set aside.
-
In a large bowl, cream butter and sugar together with a thick wooden spoon or electric beaters, and beat until smooth (for about 3 minutes). Beat in the vanilla and the egg.
-
Add in 2 cups of flour, baking powder and salt. Mix until well combined. Then add the rest of the flour until the mixture becomes a stiff cookie dough. Turn dough out onto a clean surface. Lightly wet your hands and knead the dough until it forms a soft ball. Wrap dough with plastic wrap and chill in the refrigerator for 30 minutes.
-
Divide dough in half, then roll out about 1/4-inch thick onto a lightly floured surface. Cut using any cookie cutter shape you like, and transfer immediately onto baking sheet.
-
Bake for 6-8 minutes or until just set. For crispier golden edged cookies, bake for up to 9 minutes. Allow to cool on the cookie sheet (they should be soft) for 5 minutes before transferring to a cooling rack to cool completely.
Royal Icing:
-
Mix the water with the royal icing mix in a small bowl. Pour into a small piping bag with a round icing tip #5, outline and flood the cookies with silver or grey. Allow to set. Then, using round icing tip #1, pipe any other decorations you like over the top, or add edible pearls, edible cachous, edible balls, sprinkles, edible glitter, or whatever you like!
Icing will completely set in the refrigerator for 20 minutes, or about 2 hours at room temperature.
Notes
Decorated or plain cookies will stay fresh covered at room temperature or in the refrigerator for up to 1 week.
Nutrition
Calories:
163
kcal
|
Carbohydrates:
21
g
|
Protein:
2
g
|
Fat:
8
g
|
Saturated Fat:
5
g
|
Polyunsaturated Fat:
0.4
g
|
Monounsaturated Fat:
2
g
|
Trans Fat:
0.3
g
|
Cholesterol:
27
mg
|
Sodium:
87
mg
|
Potassium:
22
mg
|
Fiber:
0.4
g
|
Sugar:
9
g
|
Vitamin A:
247
IU
|
Calcium:
11
mg
|
Iron:
1
mg
Nutrition information is automatically calculated, so should only be used as an approximation.
Tried this? Leave a comment below!
